
How to Connect External Monitors to MacBook Pro M1 Pro
This guide shows you how to connect an external monitor to your MacBook Pro M1 Pro to enhance your workspace effectively.
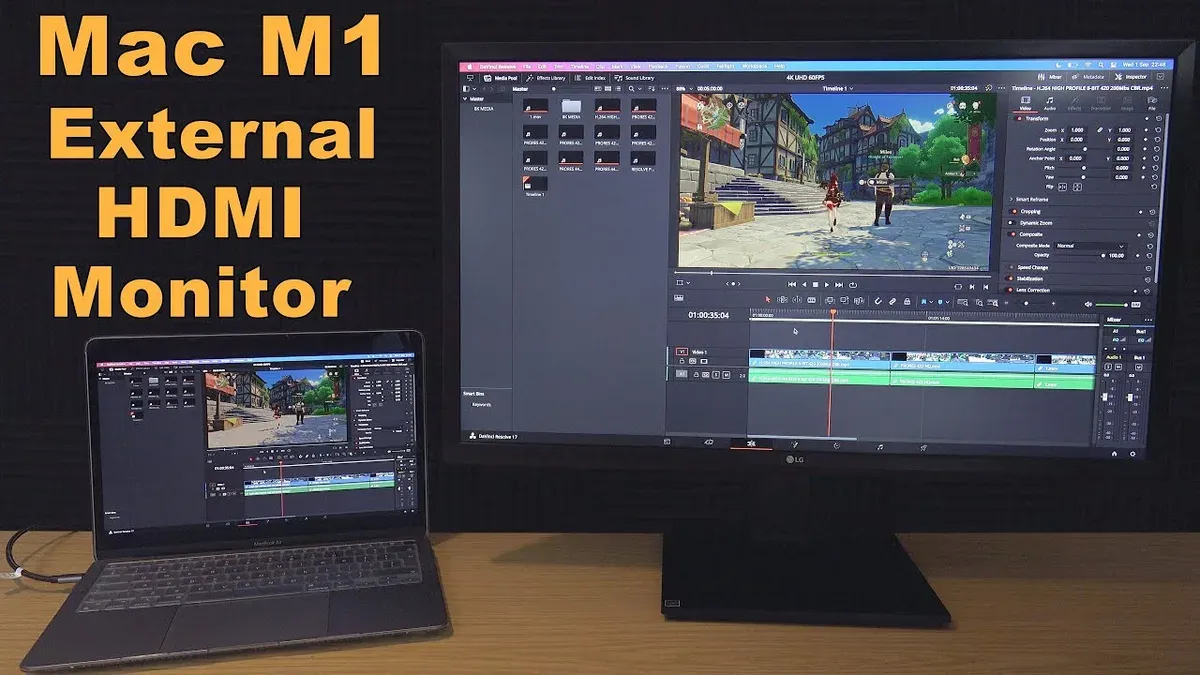
Connecting an external display to your MacBook Pro M1 Pro can significantly enhance your workspace. This guide explains how to connect a monitor to your MacBook Pro M1 Pro effectively, helping you optimize your setup for professional and creative work.
Understanding MacBook Pro M1 Pro’s Monitor Support Specifications
The M1 Pro chip supports up to two external displays simultaneously. You can connect one display via the HDMI 2.0 port at up to 4K resolution at 60Hz, and one or two displays via Thunderbolt 4 (USB-C) ports at up to 6K resolution at 60Hz each. Note that the HDMI port is limited to 4K @ 60Hz due to HDMI 2.0 bandwidth constraints.
Unlike the original M1 chip, which supports only one external monitor, the M1 Pro doubles this capability. If you require more than two external monitors, consider MacBook Pro models with the M1 Max chip or alternative hardware, as the two-monitor limit is a hardware restriction on the M1 Pro.
Monitor Configurations Supported on M1 Pro
- One external display via HDMI port: up to 4K @ 60Hz
- One or two external displays via Thunderbolt 4/USB-C: up to 6K @ 60Hz each
- Maximum two external displays active simultaneously
Choosing the Right Connection Ports and Adapters for Your Monitor(s)
The MacBook Pro M1 Pro includes an HDMI 2.0 port and three Thunderbolt 4 (USB-C) ports. Your choice depends on your monitor’s input and desired resolution and refresh rate.
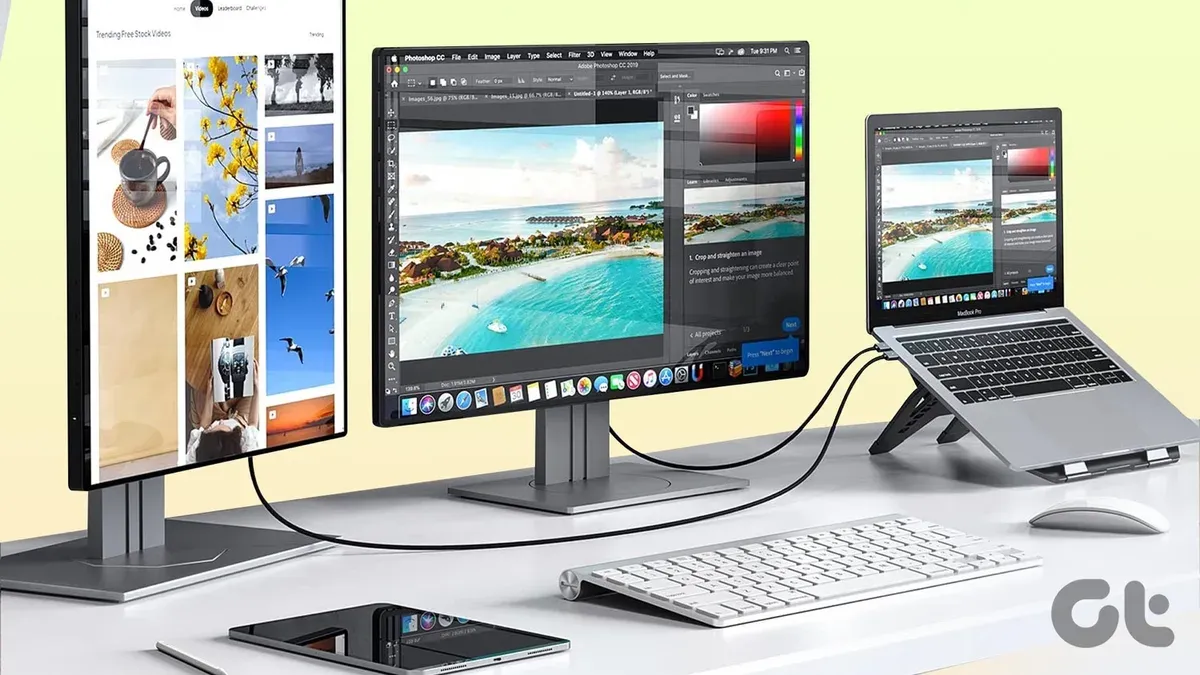
- HDMI Port: Use for monitors with HDMI input. Supports up to 4K at 60Hz reliably. This is ideal for most 4K screens and offers straightforward plug-and-play.
- Thunderbolt 4 / USB-C: Use USB-C to DisplayPort cables or adapters for higher performance with high-resolution monitors (4K and above). DisplayPort supports higher bandwidth than HDMI 2.0 on this MacBook, enabling 4K at 120Hz or 6K at 60Hz on compatible displays.
Note that DisplayPort MST (Multi-Stream Transport) daisy-chaining is not supported on the M1 Pro. Each external display must connect directly to a Thunderbolt or HDMI port.
When selecting cables or adapters, opt for well-reviewed, high-quality products. Poor-quality or cheap adapters, especially active converters, can cause flickering, latency, or compatibility issues.
Example: Connecting a 4K 60Hz Monitor
Connecting a 4K 60Hz monitor via USB-C to DisplayPort provides a direct digital signal with better color accuracy and less compression than HDMI 2.0. If your monitor only has HDMI input, use the MacBook’s native HDMI port with a high-quality HDMI 2.0 cable. Both setups deliver full 4K resolution at 60Hz, but USB-C DisplayPort offers slightly better throughput and future-proofing.
Step-by-Step: Setting Up and Configuring Your External Monitor in macOS 2026
- Connect your monitor using an appropriate cable to either the HDMI or a Thunderbolt port on your MacBook Pro.
- Open System Settings and navigate to Displays. Your Mac should detect the external monitor automatically. If it does not, try reconnecting the cable or restarting your Mac.
- Arrange displays by dragging the monitor icons to match your physical setup. This ensures the cursor moves smoothly between screens.
- Adjust resolution and scaling: Select the native resolution of your monitor or use scaled settings that balance sharpness and interface size. For example, 4K monitors often benefit from "Default for display" scaling for clarity. Note that using scaled resolutions can sometimes cause slight performance impacts.
- Set refresh rate: If your monitor supports multiple refresh rates (e.g., 60Hz, 120Hz), select the desired rate from the dropdown menu. Some monitors require enabling higher refresh rates within their own on-screen menus.
- Configure color profiles: For color-critical work, select or calibrate the correct color profile in System Settings. Disabling True Tone may be necessary if it affects color accuracy.
- Use Mission Control and Spaces: Utilize macOS tools to organize windows and desktops across multiple monitors for efficient multitasking.
Recommended Settings for Popular Monitor Sizes
| Monitor Size | Resolution | Scaling | Refresh Rate |
|---|---|---|---|
| 27-inch 4K | 3840 × 2160 | Default for display | 60Hz |
| 32-inch 6K (Apple Studio) | 6016 × 3384 | Native (no scaling recommended) | 60Hz |
| 24-inch 1080p | 1920 × 1080 | Scaled for larger UI elements | 60Hz |
Advanced Tips: Overcoming Common Connectivity Challenges and Enhancing Monitor Use
Troubleshooting Flickering or No Signal
- Check and replace cables if you experience flickering or signal loss; poor-quality cables are a common cause.
- Ensure your monitor’s firmware is up to date, as outdated firmware can cause compatibility issues.
- Try switching ports—if USB-C connections are unstable, test the HDMI port or another Thunderbolt port.
- If problems persist, reset your Mac’s NVRAM (restart and hold Option-Command-P-R) and SMC, which can resolve hardware communication issues.
Using Third-Party Apps for Multitasking
Apps like Rectangle or Magnet enhance window snapping and management across multiple monitors, providing more control than macOS’s built-in features.
Power Management Tips
External monitors increase power consumption. When using your MacBook Pro unplugged, reduce monitor brightness and disconnect unused displays to conserve battery life.
Limitations with Ultra-Wide and High-Refresh-Rate Gaming Monitors
The M1 Pro may not fully support ultra-wide aspect ratios or refresh rates above 60Hz on external displays. For gaming or high-refresh-rate use, verify your monitor’s compatibility and consider newer Mac models with enhanced GPU capabilities.
Important Caveats
- This guide focuses on connecting computer monitors, not TVs or projectors, which may require different configurations.
- Users needing more than two external monitors should consider MacBook Pro models with the M1 Max chip or alternative hardware due to M1 Pro’s hardware limits.
- Software-specific multi-display workflows (e.g., Final Cut Pro, Adobe Suite) may require additional configuration beyond basic macOS display settings.
Frequently asked questions
Can I connect more than two external monitors to my MacBook Pro M1 Pro?
The M1 Pro chip supports up to two external monitors natively. Connecting more than two requires a Mac with the M1 Max chip or complex workarounds that can reduce performance and are not officially supported.
What is the best cable type to use for 4K 60Hz on MacBook Pro M1 Pro?
USB-C to DisplayPort cables generally offer the best performance for 4K at 60Hz, providing higher bandwidth and better color fidelity. HDMI 2.0 cables are also reliable for 4K 60Hz but have lower bandwidth limits.
Why does my external monitor flicker or lose signal randomly?
Common causes include poor-quality cables, unstable connections, outdated monitor firmware, or port conflicts. Replacing cables with high-quality ones and updating firmware typically resolves these issues.
Does connecting a monitor impact my MacBook Pro M1 Pro’s battery life?
Yes. Using external displays increases power consumption and reduces battery life when unplugged. Lowering monitor brightness and disconnecting unused monitors can help conserve battery.



