Fix FaceTime HD Camera Not Working on Mac: Step-by-Step Guide
Follow this step-by-step guide to fix FaceTime HD camera not working on Mac and get your video calls back without hassle.
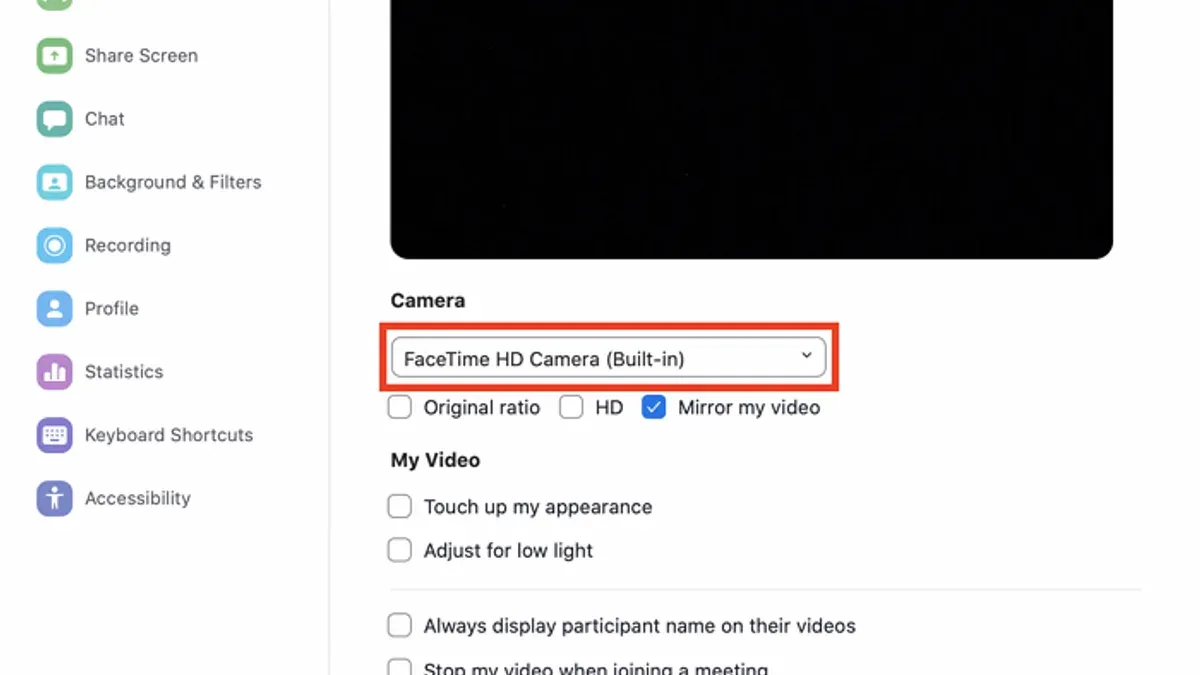
You open FaceTime on your Mac, ready for a video call, but the camera remains black or refuses to activate. This frustrating issue can interrupt your communication and leave you wondering how to fix it effectively.
This article guides you through a patient, step-by-step approach to the FaceTime HD camera not working on Mac fix. You’ll learn how to check and adjust camera permissions, restart camera services, reset system settings, and identify if software conflicts or hardware issues are at fault. Each step includes clear instructions and tips on verifying success so you won’t miss common pitfalls.
Key takeaways
- Ensure FaceTime has camera access in System Preferences under Privacy & Security.
- Restart the camera service using Terminal commands to refresh hardware communication.
- Reset the System Management Controller (SMC) to resolve low-level hardware issues.
- Update macOS or reinstall necessary components to fix software corruption.
- Test the camera with apps like Photo Booth to differentiate between app and hardware problems.
Before You Start: What You Need
To troubleshoot your FaceTime HD camera effectively, begin by confirming your Mac has the necessary hardware. Most MacBook Pro models from 2013 onward, MacBook Air models since 2013, and iMacs from 2012 include a built-in FaceTime HD camera. This camera is typically located at the top center of your display bezel.
Next, ensure your macOS version supports the FaceTime HD camera. Generally, macOS Sierra (10.12) and later fully support this hardware, but it is best to run the latest available update to avoid compatibility issues. You can check your macOS version by clicking the Apple menu and selecting "About This Mac."
Make sure your Mac is plugged into a stable power source during troubleshooting to prevent unexpected shutdowns or sleep mode interruptions. Before proceeding, close any applications that might be using the camera, such as Zoom, Skype, or other video apps, to avoid conflicts.
Finally, familiarize yourself with accessing System Preferences—found in the Apple menu—as you will adjust camera permissions here. Also, prepare to use Terminal (located in Applications > Utilities) for advanced troubleshooting commands. Knowing how to open these will make the process smoother.
- Check your Mac model by clicking the Apple menu > About This Mac; confirm it’s a model with a FaceTime HD camera (MacBook Pro 2013+, MacBook Air 2013+, iMac 2012+). You should see your Mac model and year listed.
- Verify your macOS version by selecting "About This Mac"; ensure it is macOS Sierra (10.12) or later. The version number appears under the macOS name.
- Plug your Mac into power; you should see the charging icon in the menu bar.
- Close all apps that might use the camera; confirm no video apps appear active in the Dock or menu bar.
- Open System Preferences from the Apple menu; the window should display system setting categories.
- Locate Terminal in Applications > Utilities; opening it should show a command prompt window ready for input.
Turn Off and On the Camera Access Permissions
Sometimes, macOS privacy settings can block FaceTime from accessing your camera even when the hardware is functioning perfectly. To fix this, you need to verify and adjust your camera access permissions in System Preferences.
- Open System Preferences from the Apple menu.
- Click on Security & Privacy, then go to the Privacy tab.
- Select Camera from the list on the left. Here, you will see apps allowed to use your camera.
- Check if FaceTime is listed and has a checkmark next to it. If it is unchecked, click the lock icon at the bottom left, enter your password, then enable FaceTime by clicking the checkbox.
- Close System Preferences, then quit FaceTime completely by right-clicking its Dock icon and choosing Quit.
- Reopen FaceTime and test the camera again. When permissions are enabled correctly, FaceTime will access the camera without error.
If FaceTime does not appear in the Camera permissions list, try opening FaceTime and requesting camera access again, which should prompt macOS to add it automatically. This step ensures FaceTime has the necessary rights and helps rule out software blocking as the cause of your camera issue.
Restart the Camera Service Using Terminal
The FaceTime HD camera on your Mac is managed by a system process called AppleCameraAssistant. Occasionally, this process can encounter glitches that prevent the camera from working properly. Restarting it can clear these issues without requiring a full system reboot.
Follow these steps carefully to restart the camera service using Terminal. Be sure to only affect the AppleCameraAssistant process and avoid quitting unrelated processes, which could destabilize your Mac.
- Open Terminal from your Applications > Utilities folder.
- Type the command
sudo killall AppleCameraAssistantand press Enter. You will be prompted to enter your administrator password—type it carefully and press Enter. - This command stops the AppleCameraAssistant process. The system will automatically restart it shortly after.
- To confirm the process has restarted, type
ps aux | grep AppleCameraAssistantand press Enter. You should see a line indicating the process is running again. - Now, open FaceTime or another app that uses the camera. Your camera should activate normally. If it still does not work, try the next troubleshooting step.
This approach clears temporary software glitches affecting the camera without disrupting other system functions.
Reset the System Management Controller (SMC)
The System Management Controller (SMC) manages low-level functions on Intel-based Mac computers, including power management, battery charging, thermal management, and hardware control like the FaceTime HD camera. If your camera behaves erratically or remains unresponsive after software troubleshooting, resetting the SMC can often resolve underlying hardware control issues affecting the camera.
For Intel-based MacBooks with a non-removable battery:
- Shut down your Mac completely.
- Press and hold the left Shift + Control + Option keys along with the power button for 10 seconds.
- Release all keys and the power button simultaneously.
- Press the power button again to turn on your Mac.
For Intel-based desktop Macs:
- Shut down your Mac and unplug the power cord.
- Wait 15 seconds, then plug the power cord back in.
- Wait an additional 5 seconds, then press the power button to turn it on.
For Macs with Apple silicon, an SMC reset is not user-accessible because the hardware manages these functions automatically during restarts.
Signs of a successful SMC reset include improved responsiveness of the camera and elimination of random camera failures. Users often notice the FaceTime HD camera starts working consistently after this reset when prior attempts failed. Try this step if your camera remains inactive despite checking permissions, restarting services, and closing conflicting apps.
Check for Software Conflicts and Third-Party Apps
Sometimes, your FaceTime HD camera may not work properly because other apps are accessing or blocking it. Multiple applications trying to use the camera at the same time can cause conflicts, leading to the camera being unavailable or malfunctioning. Common examples include video conferencing apps like Zoom, Skype, or Google Meet, which might keep the camera active in the background even after closing their windows.
To address this, quitting or uninstalling apps that are known to interfere with the camera can help. You can also use Safe Mode to isolate whether third-party software is causing the problem; in Safe Mode, only essential system software runs, so if the camera works there, a third-party app is likely responsible.
Activity Monitor is a useful tool to check for processes currently using the camera. Look for entries like "VDCAssistant" or any app names related to video calls and quit them to free up the camera.
- Open Activity Monitor from Applications > Utilities and search for processes related to your camera (for example, "VDCAssistant" or video apps). Quit any suspicious processes; if the camera is free, FaceTime should detect it.
- Restart your Mac in Safe Mode by holding the Shift key during startup until you see the login screen. Then, open FaceTime and check if the camera works. If it does, software conflicts are likely the cause.
- If you identify specific apps causing issues, uninstall them by dragging the app to the Trash and restarting your Mac.
Update or Reinstall macOS Components
System updates frequently include fixes for hardware drivers, including those for the FaceTime HD camera. Installing the latest macOS updates can resolve software corruption or compatibility issues affecting your camera's performance. To check for updates, open System Preferences, then click on "Software Update." If an update is available, click "Update Now" and wait for the process to complete; your Mac should restart automatically. Successful updates often restore camera functionality without further steps.
If updates do not fix the problem, reinstalling macOS can repair deeper system components without deleting your personal data. Before proceeding, back up your Mac using Time Machine or another reliable method to prevent data loss. Reinstall macOS by restarting your Mac and holding Command (⌘) + R to enter Recovery Mode, then select "Reinstall macOS" and follow the on-screen instructions. When complete, your Mac will restart with system files refreshed, which commonly resolves persistent camera issues.
While no exact statistics guarantee success, many users report restored camera function after these steps, especially when prior solutions have failed. This approach targets underlying software corruption that simpler fixes cannot address.
Test the Camera with Other Apps
To find out if your FaceTime HD camera problem is limited to FaceTime or affects your entire Mac, testing the camera with other applications is a crucial step. Two reliable apps to try are Photo Booth and QuickTime Player, both of which access the camera directly. If the camera works in these apps, the issue is likely with FaceTime itself rather than your Mac’s hardware or system.
- Open Photo Booth from your Applications folder or Launchpad. A working camera will immediately show a live video feed. If you see a black screen or an error message like “No camera connected,” the camera may not be working system-wide.
- Next, open QuickTime Player and select File > New Movie Recording. The camera feed should appear. If QuickTime also fails to show a video feed or shows an error saying the camera is unavailable, this confirms a broader hardware or system problem.
- Compare the behavior between these apps and FaceTime. If only FaceTime fails but Photo Booth and QuickTime work, focus on FaceTime-specific fixes. If all apps fail, you should proceed with hardware troubleshooting or consider system-level repairs.
Different apps may display varying error messages or behaviors, but consistent failure across multiple apps strongly points to a hardware or system issue rather than a FaceTime-specific bug. This step helps you decide whether to continue software fixes or prepare for hardware service options.
When to Contact Apple Support or Visit a Service Center
If your FaceTime HD camera continues to fail despite following all troubleshooting steps, it may indicate a hardware issue beyond your control. Common signs include the camera not being detected by any app, persistent error messages like "No camera connected," or visible physical damage to the camera area or Mac chassis. When Apple’s built-in diagnostics report hardware faults related to the camera module, professional repair is recommended.
Apple offers diagnostic tools either via remote support or at authorized service centers to confirm hardware problems. Repair turnaround times vary but typically range from a few days to a week depending on parts availability. Before contacting support, gather relevant information such as error messages you’ve seen, results from any diagnostics you ran, and a summary of the troubleshooting steps you’ve tried. This preparation helps Apple technicians diagnose your issue more efficiently.
Avoid attempting to open or repair your Mac yourself, as this can void your warranty and potentially cause more damage. Trusting Apple-certified technicians ensures genuine parts and proper service, preserving your Mac’s performance and coverage.
Troubleshooting Common Failure Points
If FaceTime shows a black screen while other apps display the camera feed correctly, the issue often lies within FaceTime’s settings or installation. Reinstalling FaceTime or resetting its preferences can resolve this. Additionally, after a macOS update, camera permissions sometimes reset automatically. You'll need to revisit System Preferences > Privacy & Security > Camera to re-enable FaceTime’s access explicitly.
Intermittent camera failures can indicate hardware problems such as loose internal connections or overheating. Gently moving the Mac or monitoring temperature spikes during use can help identify these. If the camera indicator light is on but no image appears, this may point to a sensor fault requiring professional repair.
- Open System Preferences > Privacy & Security > Camera and confirm FaceTime is checked. If unchecked, check it now and restart FaceTime. You should see the camera feed in FaceTime if this worked.
- If the camera still shows black in FaceTime, uninstall and reinstall FaceTime through the App Store or macOS reinstall options. Relaunch FaceTime and check the feed again.
- After a macOS update, always verify camera permissions as they may reset. Confirm FaceTime’s permission as in step 1.
- For intermittent issues, observe if camera failure coincides with device movement or heat. If yes, consider hardware inspection.
- If the camera light is on but no image appears in any app, prepare to contact Apple Support or a service center as this likely indicates a sensor failure.
Frequently asked questions
Why does my FaceTime HD camera say 'no camera connected'?
This message usually appears when macOS cannot detect the camera hardware. It might be caused by software glitches, camera permission issues, or hardware failure. First, ensure no other app is using the camera, then check the System Information under USB to see if the camera is recognized. If it still shows disconnected, a hardware problem or a deeper system issue might be the cause.
How do I know if the problem is hardware or software related?
Testing the camera with multiple apps like Photo Booth and Zoom helps identify if the issue is software-based. If the camera fails across all apps, try restarting your Mac and resetting the SMC. If problems persist after these steps, the hardware might be faulty, especially if the camera is not listed in System Information.
Can I use third-party apps to test my Mac’s camera?
Yes, third-party apps such as Zoom, Skype, or QuickTime Player can help verify camera functionality. These apps use the camera independently of FaceTime, so if the camera works in them but not in FaceTime, the issue might be with FaceTime or its permissions. Always ensure these apps have camera access in System Preferences > Security & Privacy > Camera.
Is it safe to reset the SMC or reinstall macOS to fix the camera?
Resetting the System Management Controller (SMC) is safe and often resolves hardware-related power and camera issues. Reinstalling macOS is more involved but can fix corrupted system files affecting the camera. Before reinstalling, back up your data and try less intrusive steps first to avoid unnecessary complications.
What This Guide Does Not Cover
This guide focuses on software troubleshooting steps and system-level resets that you can perform yourself. It does not cover hardware repairs that require opening your Mac. If your FaceTime HD camera shows no signs of life despite all software fixes, or if you notice physical damage or persistent hardware errors, it’s best to seek professional service. Attempting internal repairs without proper tools and expertise can cause further damage or void your warranty.
If you are uncomfortable using Terminal commands or performing system resets, or if the issue persists after trying all the suggested steps, contacting Apple Support or visiting an authorized service provider is the safest option. They can run diagnostics to determine if your Mac’s camera hardware needs repair or replacement.
As a practical next step, carefully test your FaceTime HD camera with multiple apps like FaceTime, Photo Booth, and Zoom after each fix. This helps you pinpoint when the camera starts working again and ensures the problem isn’t app-specific. Tracking your progress like this helps avoid unnecessary troubleshooting and gives you clear evidence to share if you need expert help.
See also: Fix Your MacBook Pro M1 Pro Microphone Not Working: A Clear Guide · Fix No Output Devices Found on Mac: Step-by-Step Audio Solutions · Bluetooth Not Available on Mac? Step-by-Step Fixes That Work