How to Fix OBS Studio Black Screen Capture on Mac: Clear Step-by-Step Solutions
Discover clear solutions to fix OBS Studio black screen capture on Mac by adjusting permissions, capture methods, and settings for flawless recording.
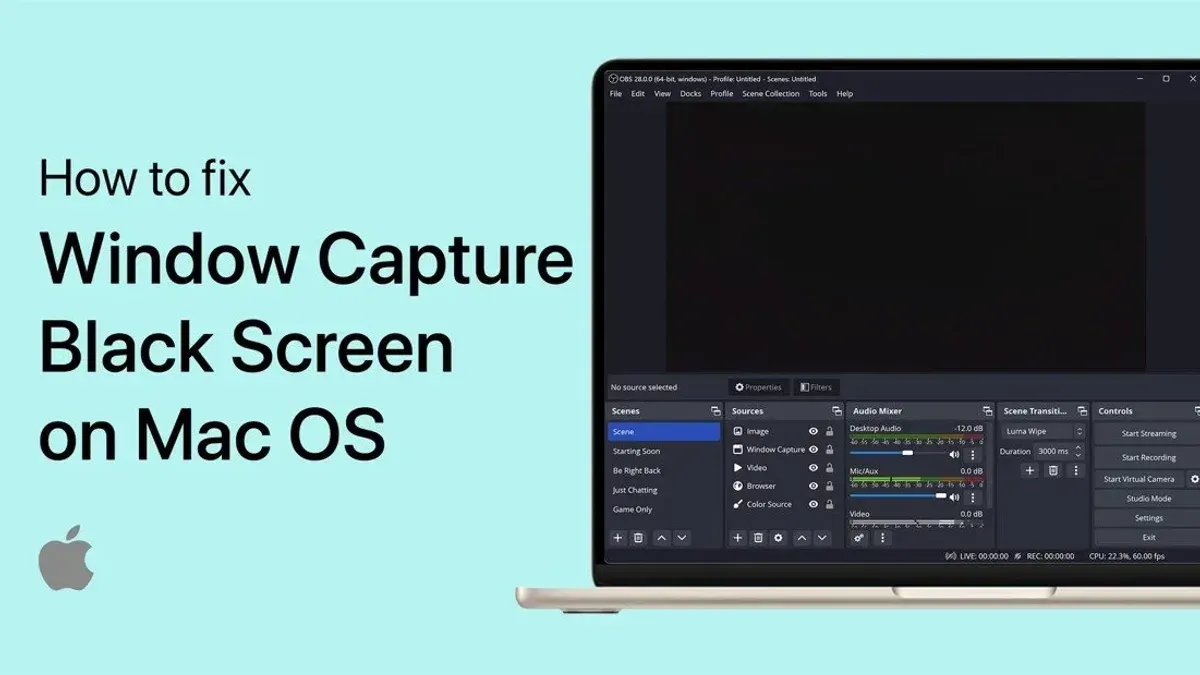
You're ready to record or stream on your Mac using OBS Studio, but the screen capture shows only a black window. This frustrating issue often stems from Mac’s security settings and hardware configurations rather than OBS itself.
This article covers how to fix OBS Studio black screen capture on Mac by guiding you through the necessary permissions, capture method choices, graphics settings, and OBS configurations. You’ll also learn why typical fixes for other platforms might not work on macOS and how to troubleshoot common pitfalls.
Key takeaways
- Grant Screen Recording permission to OBS in System Preferences under Security & Privacy.
- Choose Display Capture over Window Capture for more reliable results on Mac.
- Disable hardware acceleration in apps interfering with OBS capture.
- Check OBS’s Video settings to match your Mac’s display resolution and frame rate.
- Restart macOS and OBS after changing permissions to apply updates fully.
Before you start: What you’ll need
To effectively troubleshoot black screen capture issues in OBS Studio on your Mac, ensure your hardware and software meet the necessary requirements. You need a Mac running macOS Mojave (10.14) or later, as earlier versions lack required security frameworks for screen recording. Confirm that you have the latest stable OBS Studio version downloaded from the official website, as outdated versions may lack compatibility or necessary fixes.
Administrator access on your Mac is essential because changing system permissions, such as granting screen recording rights, requires it. Familiarity with macOS security dialogs and System Preferences navigation will help you respond correctly to permission prompts during setup.
- Verify your macOS version: Click the Apple menu > About This Mac. You should see Mojave (10.14) or newer. If not, update via System Preferences > Software Update.
- Download and install OBS Studio from https://obsproject.com/. After installation, launch OBS and confirm the version number in the Help > About menu shows a recent release.
- Ensure you have administrator credentials ready. Without admin rights, you cannot enable or modify security permissions required for screen capture.
- Familiarize yourself with System Preferences > Security & Privacy > Privacy tab, especially the Screen Recording section. OBS must be listed and enabled here for capture to work.
Enable Screen Recording permission for OBS
The most frequent cause of a black screen in OBS Studio on Mac is the lack of Screen Recording permission. Without this, macOS blocks OBS from capturing your display content.
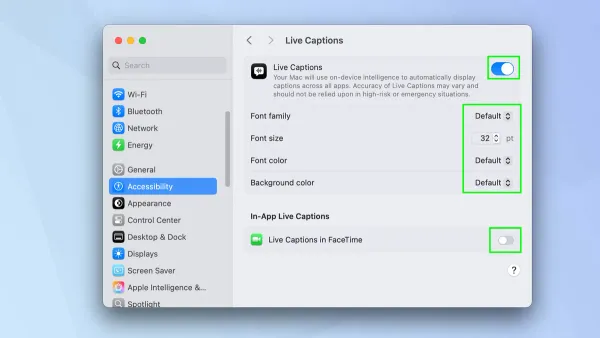
- Open System Preferences from the Apple menu.
- Go to Security & Privacy and select the Privacy tab.
- In the sidebar, scroll down and click Screen Recording.
- Find OBS Studio in the list and check the box next to it to grant permission.
- A prompt may require you to enter your administrator password to unlock changes.
- Close System Preferences and restart OBS Studio to apply the new permission settings.
Once enabled, OBS will be able to capture your screen without showing a black window. Before enabling, users typically see a black capture area; after enabling and restarting OBS, the screen appears correctly. This step is essential because macOS security restricts screen capture to apps explicitly allowed by the user, and generic fixes that ignore this permission will not resolve the black screen issue.
Use the correct capture method: Display vs. Window Capture
On macOS, choosing the right capture method in OBS Studio is crucial to avoid black screens. Display Capture attempts to record your entire screen but can fail on Macs with certain hardware configurations, especially those using integrated and discrete GPUs or running newer macOS versions with stricter security. In contrast, Window Capture targets a specific application window, offering better reliability on Mac systems but with limitations such as not capturing full-screen apps or certain types of hardware-accelerated content.
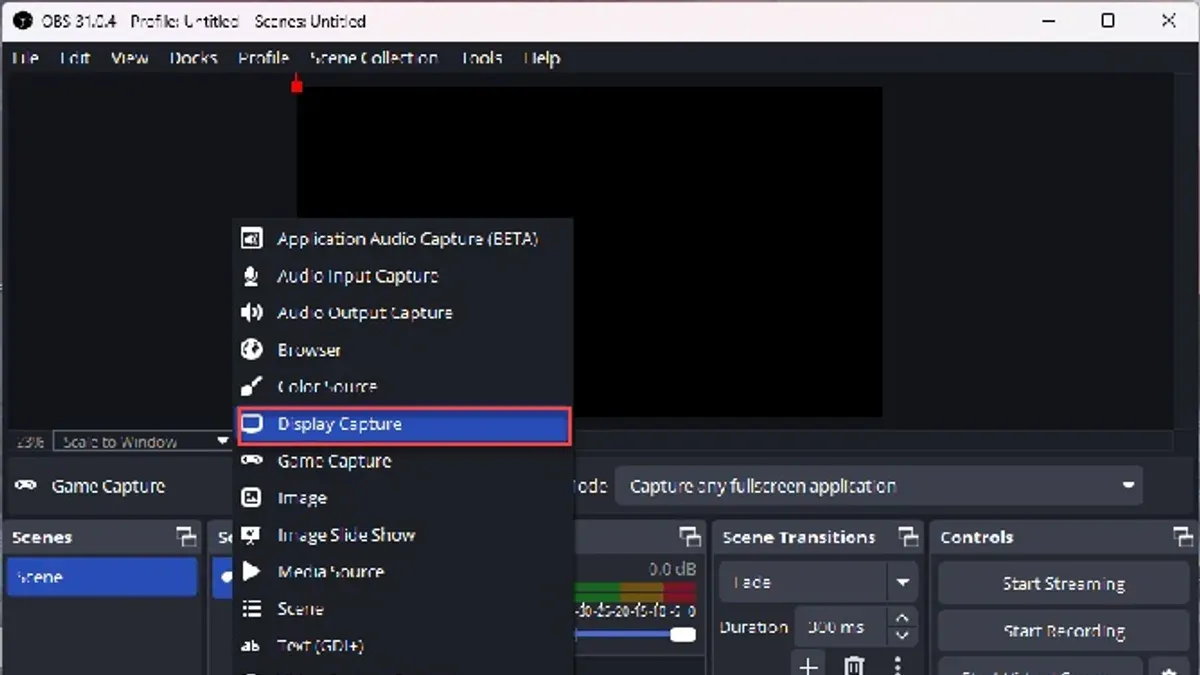
To add a Display Capture source:
- Click the + button under Sources and select Display Capture.
- Choose the display you want to capture from the dropdown menu.
- Confirm the preview shows your full desktop without black areas.
To add a Window Capture source:
- Click the + button under Sources and select Window Capture (XSHM) or Window Capture (Mac OS) depending on version.
- Select the specific application window you want to capture.
- Ensure the preview updates to show that window’s content correctly.
Here is a general comparison of success rates by capture method on Mac:
| Capture Method | Newer macOS with M1/M2 | Intel Macs with discrete GPU | Intel Macs with integrated GPU |
|---|---|---|---|
| Display Capture | Moderate to low reliability | Moderate reliability | Higher reliability |
| Window Capture | Higher reliability but limited full-screen support | High reliability | High reliability |
Using Window Capture often bypasses issues caused by GPU switching and macOS security restrictions. However, if you need to record your entire screen or multiple windows, Display Capture is necessary but may require additional macOS permission tweaks or hardware settings adjustments.
Check your graphics settings and hardware acceleration
macOS on MacBook Pro models with dual GPUs uses automatic graphics switching to balance performance and battery life. This feature can interfere with OBS Studio’s ability to capture the screen, causing black screen issues. Disabling automatic graphics switching forces the Mac to use the more powerful dedicated GPU, which often improves capture stability.
- Open System Preferences and select Battery.
- Click Battery in the sidebar, then uncheck Automatic graphics switching. You should see improved OBS capture reliability after this change.
For Macs without dual GPUs, ensure OBS has access to the GPU it needs by checking Activity Monitor’s GPU history during capture. Some applications you wish to record also use hardware acceleration, which can conflict with OBS’s capture. Disable hardware acceleration within those apps’ settings (e.g., in web browsers like Safari or Chrome, turn off hardware acceleration in preferences).
This combination of disabling automatic graphics switching and turning off hardware acceleration in captured applications reduces black screen capture occurrences, especially on MacBook Pros with dedicated GPUs from recent years.
Configure OBS Studio’s settings to ensure compatibility
Adjusting OBS Studio’s internal settings is key to stable capture on Mac. First, set your Video Output color format to NV12, which macOS handles more reliably than ARGB. This avoids color space conflicts that can cause black screens.
- Open OBS and go to Settings > Advanced > Video. Set Color Format to NV12. When set correctly, your preview should display colors normally without distortion.
- Navigate to Settings > Output > Streaming or Recording. Change the Encoder to Software (x264) if Hardware (Apple VT H264) causes capture freezes or black frames. Software encoding is more CPU-intensive but offers greater compatibility.
- Adjust your FPS to 30 or 60 based on your Mac’s performance. Higher FPS can cause dropped frames if your system is taxed.
- Set the Base (Canvas) Resolution and Output (Scaled) Resolution to match your display’s native resolution or a lower scale to reduce processing load.
Switching from hardware to software encoding often improves capture reliability at the cost of slightly higher CPU usage. Using NV12 color format prevents common macOS color space issues. Matching FPS and resolution to your Mac’s capability balances smooth recording with stability.
Restart macOS permissions and OBS to refresh system state
Persistent black screen issues in OBS Studio on Mac can often be caused by cached permission states that macOS holds. Fully quitting OBS and related helper processes, followed by a system restart, ensures that all permission changes take full effect.
- Quit OBS Studio completely: Right-click the OBS icon in the Dock and select Quit. Then, open Activity Monitor, search for any remaining obs or helper processes, and quit them to ensure OBS is fully closed.
- Restart your Mac: Click the Apple menu, then choose Restart. A restart clears macOS permission caches and reloads system services, which is crucial for updated Screen Recording and Accessibility permissions to work with OBS.
- After your Mac restarts, reopen OBS Studio and test screen capture again. If issues persist, clear OBS’s cache by navigating to OBS Studio > Preferences > Advanced > Clear Cache if available, then restart OBS again.
macOS is known to cache permission decisions aggressively. Without a full quit and restart, OBS may not regain the access it needs, leaving black screen problems unresolved despite correct settings.
Many users report that a simple restart after changing permissions finally enables reliable screen capture, confirming that this step is essential in resolving stubborn black screen capture issues on Mac.
Troubleshooting common failure points
Some less obvious factors can cause black screen capture issues on Mac when using OBS Studio. Conflicting software such as other screen recording tools (e.g., ScreenFlow, Camtasia) or antivirus programs with screen protection can block OBS from capturing the screen properly. Logs showing repeated permission denials or capture failures often indicate such conflicts.
If OBS Studio files become corrupted or improperly configured, reinstalling the latest version can resolve the issue. Users report improved capture success after a clean reinstall, especially when switching from versions downloaded outside the official source.
Make sure your macOS version is fully updated to maintain compatibility with OBS. Some older or beta macOS releases introduce changes that disrupt screen capture APIs.
As a last resort, consider using an external capture device connected via HDMI. This bypasses software and macOS restrictions, ensuring reliable capture but requires additional hardware and setup.
- Close all other screen recording or streaming apps running on your Mac. When successful, OBS should capture without black screens.
- Check OBS logs by selecting “Help” > “Log Files” > “View Last Log” for lines mentioning permission errors or conflicts. Identifying mentions of other apps indicates conflict.
- Uninstall OBS completely, then download and install the latest official version from obsproject.com. After reinstall, test capture; a working capture shows the screen instead of black.
- Verify your macOS is up to date via System Preferences > Software Update. If updates are available, install them and restart. Successful update maintains compatibility with OBS capture functions.
- If issues persist, set up an external HDMI capture device. Connect it to your Mac and configure OBS to capture from the device’s input. The preview should display your screen without black areas.
- How to Stream to YouTube Using OBS Studio on Mac
- How to Capture Desktop Audio in OBS Studio on Mac: A Step-by-Step Guide
Frequently asked questions
Why does OBS Studio show a black screen instead of my Mac’s display?
OBS Studio often shows a black screen because macOS restricts screen capture for apps without explicit Screen Recording permission. Additionally, hardware acceleration or incompatible capture methods can interfere with display capture, especially on Macs with multiple GPUs. Ensuring proper permissions and using the recommended capture method usually resolves this issue.
How do I grant screen recording permissions to OBS on Mac?
Go to System Settings > Privacy & Security > Screen Recording, then locate OBS Studio and enable the checkbox next to it. You may need to unlock the settings by clicking the lock icon and entering your password. After granting permission, restart OBS Studio for the changes to take effect.
Which capture method is best for Mac: Display Capture or Window Capture?
Display Capture is generally more reliable on Mac for capturing the entire screen, especially when recording multiple windows or apps. Window Capture can sometimes fail due to macOS restrictions or app-specific rendering, so it is best used for capturing a single, known application window with minimal hardware acceleration.
What if OBS still shows black screen after all permissions are set?
If OBS still shows a black screen, try disabling hardware acceleration in the apps you want to capture or in OBS settings. Also, restart your Mac to refresh system permissions. If issues persist, switching between Display Capture and Window Capture or reinstalling OBS Studio may help resolve deeper conflicts.
Limits of this guide
This guide does not cover advanced hardware capture cards or professional external setups which may require specialized configuration. Some Mac models with M1 or later chips have unique system-level restrictions that may limit capture capabilities despite these steps.
The most effective next step is to double-check that OBS Studio has Screen Recording permission enabled in System Preferences > Security & Privacy > Privacy. This permission is often the overlooked cause of black screen capture issues on Mac, and ensuring it is granted typically resolves the problem without additional complex troubleshooting.