How to Take a Screenshot on MacBook Pro M1 Pro: Step-by-Step Guide
Discover easy methods to take a screenshot on MacBook Pro M1 Pro using keyboard shortcuts and the Screenshot app in macOS.
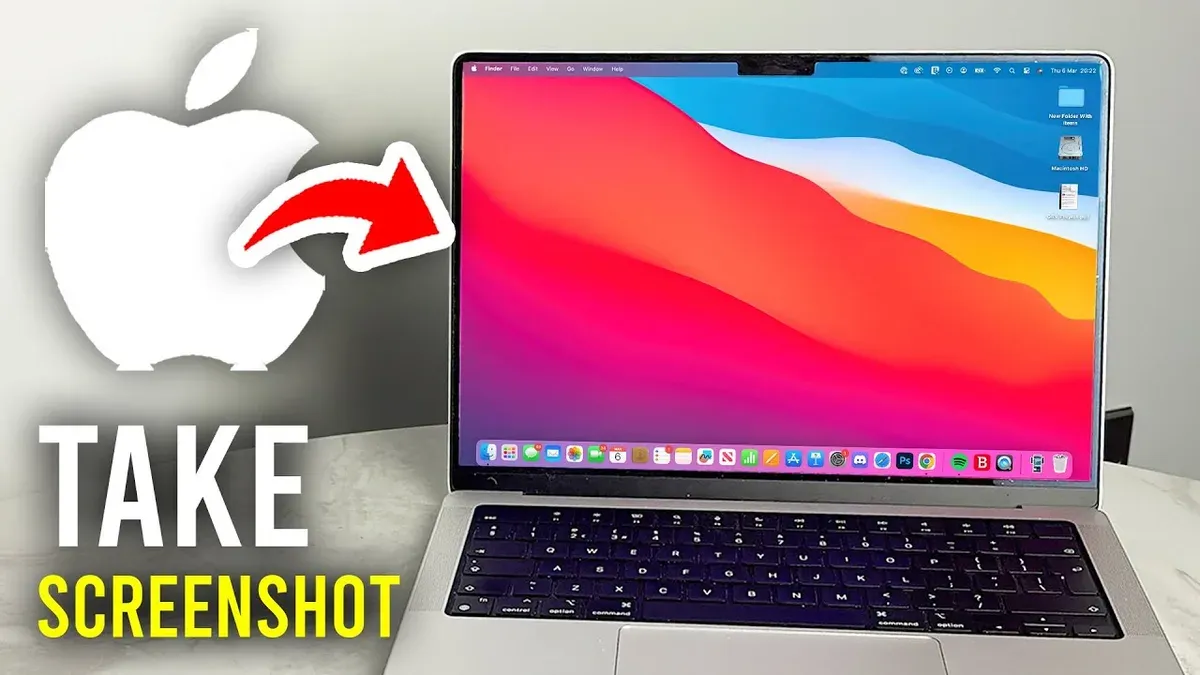
Taking a screenshot on MacBook Pro M1 Pro involves several methods optimized for its Apple Silicon architecture and macOS 2026 features. This guide covers effective ways to capture your screen, from keyboard shortcuts to the Screenshot app.
Understanding Screenshot Options on MacBook Pro M1 Pro
The MacBook Pro M1 Pro uses macOS 2026, which supports various screenshot methods adapted to its hardware.
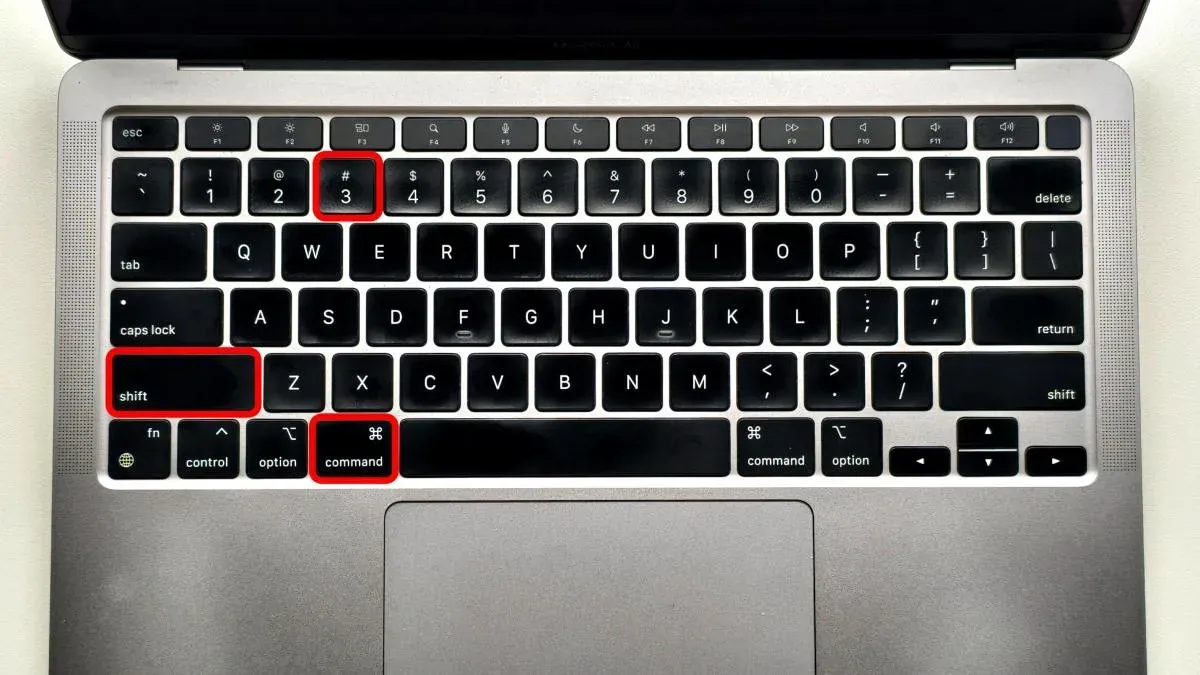
- Keyboard shortcuts: Press Shift + Command + 3 to capture the full screen. For a selected area, press Shift + Command + 4 and drag the cursor. To capture a window with its shadow, press Shift + Command + 4, then tap Spacebar and click the window.
- Touch Bar customization: On models with a Touch Bar, you can add a screenshot button via System Preferences > Keyboard > Customize Control Strip for quick access.
- Screenshot app: Press Shift + Command + 5 to open the Screenshot app, which offers image and video capture options, timer settings, and save location controls.
| Function | M1 Pro (macOS 2026) | Intel Mac (macOS 2026) |
|---|---|---|
| Full Screen Capture | Shift + Command + 3 | Same |
| Window Capture with Shadow | Use Shift + Command + 4 + Spacebar | Same |
| Touch Bar Screenshot | Customizable button available | Available only on models with Touch Bar |
| Screenshot App Access | Shift + Command + 5 launches interface | Same |
Step-by-Step Guide to Taking Screenshots on MacBook Pro M1 Pro
Use these steps to capture screenshots efficiently.
- Capture Entire Screen:
- Press Shift + Command + 3.
- A thumbnail appears in the corner; click it to edit or wait for automatic saving.
- Screenshots save as PNG files on the Desktop by default.
- Capture Selected Portion:
- Press Shift + Command + 4.
- Drag the crosshair to select the area.
- Release to capture.
- Capture Specific Window:
- Press Shift + Command + 4, then press Spacebar.
- The cursor changes to a camera icon; hover over the window.
- Click to capture the window with its shadow.
- Using the Screenshot App:
- Press Shift + Command + 5 to open the Screenshot app.
- Select full screen, window, selection, or screen recording.
- Use Options to set timer and save location before capturing.
- Editing and Sharing:
- Click the floating thumbnail after capture to open Markup tools.
- Edit with text, shapes, or cropping.
- Share via Mail, Messages, or AirDrop directly from the edit window.
Example: To capture a timed screenshot of a dropdown menu:
- Press Shift + Command + 5.
- Click Options and select a 5-second timer.
- Choose the screen or window capture icon.
- Click Capture and open the dropdown menu within the delay.
Advanced Tips for Efficient Screenshot Management on M1 Pro
- Change Save Location: Use Terminal commands:
defaults write com.apple.screencapture location <path>thenkillall SystemUIServerto apply. - Automate Organization: Use Shortcuts or Automator to rename or move screenshots automatically.
- Customize Touch Bar: Add screenshot buttons in System Preferences > Keyboard > Customize Control Strip.
- Third-Party Apps: Apps like CleanShot X or Snagit offer enhanced features optimized for Apple Silicon.
- Custom Shortcuts: Remap or create new shortcuts in System Settings > Keyboard > Shortcuts.
Troubleshooting Common Screenshot Issues on MacBook Pro M1 Pro
- Screenshots Not Saving: Verify folder permissions and available storage.
- Blurry or Incorrect Captures: Adjust display resolution or scaling in System Preferences > Displays.
- Permissions Issues: Ensure Screen Recording permission is enabled for Screenshot app in System Preferences > Security & Privacy > Privacy.
- Touch Bar or Shortcut Problems: Restart Touch Bar using Terminal commands:
sudo pkill TouchBarServerandsudo killall ControlStrip. - Reset Screenshot Settings: Use
defaults delete com.apple.screencaptureandkillall SystemUIServerto revert customizations.
When to Consider Alternatives to Built-in Screenshot Methods
Built-in tools cover most needs, but alternatives may be better for:
- High-refresh-rate or HDR content: Native screenshots may not capture full quality; specialized recorders handle this better.
- Protected or interactive video: DRM restrictions can block native capture; third-party software may be required.
- Advanced annotation: macOS Markup is basic; professional annotation needs external apps.
- Cross-device syncing: Screenshots don’t sync automatically across devices without cloud services or automation.
Caveats
This guide applies specifically to macOS 2026 on MacBook Pro M1 Pro. Features and steps may vary on other Mac models or earlier macOS versions.
Frequently asked questions
Can I take a screenshot using the Touch Bar on MacBook Pro M1 Pro?
Yes. You can add a screenshot button to the Touch Bar through System Preferences > Keyboard > Customize Control Strip for quick access.
Where do screenshots save by default on macOS 2026?
By default, screenshots save as PNG files to the Desktop folder unless you change the save location.
How do I change the screenshot file format on my MacBook Pro M1 Pro?
Use Terminal commands like defaults write com.apple.screencapture type jpg followed by killall SystemUIServer to change the default format.
What should I do if keyboard shortcuts for screenshots stop working?
Check the keyboard shortcut settings in System Preferences, ensure no conflicting apps override them, verify permissions, and restart the Mac or relevant processes if needed.