
How to Create Speed Ramps in Final Cut Pro: A Step-by-Step Guide
Master creating smooth speed ramps in Final Cut Pro with this step-by-step guide to enhance your video editing skills.
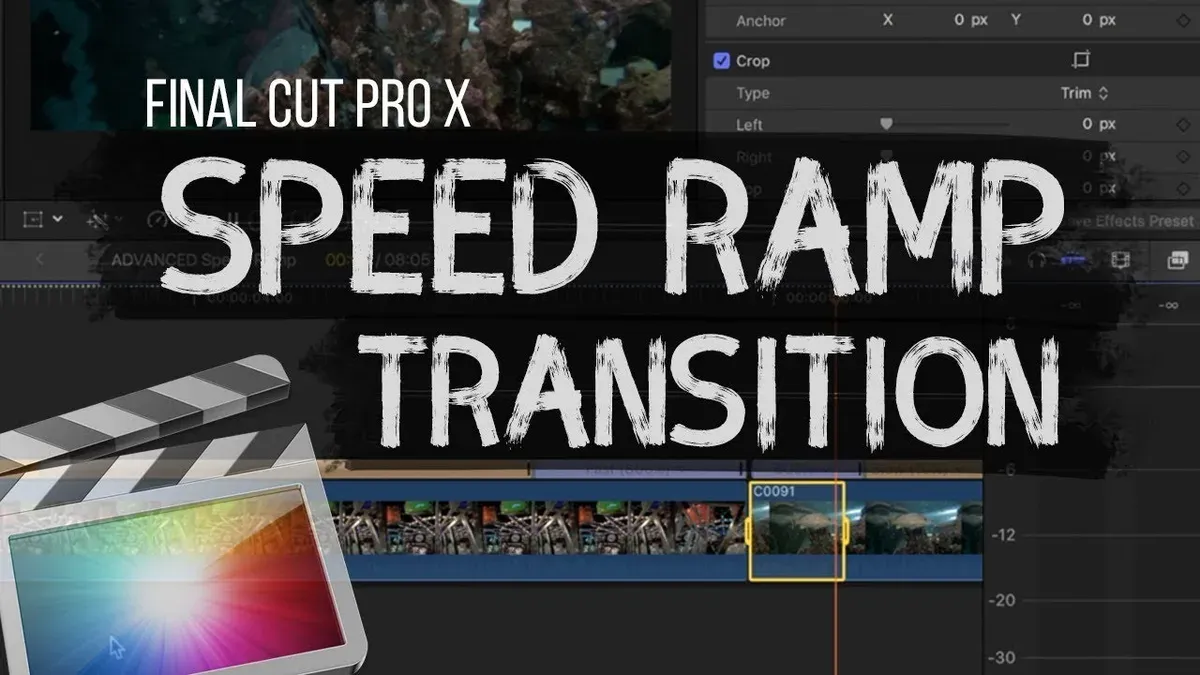
You’re working on a dynamic sequence and want to add a dramatic slow-motion effect to highlight a key moment. You know speed ramping can make your footage more engaging, but you’re unsure how to achieve smooth transitions in Final Cut Pro.
This article covers how to create speed ramps in Final Cut Pro from the ground up. You’ll learn how to prepare your project properly, apply speed ramps using built-in tools and keyframes, troubleshoot common issues, and even adapt these techniques for other editing software.
Key takeaways
- Set your project’s frame rate and clip timing before adding speed ramps to ensure smooth results.
- Use the retime editor to add speed points and adjust clip speed gradually for natural ramping.
- Apply keyframes in the speed curve editor for precise control over ramp timing and smoothness.
- Watch for common issues like stuttering or audio sync problems and fix them by adjusting speed handles.
- Speed ramp principles in Final Cut Pro translate well to other editors like Adobe Premiere Pro or DaVinci Resolve.
Before you start: Prepare your Final Cut Pro project and footage
Before creating speed ramps in Final Cut Pro, ensure your footage is properly imported and positioned on the timeline. Select clips that are long enough to accommodate speed changes smoothly; typically, clips should be at least a few seconds longer than the section you want to ramp to prevent abrupt cuts or noticeable frame skipping. For example, a 5-second clip allows enough room to gradually slow down or speed up without jarring transitions.
Understanding your clip’s frame rate is also crucial. Clips with higher frame rates, such as 60 fps, provide more frames to work with, resulting in smoother speed ramps compared to standard 24 or 30 fps footage. Check the clip information by selecting it in the browser and pressing Command-I to view its frame rate and resolution.
Next, enable the retiming controls in Final Cut Pro by selecting your clip on the timeline, then choosing Modify > Retime > Show Retime Editor or pressing Command-R. This action reveals the speed bar above your clip, allowing you to create and adjust speed ramps effectively.
Finally, ensure your hardware supports smooth playback during speed changes. A recent Mac with a dedicated graphics processor and sufficient RAM will help prevent stuttering or dropped frames when previewing speed ramps.
How to create a speed ramp in Final Cut Pro
- Select the clip on your timeline where you want to add the speed ramp. Then, open the retiming menu by clicking the speedometer icon above the timeline. This reveals options to adjust playback speed.
- Add speed points by choosing "Add Speed Point" from the retiming menu or pressing Command+B at the desired ramp start and end positions. These points mark where the speed changes begin and finish, splitting the clip into speed segments.
- Drag the speed slider on each segment or enter precise speed percentages in the retiming menu to slow down or speed up the clip. For example, setting one segment to 50% slows it down to half speed, adjusting the clip’s duration accordingly in the timeline.
- Use the "Blade Speed" tool (found under the retiming dropdown or by pressing Shift+B) to cut the speed precisely where you want smoother ramp transitions. This tool helps you create gradual speed changes rather than abrupt jumps.
- Play back the clip to preview the ramp effect. Watch how the speed shifts between segments and adjust speed points or percentages as needed to smooth out any jarring transitions and maintain natural motion.
How to speed ramp in Final Cut Pro using keyframes
Using keyframes in Final Cut Pro allows you to create highly customized speed ramps by precisely controlling speed changes over time. First, activate the Retiming Editor by selecting your clip, then choosing View > Show Retime Editor, and finally clicking the Speed Graph button to display the speed curve beneath the clip. This graph visualizes speed changes as a line you can manipulate directly.
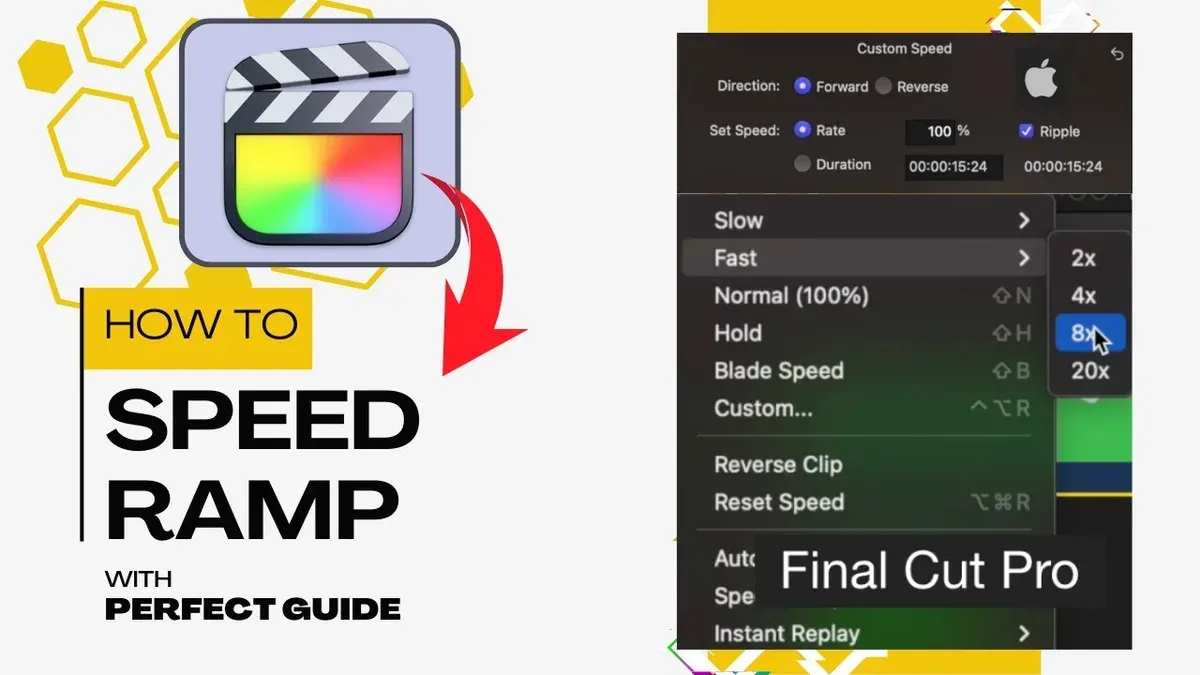
To add keyframes, move the playhead to where you want a speed change to begin or end, then click the Add Speed Keyframe button (a diamond icon) on the speed graph. Each keyframe marks a point where speed is locked, enabling you to adjust the speed between keyframes independently. By dragging the curve handles on these keyframes, you can smooth the transitions to produce natural acceleration or deceleration instead of abrupt speed jumps.
Keyframe ramping is particularly advantageous for complex speed effects, such as slow motion that gradually speeds up or slow down within the same clip. You can also combine this technique with trimming by adjusting the clip's in and out points to fine-tune the timing of speed changes. Comparing speed curves with and without smoothing clearly shows that smoothed curves create fluid motion, while unsmoothed curves produce jagged, mechanical shifts.
- Enable the Retiming Editor and click the Speed Graph icon; you should see a line graph below the clip representing speed.
- Move the playhead to your desired speed change point and click the Add Speed Keyframe button; a diamond will appear on the graph.
- Add additional keyframes along the timeline where you want speed changes to start or end.
- Drag the vertical position of each keyframe to set the speed percentage at that point; higher means faster playback.
- Click and drag the curve handles on each keyframe to smooth the speed transitions; the curve should flow smoothly rather than having sharp angles.
- Trim the clip edges if needed to align the speed ramp with your desired timing; the speed graph updates accordingly.
- Play back the clip to check for smoothness; a smoothed speed curve results in gradual speed changes without abrupt jumps.
How to fix common speed ramp issues in Final Cut Pro
When you experience choppy playback during speed ramps, it often results from insufficient rendering or hardware strain. To preview smoothly, select your clip, then go to the top menu and choose Modify > Render All. Once rendered, playback should be fluid without stutters.
Audio can distort or fall out of sync if speed changes are abrupt or unsupported. To avoid this, right-click the clip and select Detach Audio. Then apply speed changes only to the video track, adjusting audio separately if needed. This prevents unwanted pitch shifts and sync issues.
If your clip becomes too short or too long after ramping, check the clip’s in and out points and the overall duration in the timeline. You may need to trim or extend the source material to maintain smooth transitions. Use the Trim tool to adjust clip edges without affecting speed ramping.
Frame blending and optical flow settings affect how frames interpolate during speed changes. Access these by selecting the clip, opening the Inspector, and expanding the Retime section. Choose Optical Flow for smoother motion in complex scenes, or Frame Blending for faster processing with acceptable quality.
Improving ramp performance can also come from hardware and software adjustments. Ensure background processes are minimized, and increase Final Cut Pro’s playback quality to Better Performance if needed. Using an external GPU or faster storage can help render and preview speed ramps more efficiently.
- Select your clip and choose Modify > Render All. Playback will become smooth once rendering finishes.
- Right-click the clip, select Detach Audio, then apply speed ramp only to the video. Audio remains clear and in sync.
- Use the Trim tool to adjust clip length if the ramped clip is too short or long. The timeline duration matches your intent.
- In the Inspector, under Retime, switch between Frame Blending and Optical Flow to find the best visual result for your footage.
- Close unnecessary apps, set playback to Better Performance, and consider hardware upgrades if speed ramps still lag.
How to adapt speed ramp techniques from Final Cut Pro to other editors
Speed ramping tools vary across video editors, so understanding these differences helps you apply your skills effectively. Final Cut Pro offers precise control via keyframes and the speed graph, letting you fine-tune acceleration and deceleration smoothly. In Premiere Pro, speed ramping uses the Rate Stretch tool and Time Remapping keyframes, with speed adjustment handles displayed on the clip timeline, allowing very detailed manipulation but with a different interface and terminology.
CapCut approaches speed ramps differently, providing both template-based ramps for quick results and manual speed controls, though it lacks the detailed graph-based control of Final Cut Pro or Premiere Pro. This makes CapCut ideal for fast edits on mobile devices but less suited for nuanced ramping.
When comparing a simple speed ramp: in Final Cut Pro, you add speed points, drag speed curves on the retiming graph, and see smooth transitions in the timeline. In Premiere Pro, you add Time Remapping keyframes, drag the speed line up or down within the clip to adjust speed, and watch the clip stretch or compress accordingly. Both methods produce smooth ramps but require different workflows.
Choose Final Cut Pro if you need precise speed ramp accuracy and integration with Apple hardware. Premiere Pro suits those working cross-platform or requiring detailed timeline control. CapCut works well for quick, template-driven ramps on the go.
- Open your clip in the other editor (Premiere Pro or CapCut). You should see the clip appear in the timeline for editing.
- Locate the speed adjustment tool: in Premiere Pro, expand the clip and find the Time Remapping section; in CapCut, open speed settings. You should see speed handles or options to change speed.
- Create speed points/keyframes at desired ramp points: in Premiere Pro, use the Pen tool to add Time Remapping keyframes; in CapCut, set speed change markers if available. You should see points marking speed changes on the clip.
- Adjust speed between points: drag the speed line up or down in Premiere Pro or set speeds manually in CapCut. The clip’s playback rate changes accordingly, visible in the timeline.
- Preview your ramp: play back the timeline and watch the speed changes transition smoothly. If it looks abrupt, adjust keyframes or speed curves for smoother results.
Experimenting with these workflows across editors builds your flexibility and helps you choose the best tool for each project’s needs.
Frequently asked questions
How to create speed ramp in final cut pro?
To create a speed ramp in Final Cut Pro, first select the clip in your timeline. Then open the retime menu by clicking the speedometer icon or pressing Command-R. Use the Add Speed Point option to insert keyframes where you want the speed to change. Adjust the speed between these points by dragging the retime handle up or down to increase or decrease playback speed smoothly.
How to speed ramp fcpx?
Speed ramping in Final Cut Pro X (FCPX) involves adding speed points to your clip and adjusting the speed segments between them. Use the Blade Speed tool (Shift-B) to add speed points precisely at the desired frames. Then drag the speed handles to ramp the speed up or down, creating gradual acceleration or deceleration effects.
How to speed ramp in capcut?
In CapCut, speed ramping is done by splitting your clip at points where speed changes are desired. Select the clip, tap Speed, then choose Curve to apply preset speed ramp effects or use Custom for manual control. Adjust the speed graph to create smooth ramps by dragging points to increase or decrease speed gradually.
How to do speed ramp?
To do a speed ramp, first identify where you want the speed change to begin and end in your clip. Add speed points or keyframes at these locations. Change the playback speed between these points gradually rather than abruptly, ensuring a smooth transition from normal speed to faster or slower motion and back.
How to speed ramp in premiere?
In Adobe Premiere Pro, speed ramping is performed using the Time Remapping feature. Right-click your clip and select Show Clip Keyframes > Time Remapping > Speed. Add keyframes on the Speed rubber band to mark speed changes, then drag the rubber band up or down to adjust speed. Use the handles on keyframes to smooth the transition between different speeds.
Understanding What This Guide Does Not Cover
This article focuses on speed ramping video clips within Final Cut Pro and does not cover advanced motion graphics or 3D speed ramping effects that require specialized plugins or software. If you are working with complex animations or 3D elements, consider exploring dedicated motion design tools such as Apple Motion or Adobe After Effects. Additionally, speed ramping can demand significant hardware resources; older Macs or those with limited RAM and graphics capabilities may experience lag or choppy playback while editing. For the smoothest experience, use a Mac with at least 16GB of RAM and a dedicated GPU. Finally, this guide does not delve deeply into audio speed ramping. To maintain audio quality during speed changes, you may need to perform separate audio editing and apply time-stretching or pitch correction with specialized audio software.
Take the Next Step: Practice with Keyframe Timing
The most useful next step is to practice creating speed ramps by adjusting keyframes precisely on your timeline. Focus on placing your speed changes gradually rather than abruptly to achieve smooth transitions. Experiment with the timing curves in the retiming editor, such as selecting 'Smooth' or manually adjusting bezier handles, to control the acceleration and deceleration of your clips. This hands-on approach will help you understand how timing affects the visual flow and storytelling impact of your edits. As you build confidence, you’ll find speed ramping becomes a natural and powerful tool in your video editing workflow.
See also: How to Use Keyframes in Final Cut Pro: Step-by-Step Guide · How to Create Lower Thirds in Final Cut Pro: A Step-by-Step Guide · How to Create Compound Clips in Final Cut Pro: A Step-by-Step Guide · How to Edit Vertical Video in Final Cut Pro: A Step-by-Step Guide



