How to Fix Apple ID Verification Failed on Mac: Step-by-Step Guide
Learn practical steps to fix Apple ID verification failed on Mac errors and regain seamless access without factory resets.
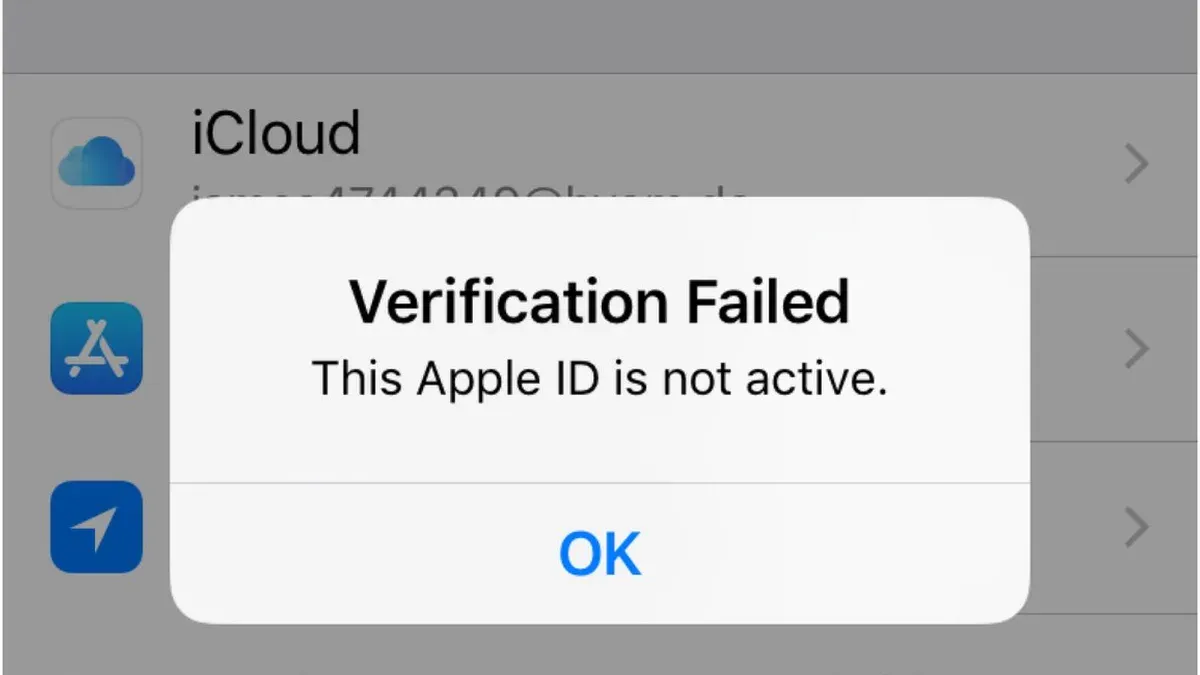
You try to sign into your Apple ID on your Mac, but a message pops up saying verification failed. This can be frustrating, especially when you rely on Apple services daily. If you’re looking for an Apple ID verification failed on Mac fix, this guide walks you through practical steps to identify and solve the problem without resorting to factory resets.
This article explains common network, system, and security settings that often cause verification issues. You’ll learn how to check your internet connection, adjust date and time settings, safely sign out and back in, reset your password if needed, clear relevant caches, update macOS, and troubleshoot typical failure points. Each step is clear and manageable, helping you regain seamless Apple ID access confidently.
Key takeaways
- Ensure your Mac has a stable internet connection with no VPN or firewall interference.
- Check and correct date & time settings via System Settings > Date & Time.
- Sign out of Apple ID in System Settings > Apple ID, then sign back in to refresh credentials.
- Reset your Apple ID password on appleid.apple.com if verification continues to fail.
- Clear Apple ID-related keychain entries and cache to remove corrupted data.
Before You Start: What You’ll Need
Before troubleshooting Apple ID verification issues on your Mac, gather the necessary tools and information to make the process smoother. First, ensure you have your Apple ID and password readily available, as you will likely need to enter them again during reauthentication. Next, confirm your Mac is connected to a reliable Wi-Fi or Ethernet network; unstable connections can cause verification failures.
Also, check that your Mac’s date and time settings are configured to update automatically. Incorrect date or time can interfere with secure connections to Apple’s servers. Finally, have access to another device or a web browser to visit Apple’s System Status page, where you can verify if the Apple ID service is currently operational.
To check Apple’s system status:
- Open a web browser and go to https://www.apple.com/support/systemstatus/ — you should see a list of Apple services with their current status.
- Look for the “Apple ID” service and confirm it shows a green dot labeled “Available.”
- If the service shows any issues, wait until Apple resolves them before troubleshooting your Mac.
This preparation ensures you can isolate whether the problem is local or related to Apple’s services before proceeding.
Example screenshot: (Imagine a screenshot here showing the Apple System Status webpage with Apple ID marked as “Available” with a green dot.)
Check Your Internet Connection and Network Settings
An unstable or restricted network can block your Mac from reaching Apple ID servers, causing verification failures. Start by running a speed test using a reliable website like speedtest.net. Look for download and upload speeds above 5 Mbps and a ping under 100 ms as a general indicator of a stable connection. If speeds are low or the test times out, switch to a different Wi-Fi network or use a wired connection if possible.
Next, check if any VPN or proxy is active, as these can interfere with Apple ID verification. Go to System Settings > Network > VPN or Proxies and disable any active connections temporarily. After disabling, test Apple ID sign-in again to see if the issue is resolved.
If problems persist, reset your Mac’s network preferences. Open Finder, click Go > Go to Folder, enter ~/Library/Preferences/SystemConfiguration/, and move these files to the Trash: com.apple.airport.preferences.plist, com.apple.network.identification.plist, com.apple.wifi.message-tracer.plist, NetworkInterfaces.plist, and preferences.plist. Restart your Mac afterward. This clears potentially corrupted network settings without affecting your data.
- Run a speed test at speedtest.net and verify speeds above 5 Mbps with low ping; this confirms a stable connection.
- Go to System Settings > Network > VPN or Proxies and disable any active VPNs or proxies; the Apple ID sign-in should then succeed.
- Open Finder > Go > Go to Folder, enter
~/Library/Preferences/SystemConfiguration/, move specified plist files to Trash, then restart your Mac; this resets network preferences and clears hidden issues.
Verify Date & Time Settings Are Correct
Apple ID verification depends heavily on your Mac's system time because it uses SSL certificates to establish secure connections. SSL certificates have a validity period, and if your Mac’s date or time is incorrect, the system may think these certificates are expired or not yet valid, causing verification failures. For example, if your Mac's clock is set to a date far in the past or future, it won’t trust Apple's servers, blocking the Apple ID sign-in process.
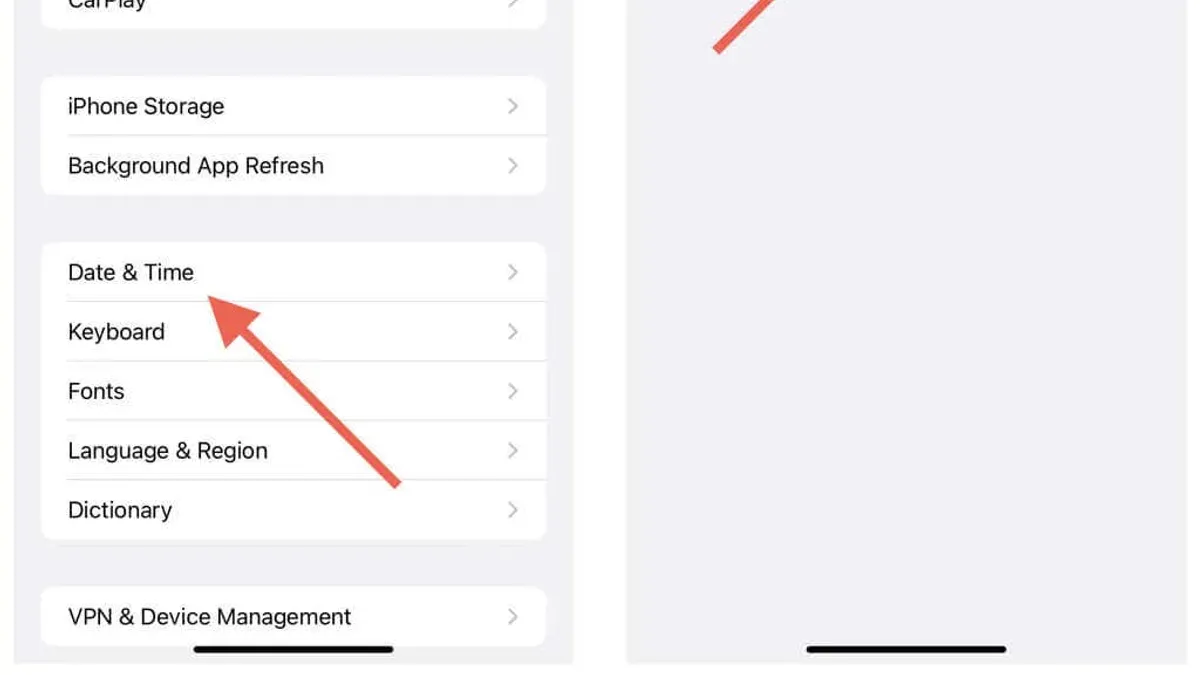
To prevent this, you want your Mac to update its date and time automatically. Here’s how you can check and adjust these settings:
- Open System Preferences from the Apple menu and select Date & Time. You should see the current date and time at the top.
- Click the lock icon in the bottom left corner and enter your administrator password to make changes.
- Check the box labeled Set date and time automatically and ensure the server listed (usually time.apple.com) is active. When done correctly, your Mac’s clock will synchronize with Apple’s time server.
- If automatic updating doesn’t work or the time remains incorrect, uncheck the automatic option and manually set the date and time by clicking the date and time display and selecting the correct values. After setting, click Save or close the window.
- Exit System Preferences and try Apple ID verification again; the process should proceed without SSL-related errors.
Sign Out and Back Into Apple ID Safely
Signing out and back into your Apple ID on your Mac can reset authentication tokens that might be causing verification failures, without deleting your important data. This process refreshes your connection to Apple’s servers and often resolves persistent issues. Before starting, make sure you have your Apple ID password handy for the re-login step.
- Open System Preferences by clicking the Apple menu () and selecting System Preferences. You should see Apple ID near the top right; click it.
- In the Apple ID sidebar, click Overview if not already selected, then click Sign Out at the bottom left. A confirmation window will appear.
- Review the options for keeping a copy of your iCloud data on your Mac, such as Contacts, Calendars, or Safari passwords. Check the boxes for any data you want to keep locally. This data remains on your Mac after signing out.
- Click Keep a Copy or Remove from Mac as appropriate, then enter your Apple ID password to turn off Find My Mac and complete sign-out.
- Once signed out, restart your Mac to clear temporary cache and authentication tokens.
- Return to System Preferences > Apple ID, then sign back in using your Apple ID credentials. Your iCloud data will resync according to your settings, restoring access without data loss.
During sign-out, you might see warnings about disabling services like iCloud Drive or Messages temporarily, but this is normal. After signing back in, these services will reconnect automatically. Screenshots typically show the Sign Out button in the Apple ID pane and the data options dialog prompting you to keep or remove data locally.
Reset Apple ID Password and Security Settings
If Apple ID verification fails, one common cause is an outdated or compromised password. Resetting your password can resolve issues related to authentication errors. You can reset your Apple ID password from another device or through a web browser by visiting the Apple ID account page at appleid.apple.com. After entering your Apple ID email, follow the prompts to verify your identity and create a new password. When successful, you will see a confirmation message indicating your password has been changed.
Two-factor authentication (2FA) adds an extra layer of security but can sometimes cause verification prompts if trusted devices are not accessible. When signing in, you may be asked to enter a verification code sent to your trusted devices or phone numbers. Make sure your trusted devices are up to date by visiting the Security section on the Apple ID website, where you can add or remove trusted devices and phone numbers.
Additionally, review your security settings to ensure no restrictions are blocking verification. Under the Security settings, check for any account alerts or unusual activity notifications. Updating your security questions and enabling account recovery options can help prevent verification failures caused by security concerns.
Clear Keychain and Cache Related to Apple ID
Your Mac uses the Keychain to securely store passwords and account information, including your Apple ID credentials. Sometimes these stored credentials can become corrupted or outdated, which leads to verification failures. Clearing specific entries in the Keychain can refresh your Apple ID authentication and help fix these issues.
Use the Keychain Access app to identify and delete Apple ID-related items safely. Before deletion, you will see entries like “Apple ID Authentication” or “iCloud” in the keychains labeled “login” or “iCloud.” After removal, these entries will no longer appear, signaling that your Mac will request fresh credentials when needed.
Additionally, clearing the system cache related to Apple ID services ensures no old or conflicting data remains. This can be done by removing cache files tied to accounts and identity services in the ~/Library/Caches folder.
- Open the Keychain Access app from Applications > Utilities. You should see multiple keychains like “login” and “iCloud” in the sidebar.
- Use the search bar to type “Apple ID” or “iCloud” and filter the list to relevant credentials. You will see items labeled with your Apple ID or iCloud service names.
- Select and delete these entries by right-clicking and choosing “Delete.” Confirm the deletion when prompted. After this, these entries disappear from the list.
- Close Keychain Access, then open Finder and press Command+Shift+G. Enter ~/Library/Caches and press Enter.
- Locate folders named com.apple.Accounts and com.apple.identityservices, then move them to the Trash. This clears cached data related to Apple ID verification.
- Restart your Mac to apply these changes. Upon reboot, your Mac will prompt you to sign into your Apple ID again, now using fresh credentials and cache.
Update macOS and Installed Apps
Outdated macOS versions can lead to Apple ID verification issues because system components responsible for secure authentication may be incompatible with Apple's servers. Regularly updating your Mac ensures you have the latest security patches and compatibility improvements that support Apple ID services seamlessly.
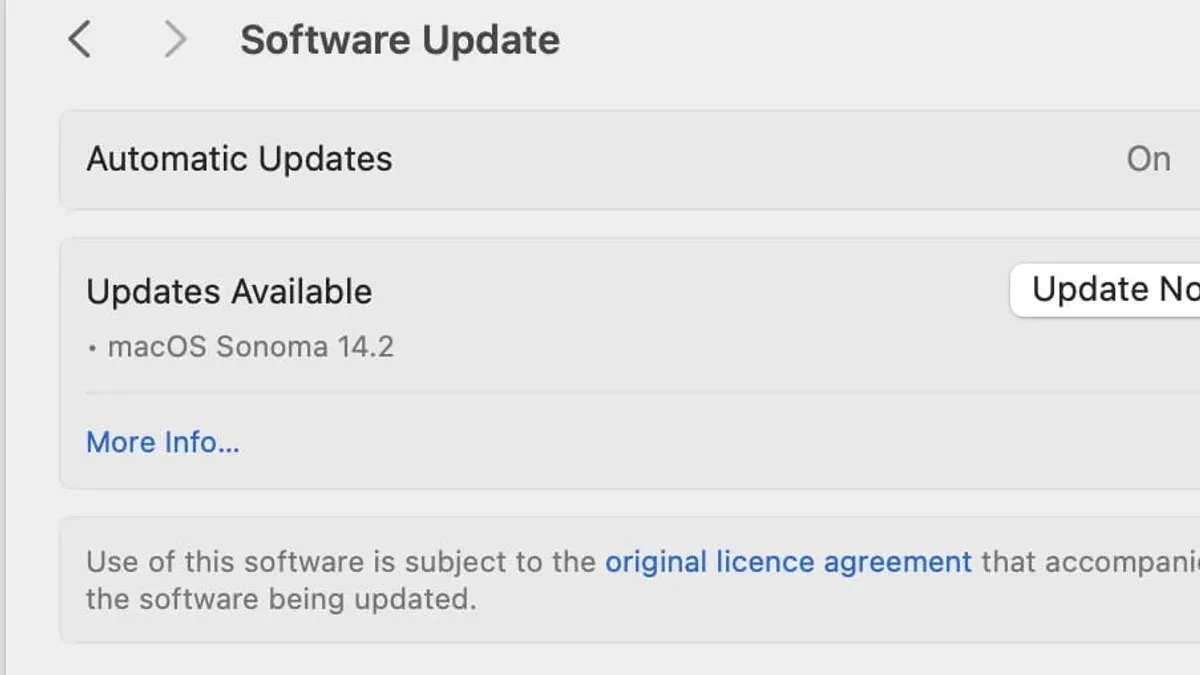
To check for macOS updates, open System Settings and navigate to General > Software Update. If an update is available, click Update Now or Restart Now after downloading. Successful updates typically display a confirmation screen and your Mac restarts with the latest version installed.
Some third-party apps—especially security or network utilities—can interfere with Apple ID verification. Keep these apps updated by launching the App Store, going to Updates, and installing any available updates. If problems persist, consider temporarily disabling or uninstalling apps like VPN clients, firewall utilities, or system cleaners to test if they are affecting the verification process.
Users often notice improved Apple ID verification success after updating their macOS and related apps, as newer versions address bugs and enhance protocol compatibility.
Troubleshoot Common Failure Points
When Apple ID verification fails persistently, you might encounter specific error messages like "Verification Failed", "Cannot Connect to Server", or error codes such as 4010, 5000, or 1001. These codes often indicate authentication, network, or server-side issues frequently discussed in Apple community forums.
Start by visiting Apple’s System Status page to confirm if any outages affect Apple ID services. If services show issues, wait until Apple resolves them before retrying.
- Restart your Mac in Safe Mode by holding the Shift key during boot. Safe Mode disables unnecessary processes and verifies your disk. Upon successful boot, try signing into your Apple ID; if it works, third-party software may interfere.
- Create a new user profile via System Preferences > Users & Groups > +. Log into the new profile and attempt Apple ID verification. Success here points to issues in your original user environment.
- If errors persist after these steps, contact Apple Support for guided diagnostics or visit an Apple Store for in-person assistance. Be prepared to provide error codes and a summary of troubleshooting steps you have taken.
Frequently asked questions
Why does Apple ID verification fail even when my password is correct?
Verification can fail due to network issues, incorrect date and time settings, or security settings blocking the connection. Sometimes, cached data or corrupted keychain entries interfere with the process. Ensuring your Mac’s system time is accurate and clearing related caches often resolves this problem.
How do I know if Apple’s servers are down and causing verification issues?
You can check Apple’s System Status page at apple.com/support/systemstatus to see if Apple ID services are experiencing outages. If the servers are down, verification attempts will fail regardless of your device settings. Waiting until the services are restored is the best course of action in that case.
Can antivirus or firewall settings on my Mac block Apple ID verification?
Yes, some antivirus programs or firewall configurations can block the ports or domains required for Apple ID authentication. To fix this, temporarily disable third-party security software or adjust firewall settings to allow connections to Apple’s servers, typically using ports 80 and 443. Make sure to re-enable your security measures once verification is complete.
What should I do if I forgot my Apple ID password and can’t verify?
Use Apple’s account recovery process by visiting iforgot.apple.com. Follow the prompts to reset your password using your trusted email or phone number. After resetting, sign back into your Mac with the new password to complete verification.
What This Guide Does Not Cover
This guide focuses on resolving Apple ID verification issues related to network, system, and security settings on your Mac. It does not cover hardware-related problems such as faulty Wi-Fi cards or logic board failures, nor does it address major system corruption that might require professional repair or a full macOS reinstall. If you suspect such deeper issues, contacting Apple Support or visiting an authorized service provider is the most reliable course of action.
For most users, the single most useful next step is to ensure your Mac is running the latest version of macOS. Software updates often include important bug fixes and security patches that can resolve underlying issues interfering with Apple ID verification. To check for updates, open System Settings, then go to General > Software Update. Installing any available updates can help maintain seamless access to your Apple ID services without drastic measures.
See also: How to Fix Your MacBook Pro M1 Pro Stuck on Apple Logo: A Step-by-Step Guide · How to Solve MacBook Pro M1 Pro Sleep Wake Issues Step by Step