How to Turn a Live Photo into a Video in Photos App
This guide shows you how to turn a Live Photo into a video in Photos app for easy sharing and editing of your moving moments.
You have a Live Photo on your iPhone or Mac that you want to share as a standard video, but you're not sure how to do it using the Photos app alone. Maybe you've tried exporting or sharing options but ended up with a still image or a format you didn’t expect. Understanding how to turn a Live Photo into a video in Photos app can simplify sharing and editing by converting the moving moments into a familiar video file.
This guide walks you through the process step-by-step, explaining the differences between methods and file types. You will learn what the Photos app can and cannot do by itself, how to prepare your Live Photo before conversion, and alternative ways to gain more control over the output. By the end, you’ll confidently decide which approach fits your needs best.
Key takeaways
- You can convert a Live Photo to video directly from the Photos app using the Share menu on iPhone or Mac.
- Editing your Live Photo before conversion affects the resulting video but is optional.
- The Photos app’s export saves videos in.mov format, which is widely compatible.
- If you want more control over video length or format, the Shortcuts app on iOS offers additional options.
- Some sharing methods may only export a still image, so choose the right option to get a video file.
Before You Start: What You Need to Convert a Live Photo
To convert a Live Photo into a video using the Photos app, you need a compatible device and the appropriate software version. Supported devices include iPhones, iPads, and Macs that have the Photos app installed. Specifically, your iPhone or iPad should be running iOS 13 or later, and your Mac should be on macOS Catalina or later to ensure full support for Live Photos and video export features.
A Live Photo captures 1.5 seconds of motion and sound before and after you take a picture, creating a brief moving image saved alongside the still photo. This format combines a high-resolution JPEG with a short MOV video file, which can result in larger file sizes compared to standard photos. Converting a Live Photo to a video file can make it easier to share on platforms that don’t support Live Photos or to edit in video editing apps.
Before proceeding, confirm that your Live Photo is saved in your Photos library and not in iCloud-only storage without local download. Also, be aware that exporting to video will create a new file, often larger than the original Live Photo pair, so ensure you have sufficient storage space.
Open Your Live Photo in the Photos App
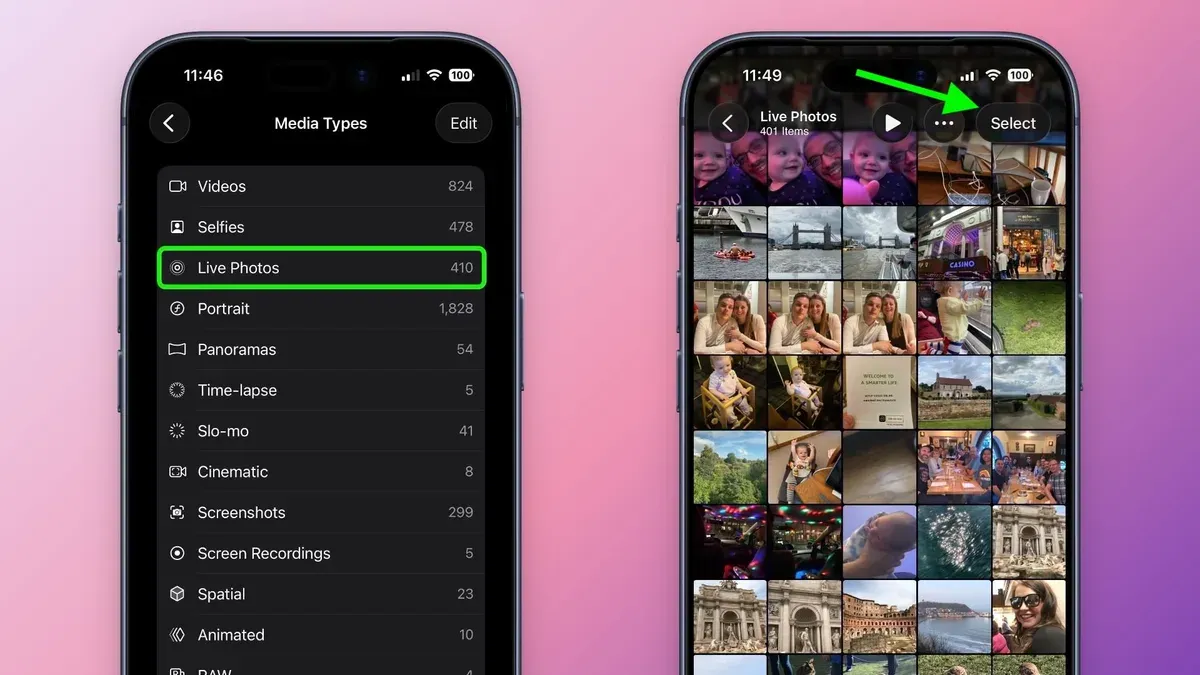
To start converting your Live Photo into a video, you first need to locate it within the Photos app. Open the app and navigate to the Albums tab at the bottom of the screen. Scroll down until you find the Media Types section and select Live Photos. This view filters and displays only your Live Photos, making them easy to find.
Each Live Photo is marked with a small "LIVE" badge in the upper-left corner of its thumbnail. This icon confirms that the image contains both still and motion elements. Tap on any Live Photo thumbnail to open it fully.
Once open, you can preview the Live Photo’s motion and sound by pressing and holding the photo or, on a Mac, by hovering your cursor over it briefly. This step helps you verify that you have selected the correct Live Photo before converting it. You should see the photo animate and hear any associated audio if available.
Use the Export or Share Feature to Save as Video
To convert a Live Photo into a standard video using the Photos app, you’ll rely on its built-in export or share functionality. This method creates a.mov video file that captures the motion and sound of your Live Photo, making it easier to share or edit outside the Photos app.
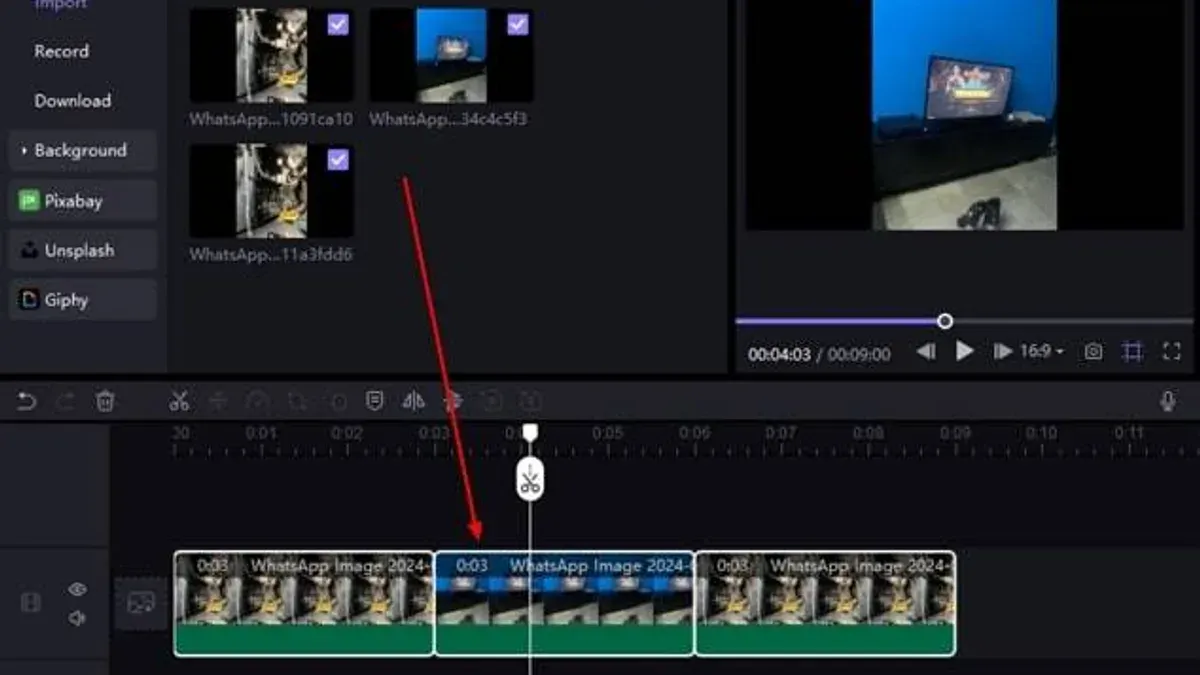
On an iPhone, follow these steps:
- Open the Live Photo you want to convert.
- Tap the Share button (the square with an upward arrow).
- Scroll down and select Save as Video. You should see a brief progress indicator.
- The Photos app creates a.mov video file and saves it to your library's Videos album or Recents.
On a Mac, the process is similar:
- Open the Live Photo in the Photos app.
- Click File in the menu bar, then choose Export > Export 1 Video.
- Choose your export location and click Export. The app generates a.mov video file including the Live Photo’s movement and audio.
Unlike other sharing options that send the Live Photo as a still image or combined file, “Save as Video” ensures you get a standard video format. The video file size is typically larger than the original Live Photo file because it includes several seconds of motion and sound. After export, you can find and play the video like any other movie file on your device.
Edit Your Live Photo Before Conversion (Optional)
Before converting your Live Photo into a video, you can customize it by trimming its duration or selecting a different key photo. This helps you control exactly what part of the motion and which still image appear in your final video. Additionally, you can apply effects or filters to enhance the look before exporting.
Trim the Live Photo Duration
- Open the Live Photo in the Photos app and tap Edit at the top right. You will see the trimming interface below the photo.
- Drag the white vertical sliders on either side of the timeline to shorten or extend the motion portion. The preview updates to show the trimmed sequence.
- Tap Done to save the trimmed Live Photo. Your video export will now reflect this new duration.
Choose a Different Key Photo
- In the editing view, tap the Live Photo icon at the bottom center.
- Swipe left or right on the timeline to select a new key photo (the still image shown when not playing).
- Tap Make Key Photo to confirm your choice, then tap Done. This changes the default frame used in your video.
Apply Effects or Filters
- Tap Edit on your Live Photo, then select the Filters icon (three overlapping circles).
- Choose from built-in filters like Vivid, Mono, or Silvertone to change the video’s appearance.
- Tap Done to save your edits. The video export will include these visual changes.
Any edits you make will be reflected in the video after conversion, so trimming shortens the clip, changing the key photo alters the still preview frame, and filters affect the overall look. You can always revert edits later if needed.
Alternative Method: Use the iOS Shortcuts App for More Control
If you want greater control over converting Live Photos to videos, the iOS Shortcuts app offers a flexible alternative to the Photos app export. With Shortcuts, you can batch convert multiple Live Photos at once, apply custom file naming conventions, and integrate the conversion into broader automated workflows.
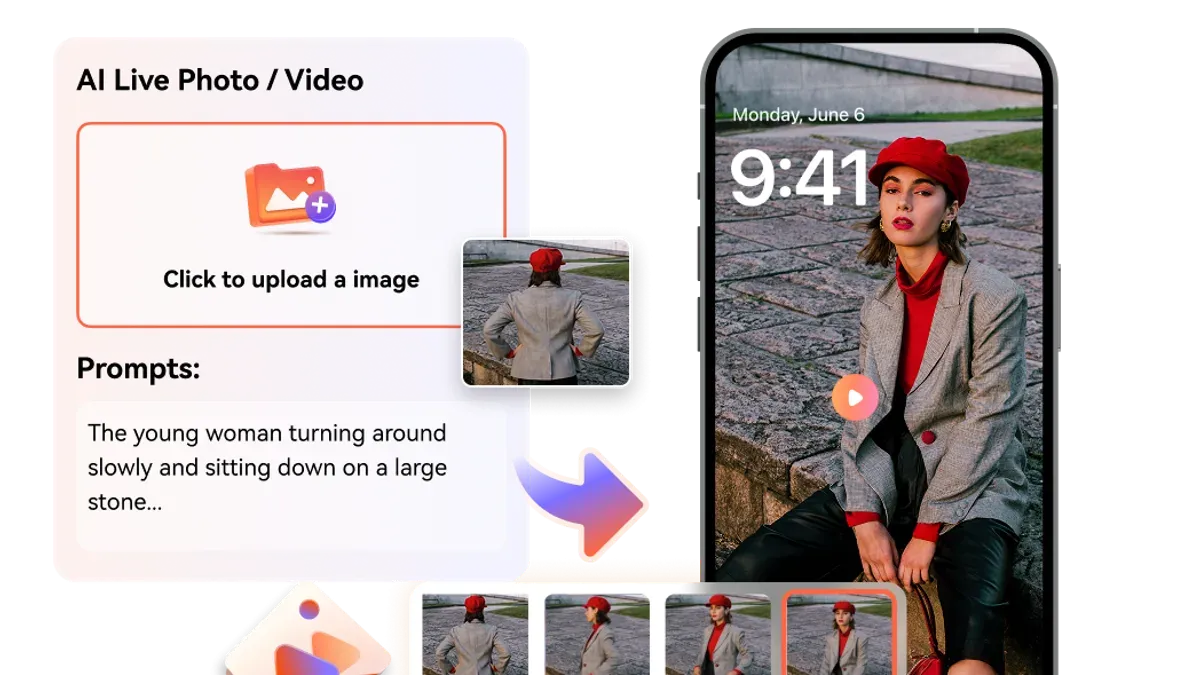
To start, you can either create your own shortcut or download a pre-made one that converts Live Photos to video. A typical shortcut first retrieves your selected Live Photos, then uses the "Encode Media" action to convert each Live Photo into a.mov video file. You can customize the output folder and file names to organize your videos better.
Compared to the native Photos app export, using Shortcuts might take slightly longer for each conversion, especially when processing many files, but the output quality remains comparable. The main limitation is that Shortcuts requires some setup and familiarity with the app, which might be less straightforward for casual users.
- Open the Shortcuts app on your iPhone or iPad. You should see your existing shortcuts or a gallery to browse.
- Find or create a shortcut named "Convert Live Photos to Video". You can find such shortcuts in the Gallery or trusted online sources.
- Run the shortcut; it will prompt you to select one or more Live Photos from your library.
- After selection, the shortcut processes each Live Photo, converting them into video files. You will see progress indicators as it works.
- Once finished, the shortcut saves the videos to your chosen location, such as the Videos album or Files app folder, with the custom names if configured.
This method lets you convert multiple Live Photos efficiently and organize output files exactly how you prefer, offering a level of control beyond the Photos app’s standard export feature.
Troubleshoot Common Issues When Converting Live Photos to Video
If the 'Save as Video' option is missing or grayed out, it often means the Live Photo isn’t fully downloaded or saved locally. Check that the Live Photo is stored on your device and not just in iCloud. Ensure you have a stable internet connection if it’s still downloading.
When Live Photos export without audio or full motion, verify that Live Photo’s audio was recorded originally. Some Live Photos may have muted audio or limited motion if captured in certain modes. Also, make sure your device’s volume is on and that you’re exporting a supported file format.
Storage or permission issues can prevent successful export. If you receive error messages like "Cannot Save" or "Export Failed," check your device’s available storage under Settings > General > iPhone Storage (or Mac Storage). Also, verify Photos app permissions under Settings > Privacy > Photos to confirm it can access your media.
If you encounter persistent problems, try restarting the Photos app by closing it completely and reopening it. If issues continue, restart your device to clear temporary glitches. This often resolves unexplained freezes or export failures.
- Confirm your Live Photo is fully downloaded and stored locally. You should see the full motion preview without a cloud icon.
- Check device storage space; there should be at least a few hundred megabytes free. The export should proceed without storage errors.
- Verify Photos app has full permissions under Settings > Privacy > Photos. The app must have access to all photos.
- Close the Photos app completely (swipe up or use app switcher) and reopen it. The Live Photo should load smoothly without missing features.
- If problems persist, restart your device. After reboot, open the Photos app and try exporting again. The 'Save as Video' option should now be available and functional.
Frequently asked questions
Can I convert multiple Live Photos to videos at once in the Photos app?
The Photos app does not support batch converting multiple Live Photos to videos simultaneously. You need to convert each Live Photo individually by exporting or sharing it as a video. For bulk conversion, you might consider using the Shortcuts app or third-party apps that can handle multiple files at once.
Will converting a Live Photo to video reduce its quality?
When you convert a Live Photo to a video within the Photos app, the exported video generally maintains good quality but may have some compression compared to the original Live Photo. The video uses the H.264 codec, which balances quality and file size, but some fine details might be slightly less sharp than the original photo plus motion combined.
Can I convert a Live Photo to video without using the Photos app?
Yes, you can convert Live Photos to videos without the Photos app by using the iOS Shortcuts app or third-party apps designed for Live Photo processing. These alternatives often provide more customization and batch processing options but require additional setup or downloads beyond the built-in Photos app.
What file format does the exported video use, and is it compatible with other devices?
The Photos app exports Live Photos as videos in the.MOV format with the H.264 video codec. This format is widely compatible with most Apple devices and many non-Apple platforms, including Windows and Android, though some older devices may require additional software to play.MOV files smoothly.
What This Guide Does Not Cover
This guide does not cover third-party apps outside the Photos and Shortcuts apps, which may offer additional features but vary widely in reliability and privacy. If you need advanced editing options, longer video exports, or batch conversion of Live Photos to videos, exploring dedicated third-party software might be necessary. Additionally, this article does not address converting Live Photos on devices running significantly outdated iOS or macOS versions, where functionality may differ or be unavailable.
For users seeking professional-grade video editing or integration with other media workflows, using apps designed specifically for video processing would be a better choice. However, for straightforward conversion using built-in tools, the steps outlined here cover the essentials.
To continue, try converting a Live Photo you’ve recently taken by selecting it in the Photos app and using the Share menu’s “Save as Video” option. This simple action often resolves most needs and helps you become comfortable with the process before exploring more complex options.
See also: How to Create a Shared Album in Photos App: Step-by-Step Guide · How to Hide Photos in the Photos App: A Step-by-Step Guide · How to Remove Duplicate Photos in Photos App: Step-by-Step Guide