How to Make a Hip Hop Beat in GarageBand: Step-by-Step Guide
This guide shows you how to confidently create hip hop beats in GarageBand by setting up projects, building drum patterns, adding melodies, and exporting your track.
You’ve opened GarageBand and stared at the blank project screen, unsure where to begin crafting your first hip hop beat. The multitude of options and instruments can feel overwhelming at first, but with a clear process, you can confidently create your own unique rap beats from scratch.
This article guides you through how to make a hip hop beat in GarageBand by breaking down each step patiently. You’ll learn how to set up your project, build drum patterns using GarageBand’s Drum Machine and Drummer, add basslines and melodies, arrange your track, mix your sounds, and finally export your finished beat. Each section helps you make creative decisions and understand the tools so you can develop your beatmaking skills steadily.
Key takeaways
- Start a new project and select the “Hip Hop” template for relevant instruments and settings.
- Use the Drum Machine Designer and Drummer to create solid rhythmic foundations.
- Layer bass and melodic parts with software instruments like the Bass and Electric Piano.
- Arrange your patterns into song sections using GarageBand’s track timeline.
- Balance levels and add effects in the Mixer before exporting your beat as an audio file.
Before you start: What you need to create hip hop beats in GarageBand
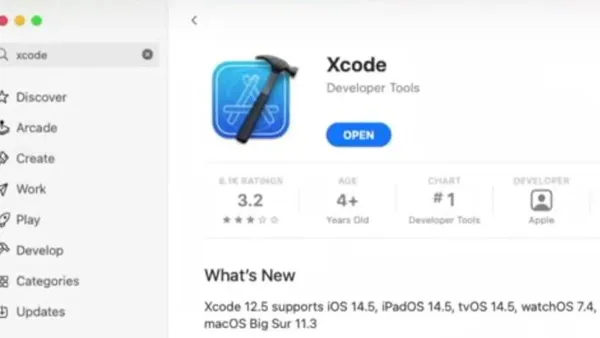
GarageBand is available on both Mac computers and iOS devices like the iPad and iPhone. You can download it for free from the Mac App Store or the iOS App Store. Before you open GarageBand, make sure you have a device running a compatible operating system: macOS for Mac or iOS for mobile devices.
You'll need some basic hardware to begin making beats. A computer or iPad alone is enough to start, but using headphones will help you hear details clearly without distractions. A MIDI keyboard is optional but highly recommended if you want to play melodies and basslines naturally instead of drawing notes manually.
Setting up a quiet workspace is essential to focus on creating your beats. This helps you stay motivated and experiment without interruptions. GarageBand comes with built-in sound libraries tailored for hip hop, including drum kits and loops that cover styles like classic hip hop and drill beats. These resources simplify the creative process and give you a strong foundation.
- Open the Mac App Store or iOS App Store on your device.
What you see: GarageBand listed as a free download. - Download and install GarageBand.
What you see: The app icon on your home screen or Applications folder. - Prepare your workspace by choosing a quiet room and connecting headphones.
What you see: Comfortable environment ready for focused work. - If you have a MIDI keyboard, connect it to your computer or iPad via USB or Bluetooth.
What you see: The MIDI device recognized by GarageBand when you create a new software instrument track.
Turn on GarageBand and set up a new project for hip hop beats
- Open GarageBand on your Mac or iOS device. You should see the project chooser window appear, presenting various templates.
- Select the Empty Project template to start with a clean slate, or choose the Hip Hop template if available. The Hip Hop template includes preloaded drum kits and instruments tailored for this genre, which can speed up your workflow. When selected, the main workspace will open with a default track ready.
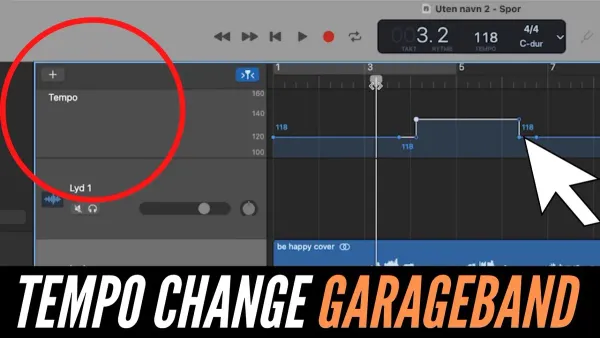
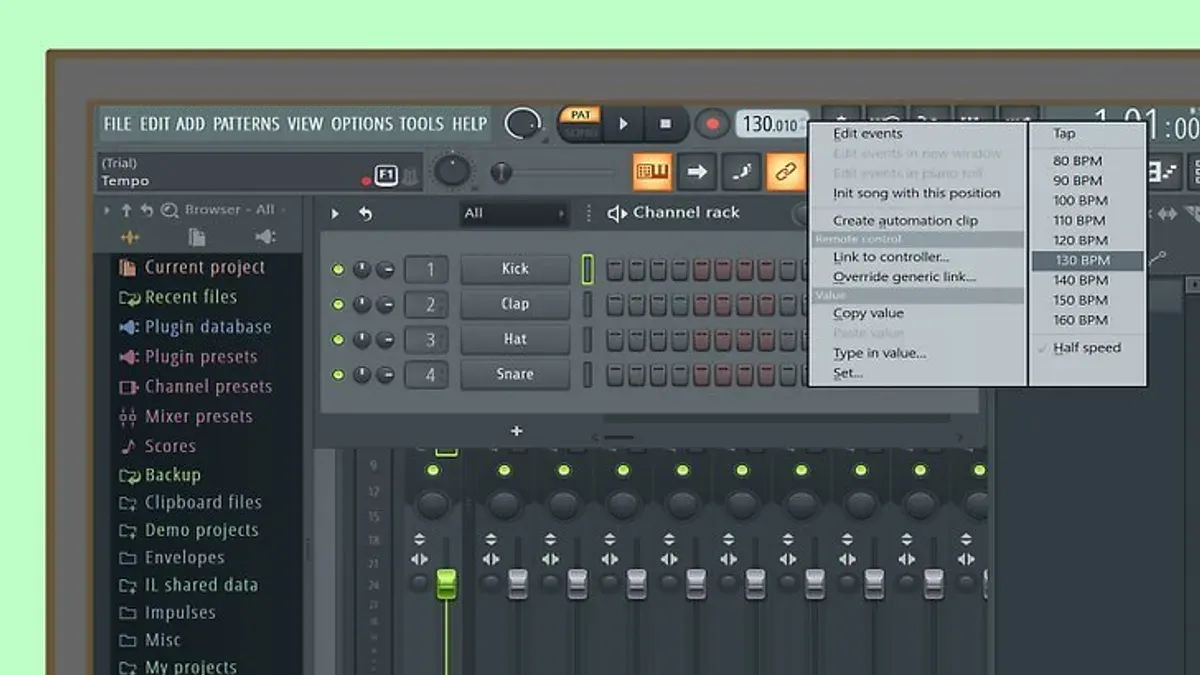
- Set your project tempo by locating the tempo display at the top center of the screen. For classic hip hop beats, set the tempo between 90 and 100 BPM. For drill beats, set the tempo closer to 140 BPM. Adjusting tempo here affects playback speed and grid timing. Confirm the change by pressing Enter or clicking outside the input box.
- Check the time signature next to the tempo setting. Most hip hop and drill beats use 4/4 time, which is the default. If it differs, click the time signature and set it to 4/4 to keep your beat structure standard.
- Add your first track by clicking the + button above the track headers. Choose Software Instrument to program drums or synth sounds using GarageBand’s built-in instruments. This type of track lets you play or draw MIDI notes.
- If you plan to record vocals or external instruments later, add an Audio track by selecting Audio instead. This track records microphone or line input signals, which is essential for vocal layering in hip hop production.
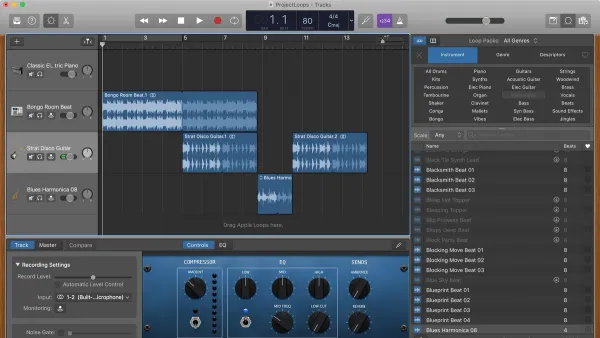
- Once your tracks are created, you’ll see them listed on the left side of the workspace. Each track displays its instrument icon and settings. This layout helps you organize beats, basslines, melodies, and vocals systematically as you build your song.
By following these steps, you set up a GarageBand project tailored for hip hop beat creation. This setup ensures your tempo, time signature, and track types align with the genre’s production needs, providing a solid foundation for your creative process.
Create your drum pattern using GarageBand’s Drum Machine and Drummer
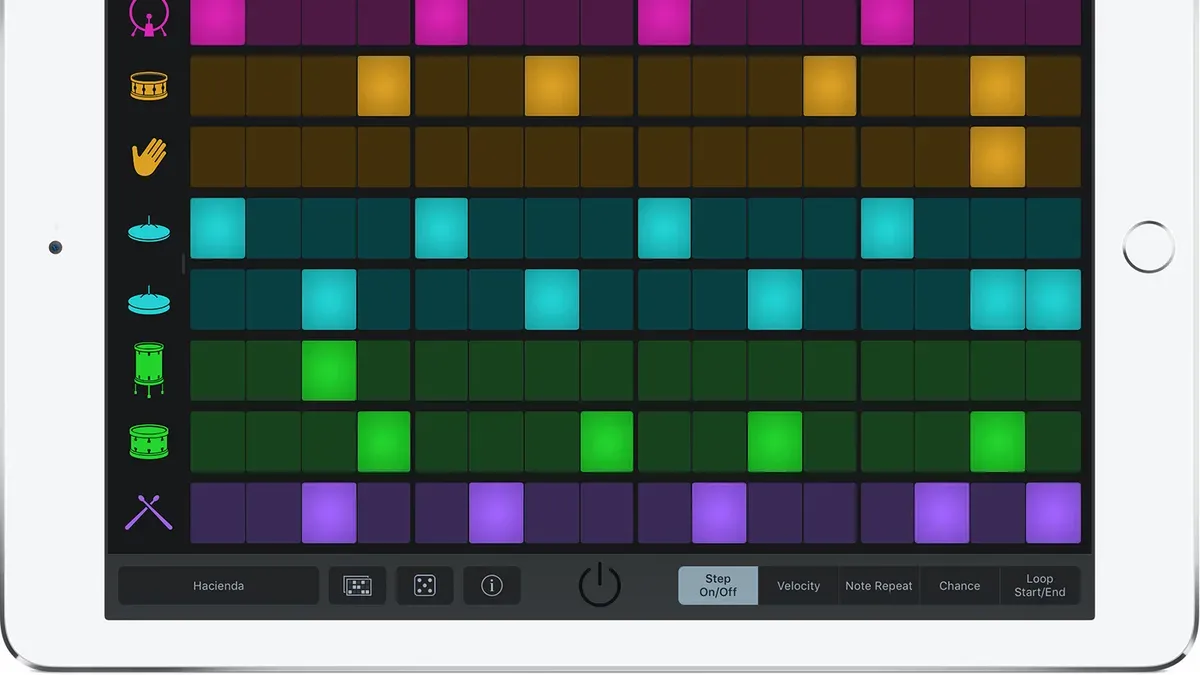
Start building your hip hop rhythm by selecting a drum kit in GarageBand’s Drum Machine Designer. Choose classic hip hop kits like "Hip Hop Kit" or "Boom Bap Kit" to get the characteristic sounds of the genre. These kits include essential elements such as punchy kicks, crisp snares, and tight hi-hats. Once selected, you can program your beat using the step sequencer or the MIDI editor, which allows precise control over individual drum hits and timing.
To program manually, open the step sequencer, add kicks on beats 1 and 3, snares on 2 and 4, and experiment with hi-hat patterns. For drill beats, try adding triplet hi-hats and syncopated snares to create that off-beat swing. Alternatively, use the Drummer track to quickly generate beat ideas. Select a hip hop or trap drummer preset and adjust the complexity and swing sliders to customize the groove. The Drummer track is useful for inspiration or a foundation you can later edit.
Comparing the two methods, manually programmed drum patterns offer full creative control and precision, while Drummer presets provide quick, polished beats with less effort. Listening side-by-side, manually programmed beats may feel more unique but require more time, whereas Drummer beats are instantly usable and can be tweaked to taste. Try both approaches to see which suits your workflow and style.
- Open Drum Machine Designer and select a hip hop drum kit; you should see pads corresponding to classic drum sounds.
- Open the step sequencer or MIDI editor and input kick, snare, and hi-hat hits to build a basic pattern; playback should reflect your input precisely.
- Add triplet hi-hats or syncopated snares to introduce drill-style rhythms; listen for the swung groove.
- Insert a Drummer track, choose a hip hop preset, and play the project; the beat will automatically play based on the preset.
- Adjust the Drummer controls for complexity, swing, and loudness; the beat changes dynamically as you tweak these settings.
Add basslines and melodies with GarageBand’s software instruments
To create a hip hop beat with depth and groove, layering bass and melodic elements is essential. Start by selecting a bass instrument from GarageBand’s library—synth basses and electric bass guitars are popular choices. Synth basses offer punchy, deep tones suited for trap or drill styles, while electric bass provides a warmer, more organic feel. Choose an instrument that matches the mood of your beat.
- Open the Software Instrument track you want to add bass to and select a bass preset, such as “Sub Bass” under Synth Bass or “Electric Bass Finger” in the Bass category. When successful, the instrument name appears above the track header.
- Use the Musical Typing keyboard (Command + K) or connect a MIDI keyboard to play a bassline. Aim for simple, rhythmic patterns that lock in with your drum groove, often focusing on root notes and rhythmic variation. You should hear a tight, supportive bass part that complements your drums.
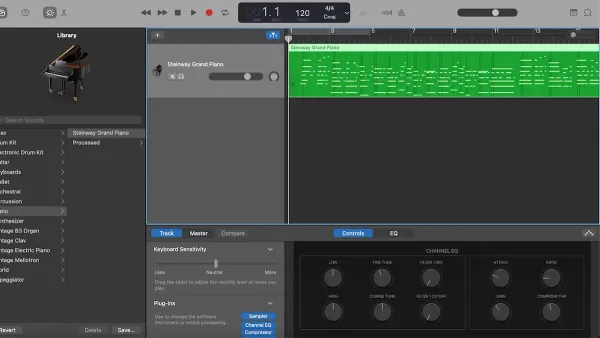
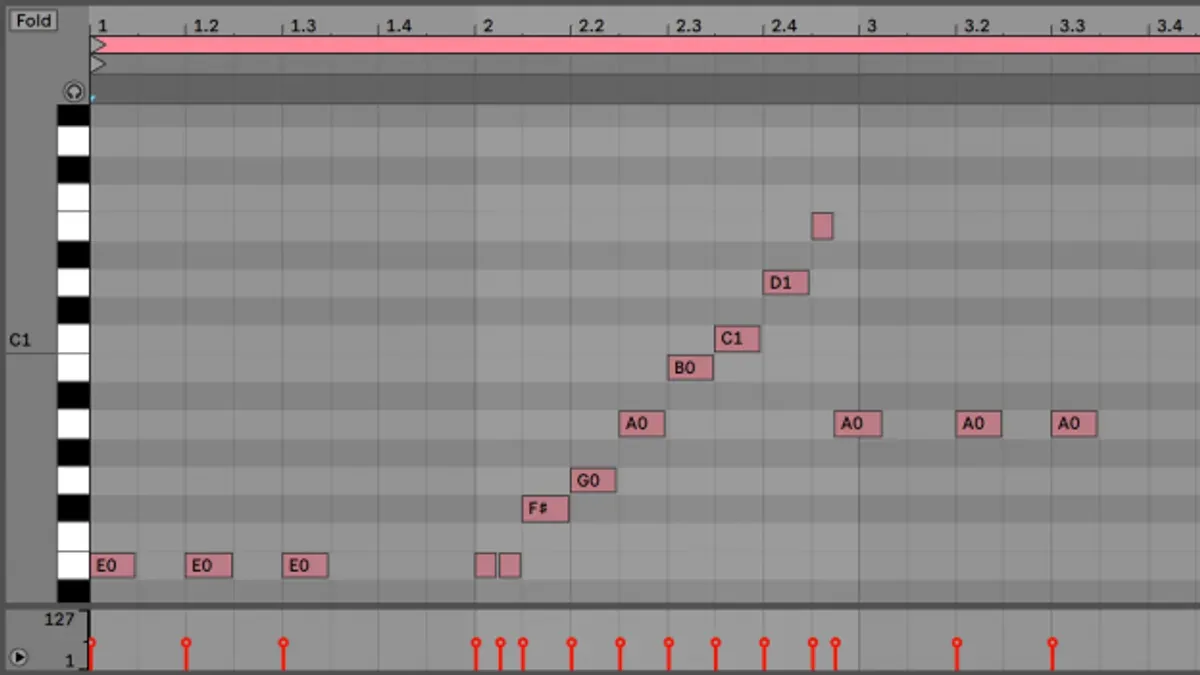
- For programming MIDI basslines, double-click the bass track region to open the Piano Roll, then draw or edit notes. Use a minor pentatonic or natural minor scale to fit typical hip hop moods, and emphasize syncopated rhythms for interest. The MIDI clip should show a clear pattern aligned with your drum hits.
- Next, add melodic layers by creating a new Software Instrument track. Browse keys, synths, or sampled instruments—electric pianos, analog synths, and vocal chops work well. Choose sounds that contrast with the bass and drums, offering melodic hooks or pads.
- Play or program melodies that sit above the bassline without overcrowding it. Use GarageBand loops sparingly—modify their pitch, rhythm, or chop them up to keep your beat fresh and avoid sounding generic. Your melody track should add character and a memorable motif to the beat.
For example, a bassline might alternate between the root note and its fifth in a steady rhythm, while a melody uses short, syncopated notes in a minor scale to create tension and groove. Layering these elements thoughtfully will give your hip hop beat a solid foundation and engaging melodic content.
Arrange your beat into a full song structure
Now that you have your core drum patterns, basslines, and melodies, it’s time to organize these elements into a complete song. Hip hop tracks typically follow a structure including an intro, verse, chorus, bridge, and outro. Arranging your beat in this way helps maintain listener interest and gives your track a natural flow.
- Identify your main loop or pattern that forms the foundation of your beat. This will be the core section you repeat and build upon.
- Copy and paste this loop to create the verse section. You should see a consistent repeating pattern that sets the mood and rhythm.
- Add a contrasting chorus section by modifying elements such as drum intensity or introducing new melodies. When done correctly, the chorus should sound more energetic or catchy compared to the verse.
- Use GarageBand’s automation feature to introduce dynamic changes—such as volume fades, filter sweeps, or reverb adjustments—across sections. This adds movement and prevents the track from sounding static.
- Incorporate a bridge or breakdown by removing or simplifying instruments to create contrast before returning to the chorus. The listener should notice a distinct change in texture or energy here.
- Finish with an outro where elements gradually fade out or drop away, signaling the end of the track.
- Listen to the full arrangement to ensure it flows naturally without feeling repetitive or cluttered. A flat looped beat often feels monotonous, while an arranged beat with breakdowns and variations keeps listeners engaged.
Remember, the goal is to keep your beat interesting but not overcomplicated. Small changes in instrumentation, rhythm, and effects can make a big difference in how your track holds attention.
Mix your hip hop beat to balance and enhance sounds
Mixing is where your hip hop beat truly comes to life by balancing and enhancing each element. Start by adjusting volume levels for clarity—make sure your drums and bass sit prominently without overpowering melodies or vocals. Use the Pan controls to spread sounds across the stereo field, giving your beat a sense of space and separation.
Next, use the EQ plugin on each track to carve out space. For example, reduce low frequencies on melodic tracks to prevent clashing with the bass, and boost the mid-high range on snares to make them cut through. This step helps each instrument have its own sonic place.
Compression adds punch and glue to your beat. Apply a compressor to drums to tighten their impact, and lightly compress bass to keep its level consistent. Avoid over-compressing, which can squash dynamics and reduce energy.
Finally, apply reverb and delay tastefully to add depth without washing out the mix. Use subtle room reverb on vocals or melodic elements, and short delay effects to create rhythmic interest. Listening to a before-and-after comparison of your mix can reveal how these adjustments transform your raw beat into a polished track.
- Adjust the volume sliders for each track until drums and bass are clear but balanced with other instruments. You should hear a clean, uncluttered rhythm section.
- Use the Pan knobs to position drums slightly left and right, bass centered, and melodies spread out. The beat should sound wider and more spacious.
- Open the EQ plugin on a melodic track, cut frequencies below 100 Hz, and boost around 3-5 kHz. You will notice the melody sounds brighter and less muddy.
- Insert a Compressor on the drum track with a moderate ratio (around 3:1) and a fast attack. The drums should sound tighter and punchier.
- Add a subtle Reverb from the plug-in menu to the vocal or melody track, keeping the mix level low. The element gains a natural sense of space without losing clarity.
Export and share your finished hip hop beat from GarageBand
Once your hip hop beat is polished and ready, exporting it properly ensures it sounds great wherever you share it. Start by choosing the right file format. GarageBand lets you export your track as an AAC, MP3, or WAV file. For the highest quality, select WAV or AIFF, but if you want smaller file sizes for easy sharing, MP3 at 192 kbps or higher is a solid choice.
To export your full beat, go to the menu and select Share > Export Song to Disk. In the dialog box, pick your preferred file format and quality settings. You’ll see an estimated file size displayed, helping you balance quality and storage needs. Naming your file clearly, like "HipHopBeat_Version1", helps keep your projects organized.
Sometimes, you may want to export stems—individual tracks like drums, bass, or vocals—for collaboration or remixing. To do this, mute all tracks except one, then export that track using the same method. Repeat for each stem. Organize these files into folders named by instrument or section.
After exporting, you can upload your beat to platforms like SoundCloud, Bandcamp, or YouTube. When sharing via email or messaging, compress files if necessary to meet size limits. Keep your exported files well-organized so you can easily find and update them as your beats evolve.
- Go to Share > Export Song to Disk. The export dialog appears with format options.
- Select WAV or AIFF for best quality, or MP3 for smaller files. You’ll see the approximate file size update accordingly.
- Name your file clearly in the Save As field, then choose a destination folder.
- Click Export. When the progress bar finishes, your file is ready for use.
- To export stems, mute all tracks except one. Repeat steps 1–4 for each track, saving files in a dedicated folder.
Troubleshoot common problems when making beats in GarageBand
When making hip hop beats in GarageBand, you might face some technical or creative challenges. Latency and timing issues often arise if your audio interface or buffer size isn’t set correctly. To fix this, go to GarageBand’s Preferences > Audio/MIDI and reduce the “Buffer Size” to a lower value like 128 or 64 samples; this should minimize delay during recording and playback.
If you encounter missing instruments or loops, check that your sound library is fully installed. Open the GarageBand menu, select Sound Library > Download All Available Sounds to ensure nothing is missing. Also, confirm that your project’s instrument plugins are activated and up to date to avoid error messages like “Audio Unit not found.”
In cases where GarageBand crashes or refuses to save your project, first try restarting your device and freeing up storage space. If the problem persists, duplicate your project file by choosing File > Save As, then work on the new copy. This often prevents data corruption. Keeping backups as you progress can save time and frustration.
To avoid generic-sounding beats, focus on varying your drum patterns and basslines, experiment with different scales and rhythmic placements, and use GarageBand’s automation to add dynamics. Creative layering and subtle imperfections help your beat stand out and feel more authentic.
- Open GarageBand Preferences and select Audio/MIDI settings. Reduce buffer size to 128 or 64 samples. Playback should feel responsive with no noticeable delay.
- Go to Sound Library > Download All Available Sounds. Missing loops or instruments should now appear in your library.
- If GarageBand crashes, restart your device and check available storage. Then, use File > Save As to create a new project copy. You should be able to save without errors.
- Experiment with varying drum patterns and add automation to volume and effects. Your beat should sound more dynamic and less repetitive.
Frequently asked questions
How to make a beat in garageband?
Start by opening GarageBand and creating a new project with the "Hip Hop" template or an empty project. Use the Drum Machine Designer or Drummer track to build your drum pattern, adjusting tempo and swing to fit your style. Layer in bass and melodic instruments using software instruments, then arrange and mix your tracks to complete the beat.
How to get rap beats on garageband?
GarageBand includes built-in hip hop drum kits and loops accessible from the Loop Browser under the "Hip Hop" genre. You can use these loops as a foundation or customize your own beats with Drum Machine Designer. Additionally, you can import rap beats from external sources by dragging audio files into your project.
How to make music in garageband?
To make music, create a new project and add tracks with software instruments, audio recordings, or loops. Use the built-in keyboard or connect a MIDI controller to play melodies and chords. Arrange your recordings along the timeline, then apply effects and mix your tracks for a polished sound.
How to make a beat on garageband hip hop?
Choose a tempo between 70 and 100 BPM typical for hip hop, then add a Drum Machine Designer track with a hip hop kit. Program your kick, snare, and hi-hat patterns, emphasizing groove and rhythm. Follow with bass and melody layers, keeping the arrangement simple and repetitive to maintain the beat's feel.
How to get a song into garageband?
You can import a song by dragging audio files like MP3 or WAV directly into the GarageBand workspace. Alternatively, use the "File" menu and select "Import" to browse and add your song. Once imported, you can trim, loop, or add effects to the audio as needed.
What This Guide Does Not Cover
GarageBand offers a great starting point for hip hop beatmaking but has its limits. It lacks the advanced mixing capabilities and extensive plugin support found in professional digital audio workstations like Logic Pro or Ableton Live. This means you won’t find detailed guidance here on complex sound design, external hardware integration, or mastering techniques used in high-end studios. If you’re aiming for those advanced production features or want to work with external MIDI controllers and outboard gear, exploring more professional software would be beneficial.
For now, focus on building your core skills within GarageBand’s framework. The key is to get comfortable making creative decisions step-by-step and shaping your beats with the tools available.
Take the Next Step: Practice and Experiment
Now that you’ve learned how to create and arrange a hip hop beat in GarageBand, the most useful next step is to keep experimenting with the instruments and patterns you’ve discovered. Try tweaking drum sounds in the Drum Machine Designer, layering different basslines, or adjusting the song arrangement to see how subtle changes affect the vibe. The more you practice, the better you’ll understand how each decision shapes your unique sound, helping you gain confidence to produce beats that truly represent your style.
See also: How to Record Electric Guitar in GarageBand: A Clear Step-by-Step Guide