How to Manage Libraries on External Drives in Final Cut Pro
Discover how to efficiently manage your Final Cut Pro libraries on external drives for better performance and safer video editing workflows.
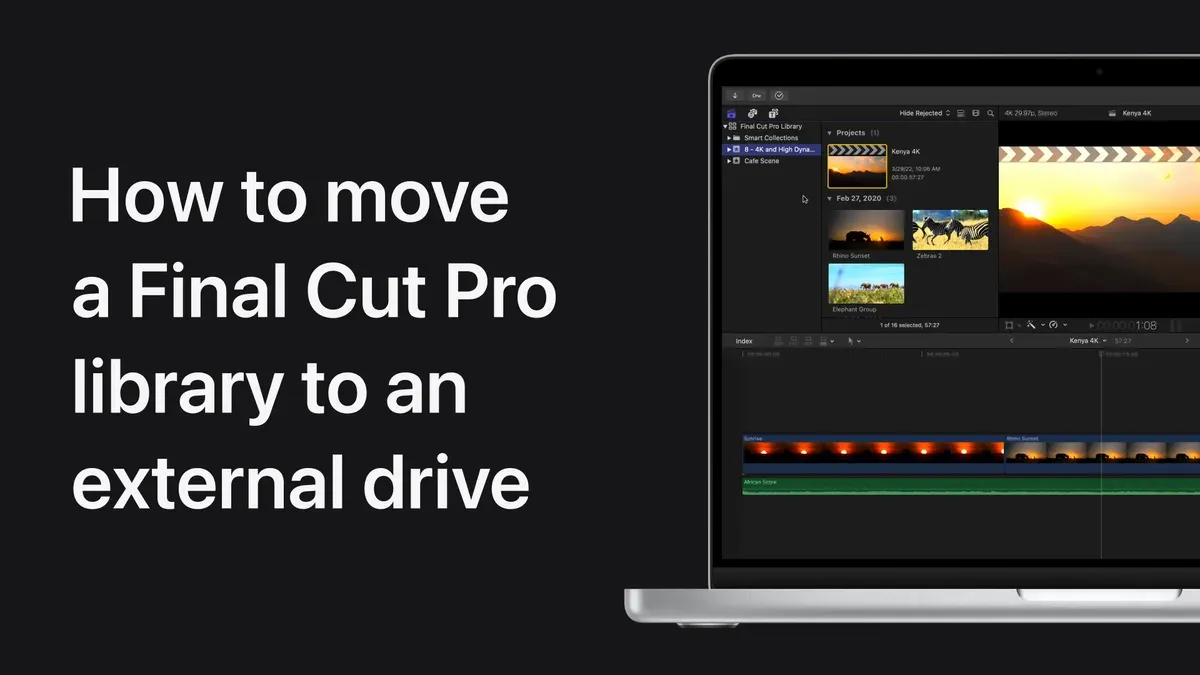
You're working on a video project and realize your internal drive is nearly full. You want to keep your Final Cut Pro libraries organized and accessible, but you're unsure how to efficiently use an external drive without risking data loss or slowdowns.
This article explains how to manage libraries on external drive in Final Cut Pro, guiding you through preparing your external storage, moving or creating libraries, optimizing media and cache locations, and safely handling drives. You'll get clear, step-by-step instructions to balance portability, performance, and organization, making your editing workflow smoother and more secure.
Key takeaways
- Format your external drive as APFS or Mac OS Extended (Journaled) for compatibility with Final Cut Pro libraries.
- Use Final Cut Pro's Library Properties to relocate media and cache files for better performance.
- Create new libraries directly on the external drive to streamline project management.
- Always eject external drives properly before disconnecting to avoid data corruption.
- Keep a backup of your libraries to protect against accidental data loss.
Before You Start: Preparing Your External Drive and Final Cut Pro
Choosing the right external drive is essential for smooth performance in Final Cut Pro. Solid-state drives (SSDs) typically offer faster read/write speeds—often exceeding 500 MB/s—and greater durability because they have no moving parts. Hard disk drives (HDDs) are more affordable and offer larger storage but have slower speeds, usually under 150 MB/s, and are more prone to mechanical failure. Consider your balance between speed and storage needs.
Formatting your drive correctly ensures Mac compatibility and optimal library management. Use Disk Utility to format the drive as APFS for SSDs, which supports faster file handling and snapshots. For HDDs, Mac OS Extended (Journaled), also known as HFS+, is often recommended to maintain compatibility and reliability. After formatting, your drive should appear in Finder without errors.
Before moving any libraries, back up your existing projects and media. Copy your libraries to a separate location or use Time Machine to ensure you can restore files if needed. Within Final Cut Pro, go to Preferences > Playback and set the media and cache storage locations to your external drive if you plan to keep media there. This setup reduces the risk of data loss and keeps your workflow organized.
| Drive Type | Typical Speed | Longevity | Cost per GB |
|---|---|---|---|
| SSD | ~500 MB/s and above | High (no moving parts) | Higher |
| HDD | Up to 150 MB/s | Moderate (moving parts) | Lower |
- Connect your external drive and open Disk Utility from Applications > Utilities.
- Select the drive in the sidebar and click Erase.
- For an SSD, choose APFS as the format; for an HDD, select Mac OS Extended (Journaled).
- Name the drive and click Erase. Once completed, the drive should mount and appear in Finder.
- Open Final Cut Pro Preferences, go to Playback, and set media and cache locations to your external drive if desired.
- Back up your existing libraries by copying them to a safe location before moving or creating new libraries on the external drive.
Move an Existing Library to an External Drive
Relocating a Final Cut Pro library to an external drive requires careful steps to maintain all media links and render files. Follow this process to avoid broken links or data loss.
- Close Final Cut Pro to ensure the library is not in use. Open Finder and locate your library folder, which typically has a ".fcpbundle" extension and contains folders like "Original Media" and "Render Files".You should see the library in its current location, for example, Documents/Final Cut Pro Libraries/ProjectName.fcpbundle.
- Copy the entire ".fcpbundle" file to your external drive by dragging it into the desired folder, such as ExternalDrive/FinalCutLibraries/. Wait until the copying finishes completely before proceeding.After copying, the external drive should contain the full library package with the same internal folder structure.
- Double-click the library file on the external drive to open it in Final Cut Pro. Confirm that the library opens without error and that all media thumbnails and timeline clips appear as expected.
- In Final Cut Pro, select the library in the Libraries sidebar, then open the Inspector (Window > Show Inspector). Under the "Storage Locations" section, verify the paths for "Media" and "Cache".If these paths still point to the old location, click the "Modify Settings" button and update them to the external drive paths to keep all related files together.
- Play through some clips and scrub timelines to check that media and render files are intact and performance is normal.
- Once confirmed, you can delete the original library from your internal drive to free up space, but keep backups until you are confident the move was successful.
This method ensures the library folder structure remains consistent and Final Cut Pro maintains all references, avoiding broken media or missing render files.
Create a New Library Directly on an External Drive
Starting a new library directly on your external drive helps keep your projects organized and optimizes storage from the outset. When you create a new library, Final Cut Pro allows you to specify the exact location, so you can choose your external drive instead of the default internal storage.
- Open Final Cut Pro and go to File > New > Library. A dialog box appears prompting you to name the new library and choose its save location.
- Name your library clearly and descriptively, for example, ProjectName_Date, to help you identify it easily among other libraries on the external drive.
- Click the Where dropdown and navigate to a dedicated folder on your external drive, such as /Volumes/ExternalDrive/FinalCutLibraries/. Select this folder to save the library there.
- After creating the library, select it in the Libraries sidebar, then open the Inspector and click the Modify Settings button to set media, cache, and backup locations.
- In the storage locations dialog, choose Custom for media and cache, and set them to folders within your external drive (e.g., /Volumes/ExternalDrive/FinalCutLibraries/ProjectName/Media and /Cache). Also, set backups to save within a Backups folder on the external drive to keep all files consolidated.
Following this directory layout ensures your library, media, cache, and backups reside together, simplifying management and making it easier to move or archive projects without losing references.
Manage Media and Cache Storage for Performance
When working with external drives in Final Cut Pro, understanding how media and cache storage affect performance is essential. You can either copy media into your library or reference external media files. Copying media increases library size but keeps everything self-contained and portable. Referencing external media saves space but relies on constant drive access, which can slow down editing if the drive connection is unstable or slow.
To optimize performance, set your cache and render file locations on the external drive in Final Cut Pro’s preferences under Playback > Cache Files. This keeps related files together and reduces delays caused by data transfer between drives. However, external drives often have slower write speeds than internal SSDs, so rendering and cache operations may take longer compared to using internal storage.
For large media files, consider these steps to maintain smooth workflow:
- Open Final Cut Pro Preferences and go to the Playback tab. Set Cache Files Location to your external drive. You should see the path update accordingly.
- In the same preferences window, under Media, decide whether to copy media into the library or leave it referenced. If you choose to reference, ensure your external drive has a fast, stable connection like Thunderbolt or USB-C.
- Monitor the responsiveness of playback and rendering. If you notice frequent slowdowns, try moving cache files to your internal drive temporarily and observe improvements.
This approach balances speed and drive longevity. Using the external drive for cache and media keeps projects organized, while knowing when to leverage internal storage helps avoid bottlenecks common with slower external drives.
Safely Disconnect and Reconnect External Drives
To prevent data corruption and project errors, always close any open Final Cut Pro libraries before disconnecting your external drive. This ensures all active processes finish writing data. If you see the library name in the Final Cut Pro sidebar, right-click it and choose Close Library. You should no longer see the library listed once it’s closed.
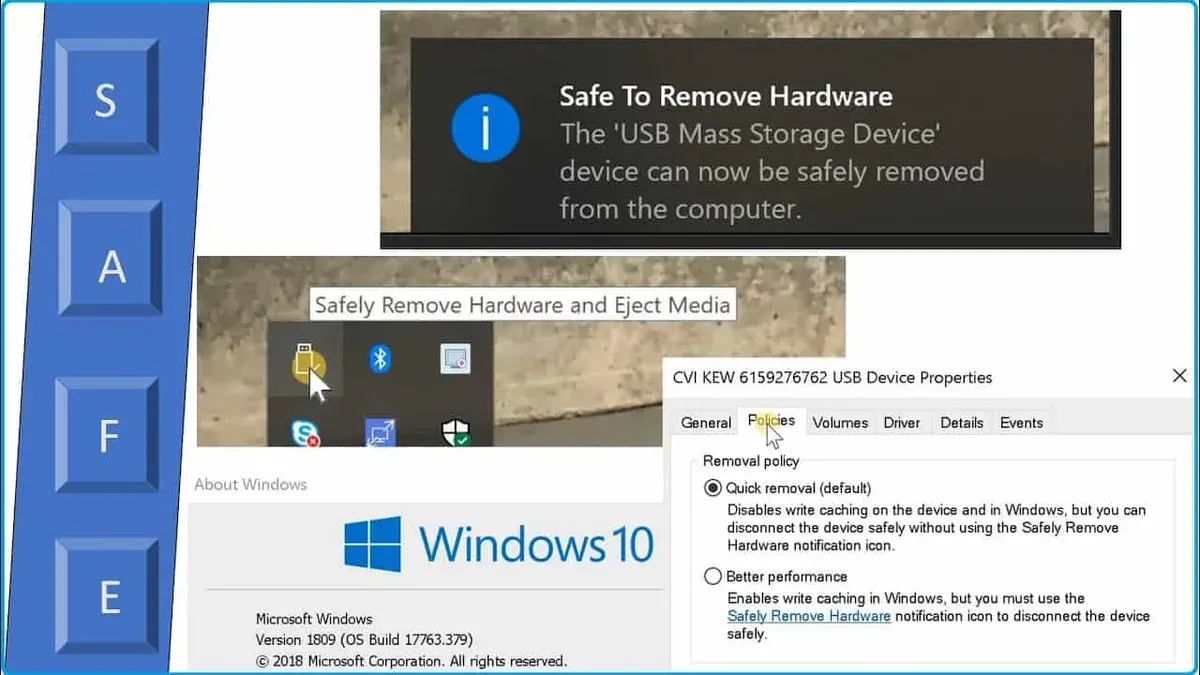
Next, use macOS to eject the external drive properly. Either click the eject icon next to the drive in Finder’s sidebar, drag the drive icon to the Trash (which changes to an eject symbol), or right-click the drive on your Desktop and select Eject. Wait for the system to confirm the drive is safe to remove; do not unplug until you see the drive disappear from Finder or a notification confirms it is ejected.
When reconnecting, mount the drive before opening Final Cut Pro. If a library appears offline with an error like “Missing Files” or “Library Not Found”, use Final Cut Pro’s Relink Files feature. Select the library in the sidebar, then choose File > Relink Files. Navigate to the drive and point Final Cut Pro to the correct media locations.
Here is a checklist for safe drive removal:
- Close all Final Cut Pro libraries stored on the external drive. You should see no active library names in the sidebar.
- Quit Final Cut Pro completely to ensure no background processes remain.
- In Finder, eject the external drive using the eject icon or right-click menu.
- Wait until the drive icon disappears from Finder or you receive a confirmation notification.
- Physically disconnect the drive only after these steps are complete.
Following these steps minimizes the chance of corrupted libraries or media and avoids common errors that interrupt your editing workflow.
Troubleshoot Common Issues with External Libraries
Working with external libraries in Final Cut Pro can occasionally lead to problems such as missing media, slow drive access, or even library corruption. These issues often stem from broken file links, unstable drive connections, or unexpected system interruptions. Addressing them promptly helps maintain a smooth editing workflow and protects your projects.
Fix Broken Media Links and Relink Files
Missing media is a frequent problem when Final Cut Pro cannot locate files moved or renamed outside the app. To relink media:
- In the Library sidebar, select the affected library or event. You should see warning icons on clips with missing media.
- Go to the menu and choose File > Relink Files > Original Media.
- In the dialog box, click Locate All to search for missing files. Navigate to the external drive where your media is stored.
- Select the root folder of your media and click Choose. Final Cut Pro will attempt to relink all files in that location.
- Once relinking completes successfully, warning icons disappear, and clips play normally in the timeline.
Address Slow Access or Drive Disconnects
Slow performance or intermittent disconnects often arise from using slower USB connections or drives nearing full capacity. Ensure your external drive is connected via Thunderbolt or USB-C for optimal speed. Also, avoid running multiple high-demand apps simultaneously which can impede drive responsiveness. If disconnections occur, verify cables and ports are secure and consider testing the drive on another system to rule out hardware issues.
Repair or Restore Corrupted Libraries
Library corruption, while rare, can happen due to abrupt shutdowns or failed writes. First, try opening a backup copy of the library if you have one. To repair:
- Close Final Cut Pro.
- Hold down the Option and Command keys while reopening Final Cut Pro.
- In the dialog that appears, select the library you want to repair.
- Click Repair. Final Cut Pro will attempt to fix internal inconsistencies.
- When done, check if the library opens without errors and media is intact.
Maintaining regular backups and safely ejecting drives reduces the chance of corruption. If issues persist, consider copying the library to an internal drive and creating a new external library.
Frequently asked questions
Can I use any external drive to store Final Cut Pro libraries?
You can use most external drives to store Final Cut Pro libraries, but for best results, the drive should be formatted as APFS or Mac OS Extended (Journaled). Avoid using drives formatted for Windows (NTFS) unless you have third-party software to enable write access. Also, ensure the drive is fast enough to handle video editing workloads; slower USB 2.0 drives often cause performance issues.
How does using an external SSD compare to an internal drive for editing performance?
External SSDs generally offer performance close to internal drives, especially when connected via Thunderbolt 3 or USB-C with high transfer speeds. They provide faster read/write speeds and lower latency than traditional external HDDs, leading to smoother playback and quicker render times. However, internal drives may still have a slight edge due to direct motherboard connections.
What happens if I disconnect the external drive while Final Cut Pro is open?
Disconnecting the external drive while Final Cut Pro is open can cause the application to lose access to the library and media files, potentially resulting in crashes or corrupted data. Final Cut Pro may display error messages about missing files or prompt you to reconnect the drive. Always close Final Cut Pro before unplugging external drives to prevent data loss.
How do I back up libraries stored on external drives?
To back up libraries on external drives, copy the entire library bundle to another safe location, such as a different external drive or a cloud backup service. You can also use Time Machine configured to include external drives. Avoid backing up only the media files separately, as the library bundle contains important project data and edits.
What This Guide Does Not Cover
This guide focuses on managing Final Cut Pro libraries on directly connected external drives and does not cover network-attached storage (NAS) setups or collaborative multi-user library management. These scenarios involve different workflows, require specialized software configurations, and often depend on network speed and permissions that go beyond the scope of this step-by-step approach. If you work in a team environment or need to access libraries over a network, consider dedicated collaboration tools or consult resources specific to NAS and multi-user workflows.
The single most useful next step is to consistently use Final Cut Pro’s built-in library properties to verify where your media, cache, and backups are stored. Regularly check the Library Properties inspector to confirm your media and cache paths, ensuring they point to your external drive and not your internal disk. This simple habit helps prevent accidental storage on slower or limited internal drives and keeps your projects organized and performant as you edit.
See also: How to Export ProRes in Final Cut Pro: A Clear Step-by-Step Guide · How to Create Compound Clips in Final Cut Pro: A Step-by-Step Guide · How to Use Keyframes in Final Cut Pro: Step-by-Step Guide