
How to Identify and Fix MacBook Pro M1 Pro Screen Lines Effectively
Discover effective ways to identify and fix screen lines on your MacBook Pro M1 Pro to keep your display clear and functional.
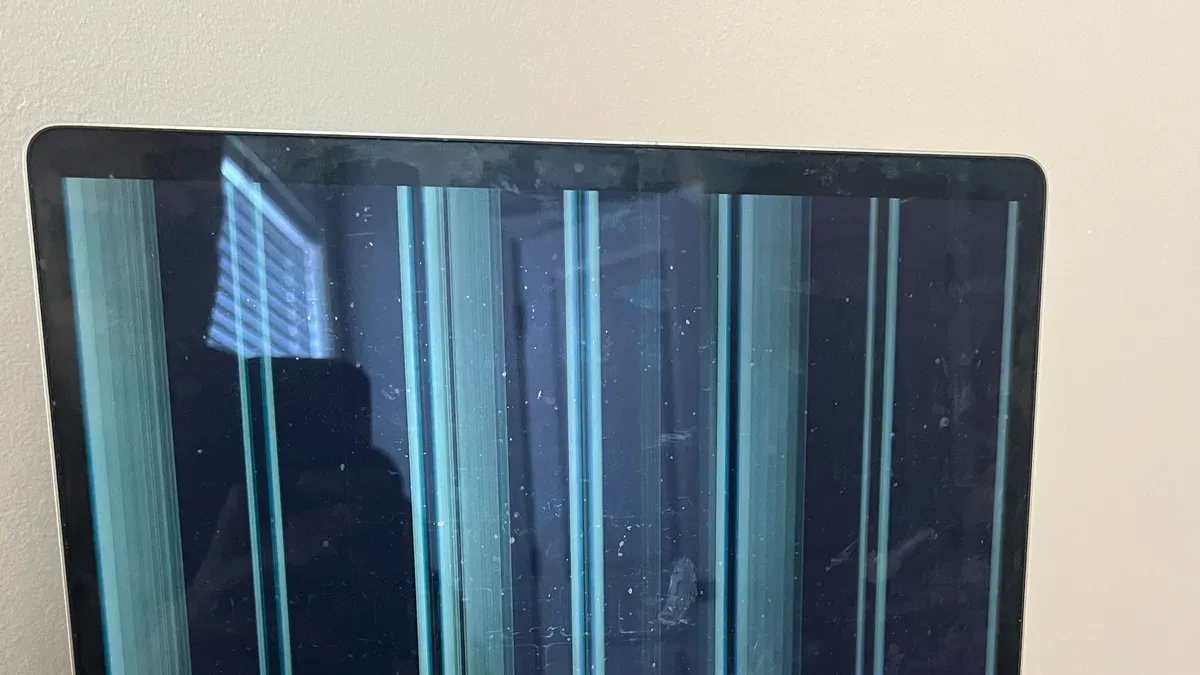
You open your MacBook Pro M1 Pro and notice faint or persistent lines running across the screen. These visual disruptions can range from subtle flickers to obvious streaks that interfere with your work or entertainment.
This article guides you through understanding MacBook Pro M1 Pro screen lines by explaining what causes them, how the display functions, and practical troubleshooting steps you can take yourself. You will also learn when these lines indicate a hardware problem requiring professional repair or replacement, and when simple fixes or workarounds can help you continue using your device effectively.
Key takeaways
- Screen lines can result from software glitches, loose connections, or hardware damage.
- Running a safe boot and resetting the System Management Controller (SMC) are helpful first steps.
- Persistent lines after software fixes often point to display or cable hardware issues.
- DIY fixes are viable for minor issues; professional help is advisable for suspected hardware faults.
- Regularly cleaning your MacBook screen and avoiding physical stress can minimize future display problems.
Recognize What Screen Lines Are and Why They Matter
Screen lines on your MacBook Pro M1 Pro typically appear as thin vertical or horizontal streaks across the display. They can also flicker intermittently, which may disrupt your viewing experience. These lines might show up as solid colors, distorted pixels, or moving bands, making it hard to read text or see images clearly.
Such screen lines often signal underlying hardware issues like display cable faults, graphics processor glitches, or even liquid damage. Occasionally, software glitches or outdated drivers can cause similar symptoms, but persistent lines usually point to hardware problems. The presence of these lines impacts your ability to work efficiently and can worsen if left unaddressed.
Early recognition matters because catching these lines as soon as they appear can help you avoid further damage to the display or connected components. For example, if you notice faint vertical lines after accidentally dropping your MacBook, taking action quickly may prevent the issue from escalating into a full screen failure. Many users on forums report that initial screen lines often precede more serious problems, highlighting the value of early diagnosis.
Visual aids such as photos or diagrams showing vertical, horizontal, and flickering lines can clarify what to look for. Keep an eye out for these patterns to identify screen line issues early and decide on the next steps wisely.
Understand How the MacBook Pro M1 Pro Display Works
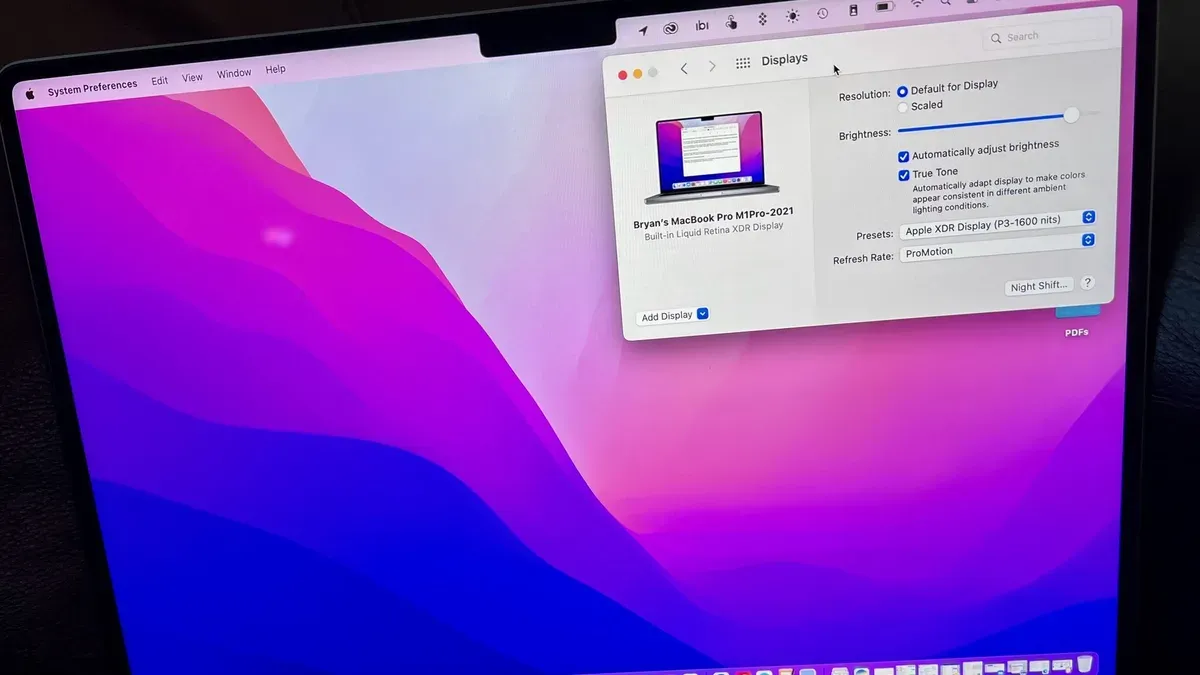
The MacBook Pro M1 Pro uses a Liquid Retina XDR display, which is an advanced mini-LED screen capable of delivering exceptional brightness, contrast, and color accuracy. This display consists of thousands of tiny LEDs behind the LCD panel, individually controlled to produce deep blacks and vivid highlights. Compared to previous MacBook Pro models that used traditional Retina LCDs, the Liquid Retina XDR offers a higher dynamic range and improved visual fidelity.
The M1 Pro chip integrates a powerful GPU that directly manages the rendering of images and interfaces on the screen. Display drivers within macOS work closely with this GPU to translate graphical data into signals sent to the display hardware. Any glitches in this communication, such as corrupted driver files or GPU processing errors, can cause visual artifacts like screen lines or flickering.
Physical stressors such as pressure on the screen, sustained high temperatures, or even sudden jolts can affect the delicate mini-LEDs or their connections, potentially resulting in persistent lines. Software issues, including incompatible apps or outdated system updates, might also disrupt the display pipeline temporarily. For example, a GPU error might cause vertical lines to flash during high-demand tasks like video editing, signaling the need for troubleshooting.
Run Basic Troubleshooting Steps You Can Do Yourself
Start by restarting your MacBook Pro M1 Pro to see if the screen lines disappear. Sometimes, a simple reboot clears temporary glitches causing these visual issues. If lines persist after rebooting, proceed to reset the NVRAM (Non-Volatile Random-Access Memory) and SMC (System Management Controller). To reset the NVRAM, shut down your Mac, then turn it on and immediately press and hold Option + Command + P + R for about 20 seconds until the Apple logo appears and disappears twice. For the SMC reset, shut down, then press and hold the power button for 10 seconds before restarting.

Next, boot into Safe Mode by restarting your Mac and holding the Shift key until you see the login window. Safe Mode disables unnecessary software and drivers, helping you identify if third-party applications or extensions cause screen lines. If the lines vanish in Safe Mode, a software conflict is likely. Finally, connect your MacBook to an external monitor using a compatible cable or adapter. If the external display shows no lines, the issue is probably with your MacBook’s screen hardware rather than the graphics system.
For example, if you notice vertical lines on your MacBook's display but the external monitor shows a clear image, this confirms a hardware fault in your screen assembly. Many users find that these steps resolve or clarify the problem, saving unnecessary repair visits. Taking these actions first helps you decide whether the issue is software-related and fixable at home or if professional repair is needed.
Identify When Hardware Issues Are the Culprit
If the screen lines on your MacBook Pro M1 Pro persist despite completing software troubleshooting like restarts, NVRAM resets, and Safe Mode boots, it's a strong indication that hardware problems may be responsible. For example, if lines appear immediately upon startup—even before the operating system loads—you can suspect hardware rather than software.
Common hardware causes include damage to the display panel itself, loose or damaged display cables and connectors, and faults in the GPU or related logic board components. Physical impacts, such as drops or pressure on the screen, often cause visible cracks or internal panel damage that result in persistent vertical or horizontal lines. Similarly, liquid exposure can corrode connectors or components, leading to erratic screen behavior.
To pinpoint hardware issues, you can carefully inspect the screen for cracks and check the hinge area for any signs of cable wear. Connecting your MacBook to an external monitor can help distinguish GPU faults (if the external display shows lines too) from display panel or cable issues (if the external monitor is fine). Repair costs vary: replacing a display panel can be expensive, often several hundred dollars, while cable repairs are typically less costly. GPU or logic board faults are usually the most expensive to fix and may justify considering device replacement.
Decide Whether to Repair, Replace, or Use Workarounds
When deciding how to address screen lines on your MacBook Pro M1 Pro, start by checking your warranty status. Apple’s standard limited warranty and AppleCare+ coverage may cover display repairs, often at no or reduced cost, with typical turnaround times of about 5 to 7 business days through Apple Store or authorized service providers. If your device is out of warranty, professional repairs directly from Apple can be costly, sometimes several hundred dollars, depending on the extent of the damage.
Third-party repair shops often offer lower prices and quicker service, but the quality of parts and workmanship can vary, and using them might void remaining Apple support. For example, a third-party screen replacement may cost less and be done within a day, but it might not carry the same guarantees or use genuine Apple components.
As a temporary workaround, you can try connecting your MacBook Pro to an external monitor via the Thunderbolt 4 ports to bypass the internal display issues for critical tasks. Additionally, software adjustments such as changing display resolution or enabling Dark Mode can sometimes reduce the visibility of lines, though these are not permanent fixes.
Consider your MacBook’s age, usage needs, and repair costs carefully before choosing between repair, replacement, or workarounds. If you rely heavily on portability and display quality, professional repair is usually the best path, but for occasional use, workarounds may suffice until you decide on a longer-term solution.
Avoid Common Mistakes That Can Make Screen Line Issues Worse
Attempting to open your MacBook Pro M1 Pro without proper tools or technical knowledge can cause more harm than good. For example, using household screwdrivers instead of specialized Pentalobe and Torx drivers risks stripping screws or damaging internal components like the delicate display cables. This kind of physical damage often leads to increased repair costs or even permanent screen failure.
Applying excessive pressure on the screen while trying to fix lines or cleaning it with harsh chemicals such as ammonia-based cleaners can degrade the display’s coating or cause pixel damage. A more effective approach is to use a soft, lint-free microfiber cloth slightly dampened with water or a screen-safe cleaner designed for LCDs.
Be wary of installing unverified software tools or screen calibration apps promising to fix screen lines. These can interfere with your Mac’s GPU settings or introduce bugs, making issues worse. Apple’s warranty explicitly states that unauthorized repairs or modifications—including opening the device or installing non-approved software—can void your coverage. Always weigh the risks before attempting DIY fixes beyond basic troubleshooting.
Maintain Your MacBook Pro Display to Minimize Future Screen Issues
Protecting your MacBook Pro M1 Pro screen starts with using a quality screen protector designed specifically for Retina displays. These protectors guard against scratches and minor impacts without compromising image clarity. When cleaning the screen, always use a soft, lint-free microfiber cloth lightly dampened with water or a 70% isopropyl alcohol solution, avoiding harsh chemicals or abrasive materials that can damage the coating.
Managing heat is another key factor. Avoid using your MacBook on soft surfaces like beds or couches that block ventilation, as excess heat can stress internal components and contribute to screen issues. Also, never place heavy objects on the laptop lid, which can cause pressure damage to the delicate display layers over time.
Keeping your macOS updated ensures your display drivers and firmware operate optimally, reducing the risk of software-induced screen artifacts. For example, a user who regularly updated their system and carefully cleaned their screen reported a noticeable reduction in flickering lines compared to before following these practices.
Frequently asked questions
What causes lines to appear on a MacBook Pro M1 Pro screen?
Lines on your MacBook Pro M1 Pro screen can be caused by various factors including software glitches, loose or damaged display connections, or hardware faults such as a failing display panel or graphics chip. External impacts or pressure on the screen may also create physical damage that manifests as lines. Identifying the exact cause often requires checking both software settings and hardware conditions.
Can screen lines on my MacBook Pro fix themselves after a restart?
Sometimes, screen lines may disappear temporarily after a restart if they are caused by software conflicts or temporary glitches in the graphics driver. However, if lines persist or return frequently, this suggests an underlying hardware problem that a restart won't fix. Restarting is a useful first troubleshooting step but not a guaranteed permanent solution.
Is it safe to continue using my MacBook Pro if there are screen lines?
Using your MacBook Pro with screen lines is generally safe in the short term, but it can indicate developing hardware issues. Ignoring persistent lines might lead to worsening display problems or additional damage. It’s advisable to monitor the situation closely and consider professional diagnosis if lines become more pronounced or affect usability.
How much does it typically cost to repair screen lines on a MacBook Pro M1 Pro?
Repair costs vary widely depending on the root cause; software-related fixes are usually free or low-cost if done yourself or by support. Hardware repairs, such as replacing the display or connectors, can be expensive and might range from a few hundred to over a thousand dollars through Apple or authorized service providers. Getting a precise estimate requires a professional assessment of your specific issue.
Know When to Seek Professional Help
This guide does not cover advanced hardware repair procedures that require specialized tools or training. If you notice persistent or worsening screen lines that do not respond to basic troubleshooting, or if your MacBook Pro M1 Pro has suffered physical damage such as drops or liquid exposure, it is best to consult an authorized Apple service provider. Attempting internal repairs without proper expertise can void warranties and potentially cause further damage.
The most useful next step you can take is to back up your data regularly using Time Machine or another reliable method. This ensures your information stays safe while you decide whether to pursue professional repair or replacement. Keeping backups also helps you avoid data loss if the screen issue suddenly worsens or your device becomes unusable. From there, you can make an informed choice based on the severity and persistence of the problem.
See also: How to Diagnose and Fix MacBook Pro M1 Pro Black Screen Issues · How to Fix MacBook Pro M1 Pro Lagging and Freezing: A Step-by-Step Guide · How to Stop Your MacBook Pro M1 Pro from Randomly Restarting · How to Update macOS on Your MacBook Pro M1 Pro



