
How to Update macOS on Your MacBook Pro M1 Pro
This guide explains how to update macOS on your MacBook Pro M1 Pro to keep it secure, performant, and compatible with new features.
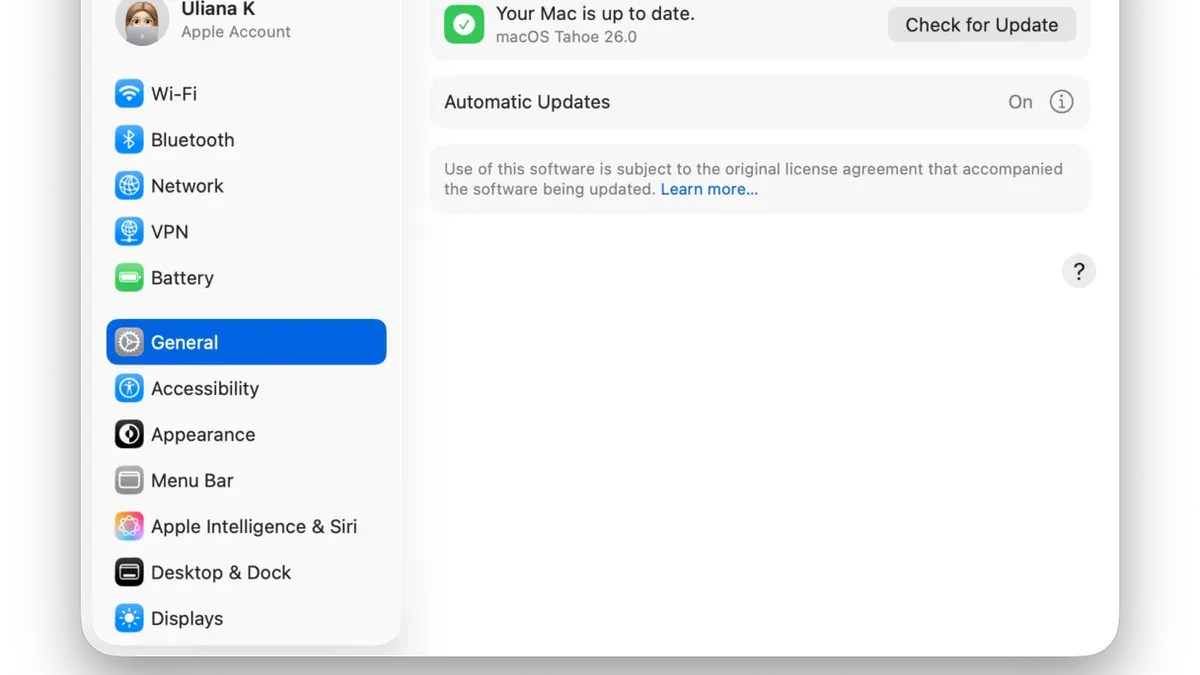
Updating macOS on your MacBook Pro M1 Pro is essential to keep your device secure, performant, and compatible with the latest features. This guide walks you through the process while addressing update challenges unique to Apple Silicon and helps you prepare for major upgrades safely.
Understanding Why Keeping macOS Updated Matters on M1 Pro MacBook Pro
macOS updates for M1 Pro models include improvements tailored to Apple Silicon. These updates optimize performance by leveraging the chip's architecture, deliver security patches addressing recently discovered vulnerabilities, and introduce enhancements that can extend battery life and improve system stability.
Delaying updates increases the risk of compatibility issues with new software and exposes your system to security vulnerabilities. Apple regularly releases security patches that help maintain device integrity on Apple Silicon devices.
Preparing Your MacBook Pro M1 Pro for a macOS Update
Before updating, verify your current macOS version by going to System Settings > About This Mac to view your version number and confirm it supports the latest release.
Back up your data using Time Machine or an alternative method. Time Machine offers an automated, system-integrated backup experience, while third-party solutions may provide additional flexibility. Here’s a quick comparison:
| Backup Method | Pros | Cons |
|---|---|---|
| Time Machine | Automatic, system-integrated, easy restoration | Requires external drive or network device |
| Third-Party Backup | Flexible storage options, incremental backups | May require setup and extra cost |
Ensure at least 20% free storage on your startup disk to accommodate update files and temporary system processes. Connect your MacBook Pro to power to prevent interruptions due to battery drain.
Review installed applications for compatibility with the new macOS version. Developers update apps for Apple Silicon at different paces; check official sites or app update notes to confirm support.
Step-by-Step Guide to Updating macOS on MacBook Pro M1 Pro
- Open System Settings from the Apple menu.
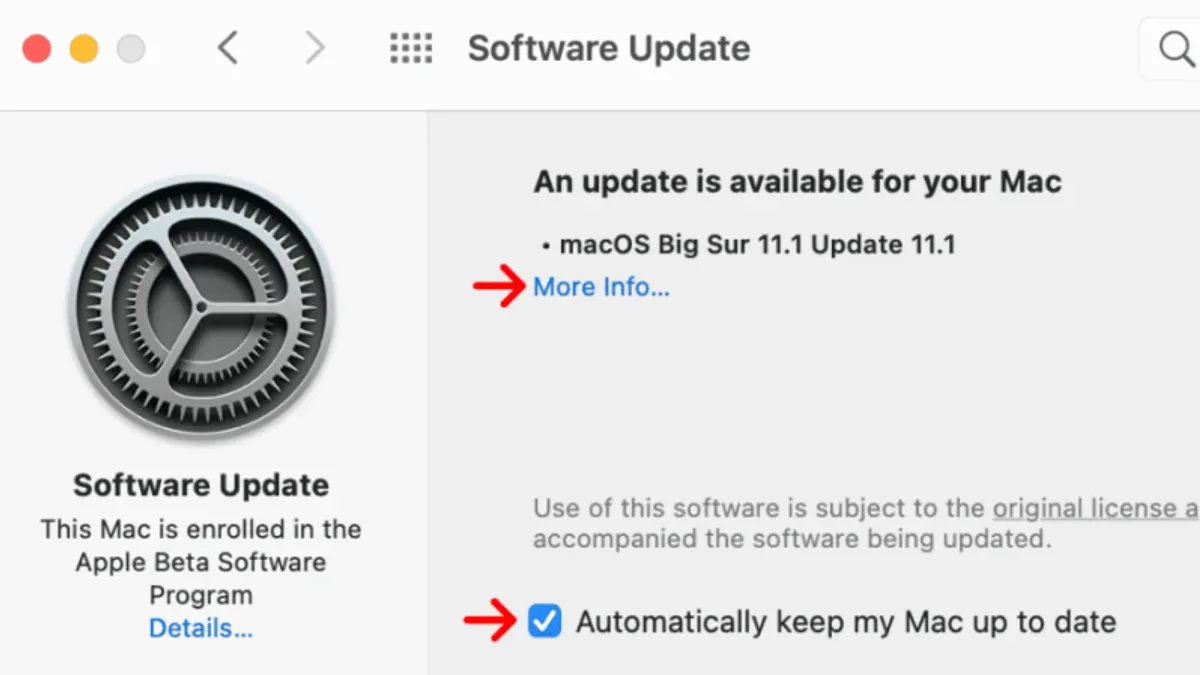
- Navigate to General > Software Update. The system will check for available updates.
- If an update is available, click Download and Install. The download time depends on your internet speed; major updates typically take 10 to 30 minutes.
- Once downloaded, installation starts automatically. Your Mac may restart multiple times; progress bars or status messages will appear.
- After installation completes, your Mac will boot to the login screen. Confirm the update by revisiting About This Mac to check the macOS version.
During installation, avoid closing your MacBook or forcing a shutdown to prevent potential file corruption.
Troubleshooting Common macOS Update Issues on M1 Pro MacBook Pro
Resolving Insufficient Storage Errors
Low storage errors may occur even if free space appears sufficient due to the APFS container structure on Apple Silicon Macs. The container must have enough free space for the update.
To check container space, open Disk Utility, select your startup disk, and review the APFS container's free space. Use Storage Management (found under About This Mac > Storage > Manage) or manually delete large unnecessary files to free space.
Handling Stalled or Failed Updates
If the update stalls or fails, restart your MacBook and try again. For persistent issues, enter macOS Recovery mode by holding the power button until startup options appear.
In Recovery, use Disk Utility to repair your disk or select Reinstall macOS to reinstall without erasing data.
MacBook Pro Won’t Boot After Update
If your Mac does not boot, start in Safe Mode by holding the power button and selecting Safe Mode from the options. Safe Mode disables some system extensions and can help isolate issues.
If Safe Mode does not resolve the problem, use Apple Configurator on another Mac with a USB-C cable to revive or restore the firmware on your M1 Pro MacBook Pro. This process requires a second Mac and is intended for unresponsive devices.
Preparing for Major macOS Upgrades on MacBook Pro M1 Pro
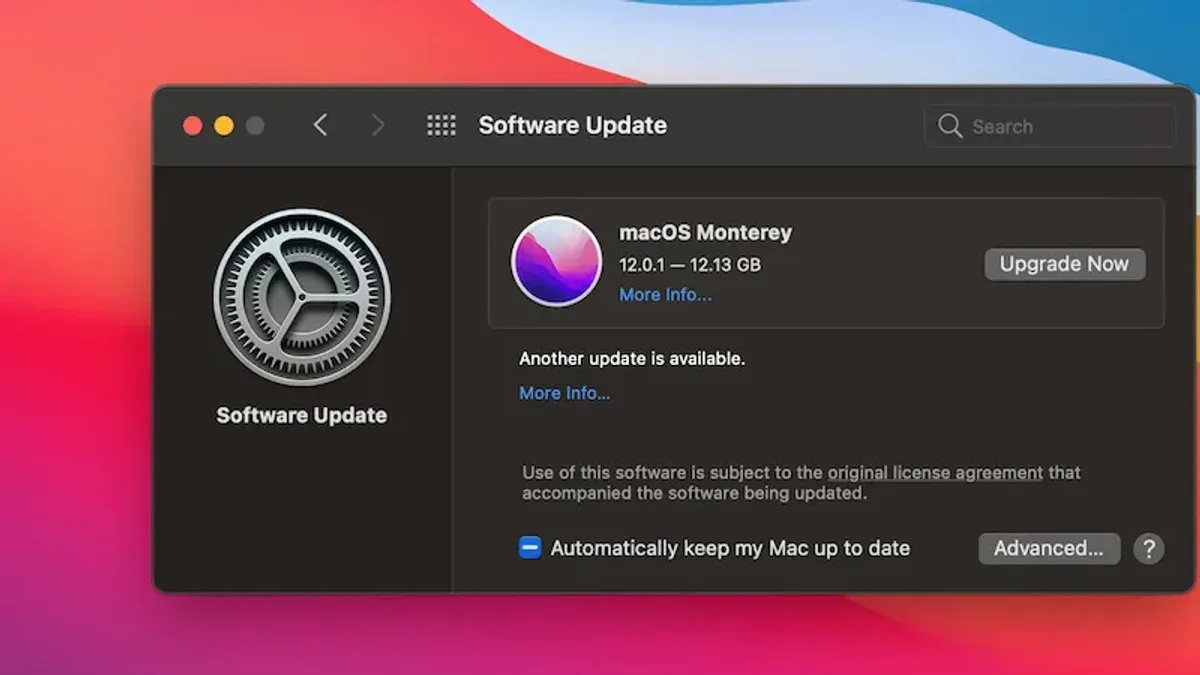
Major upgrades introduce new features but may also bring initial bugs or compatibility issues. Consider waiting a few weeks after release to allow Apple and developers to address early problems.
Before upgrading, verify that your critical apps and peripherals support the new macOS version by checking developer announcements and user forums.
Beta or developer previews provide early access to new features but can be unstable. Back up your system and understand the risks before installing these versions.
Major upgrades typically require more free storage and longer installation times than routine updates and may involve multiple restarts and system migrations.
Frequently asked questions
How can I tell if my MacBook Pro M1 Pro is compatible with the latest macOS update?
Visit Apple's official support site for compatibility information. Generally, MacBook Pro models with the M1 Pro chip support the latest macOS versions released.
What should I do if the update freezes during installation?
Wait at least an hour to confirm it is stuck. If frozen, force restart your Mac by holding the power button, then retry the update or use macOS Recovery to reinstall.
Can I update macOS without an internet connection on my M1 Pro MacBook Pro?
macOS updates require an internet connection to download update files. However, you can download updates on another device and create a USB installer if prepared in advance.
Is it safe to update macOS immediately after release or should I wait?
Immediate updates are generally safe, but waiting a few weeks helps avoid early bugs and compatibility issues, especially for major upgrades.
Caveats
This article focuses exclusively on updating macOS on MacBook Pro models with the M1 Pro chip. It does not cover updates for other MacBook variants or Intel-based Macs.
If your system runs heavily customized software or critical legacy applications, consult specialized support before proceeding with updates to prevent disruptions.



