How to Add Page Numbers in Pages: Step-by-Step for Mac, iPad, and iPhone
This guide shows you how to add and format page numbers in Pages on Mac, iPad, and iPhone for polished, professional documents.
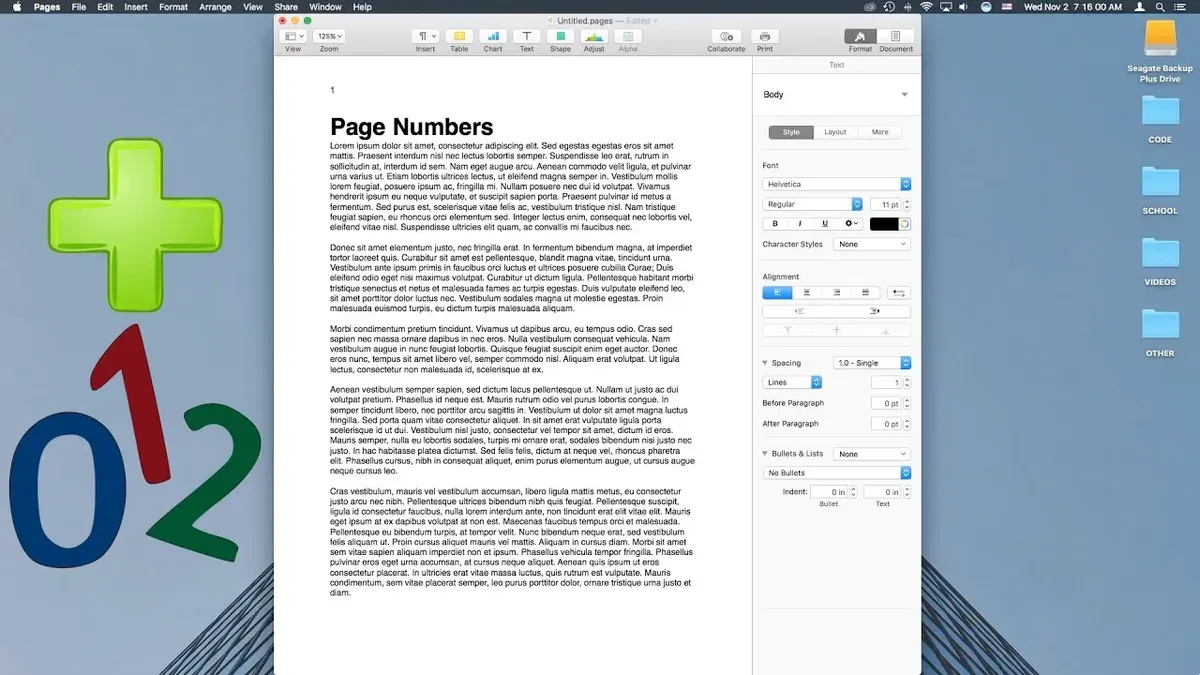
You’re working on a document in Apple Pages and want to add page numbers, but the options seem scattered across different devices. Maybe you’re switching between Mac, iPad, and iPhone and want a consistent approach without confusion. Knowing how to add page numbers in Pages can save you time and help your documents look polished.
This guide walks you through adding page numbers step-by-step on Mac, iPad, and iPhone. It also covers formatting options, including adding page numbers without headers and starting numbering on specific pages—features that aren’t always obvious. By following these clear instructions, you’ll gain confidence in managing page numbers across all your Apple devices.
Key takeaways
- Page numbers in Pages are added via the Document Setup or Inspector depending on your device.
- You can insert page numbers without headers by customizing the footer or using text boxes.
- Starting page numbers on a page other than the first requires section breaks and adjusting numbering settings.
- Page numbering options vary slightly between Mac, iPad, and iPhone but follow similar steps.
- Common issues often relate to missing section breaks or header/footer settings—these can be fixed by revisiting the setup.
Before you start: What you need to add page numbers in Pages
To add page numbers successfully in Pages, you first need to ensure you have the latest version of the app installed on your device. On Mac, this typically means Pages version 13.0 or later, which supports all current page numbering features. On iPad and iPhone, make sure you have the latest iOS or iPadOS update along with Pages installed from the App Store. If you use an older version, some options for page numbering might be missing or behave differently.
Next, open your document within Pages and confirm that it is saved in the native Pages format (.pages). Page numbering features are not available if your document is in PDF, Microsoft Word, or other file formats. You can verify this by checking the file extension or the document info panel in Pages.
Understanding where page numbers can appear is essential. Page numbers typically go in headers or footers, which are distinct from the main body text area. Headers appear at the top margin of each page, while footers appear at the bottom. Knowing this helps you decide if you want page numbers to show alongside other header/footer content or independently.
Finally, identify which device you are using—Mac, iPad, or iPhone—because the steps to add and customize page numbers differ slightly. Mac offers a more traditional menu and inspector interface, whereas iPad and iPhone rely on touch controls and sidebars. Preparing your device and document with these points will make the page numbering process smoother.
- Check your Pages app version: On Mac, open Pages, then choose Pages > About Pages. On iPad or iPhone, go to Settings > General > iPhone Storage > Pages to see the version number. You should see version 13.0 or above for best compatibility.
- Open your document in Pages and confirm it's saved as a.pages file. Look at the document title or use the File > Save As option on Mac to ensure the correct format. On iOS, tap the ellipsis (...) menu and select Document Setup to verify.
- Familiarize yourself with headers and footers by opening Document Setup on your device. On Mac, choose View > Show Layout to see header and footer areas. On iPad/iPhone, tap the ellipsis (...) then Document Setup, where you can enable headers and footers to view their layout.
- Note your device type and prepare to follow device-specific instructions later in the guide. The interface on Mac uses menus and sidebars, while iPad and iPhone use touch-based controls and popovers.
How to add page numbers in Pages on Mac
Start by opening your document in Pages and clicking the Document button in the toolbar to open the Document sidebar. If headers or footers are not yet enabled, check the box for Header or Footer depending on where you want your page numbers to appear. You should see a faint header or footer area appear on your pages.
- Click inside the header or footer area where you want the page number to appear. A blinking cursor should show up.
- Go to the menu bar, select Insert > Page Number. Pages will insert a page number field at the cursor position. You will see the page number appear on all pages.
- To change the alignment or position of the page number, use the text alignment tools in the toolbar or drag the text box within the header or footer area to left, center, or right.
- To customize the numbering style or start page numbering from a specific page, open the Document sidebar and click Section. Here you can choose Start at and enter the page number you want numbering to begin from. You can also change the number format (e.g., Roman numerals or Arabic).
- If you want the numbering to start on page 2, for example, insert a section break at the end of page 1 by placing the cursor there, selecting Insert > Section Break. Then, in the Section controls, set page numbering to start at 1 for the second section.
Following these steps, your document will display page numbers correctly formatted and positioned. Using section breaks allows you to control where numbering begins and how it appears, which is especially useful for skipping the title page or starting numbering later in the document.
How to add page numbers in Pages on iPad
Adding page numbers on your iPad uses a touch-friendly interface different from the Mac version but follows a straightforward process. To begin, open your document in Pages and tap the More button (three dots) at the top right to access Document Setup. This area lets you manage headers, footers, and other layout options where page numbers appear.
- Tap More (…) > Document Setup. You will see toggles for Headers and Footers. Turn on either header or footer to create a space for page numbers.
- Exit Document Setup, then tap where the header or footer appears at the top or bottom of your document page. This activates the editing mode for that area.
- Tap the Insert (+) button in the toolbar above the keyboard, then select Page Number from the menu. A page number placeholder will appear in the header or footer.
- To change alignment, tap the inserted page number, then use the alignment buttons in the formatting pane on the right side or bottom of the screen. You can choose left, center, or right alignment.
- Adjust font style, size, and color in the same formatting pane to customize how your page numbers look.
Unlike on Mac, the iPad interface uses direct tapping and context menus rather than a separate menu bar. Page numbers cannot be added outside headers or footers here; however, you can hide the header or footer after inserting page numbers if you want a cleaner look. This contrasts with the Mac where you can add page numbers without a visible header or footer area.
Annotated screenshots in the app show the More button location, toggling headers or footers, and inserting page numbers through the + menu. For example, after enabling the footer, tapping it reveals the Insert button, and selecting Page Number adds it immediately, ready for alignment and styling adjustments.
How to add page numbers in Pages on iPhone
Adding page numbers on the iPhone requires navigating the compact interface carefully. Start by opening your Pages document and tapping the More (…) icon in the top-right corner. This reveals additional options necessary for document setup.
- Tap Document Setup from the menu; this opens settings related to your document’s layout. You will see options for headers and footers here.
- Enable either Header or Footer by tapping the toggle switch next to it. This creates a space where page numbers can be inserted.
- Tap the header or footer area on the page itself. A cursor will appear, indicating you can add content.
- Tap the plus (+) icon above the keyboard or on the toolbar, then select Page Number from the Insert menu. The page number appears in the header or footer area.
- To customize, tap the page number to bring up formatting options. Here, you can change the starting page number, number style (e.g., Arabic, Roman numerals), alignment, and font style.
- When finished, tap anywhere outside the header/footer to return to your document. Your page numbers will now show on each page.
Working with page numbers on iPhone can feel more constrained compared to the iPad due to the smaller screen and reduced visible controls. One tip is to zoom in or use landscape orientation to make tapping precise. Also, the Insert menu on iPhone is more condensed, so familiarizing yourself with its layout speeds up adding page numbers.
Overall, while adding page numbers on iPhone requires a few more taps and patience, following these steps ensures you can effectively insert and customize page numbers just as on larger devices.
How to add page numbers in Pages without header
By default, Pages inserts page numbers within headers or footers to keep them consistent and easy to manage. However, if you want page numbers in a custom position outside these areas—such as in the page margin or embedded within the body—Pages does not offer a direct feature for this. Instead, you can use a workaround by placing page numbers inside text boxes anchored to each page or master page elements.
Using text boxes allows you to position page numbers anywhere on the page. Keep in mind that this method requires manual setup on each page or configuring your document’s master pages. This approach is ideal for unique layouts, like newsletters or brochures, where headers or footers are not suitable.
- Open your document in Pages and navigate to the first page where you want the page number outside the header or footer. You should see the normal page layout without page numbers in headers or footers.
- From the toolbar, click Insert > Text Box. A text box will appear on the page.
- Click inside the text box, then go to Insert > Page Number. The current page number will appear inside the text box.
- Drag the text box to your desired position on the page, such as the bottom right margin or the top left of the body area. Adjust the size and font style to match your document’s design.
- To apply this setup to other pages, select the text box, copy it, then paste it onto each page individually. The page number will update automatically on each pasted instance.
- Alternatively, to have page numbers appear automatically on every page in this custom location, open the Document Setup, click Edit Master Pages, and add the text box with the page number on the master page. All pages using this master will show the page numbers in your chosen position.
Remember, this manual method requires extra effort to maintain consistency across pages, especially if your document layout changes. Use it when default headers or footers do not fit your design needs.
How to add page numbers starting on page 2 or specific pages
To start page numbering on page 2 or any other page in Pages, you use sections to separate parts of your document. Each section can have its own page numbering style and start number, allowing you to skip numbering on title pages or use Roman numerals for front matter. This flexibility is essential for documents like reports, books, or theses that have distinct front and main sections.
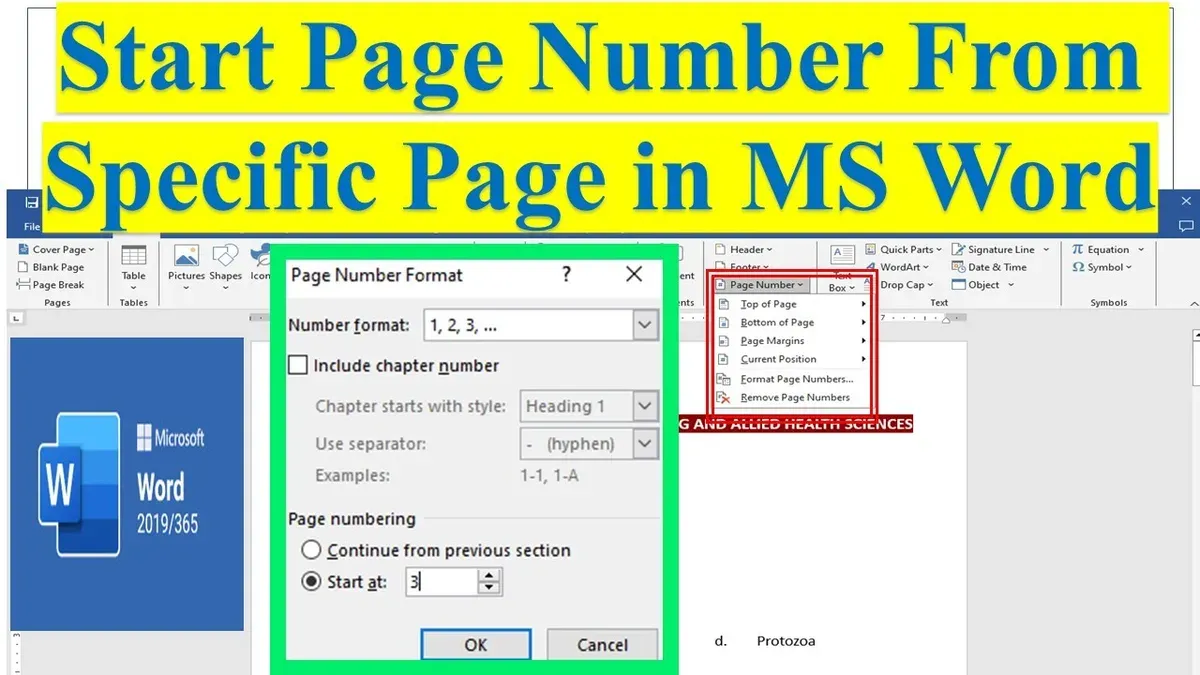
Here’s a clear step-by-step process to control where your page numbers begin:
- Open your document in Pages and click where you want to start a new section (for example, at the beginning of page 2).
- From the menu bar, choose Insert > Section Break. This splits your document into two sections.
- Click in the new section (page 2) and open the Format sidebar.
- In the Document tab, go to Section settings and find the Page Numbering options.
- Uncheck Continue from previous section to set a custom starting number.
- Enter 1 as the starting page number (or another number if preferred). The page numbers in this section will begin from 1.
- If needed, adjust the page number style (e.g., Arabic numerals, Roman numerals) for this section under the same settings.
- Ensure the first section (page 1) has no page numbers or uses a different numbering style as desired.
For example, to skip numbering on a title page, leave the first section without page numbers. Then start numbering from page 2 by creating a new section and setting its starting number to 1. If your front matter has Roman numerals, set that style in the first section and switch to Arabic numerals in the main section.
This approach helps you accurately format documents that require distinct numbering for front matter and body content.
Troubleshooting common issues when adding page numbers in Pages
When page numbers don't appear or vanish unexpectedly, first ensure that headers or footers are enabled. Without an active header or footer, Pages won’t display page numbers. Navigate to View > Show Layout on Mac or tap the More (•••) button on iPad/iPhone and confirm that headers or footers are toggled on. When properly enabled, you should see the header or footer area highlighted, ready for page numbers.
If page numbering resets unexpectedly across your document, this often signals unintended section breaks or conflicting numbering settings. Open the Document sidebar and check the Section tab for breaks. Remove or consolidate section breaks if unnecessary, and verify under Page Numbering that numbering is continuous rather than restarting at each section.
Formatting changes like font or alignment not applying uniformly typically stem from inconsistent section setups. Confirm that all sections share the same page number style by selecting each section and reviewing the page number formatting options. Uniform styles ensure consistent appearance across pages.
Misaligned page numbers may result from margin or text box placement issues. Adjust margins in the Document settings or reposition anchored text boxes if you used them outside headers or footers. Check that text boxes are anchored to the correct location and do not overlap other elements, ensuring numbers appear exactly where you want.
Large documents with many pages can sometimes cause performance slowdowns when rendering page numbers. To improve speed, consider simplifying formatting, reducing the number of sections, or temporarily hiding page numbers during editing. Users on Apple support forums have noted smoother performance after these adjustments.
- Check that headers or footers are enabled: you should see highlighted areas at the top or bottom of pages.
- Inspect and manage section breaks in the Document sidebar to prevent unwanted numbering resets.
- Verify uniform page number formatting across all sections to maintain consistent style.
- Adjust margins and reposition text boxes to correct page number alignment issues.
- If performance slows, simplify formatting or reduce sections to improve responsiveness.
Frequently asked questions
How to add page numbers to document?
To add page numbers in Pages, open your document and click or tap the Document button to access the Document sidebar. Then, enable page numbers by selecting the option to show them in the header or footer. You can customize the position and format in the Page Number section to fit your document’s style.
How to put page numbers?
Putting page numbers involves selecting where they appear—top or bottom of the page—and choosing a style. In Pages, go to the Document sidebar, then under the Page Number section, check the box to display page numbers. You can then pick whether they appear in the header or footer and adjust alignment.
How to add page numbering?
Adding page numbering means inserting numbers that automatically update on each page. In Pages, you turn on page numbering via the Document sidebar by checking the appropriate box. After that, you can format the numbering style and decide if numbering starts from the first page or a later page.
How to insert page number in pages?
Insert a page number by opening your document and accessing the Document sidebar. Look for the Page Number section and enable the option to add page numbers. You can also customize the font, size, and starting page number to suit your needs.
How to add page numbers in Pages on iPad?
On iPad, open your document and tap the More button (three dots), then tap Document Setup. In the settings, turn on Page Numbers and choose whether to place them in the header or footer. You can also adjust where numbering starts and its format directly from this menu.
What This Guide Does Not Cover
This guide focuses exclusively on adding page numbers within Apple Pages documents across Mac, iPad, and iPhone. It does not cover adding page numbers to PDF files or other document formats outside of Pages. Additionally, it does not address page numbering in advanced desktop publishing software such as Adobe InDesign, where page numbering workflows and options differ significantly. If you need to add page numbers in those environments, consult software-specific resources or guides tailored to those formats.
For the smoothest experience with Pages page numbering, ensure your document is set up with consistent section breaks if you want different numbering styles or starting points. The single most useful next step is to experiment with adding page numbers in a test document, trying options like starting numbering on page 2 or removing headers. This hands-on approach helps you see exactly how Pages applies these settings, making it easier to apply them correctly in your real projects.
See also: How to Add a Table of Contents in Pages: A Complete Step-by-Step Guide