
How to Create Compound Clips in Final Cut Pro: A Step-by-Step Guide
Discover how to create compound clips in Final Cut Pro to keep your timeline organized and improve your editing workflow.

Working on a complex video project, you might find your timeline cluttered with multiple clips, making it hard to keep your edits organized. You want a clean, manageable workspace without losing control over individual elements. This is where compound clips come in handy.
In this article, you will learn exactly how to create compound clips in Final Cut Pro. We will guide you step-by-step through the process, helping you understand what compound clips are, how they differ from similar features in other apps like CapCut, and how to use them to group clips efficiently. By the end, you’ll be able to streamline your editing workflow confidently and avoid common pitfalls.
Key takeaways
- Compound clips group multiple clips into one for easier timeline management.
- Creating compound clips in Final Cut Pro involves selecting clips, right-clicking, and choosing "New Compound Clip."
- Compound clips in Final Cut Pro allow non-destructive editing and easy adjustments within the grouped content.
- Final Cut Pro’s compound clips differ from CapCut’s export-based grouping, offering more flexibility.
- You can create and edit compound clips on both Mac and iPad versions of Final Cut Pro.
Before you start: What you need to create compound clips
To create compound clips in Final Cut Pro, you must have the software installed on a Mac device that meets the minimum system requirements. Final Cut Pro requires macOS 11.5.1 or later, at least 4GB of RAM (8GB recommended for 4K editing), and a Metal-capable graphics card. Ensure your Mac is running a compatible version of macOS to avoid performance issues.
You should be familiar with the basic Final Cut Pro interface, including the timeline, browser, and viewer. Knowing how to import clips, arrange them on the timeline, and perform simple edits will make working with compound clips much smoother. Understanding terms like "clip," "timeline," and "sequence" is essential before you begin.
It is helpful to have a sample project ready that contains multiple clips—ideally between three and five video or audio clips. This setup allows you to practice creating compound clips and see how they organize your timeline. For example, you might import three short clips of different scenes or angles and arrange them in sequence.
Follow these steps to prepare your environment:
- Open Final Cut Pro on your compatible Mac and confirm the version by selecting "Final Cut Pro" > "About Final Cut Pro" in the menu bar. You should see a version number compatible with macOS 11.5.1 or later.
- Create a new project in the library and import 3 to 5 video clips by clicking the "Import Media" button. Successful import is indicated by clips appearing in the browser.
- Drag the clips onto the timeline to arrange them in the order you want to practice with. The timeline should display all clips stacked or sequentially aligned.
What is a compound clip in Final Cut Pro
A compound clip in Final Cut Pro is a container that groups multiple clips, edits, and elements into a single clip on your timeline. Instead of handling several clips and edits individually, you can combine them into one unit that behaves like a single clip. This helps keep your timeline clean, especially when working on complex projects with many layers and effects.
By creating a compound clip, you preserve all the effects, transitions, and adjustments applied inside it. This means you can treat the compound clip as one object while maintaining the integrity of the detailed edits inside. Unlike some other editors that use nested sequences or grouped clips, Final Cut Pro’s compound clips simplify organization without losing the ability to dive back inside and make precise changes.
For example, on your timeline, you might have five video clips with different color corrections and transitions between them. When combined into a compound clip, these appear as a single clip, reducing clutter and making the overall project easier to manage. You can then expand the compound clip anytime to adjust the original clips or effects.
Visualize this by comparing two timelines: one before creating a compound clip, showing multiple clips and transitions cluttering the workspace, and one after, showing a single compound clip representing all those elements neatly grouped.
How to make a compound clip in Final Cut Pro
Creating a compound clip in Final Cut Pro is straightforward once you know the steps. This process bundles multiple clips into one, making your timeline easier to manage. Follow these steps carefully to create your compound clip and keep your project organized.
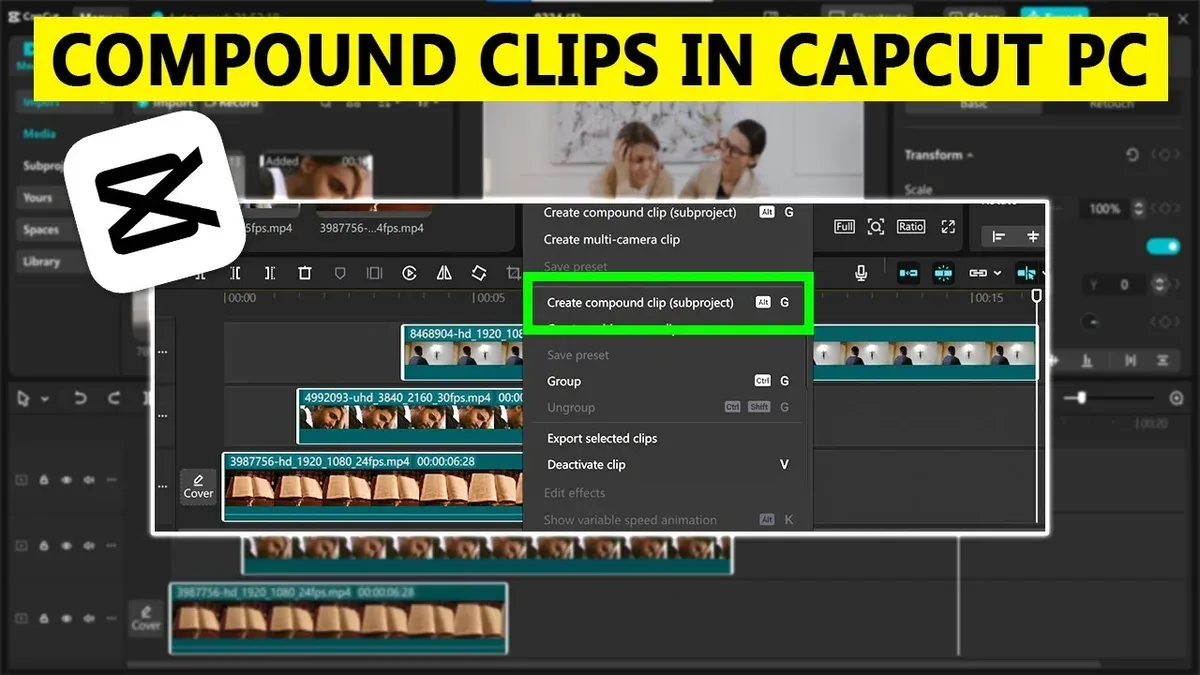
- Select the clips: In your timeline, click to select multiple clips or drag across a range of clips you want to group. When selected correctly, the clips will be highlighted.
- Open the compound clip menu: Right-click on one of the selected clips and choose New Compound Clip from the context menu. Alternatively, go to the top menu bar and select Edit > New Compound Clip. After this, a dialog box will appear.
- Name your compound clip: In the dialog box, enter a clear and descriptive name for your compound clip, such as "Interview Section" or "B-roll Group." This helps you find it easily in the browser later.
- Confirm creation: Click OK to create the compound clip. The selected clips will now be combined into one clip on the timeline, marked with a small icon indicating it’s a compound clip.
- Verify in the browser: Look in the browser panel where all your media is listed. You should see the new compound clip named exactly as you entered it. You can drag this compound clip into other projects or timelines as a single unit.
Each step simplifies your timeline and helps maintain your project’s clarity. If you do not see the compound clip in the browser, double-check you confirmed the creation dialog properly. Creating compound clips this way helps avoid timeline clutter and makes bulk editing more manageable.
How to group clips in Final Cut Pro using compound clips
Grouping clips in Final Cut Pro can be done in several ways, but using compound clips offers distinct advantages compared to simply selecting multiple clips or using markers. Unlike a simple selection, which only groups clips temporarily for moving or trimming, a compound clip permanently bundles clips together into a single clip on your timeline. This means you can apply effects, color corrections, or transitions to the entire group as one unit, rather than individually adjusting each clip.
When you create a compound clip, it behaves like a single clip in your timeline, which makes rearranging or duplicating complex sequences much easier and less error-prone. For example, selecting three clips and grouping them using compound clips lets you move or trim them all simultaneously without losing their relative timing, whereas a simple selection requires careful handling to avoid misalignment.
You can still edit the contents of a compound clip by double-clicking it to open its internal timeline, allowing you to modify individual clips or add new elements. Once you close the compound clip, your changes update instantly in the main timeline.
To keep your project organized, adopt clear naming conventions for compound clips that reflect their content or purpose, such as "Interview_Section1" or "B-Roll_Scene5." Also, organize compound clips into folders or keyword collections in the browser to easily locate and reuse them.
- Select the clips you want to group on the timeline. When selected, the clips should be highlighted.
- Right-click one of the selected clips and choose New Compound Clip from the context menu.
- In the dialog box, enter a descriptive name for your compound clip to help with organization, then click Create. The selected clips now appear as a single clip on the timeline.
- Try moving or applying an effect to the compound clip. You should see the changes apply to all grouped clips simultaneously.
- To edit the contents, double-click the compound clip. The timeline view switches to show the grouped clips inside, allowing you to modify them individually.
- After editing, click the back arrow above the timeline to return to your main project view. Your changes will be reflected in the compound clip on the main timeline.
How to create a compound clip on Final Cut Pro iPad
The iPad version of Final Cut Pro offers a touch-friendly interface with some differences compared to the Mac version. While the core concept of compound clips remains the same—grouping clips together for easier timeline management—the commands and gestures you use are adapted for touch controls. Some advanced compound clip features available on Mac may be limited or accessed differently on iPad.
- Open your project and select the clips: Tap and hold a clip in the timeline, then drag to select multiple clips. When multiple clips are selected, a blue highlight appears around each.
- Access the compound clip option: Tap the three-dot menu button at the bottom right of the timeline toolbar. This opens a contextual menu with editing options.
- Create the compound clip: From the menu, tap Create Compound Clip. A dialog box appears prompting you to name the compound clip.
- Name and confirm: Enter a name for your compound clip and tap Create. The selected clips collapse into a single compound clip in the timeline, which displays a nested clip icon.
- Verify compound clip in browser: Tap the Library button to open the browser. Your new compound clip appears in the project’s event folder, ready for reuse or further editing.
Note that on iPad, compound clips currently do not support some advanced nesting features found on Mac, such as multi-level compound clips or complex retiming within the compound. However, compound clips on iPad still maintain internal effects and transitions applied before grouping.
To keep your timeline organized, use clear, descriptive names for compound clips and group related clips logically. The touch interface allows quick adjustments by tapping into the compound clip to reveal and edit its contents directly.
If you want to see these steps in action, Final Cut Pro’s iPad interface includes visual highlights during selection and compound clip creation to guide you through the process effectively.
How to export compound clips in CapCut and common issues
CapCut’s compound clip workflow differs significantly from Final Cut Pro. In CapCut, compound clips are typically referred to as nested sequences or grouped clips, but they don’t behave identically. Instead of creating a new independent clip like in Final Cut Pro, CapCut nests clips within a timeline, affecting how export and editing function.
To export a compound clip in CapCut properly, you need to export the entire project or the nested sequence rather than the individual clip group. Attempting to export only the nested group without opening it in the main timeline often causes errors or missing elements in the final output.
- Open your CapCut project and confirm the nested sequence or grouped clips are complete and arranged as desired. You should see the nested clip clearly in the timeline.
- Tap the export button, usually located at the top right corner. A preview of the whole project will appear, indicating it is ready to export.
- Select your export settings such as resolution and frame rate. These options control the quality of your final video.
- Confirm export and wait for the process to complete. The exported file will include all nested content correctly.
Common errors include “compound clip not working” or missing clip content. These often occur because the nested sequence isn’t fully expanded or the export is attempted from inside the nested clip instead of the main timeline. To fix this, make sure to exit compound clip mode by tapping the back arrow or timeline breadcrumb navigation until you return to the project’s main sequence.
| Feature | Final Cut Pro | CapCut |
|---|---|---|
| Compound Clip Creation | Groups clips into one editable clip | Nests clips inside a timeline segment |
| Editing Inside Compound | Double-click to open and edit independently | Tap to open nested timeline, edits affect main project |
| Export Behavior | Export compound clip as single clip or part of timeline | Export whole project or nested timeline only, not isolated clip |
| Common Issues | Misplaced clips, timeline confusion | Export errors if inside nested clip or incomplete navigation |
How to exit and edit compound clips in Final Cut Pro
To modify a compound clip, you begin by double-clicking it in the timeline or browser. This action opens the compound clip's own timeline, revealing all the individual clips and edits it contains. You can now make precise changes within this nested timeline without affecting the main project timeline directly.
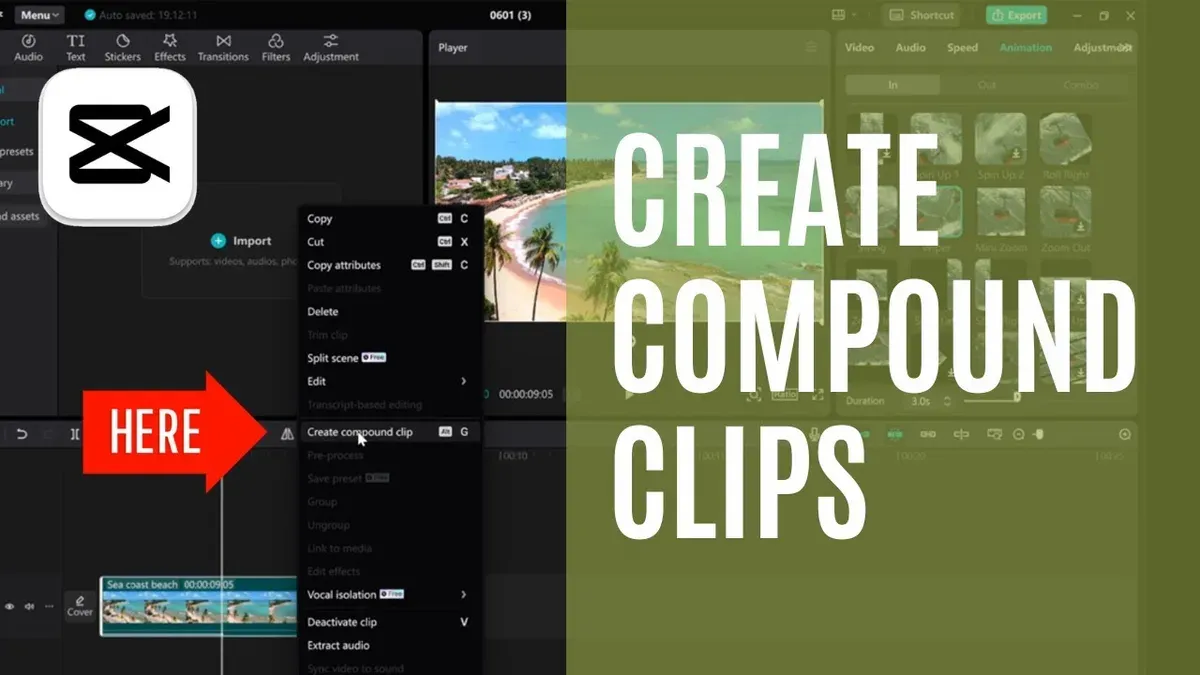
When you edit clips inside the compound clip—such as trimming, adding effects, or rearranging elements—these changes are saved immediately. The main timeline reflects these updates automatically because the compound clip acts as a container displaying its current state.
After finishing your edits, you exit the compound clip editing mode by clicking the back button above the timeline or pressing the keyboard shortcut Command + Left Bracket. This returns you to your main project timeline where you can continue editing other parts of your project.
- Double-click the compound clip in the timeline or browser. You should see the compound clip’s internal timeline with all contained clips.
- Make your desired edits inside this timeline (trim clips, add effects, or rearrange). Changes appear immediately in the compound clip.
- Click the back button above the timeline or press Command + Left Bracket to exit. The main project timeline reappears with your updated compound clip.
Screenshots before and after editing show the compound clip’s timeline open with visible clips, then the main timeline with the updated compound clip reflecting your edits. This workflow keeps your project organized while allowing detailed adjustments within compound clips.
Troubleshooting common problems with compound clips
Compound clips simplify your timeline, but sometimes issues arise. One common problem is the compound clip not updating after you make edits inside it. To fix this, ensure you exit the compound clip properly by clicking the back arrow above the timeline. If the clip still doesn’t update, try selecting the compound clip and pressing Command+R to render changes.
Another frequent issue is clips disappearing or not being included when you create a compound clip. Double-check that all clips are fully selected before right-clicking to create the compound clip. If clips remain missing, verify that none are disabled or have active roles set to hidden in the timeline index.
Performance lag can occur with very large compound clips containing many effects or high-resolution media. To improve playback, consider breaking the compound clip into smaller sections or using proxy media. Rendering the timeline beforehand also helps smooth performance.
Users sometimes confuse compound clips with multicam clips. Remember, compound clips group clips and edits into one clip for organization, while multicam clips are specifically for syncing and switching between camera angles. Using the wrong clip type can cause unexpected behavior.
To avoid these issues, always keep your Final Cut Pro updated, render timelines regularly with Modify > Render All, and maintain clear naming conventions for compound clips. Regularly check timeline indexes and clip visibility settings to ensure all elements are included.
Frequently asked questions
How to create compound clip in final cut pro?
To create a compound clip in Final Cut Pro, select the clips you want to group in the timeline or browser. Then, right-click and choose "New Compound Clip" or use the shortcut Option-G. Name your compound clip in the dialog box that appears and click OK. This groups your clips into one clip, making timeline management easier.
How to compound clip in capcut?
CapCut does not use the term "compound clip" like Final Cut Pro, but you can group clips by selecting multiple clips on the timeline, then tapping the "Group" option if available. This combines clips for easier movement and editing as a single unit. However, CapCut's grouping lacks some advanced features found in Final Cut Pro’s compound clips.
How to export compound clip in capcut?
In CapCut, to export a grouped clip, simply finish editing your project and tap the export button at the top right. There is no separate export for compound or grouped clips; the entire timeline or selected sequence is exported as a single video file. Ensure your grouped clips are arranged correctly before exporting.
How to use final cut pro?
Final Cut Pro is a professional video editing software where you import media, arrange clips on the timeline, apply effects, transitions, and color corrections. You organize your project using events and libraries, then export your final video. Learning its interface step-by-step, starting with basic editing workflows like trimming and compound clips, helps you build confidence.
How to exit compound clip capcut?
CapCut does not have a dedicated compound clip feature, so there is no specific "exit" action. If you grouped clips, you can ungroup them by selecting the group, then tapping the "Ungroup" option to edit individual clips again. This restores the clips to separate elements on the timeline.
What This Guide Does Not Cover
This guide focuses on using compound clips to organize your timeline and perform basic edits within Final Cut Pro. It does not cover advanced compositing techniques, such as complex visual effects or color grading workflows that involve multiple layers and keying. Additionally, multicam editing, which requires syncing and switching between multiple camera angles, involves different tools and steps not addressed here. If your project involves these advanced requirements, exploring dedicated tutorials or Final Cut Pro’s specialized features for those workflows will be more beneficial.
For your next step, try creating a compound clip from a small group of clips in your timeline, then practice opening it for edits by double-clicking the compound clip. Pay close attention to how changes inside the compound clip affect the main timeline. This hands-on approach will help solidify your understanding of compound clips and improve your ability to keep your projects organized efficiently.
See also: How to Use Keyframes in Final Cut Pro: Step-by-Step Guide · How to Export ProRes in Final Cut Pro: A Clear Step-by-Step Guide · How to Generate Auto Captions in Final Cut Pro: A Step-by-Step Guide



