How to Do Multicam Editing in Final Cut Pro: A Step-by-Step Guide
Master multicam editing in Final Cut Pro with step-by-step guidance on syncing clips, managing angles, and creating seamless video edits.
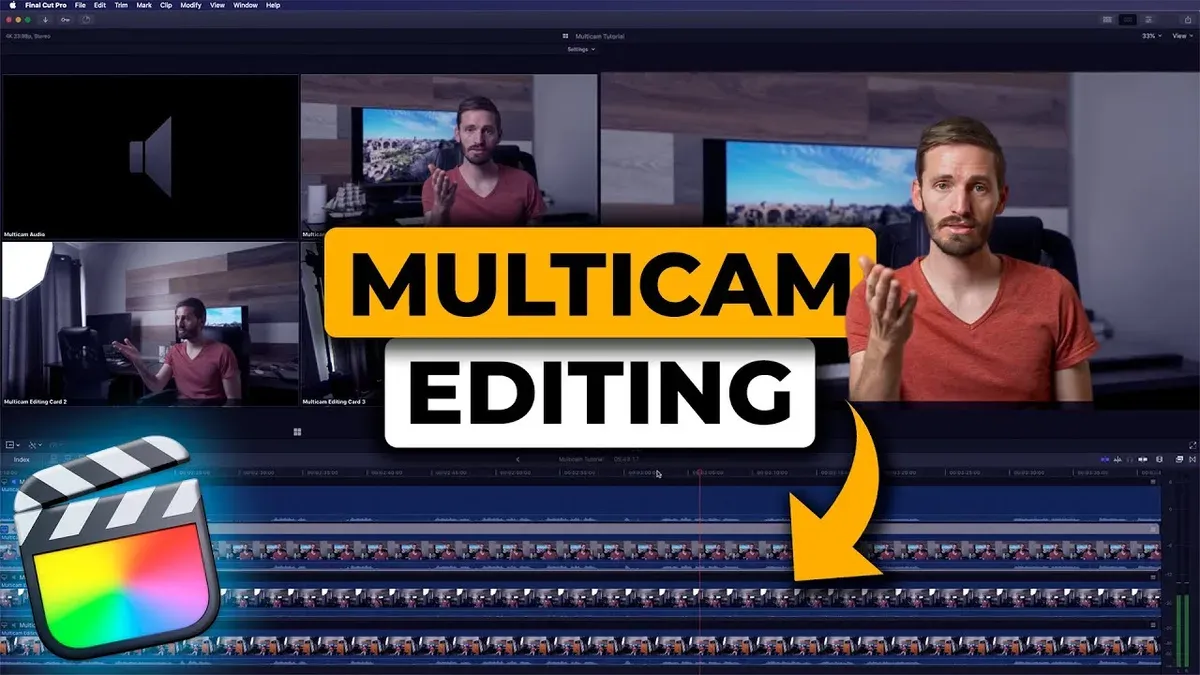
You're faced with hours of footage from multiple cameras, each capturing a different angle of the same event. Sorting through these clips to create a seamless final video can feel overwhelming without the right approach.
This article covers how to do multicam editing in Final Cut Pro, guiding you through the process step by step. You'll learn how to sync your clips accurately, organize your multicam clips efficiently, and switch angles smoothly to produce professional-quality edits. The focus is on practical tips and clear actions to help you build confidence and speed in your multicam workflow.
Key takeaways
- Use the Angle Viewer and Angle Editor to manage multiple camera angles effectively.
- Sync clips by timecode, audio waveforms, or manual markers for precise alignment.
- Create a multicam clip by selecting clips and choosing "New Multicam Clip" from the File menu.
- Switch angles during playback using keyboard shortcuts or the Angle Viewer to maintain flow.
- Check clip synchronization and angle settings before finalizing your multicam edit.
Before you start multicam editing in Final Cut Pro
Preparing for multicam editing in Final Cut Pro requires attention to both your software setup and your hardware capabilities. First, confirm that your Final Cut Pro installation is updated to a version that supports multicam editing features. You can check this by opening the App Store, navigating to the Updates tab, and ensuring Final Cut Pro is current. Without the latest version, you may miss essential tools needed for smooth multicam workflows.
Next, ensure you have multiple clips from the same event captured from different camera angles. Properly organized clips make syncing and editing easier. Before importing, group your footage into clearly labeled folders or create Events within Final Cut Pro to separate the clips by shoot day or camera angle. For example, label folders as "Angle 1 - Wide" or "Angle 2 - Close-Up" to avoid confusion later.
Hardware also plays a critical role. Multicam editing demands fast storage solutions such as SSDs and a minimum of 16GB RAM to maintain smooth playback and responsiveness. Computers with slower hard drives or less memory often experience lag or dropped frames, complicating the editing process. If you plan to work with high-resolution footage, increasing RAM and using external Thunderbolt SSDs can significantly improve performance.
For more precise syncing, consider using external sync points like timecode or audio waveforms. Timecode embedded in your clips or using a clapperboard during recording can make auto-sync in Final Cut Pro more reliable. Alternatively, the program can align clips based on audio, but quality sync points reduce errors and speed up your workflow.
- Open Final Cut Pro and verify the version via the menu: Final Cut Pro > About Final Cut Pro. You should see a version number that includes multicam support (usually 10.0 or later). When updated, multicam editing tools will be accessible.
- Organize your media before import: create folders on your drive named by camera angle or shoot session. When importing, assign these folders to separate Events in Final Cut Pro. This organization appears in the Library sidebar, making clip selection and syncing straightforward.
- Check your hardware specs: open About This Mac > System Report > Memory to confirm you have at least 16GB RAM. Ensure your footage is stored on an SSD or similarly fast drive connected via Thunderbolt or USB-C. When these criteria are met, playback during multicam editing should be fluid.
- Decide on your syncing method. If you have timecode, confirm it’s embedded in your clips. If not, plan to rely on audio waveform syncing. Both methods are selectable in Final Cut Pro’s multicam clip creation window, impacting sync accuracy.
How to use multicam on Final Cut Pro
To create a multicam clip, start by importing all your footage into Final Cut Pro’s library so everything is accessible in one place. Select the clips you want to combine by clicking and dragging or using the Command key to choose multiple files. Then, go to the File menu, select New, and click Multicam Clip. A dialog box will appear prompting you to set synchronization options.
- Import your clips: After importing, check that all clips appear in the browser.
- Select clips and create multicam clip: Highlight your clips, then choose File > New > Multicam Clip. A creation window will open.
- Choose synchronization method: Pick from Automatic (Audio) to sync based on audio waveforms, Timecode if your cameras share matching timecode, or Manual to align clips by setting in and out points.
- Name and order angles: In the multicam clip properties, rename each angle to something descriptive like "Camera 1" or "Wide Shot". Drag angles to reorder them for easy access.
- Use the Angle Viewer and Angle Editor: Activate the Angle Viewer window to see all camera angles simultaneously while editing. The Angle Editor lets you fine-tune sync points and adjust clip timing if needed.
When the multicam clip is created, it appears as a single item in your browser. Double-clicking it opens the Angle Viewer, showing all angles side by side for seamless switching during your edit. This setup streamlines complex projects and keeps your workflow organized.
How to multicam edit in Final Cut Pro X
- Add the multicam clip to your timeline. Drag your multicam clip from the browser into the timeline. You should see the entire sequence represented as a single clip with a multicam icon, indicating it’s ready for angle switching.
- Enable the Angle Viewer. Go to the View menu and select Show in Viewer > Angle Viewer. This will display all camera angles simultaneously above the timeline, allowing you to monitor each perspective while editing.
- Switch between camera angles during playback or pause. Play your timeline and click on different angles in the Angle Viewer to switch views live. This lets you choose the best shot in real time, creating dynamic edits effortlessly.
- Use keyboard shortcuts to cut and switch angles quickly. Press Option + [number] keys (1–9) corresponding to each camera angle to cut to that angle instantly. This speeds up your editing significantly compared to clicking with a mouse.
- Fine-tune cuts and angle changes in the timeline. Scrub through your timeline to find cuts you want to adjust. You can trim edit points by dragging the edges of the multicam clip segments or reposition cuts precisely for smoother transitions.
- Detach or modify individual angles if needed. To change a specific angle’s content, right-click the multicam clip and choose Open in Angle Editor. Here, you can replace clips, adjust sync, or apply effects to individual angles without affecting the entire multicam clip.
For example, during a live band performance edit, you might add the multicam clip to the timeline, enable the Angle Viewer, and use keyboard shortcuts to switch between the vocalist and drummer angles seamlessly. Later, you can refine the timing of these angle changes by trimming cuts directly in the timeline, ensuring the performance feels natural and engaging.
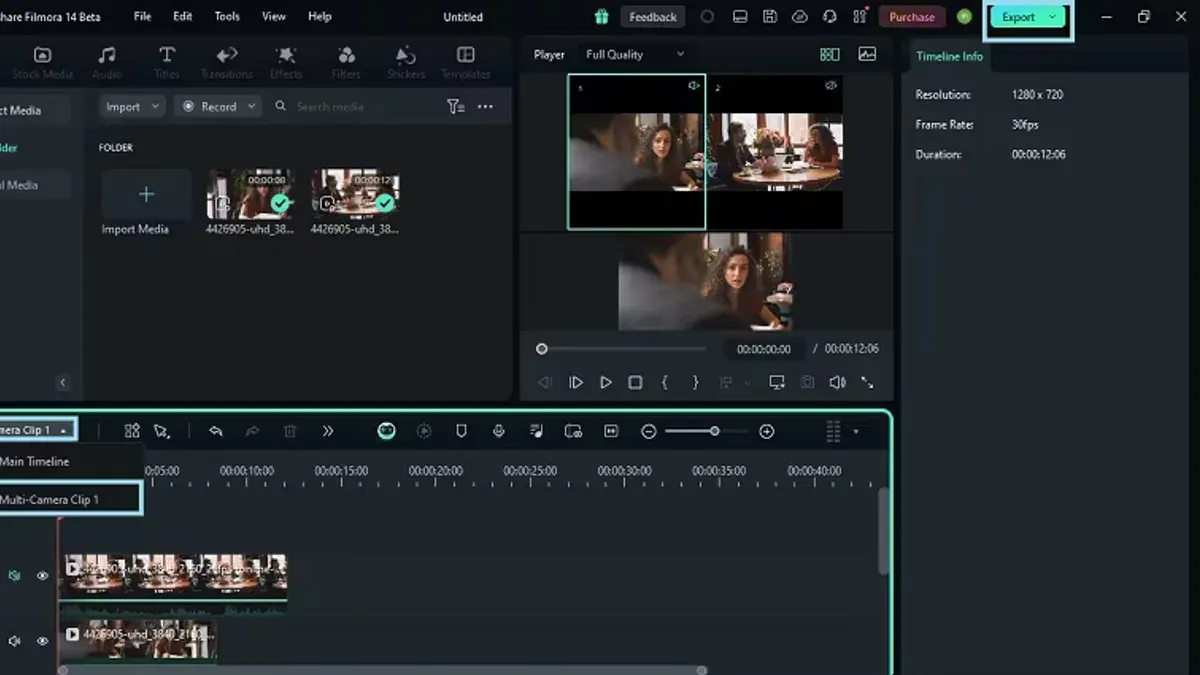
How to edit multiple clips in Final Cut Pro for multicam projects
Managing multiple clips effectively before and during multicam editing can save significant time and prevent confusion. Start by labeling your clips with clear, consistent metadata. Use the Inspector to add keywords that describe camera angles, scenes, or take numbers. These keywords let you quickly sort and filter clips in the Browser, making it easier to locate specific footage.
Organize your clips into Events and Smart Collections based on these keywords or other criteria like shooting days or camera types. Smart Collections automatically update as you add clips, helping you maintain order without manual effort. This structure is far more efficient than working with an unorganized clip library, which often leads to lost footage and slower editing.
When working with clips of varying frame rates or resolutions, batch convert or transcode them to a uniform format before creating multicam clips. This avoids playback issues and sync drift. Use the Transcode Media feature (File > Transcode Media) to generate optimized or proxy files, which improve timeline performance, especially on less powerful systems.
Batch adjustments, such as color correction or audio leveling, can be applied via Adjustment Layers or by selecting multiple clips and modifying parameters in the Inspector. Doing these before building your multicam clip streamlines your workflow and reduces repetitive tasks.
Proxy workflows are highly recommended for smoother editing, particularly with high-resolution footage. Switching to proxy media reduces strain on your system, enabling more responsive timeline scrubbing and quicker angle switching. Without proxies, playback can be choppy, especially when handling many angles simultaneously.
- Select multiple clips in the Browser and open the Inspector. Add descriptive keywords under the Keywords section. You should see these keywords appear next to each clip.
- Create Smart Collections by clicking the “+” button in the Library sidebar, choose criteria like keywords or frame rate, then save. These collections will dynamically group your clips accordingly.
- Go to File > Transcode Media, select clips with mixed frame rates or resolutions, and choose to create optimized or proxy media. Monitor the Background Tasks window to confirm transcoding completion.
- Select all clips needing batch adjustments, open the Inspector, and apply color or audio changes. Adjustments will be applied to all selected clips at once.
- In the Viewer, toggle between Original and Proxy media (View > Proxy Preferences) to confirm proxy media usage improves playback performance during multicam editing.
Troubleshoot common multicam editing issues in Final Cut Pro
Multicam editing can sometimes present challenges that interrupt your workflow. When clips won’t sync automatically, check whether the sync method matches your footage. For example, if you used audio syncing and your clips have low or noisy audio, Final Cut Pro may fail to align them. Try syncing manually by selecting clips, right-clicking, and choosing Synchronize Clips, then adjust the sync settings or use timecode if available.
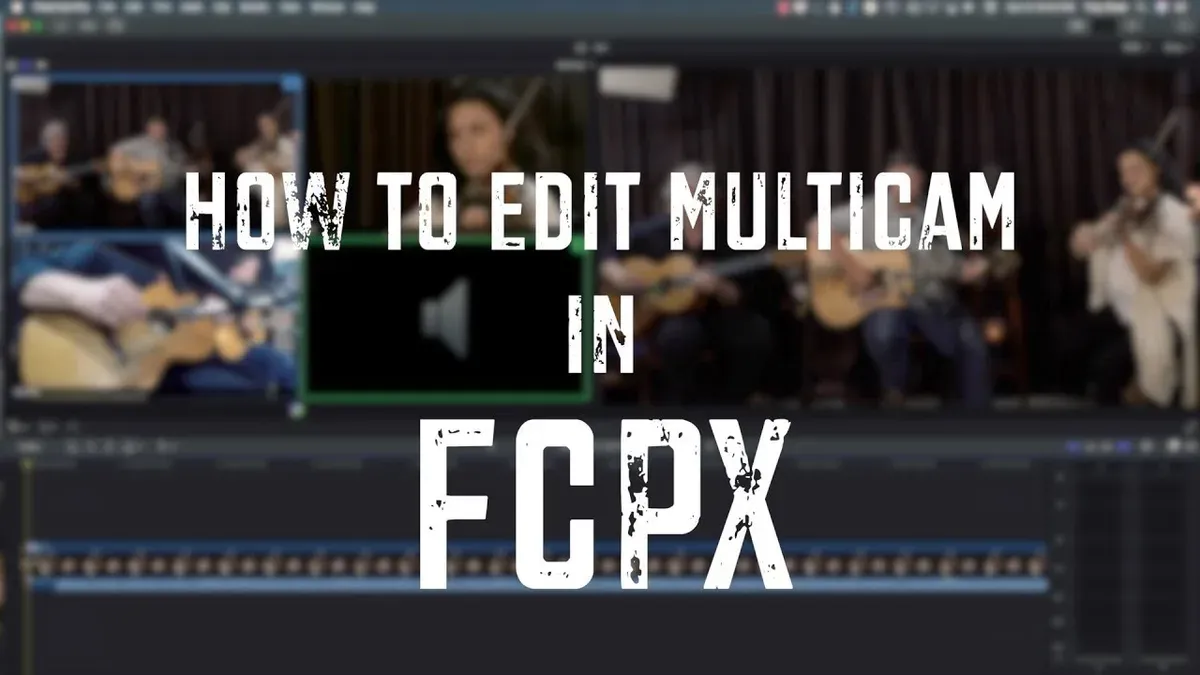
Audio sync mismatches or drift can cause noticeable delays between video and sound. To fix this, select the multicam clip in the timeline, open the Angle Editor, and realign audio by dragging the audio waveforms or adjusting the clip’s start time slightly. If drift persists, consider creating a new multicam clip with a more stable sync reference.
If the Angle Viewer doesn’t show all your angles, confirm that the multicam clip includes all intended angles and that none are disabled. Open the Inspector and verify the angle count matches your source clips. Refresh the Angle Viewer by toggling it off and on or restarting Final Cut Pro if necessary.
Performance issues or lag during multicam playback often stem from high-resolution clips or insufficient hardware resources. To improve playback, enable Optimized or Proxy Media in the Preferences > Playback tab, which reduces strain by using lower-resolution files. Also, close unnecessary applications to free memory.
After timeline edits, syncing can occasionally shift. To correct this, select the multicam clip, right-click, and choose Angle Editor to manually adjust angles. Alternatively, detach audio and realign as needed. If problems persist, re-create the multicam clip using the updated clips to ensure proper sync.
Frequently asked questions
How to use final cut pro?
To use Final Cut Pro, start by importing your media files through the File menu or by dragging them directly into the library. Organize your clips into events and projects to keep your workflow efficient. Use the timeline to arrange clips, add transitions, effects, and titles, and adjust audio levels. Familiarize yourself with the inspector panel for detailed clip adjustments and export your finished project through the Share menu.
How to edit multicam clip in final cut pro?
Begin by creating a multicam clip from your synchronized footage via the File > New > Multicam Clip option. Once created, add the multicam clip to your timeline. Use the Angle Viewer or keyboard shortcuts to switch between camera angles in real-time while playing back the clip. Finalize your edit by trimming and adjusting angles as needed for a seamless multi-camera sequence.
How to use Final Cut Pro for beginners?
For beginners, start with importing your media and organizing files into events. Learn to navigate the timeline and use basic editing tools like blade, trim, and ripple edit. Explore applying transitions and simple effects from the effects browser. Regularly save your project and experiment with exporting different formats to understand output options.
How to edit multicam clip in Final Cut Pro?
After creating a multicam clip, add it to your timeline. Open the Angle Viewer to see all camera angles simultaneously. Play the clip and switch angles by clicking in the Angle Viewer or using number keys. Use the blade tool to cut and adjust specific angle edits for precise control over your multicam sequence.
How to edit multiple clips in Final Cut Pro?
Import multiple clips into your event library and drag them onto the timeline in the desired order. Use the Select tool to move clips and the Blade tool to cut clips into sections. Adjust clip timing with the trim tools and add transitions between clips for smooth flow. Group clips with compound clips if needed to manage complex sequences more easily.
Understand the Limits of This Guide
This guide does not cover advanced color grading or audio mixing within multicam clips, which require additional workflows and software knowledge. If your project demands detailed color correction or complex audio post-production, you will need to explore specialized tools or dedicated plugins beyond Final Cut Pro's basic multicam functionality. Additionally, editors working with very large multicam projects or unusual formats might find that their workflow benefits from specialized hardware or third-party plugins that enhance performance and compatibility beyond what Final Cut Pro natively offers.
To move forward confidently, focus on mastering the fundamental workflow of creating and editing multicam clips as outlined here. The single most useful next step is to practice syncing multiple camera angles using both automatic audio waveform matching and manual timecode alignment. This hands-on experience will deepen your understanding of multicam clip creation and prepare you to handle more complex scenarios as you grow your editing skills.
See also: How to Apply LUTs in Final Cut Pro: A Step-by-Step Guide · How to Export for YouTube in iMovie: A Clear Step-by-Step Guide