
How to Fix ‘Disk Not Ejected Properly’ on Mac: Step-by-Step Guide
Step-by-step guide to fix disk not ejected properly on Mac and safely eject external drives to prevent data loss and hardware damage.
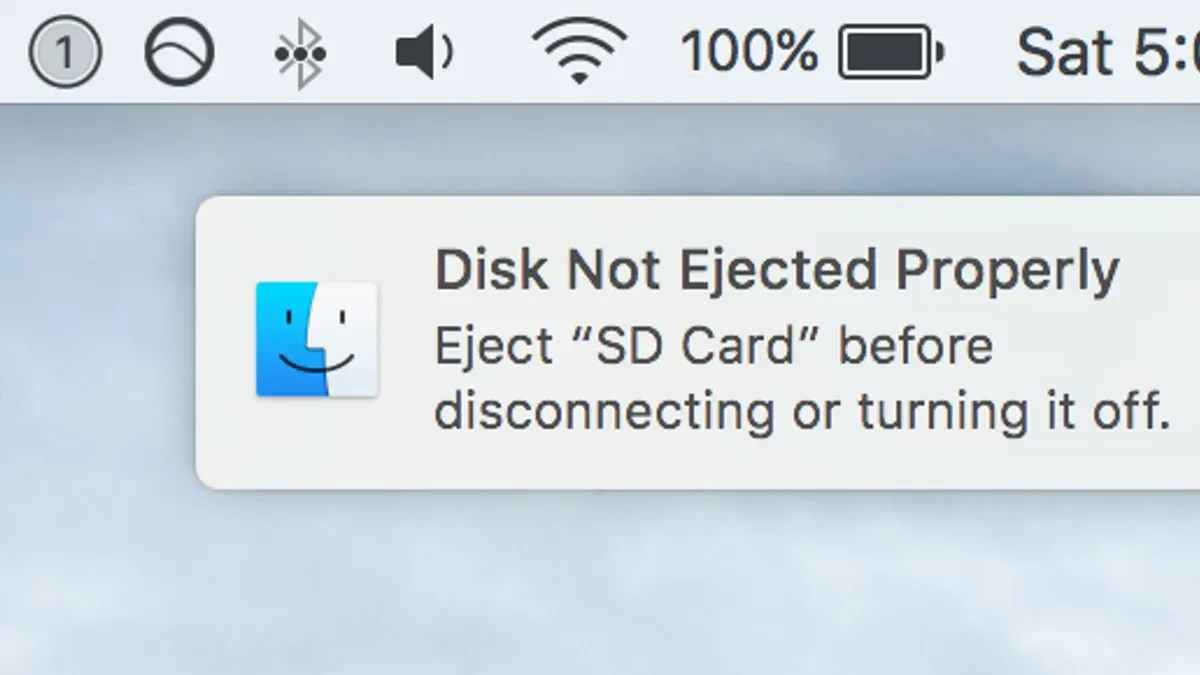
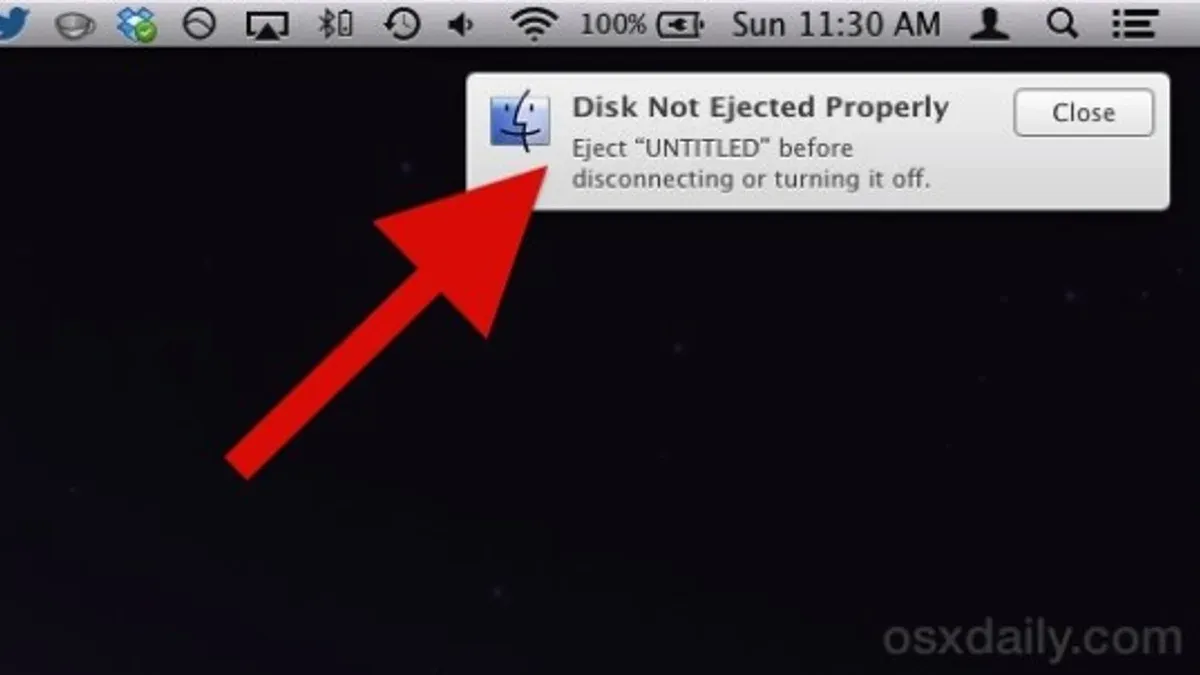
You've just finished transferring important files to your external drive, and when you try to eject it, the warning “disk not ejected properly” pops up. This can be frustrating and worrying because it might mean your data is at risk or your drive could get damaged.
This article guides you through a reliable disk not ejected properly on Mac fix. You will learn how to safely eject your external drives and troubleshoot common issues that cause this warning, helping you protect your data and hardware.
Key takeaways
- Always quit apps or processes that are using the external drive before ejecting.
- Use Disk Utility’s eject or force unmount options if the standard eject fails.
- Restart Finder or your Mac to release any disk locks that prevent safe ejection.
- Run First Aid in Disk Utility to detect and repair disk errors regularly.
- Disable “Put hard disks to sleep when possible” in Energy Saver to avoid forced ejects.
Before You Start: What You Need to Fix Disk Ejection Issues
To effectively address the “disk not ejected properly” warning on your Mac, you need a few essential tools and some understanding of why proper ejection matters. First, ensure you have a Mac running macOS that recognizes your external disk. The disk itself should be connected using a reliable USB or Thunderbolt cable, as faulty cables can cause connection issues leading to this error.
Properly ejecting external drives is crucial because abrupt disconnections can lead to data corruption or even permanent damage to the disk’s file system. Apple’s official guidance emphasizes safely ejecting drives to protect your data integrity and prevent unexpected drive failures.
This guide assumes your external disk is physically connected and mounted by macOS but encounters issues during ejection. Before starting any troubleshooting, confirm that the disk appears on your desktop or in Finder’s sidebar. If it does not, connection or hardware problems may need to be addressed first.
- Check that your Mac is powered on and logged in; you should see your desktop.
Success indicator: The external disk icon appears on the desktop or Finder sidebar. - Verify the external disk is connected with a verified USB or Thunderbolt cable.
Success indicator: The disk mounts and is accessible in Finder. - Confirm you are ready to safely eject the disk and troubleshoot any warnings.
Success indicator: You understand that improper ejection risks data loss and are prepared to follow safe procedures.
Check for Active Processes Using the Disk and Quit Them
When your Mac shows the ‘disk not ejected properly’ warning, it often means some apps or processes are still accessing the external drive. These active read or write operations prevent safe ejection and lead to errors. To fix this, you need to identify and quit those processes before ejecting the disk.
Start by closing any open files or apps that might be using the disk, such as document editors, media players, or backup software. However, if you are unsure which processes are involved, the Activity Monitor is a valuable tool for pinpointing disk-related activity.
- Open Activity Monitor from the Applications > Utilities folder. You will see a list of all running processes.
- Click the Disk tab at the top to sort processes by disk usage. Look for any process showing significant read or write activity on your external disk.
- Select the suspicious process, then click the Stop button (a hexagon with an “X” in the toolbar).
- Choose Quit to close the app gracefully. If it doesn’t respond, select Force Quit to terminate it immediately.
- After quitting these processes, try ejecting your disk again. The warning should no longer appear if all disk activity has stopped.
For example, if a backup app is running and using the disk, quitting it in Activity Monitor will release the disk locks. This straightforward step often resolves the issue without needing a full restart.
Use Disk Utility to Eject or Force Unmount the Disk
If Finder’s eject button doesn’t work, Disk Utility offers an effective alternative to safely remove your external disk. This method can help you bypass issues caused by Finder locks or background processes.
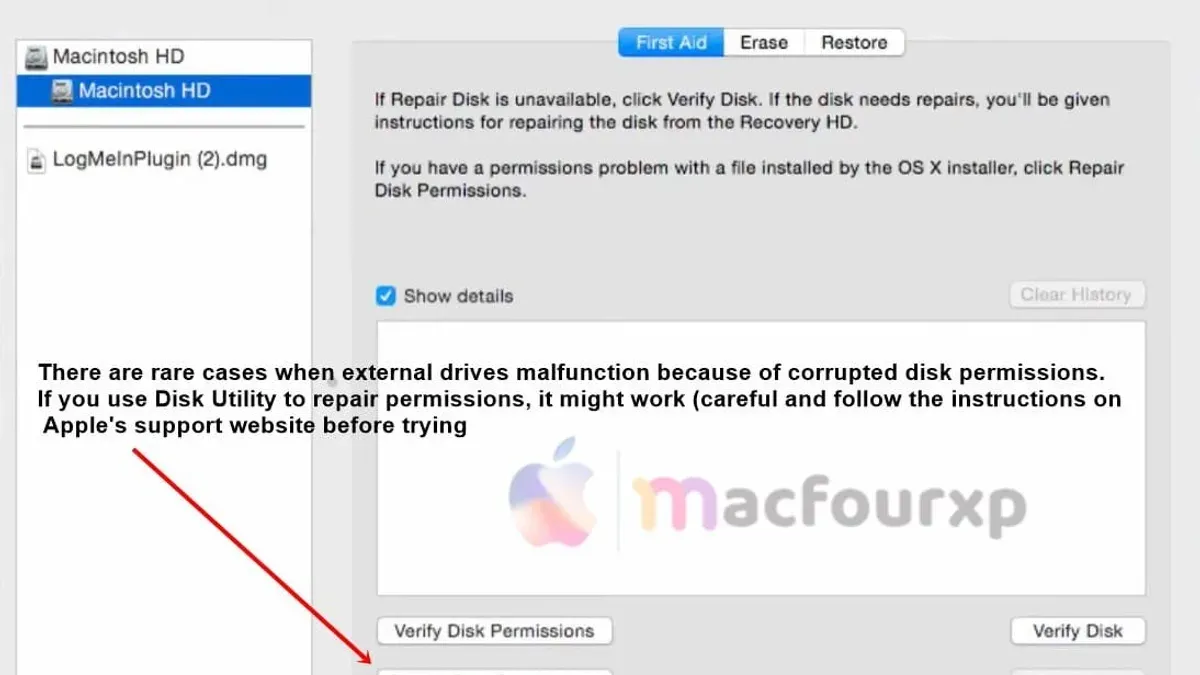
- Open Disk Utility from the Applications > Utilities folder. You’ll see a list of all connected drives on the left side.
- Select your external disk from the sidebar. Confirm it’s the correct drive by checking the disk name and size shown.
- Click the Eject button in the toolbar. When successful, the disk will disappear from the sidebar, indicating it is safely ejected.
- If the disk fails to eject normally, click the Unmount button instead. This detaches the disk from the system without powering it down, which can help release stubborn file locks.
- Use Force Unmount only if the standard Unmount option doesn’t work. This option forcibly disconnects the disk, which can risk data loss, but is sometimes necessary when the disk refuses to eject.
Disk Utility's eject and unmount options often succeed where Finder’s eject fails, especially when background processes or Finder issues interfere. Force Unmount should be a last resort to avoid potential data corruption.
Restart the Finder and Your Mac to Release Disk Locks
Sometimes, the 'disk not ejected properly' warning persists because the Finder or other system processes still hold a lock on the external disk. Restarting the Finder can often clear these locks without needing a full system reboot.
- Click the Apple menu in the top-left corner of your screen and select Force Quit. This opens the Force Quit Applications window.
- In the list, select Finder and then click Relaunch. Your screen may briefly flicker, and the Finder will restart. After this, try ejecting the disk again.
If restarting the Finder does not resolve the issue, a full Mac restart is usually the next step. Restarting your Mac releases any system-level locks on the disk that cannot be cleared by relaunching Finder alone.
- Save all your open documents and close applications to avoid losing work.
- Click the Apple menu and choose Restart. Once your Mac boots back up, try ejecting the disk again.
For example, users often notice the error linger even after quitting apps. Relaunching Finder typically fixes the problem within seconds. If not, a restart usually clears the issue within a minute or two, allowing safe disk ejection without data loss.
Check and Repair Disk Errors Using First Aid in Disk Utility
Disk errors are a common cause of the ‘disk not ejected properly’ warning. When your Mac detects issues with the file system or disk partition, it may prevent safe ejection to avoid data loss. Using the First Aid feature in Disk Utility can help identify and repair these errors before you disconnect your external drive.
- Open Disk Utility from the Applications > Utilities folder.
- In the sidebar, select your external disk or the specific volume showing the warning.
- Click the First Aid button at the top, then confirm to run it.
- Wait for First Aid to complete its check. A successful run will say "The volume appears to be OK" or "Operation successful." This means no major errors were found or all detected issues were repaired.
- If First Aid reports errors it cannot fix, it will advise you to back up your data immediately and consider reformatting the disk.
For example, First Aid may find corrupted directory structures on your external disk partition. It attempts to repair them, allowing your Mac to eject the disk safely afterward. If repairs fail, backing up your files before reformatting is crucial to avoid data loss.
Disable ‘Put Hard Disks to Sleep When Possible’ to Avoid Forced Ejects
macOS includes a power management feature that puts hard disks to sleep when possible, which can interrupt communication with external drives and trigger the “disk not ejected properly” warning. This setting is found in the Energy Saver preferences on desktop Macs and in the Battery preferences on MacBooks. Disabling it helps maintain a constant connection to your external disk, reducing the chance of unexpected ejection messages.
This issue is most relevant for Macs running older versions of macOS and those using traditional spinning hard drives (HDDs) rather than solid-state drives (SSDs), as SSDs are less affected by sleep mode. User reports and Apple support discussions link this setting to frequent disk ejection warnings, especially when external HDDs are connected via USB or Thunderbolt.
- Open System Preferences from the Apple menu and select Energy Saver (desktop Macs) or Battery (MacBooks). You should see your power management options.
- Look for the option labeled Put hard disks to sleep when possible. If checked, uncheck this box to disable the feature.
- Close System Preferences. Your Mac will now keep the hard disks active, reducing the risk of forced eject warnings during use.
Avoid Disconnecting Disks During Data Transfer
To prevent the ‘disk not ejected properly’ warning and protect your data, always ensure that data transfer between your Mac and the external drive has fully completed before unplugging. Disconnecting a disk while files are still copying can cause file corruption or loss, interrupt ongoing processes, and may even damage the drive’s file system.
- Check for active disk activity in Finder by selecting the external drive and observing the progress bar or copying indicator; if you see any moving progress bars or spinning icons, data transfer is in progress.
- Alternatively, open Terminal and type sudo fs_usage | grep /Volumes/YourDiskName (replace YourDiskName with your disk’s name) to monitor real-time disk access; if output appears, wait until it stops.
- Wait until no file transfers are showing in Finder and the Terminal command returns no activity, confirming all operations have finished.
- Once transfer completes, safely eject the disk using Finder’s eject button or Disk Utility; you should see the disk icon disappear from your desktop and sidebar.
For example, disconnecting a drive during a large video file transfer can leave the file partially written and unusable, while waiting for completion ensures the file is intact and accessible. This careful approach avoids the common risk of data loss or disk errors associated with premature disconnection.
Troubleshoot External Hardware and Connection Issues
If you continue to see the ‘disk not ejected properly’ warning despite trying software fixes, it’s time to inspect your hardware and connections. Faulty cables, ports, or hubs often cause intermittent disconnects that trigger this message. Testing these elements systematically can help identify the culprit.
- Disconnect your external drive and try plugging it into a different USB or Thunderbolt port on your Mac. When successful, the disk should mount normally without error warnings.
- Use a different cable known to work with other devices. If the warning disappears, the original cable is likely faulty.
- Test the original cable and external drive on another Mac or PC. If errors occur there too, the cable or drive may be at fault.
- If you use a USB hub, switch to a powered USB hub or connect directly to your Mac’s port. A powered hub can provide more stable power and data transfer, reducing disconnects.
- After replacing cables or changing ports, observe if the disk eject warnings stop. Many users report error resolution after swapping out faulty cables or using alternative ports.
By isolating hardware issues through these steps, you can ensure a stable physical connection, significantly reducing the chances of the ‘disk not ejected properly’ warning.
Frequently asked questions
Why does my Mac say ‘disk not ejected properly’ even though I always eject safely?
This warning can appear if background processes or apps are still accessing files on the drive when you eject it. Sometimes, macOS delays or interrupts the unmount process if system tasks like Spotlight indexing or Time Machine backups are running. Ensuring all files and apps using the disk are fully closed before ejecting helps prevent this message.
Can ignoring this warning cause permanent data loss or disk damage?
Yes, repeatedly ignoring the warning risks corrupting files or damaging the disk’s file system. Improper ejection can interrupt ongoing read/write operations, leading to incomplete data transfers or loss. To protect your data integrity, always follow safe ejection steps and resolve issues if the warning appears frequently.
Are there macOS settings I can change to reduce these disk ejection errors?
You can disable “Put hard disks to sleep when possible” in System Settings under Energy Saver or Battery preferences. This prevents the drive from entering sleep mode, which sometimes causes forced ejections. Also, avoid disconnecting external drives during active data transfers, and consider using Disk Utility’s First Aid to fix minor disk errors that might trigger ejection problems.
How do I know if my external drive is failing and causing ejection problems?
Signs of a failing drive include frequent disconnections, slow response times, unusual noises, or errors when running Disk Utility’s First Aid. If your Mac repeatedly warns about improper ejection despite proper handling, testing the drive on another Mac or using manufacturer diagnostic tools can confirm hardware issues. Backup your data promptly if you suspect drive failure.
What This Guide Does Not Cover
This guide focuses on software-level solutions and common user actions to safely eject external drives and troubleshoot the 'disk not ejected properly' warning. It does not cover situations where the external drive has hardware issues such as physical damage, mechanical failure, or corrupted firmware that require professional data recovery services. If your drive is making unusual noises, not recognized at all, or consistently failing to mount despite multiple attempts, consulting a data recovery specialist or the drive manufacturer is recommended.
Attempting to fix hardware failures without proper tools or expertise can lead to permanent data loss. Additionally, this guide does not address scenarios involving complex RAID configurations or network-attached storage devices, which have their own specific troubleshooting processes.
For most users, the next best step after following these instructions is to regularly back up your data using Time Machine or another backup solution. Consistent backups provide protection against unexpected disk errors or failures and reduce the risk of losing important files.
See also: How to Fix MacBook Pro M1 Pro USB-C Port Not Working: A Step-by-Step Guide · How to Manage and Free Up MacBook Pro M1 Pro Storage Effectively · How to Connect External Monitors to MacBook Pro M1 Pro



