
How to Manage and Free Up MacBook Pro M1 Pro Storage Effectively
Discover effective ways to manage and free up storage on your MacBook Pro M1 Pro when the storage full message appears.
You’ve just tried to save a new file or install an app, but your MacBook Pro M1 Pro storage full message pops up. It’s frustrating when your device slows down or won’t let you add anything more because the storage is packed.
This article walks you through understanding how storage works on your MacBook Pro M1 Pro, pinpointing what’s taking up space, and clearing out unnecessary files without losing important data. You’ll also learn how to use external and cloud options effectively, automate storage management, and avoid common pitfalls that worsen storage issues. Finally, we’ll cover when upgrading your storage or device might be the best solution.
Key takeaways
- Check storage usage in Apple menu > About This Mac > Storage for a clear breakdown.
- Remove large, unused files and clear caches via Finder and System Settings.
- Use iCloud Drive and external SSDs to offload less-frequently accessed data.
- Enable Optimize Storage and Empty Trash Automatically to maintain free space.
- Avoid deleting system files manually to prevent performance problems.
Understand How MacBook Pro M1 Pro Storage Works
Your MacBook Pro M1 Pro uses a solid-state drive (SSD) that is notably faster than those found in many older MacBook models. This speed boost comes from the integration of the SSD controller directly within the M1 Pro chip architecture, which enables read and write speeds that often exceed 5 GB/s—significantly higher than the typical 2 GB/s or less in previous Intel-based MacBooks. This rapid data transfer improves everything from boot times to app launches.
macOS manages storage differently compared to Windows or older Macs, largely due to the Apple File System (APFS). APFS is optimized for flash and SSD storage, offering features like space sharing and cloning that make storage usage more efficient but sometimes confusing. For example, APFS allows multiple files to share the same physical space if their contents are identical, which means the system’s reported storage usage can differ from what you might expect.
You might notice your storage appears nearly full even when macOS shows some free space. This happens because macOS reserves space for system snapshots, local backups, and caching to maintain system performance and data integrity. To view a detailed breakdown, open the Apple menu, select About This Mac, then go to Storage and click Manage. Here, you’ll see categories such as System, Documents, Apps, and others, helping you understand exactly where your storage is allocated.
Imagine you have a 1TB SSD, and macOS reports 200GB free, but your apps and files only sum up to 700GB. The difference often lies in system-managed space like snapshots or APFS metadata, which are essential but not immediately visible in Finder. Recognizing how APFS and macOS storage management work together helps you make informed decisions on freeing space without risking important data.
Identify What Is Taking Up Space on Your MacBook Pro
To effectively manage your storage, start by opening About This Mac from the Apple menu, then click on Storage and Manage. Here, macOS breaks down your files into categories like Applications, Documents, System, and Other, providing recommendations such as emptying trash automatically or reviewing large files. This overview helps you spot where the largest space consumers lie.
Next, manually locate large files by selecting Documents in Storage Management and sorting by size. Look for unusually large videos, disk images, or old backups. Similarly, duplicates can be hidden space hogs; tools like Gemini 2 or Duplicate File Finder Remover are reputable third-party apps that safely scan and help you remove duplicates, often reclaiming gigabytes.
Remember, caches, logs, and temporary files can accumulate significantly. While macOS manages these files automatically, using apps like CleanMyMac X or OnyX allows controlled cleaning of unnecessary system files without risking important data. For example, deleting a few large duplicate photo libraries and clearing caches can free tens of gigabytes, as shown when Storage Management’s available space increases noticeably after cleanup.
Clean Up System and User Files Without Losing Important Data
Start by safely clearing cache and log files, which can accumulate significant space over time. Open Finder, then select Go > Go to Folder and enter ~/Library/Caches. Delete the contents of folders here, but avoid removing the folders themselves to prevent system issues. Similarly, clear log files found in ~/Library/Logs. This can often reclaim a few gigabytes without harming your data.
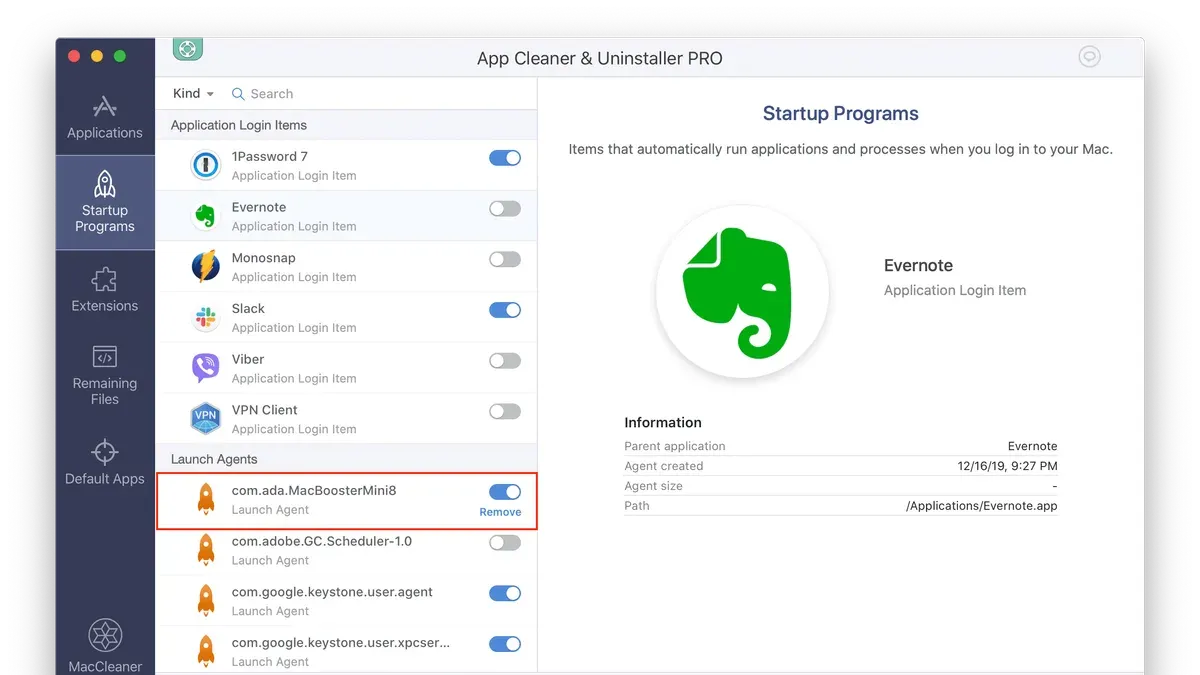
Next, manage iCloud Drive and optimize storage settings by going to Apple menu > About This Mac > Storage > Manage. Enable Optimize Mac Storage to keep only recent files locally while older ones stay in iCloud, freeing substantial space.
Remove old iOS backups by opening Finder, selecting your device under Locations, then clicking Manage Backups. Delete any outdated backups you no longer need. Also, uninstall unused apps via Applications in Finder or through Launchpad by clicking and holding an app icon until it jiggles, then clicking the “X.”
Finally, empty the Trash and regularly clean out your Downloads folder, which often contains forgotten large files. For example, clearing caches and deleting two old iOS backups might free around 5-10 GB, and removing unused apps another few gigabytes. Before cleanup, storage might show 90 GB used; after, it could reduce to about 75 GB, significantly improving available space without risking important files.
Use External and Cloud Storage to Expand Your Space
When your MacBook Pro M1 Pro storage is full, external drives and cloud storage offer practical solutions to extend space without compromising performance. For external drives, choose SSDs with Thunderbolt 4 support to match your MacBook’s high-speed interface. These drives typically deliver read/write speeds exceeding 2500 MB/s, ensuring that transferring large files like video projects or photo libraries won’t slow you down, unlike traditional HDDs which are much slower and less reliable.
Cloud services like iCloud Drive, Google Drive, and Dropbox can also help manage storage by offloading files you don’t access daily. Set up iCloud Drive syncing via System Preferences > Apple ID > iCloud, enabling "Optimize Mac Storage" to keep only recent files locally while older ones remain in the cloud. Google Drive and Dropbox apps offer selective sync options, so you can choose specific folders to keep offline, preventing unnecessary local storage use.
For example, moving your photo library or large video files to an external Thunderbolt SSD or syncing them with iCloud can free tens of gigabytes of space. The key is balancing what you keep locally for quick access and what you store externally or in the cloud. Regularly review your local vs cloud files in Finder under iCloud Drive or your synced folders to avoid clutter and ensure smooth workflows.
Automate Storage Management to Prevent Future Full Storage Issues
To keep your MacBook Pro M1 Pro storage optimized consistently, start by enabling macOS’s built-in automation features. Navigate to Apple menu > About This Mac > Storage > Manage, then turn on Optimize Storage. This feature automatically removes Apple TV movies and shows you've already watched and only keeps recent email attachments locally, saving space without deleting your files permanently. Also, enable Empty Trash Automatically to delete items in the Trash after they’ve been there for 30 days, preventing trash buildup from silently consuming your storage.
Using Smart Folders and Tags helps you organize files effectively. For example, create a Smart Folder that displays files larger than 100 MB, so you can quickly review and decide if they can be archived or deleted. Tag important files with colors or keywords to find them easily without duplicating or scattering data.
Schedule a monthly calendar reminder to manually review large files and backups. This habit prevents unnoticed accumulation of outdated or duplicated files. When backing up, use Time Machine with an external drive, but also archive rarely accessed files to a separate external SSD or cloud service for long-term storage. This layered approach ensures your internal storage stays healthy while your data remains accessible.
Users who activate these settings often observe a gradual increase in available free space over a month, as macOS intelligently manages local copies and removes unnecessary files. This steady maintenance avoids sudden storage shortages and keeps your MacBook Pro performing smoothly.
Avoid Common Mistakes That Can Worsen Storage Problems
One common error is deleting system files or caches without understanding their role. For example, removing files from the /System or /Library folders can destabilize macOS or cause apps to malfunction. Cached data, while it takes space, often speeds up processes; deleting caches indiscriminately may force your MacBook Pro to rebuild them, temporarily slowing down performance.
Another frequent pitfall is relying solely on “cleaner” apps that promise to free space quickly. These tools sometimes remove important files or settings because they don’t differentiate critical data from safe-to-delete items. Without reviewing what these apps target, you risk accidental data loss or corrupting apps.
Beware of offloading critical work files to external or cloud storage without maintaining local backups. If syncing fails or drives become disconnected, you could lose access to essential documents exactly when you need them. Always keep multiple copies of important files in different locations.
Finally, ignoring storage warnings or postponing cleanup until your disk is nearly full can cause slowdowns and app crashes. For instance, when the free space drops below 10%, macOS performance often degrades noticeably. Address storage alerts promptly to maintain smooth operation.
When to Consider Upgrading Your Storage or Device
If you find that managing storage through cleanup, external drives, and cloud solutions is becoming a constant strain, it might be time to evaluate upgrading. A key sign is frequent performance slowdowns or system alerts warning of critically low space despite your best efforts. On M1 Pro models, internal storage is soldered onto the logic board, so upgrading the SSD after purchase is not possible, limiting you to your device’s original capacity.
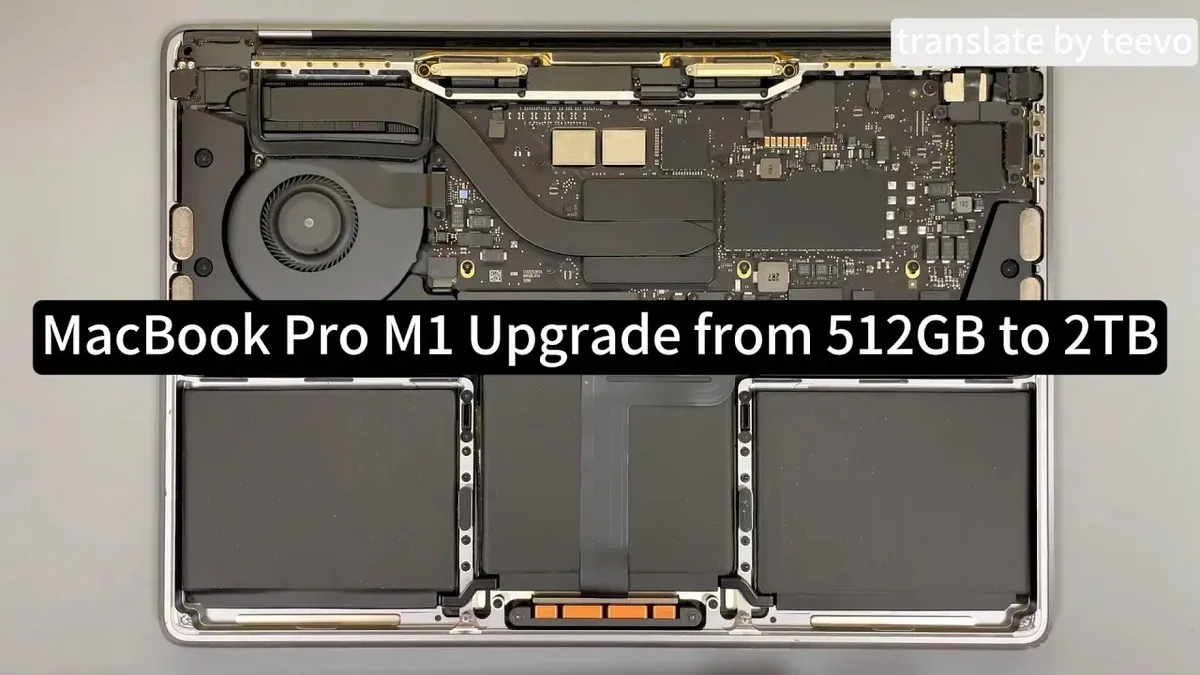
Purchasing a new MacBook Pro with larger built-in storage offers seamless performance without juggling external drives. However, this comes at a significantly higher cost compared to adding a high-speed Thunderbolt 4 external SSD. For example, an external 2TB SSD can cost a fraction of upgrading to a new MacBook Pro with double the internal storage and can still provide fast file access.
Alternatively, adjusting your workflow by archiving older projects to external drives or using tiered cloud storage can mitigate storage constraints without new hardware. Yet, if you rely on intensive apps and large files daily, near-full internal storage impacts performance noticeably, making a new device with more capacity a practical long-term solution.
Frequently asked questions
How do I check what's using the most storage on my MacBook Pro M1 Pro?
Open the Apple menu and select About This Mac, then go to the Storage tab and click Manage. This opens the Storage Management window, where you can see a detailed breakdown of storage categories such as Applications, Documents, System, and more. Reviewing this helps you identify which file types or apps are consuming the most space.
Is it safe to delete cache files to free up space?
Deleting some cache files can free up space, but be cautious as caches help apps load faster and maintain settings. Only remove cache files from user folders, such as ~/Library/Caches, and avoid system caches that macOS manages automatically. If you delete caches, apps might temporarily load slower until new caches are rebuilt.
Can I use any external drive to expand my MacBook Pro storage?
You can use most external drives formatted as APFS or Mac OS Extended (Journaled) for optimal compatibility. Drives formatted in exFAT or FAT32 work but may have limitations with macOS features like Time Machine backups. For best performance and reliability, use a Thunderbolt 3 or USB-C SSD formatted appropriately.
What happens if my MacBook Pro storage is completely full?
If storage is full, your Mac may slow down significantly, and some apps or system processes might fail to work properly. You could encounter issues saving new files or installing updates. It's important to free space promptly to maintain system stability and avoid data loss.
What This Guide Does Not Cover
This guide does not cover hardware repair or data recovery for physically damaged drives. If your MacBook Pro M1 Pro has suffered a hardware malfunction or if you are facing critical data loss, it is essential to consult professional repair services or data recovery specialists. Attempting fixes beyond software-based storage management could lead to permanent data loss or further damage to your device.
Additionally, this article does not address upgrading internal storage hardware, which requires professional expertise and may not be supported on all MacBook Pro M1 Pro models.
Next Step: Start with Storage Management Recommendations in System Settings
The most effective next step is to open the Apple menu, select About This Mac, then click the Storage tab, and choose Manage. Here, you can access built-in storage management tools like Store in iCloud, Optimize Storage, and Reduce Clutter. Begin by reviewing large files and unused apps flagged in the Reduce Clutter section, as users often overlook this. Regularly using these integrated tools helps maintain healthy storage levels and prevents full storage issues from recurring.
See also: How to Fix MacBook Pro M1 Pro Lagging and Freezing: A Step-by-Step Guide · How to Fix Your MacBook Pro M1 Pro Slowing Down After an Update · How to Update macOS on Your MacBook Pro M1 Pro · How to Factory Reset Your MacBook Pro M1 Pro Safely



