
How to Delete Old Simulators in Xcode: Step-by-Step Guide
Free up disk space and improve your Mac’s performance by learning how to delete old simulators in Xcode safely and efficiently.
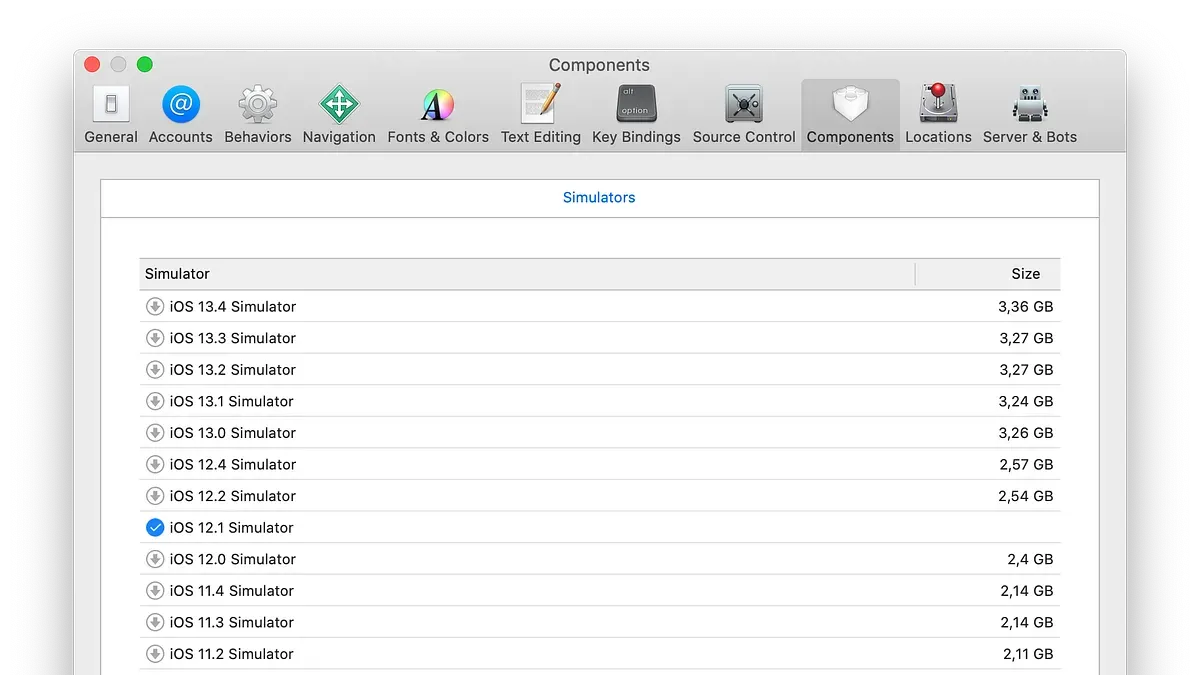
You’ve probably noticed your Mac’s storage slowly filling up after months of development work in Xcode. Old simulators from previous projects or outdated iOS versions can take up several gigabytes without you realizing it. Knowing how to delete old simulators in Xcode is essential to free disk space and maintain a clean, efficient development environment.
This article guides you through practical methods to remove unused simulators, whether through Xcode’s Devices and Simulators window, Terminal commands, or a complete uninstall if necessary. You’ll also learn when it makes sense to delete simulators and how to avoid disrupting your workflow.
Key takeaways
- Old simulators can consume significant disk space, impacting your Mac’s performance.
- Use the Devices and Simulators window in Xcode to selectively remove unwanted simulators safely.
- Terminal commands offer a faster, more comprehensive way to delete simulators but require caution.
- Uninstalling Xcode removes all simulators and related data if you want a complete reset.
- Managing simulator downloads efficiently prevents clutter and helps avoid common issues with missing or malfunctioning simulators.
Before you start: What you need to know about Xcode simulators
Xcode simulators replicate iOS, watchOS, and tvOS devices on your Mac, letting you test apps without physical hardware. Over time, multiple simulator versions accumulate because Xcode installs different iOS versions to support testing across device generations. This can lead to significant disk space usage, often several gigabytes, depending on how many simulators are installed. For example, a typical developer machine might have 5 to 10 simulators consuming tens of gigabytes collectively.
Deleting simulators can free disk space and improve Xcode’s responsiveness, but it does not affect your actual app projects or source code. Deleting simulators only removes the virtual device environments, not your development work. However, if you use simulator data such as app settings, documents, or databases for testing, back up this data beforehand to avoid losing it.
Also, be aware that simulator availability depends on both your Xcode and macOS versions. Some simulators are only compatible with newer Xcode releases or macOS versions, so removing old simulators might limit testing on earlier OS versions if you need that in the future. Confirm your compatibility requirements before deleting.
How to delete all simulators in Xcode using Devices and Simulators window
To clean up your simulator list graphically, start by opening the Devices and Simulators window. In Xcode, go to the Window menu and select Devices and Simulators. This opens a window divided into two tabs: Devices and Simulators.
Click on the Simulators tab to view all installed simulators. You can delete simulators selectively or remove them all at once. To select multiple simulators, hold down the Command key while clicking each simulator you want to remove. Selected simulators will be highlighted.
Once your selection is ready, click the minus (–) button at the bottom of the list. A confirmation dialog will appear asking if you want to delete the selected simulators. Confirm the deletion to free up disk space.
When deciding which simulators to delete, focus on older iOS versions or device types you no longer need for testing. Simulators for devices you actively develop on should be kept to avoid download and setup time later.
Note the difference between deleting a simulator and resetting its content and settings. Deleting removes the entire simulator from your system, while resetting clears the data but keeps the simulator installed. Use resetting if you want to start fresh without reinstalling the simulator.
This graphical approach is user-friendly and ideal if you prefer avoiding Terminal commands. The Devices and Simulators window provides a clear overview and control over your simulator inventory.
How to remove old simulators from Xcode using Terminal commands
If you prefer a faster, scriptable way to manage simulators, Terminal commands using xcrun simctl provide powerful control. First, you can list all installed simulators with their identifiers and states by running xcrun simctl list. This output helps you identify which simulators are outdated or unnecessary.
- Run xcrun simctl list in Terminal. You will see a list of device types and runtimes, with device UUIDs and statuses. For example, an iPhone 8 running iOS 14.4 might appear as
iPhone 8 (UUID) (Shutdown). - To delete a specific simulator, use xcrun simctl delete <UUID>, replacing <UUID> with the simulator’s unique identifier. After running this, re-list simulators to confirm the device is removed.
- For batch deletion, you can combine commands with filtering. For instance, to delete all simulators running iOS 14.4, parse the list output with grep and xargs:
xcrun simctl list devices | grep 'iOS 14.4' | grep Shutdown | awk -F '[()]' '{print $2}' | xargs -I {} xcrun simctl delete {}. This deletes only shutdown simulators of that version, avoiding active ones. - Check disk space before and after deletion with
df -hordu -sh ~/Library/Developer/CoreSimulator/Devicesto see the impact.
Precautions: Only delete simulators that are not in use and ensure your active development targets are not removed. Deleting a simulator that Xcode expects can cause errors or require re-downloading. Always verify UUIDs carefully and prefer deleting shutdown devices.
How to uninstall Xcode to remove all simulators and related data
Uninstalling Xcode is the most thorough way to remove all simulators, derived data, and related developer tools, freeing up significant disk space. This approach is suitable if you want to reclaim maximum storage or plan to reinstall Xcode from scratch. However, be aware that uninstalling will erase all your Xcode settings, preferences, and cached data, so only proceed if you are prepared to set up your development environment again.
Follow these steps to completely uninstall Xcode and all associated files:
- Quit Xcode if it is running. You should see no Xcode processes in Activity Monitor.
- Open Finder, go to the Applications folder, and drag the Xcode app to the Trash. This removes the main application bundle.
- Delete the derived data folder by opening Finder, selecting the Go menu, choosing Go to Folder, and entering ~/Library/Developer/Xcode/DerivedData. Move all contents to the Trash. This clears cached builds and index files.
- Remove simulator data by going to ~/Library/Developer/CoreSimulator/Devices and deleting all device folders. This step deletes all installed simulators and their data.
- Empty the Trash to free disk space permanently.
After completing these steps, you should notice a considerable reduction in used disk space compared to just deleting simulators individually. Keep in mind that you'll need to download or reinstall Xcode and simulators if you continue development later.
How to manage and troubleshoot Xcode simulators not showing or behaving correctly
Sometimes, Xcode simulators may not appear in the Devices and Simulators window, or you might encounter errors like “No Selection” when trying to interact with devices. These issues often stem from corrupted simulator data or service glitches. Resetting simulators and restarting relevant services can usually resolve these problems.
- Close Xcode completely to ensure no simulator processes are running.
- Open Terminal and run xcrun simctl shutdown all to stop all active simulators; you should see no error messages if successful.
- Delete the simulator cache by removing the folder
~/Library/Developer/CoreSimulator/Devices. You can do this withrm -rf ~/Library/Developer/CoreSimulator/Devices. This clears corrupted or stale data. - Restart Xcode and open the Devices and Simulators window; your simulators should now appear correctly without errors.
- If you see the “No Selection” error, ensure you have selected a simulator in the Devices pane; if the problem persists, restarting Xcode and repeating the cache clear helps.
Note that Xcode simulators are macOS-exclusive, but you can access simulator functionality on Windows through remote Mac environments or third-party tools like Appetize.io, though these come with limitations in performance and features.
How to run and download iOS simulators in Xcode efficiently
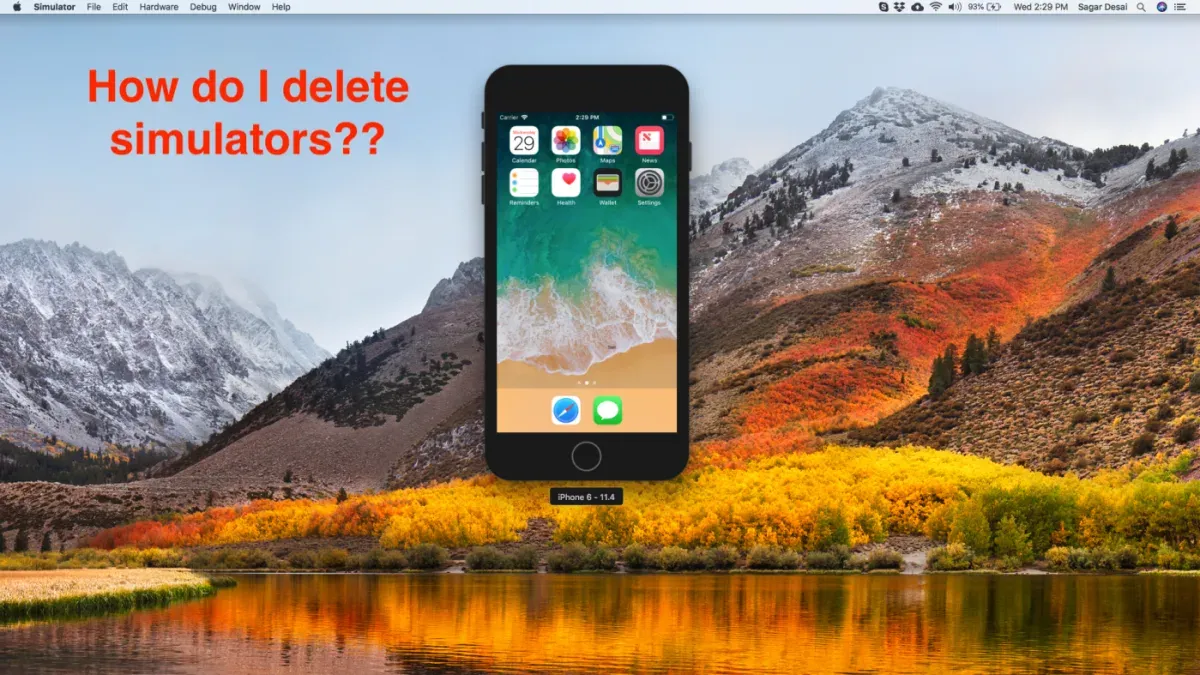
Running simulators in Xcode is straightforward and helps you test your app on various devices without physical hardware. To start a simulator, select the target device from the device toolbar in your Xcode project window. When you choose a simulator and hit the Run button, Xcode automatically launches the selected simulator, showing your app running as expected.
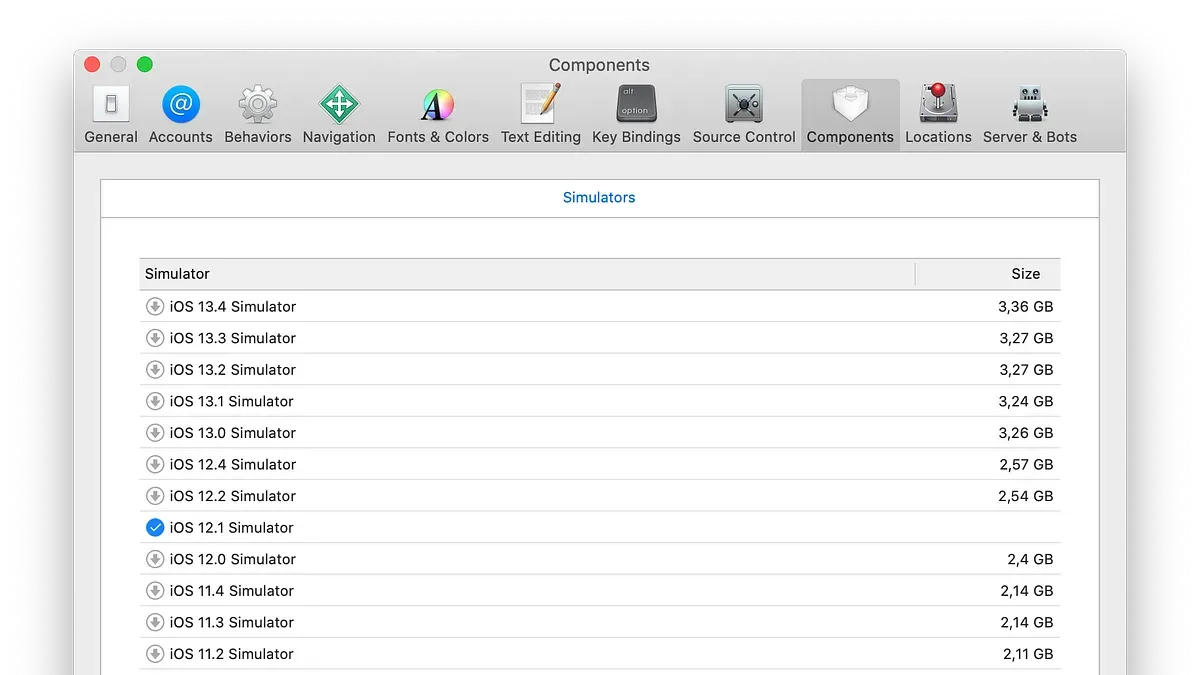
Downloading simulator runtimes selectively is key to managing disk space. In Xcode, open Preferences and go to the Components tab. Here, you can see available simulator runtimes and their sizes, often ranging from a few hundred megabytes to several gigabytes. Download only the runtimes you actively need for your current development, avoiding unnecessary storage use.
Xcode has an automatic simulator cleanup policy that removes unused simulator data after a period of inactivity, typically when disk space is low. You can control this behavior by adjusting the "Automatically manage simulator devices" setting in the Devices and Simulators window. Disabling it lets you keep specific simulators indefinitely, but this can increase disk usage.
Consider keeping simulators corresponding to your main testing devices or OS versions you support. Delete older or rarely used simulators to reclaim space. For example, choosing to keep only the latest iOS versions and device types relevant to your projects can reduce simulator storage by several gigabytes without impacting your workflow.
Frequently asked questions
How to delete all simulators xcode?
To delete all simulators in Xcode, open the Devices and Simulators window via Window > Devices and Simulators. In the Simulators tab, select each simulator you want to remove, then click the minus (–) button to delete them. Alternatively, you can use Terminal commands like xcrun simctl delete unavailable to remove simulators no longer available or xcrun simctl delete all to delete all simulators at once. Be cautious with bulk deletions to avoid removing simulators you still need.
How to uninstall Xcode completely from Mac?
To fully uninstall Xcode, drag the Xcode app from the Applications folder to the Trash. Then, remove related files by deleting the ~/Library/Developer/Xcode and ~/Library/Caches/com.apple.dt.Xcode folders. You might also want to delete simulators stored in ~/Library/Developer/CoreSimulator. Empty the Trash afterward to free up disk space completely.
How to delete unused simulators in Xcode safely?
Identify unused simulators in the Devices and Simulators window by checking their last usage or if they correspond to outdated iOS versions. Delete simulators one by one via the minus (–) button to avoid accidental removal. Using xcrun simctl delete unavailable in Terminal safely clears simulators for deleted or unsupported iOS versions without affecting active ones.
Why is my Xcode simulator not showing?
Simulators may not show if Xcode has corrupted device caches or if the simulator runtime is not installed. Try resetting the simulator list by quitting Xcode and running xcrun simctl erase all in Terminal. Also, check Preferences > Components to ensure the required simulator runtimes are downloaded and installed.
Can I run Xcode iOS simulator on Windows?
The iOS simulator is only available within Xcode, which is macOS-exclusive software. Running the Xcode iOS simulator on Windows directly is not supported. Alternatives include using a Mac virtual machine or cloud-based macOS services, but these options may have limitations and require additional setup.
Honest limits of this guide
This guide does not cover simulator management for beta or custom Xcode builds, which may have different behaviors and storage locations. If you are using such versions, consult their specific documentation before attempting to delete simulators. Additionally, deleting simulators may remove settings or data needed for older projects; it is wise to back up any important simulator data or project dependencies before proceeding. Running iOS simulators on Windows is not natively supported by Xcode and requires workarounds that are outside the scope of this article.
After you have cleaned up your simulators, the single most useful next step is to regularly monitor your Xcode derived data and simulator storage. This can be done by periodically checking the Devices and Simulators window and using Terminal commands like xcrun simctl list to identify unused simulators. Consistent housekeeping prevents disk bloat and keeps your development environment efficient without disrupting your workflow.
See also: How to Clear DerivedData in Xcode: Step-by-Step Guide · How to Install Command Line Tools in Xcode: A Step-by-Step Guide · How to Run an App on Your iPhone Using Xcode: Step-by-Step Guide · How to Fix Provisioning Profile Errors in Xcode: A Step-by-Step Guide



