
Automate Trash Emptying After 30 Days in Finder on macOS
This guide shows how to empty Trash automatically after 30 days in Finder using macOS features and automation tools to manage disk space efficiently.
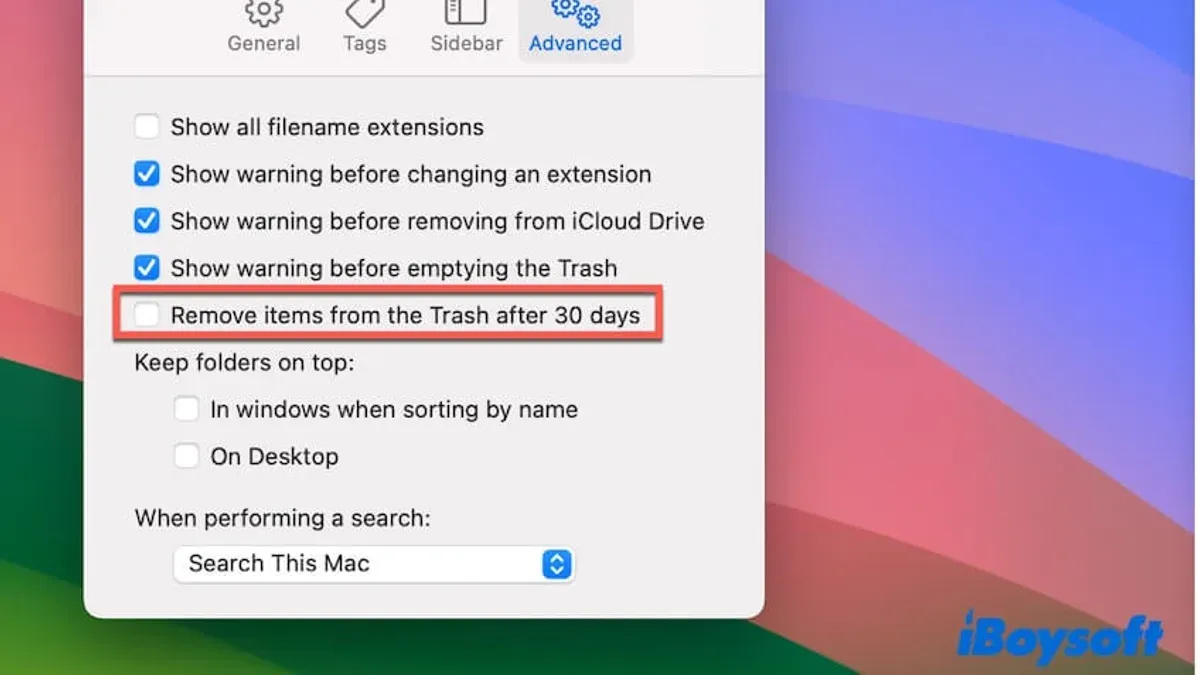
Managing disk space efficiently is important for every Mac user. This guide explains how to empty Trash automatically after 30 days in Finder, using macOS’s native features and additional automation techniques.
Understanding the Built-in 'Remove Items from Trash After 30 Days' Feature in macOS Finder
macOS includes a native option that automatically deletes files in the Trash if they have been there for more than 30 days. This feature helps maintain disk hygiene without requiring manual intervention.
- Open Finder and click Finder in the menu bar.
- Select Preferences, then go to the Advanced tab.
- Check the box labeled Remove items from the Trash after 30 days.
Once enabled, macOS tracks the modification date of items in the Trash and deletes those older than 30 days automatically. This cleanup runs when the system is awake and the user is logged in.
Limitations: This built-in feature has a fixed 30-day interval with no option to change the timeframe. It only deletes items that have been in Trash for at least 30 days, so files deleted less than 30 days ago remain until the threshold is met.
Using Automator and Calendar to Customize Trash Auto-Emptying Beyond Defaults
For users who want to empty the Trash on a different schedule, Automator combined with Calendar offers a customizable solution without scripting knowledge.
- Open Automator and create a new Application.
- Search for and add the Run Shell Script action.
- Enter the following command to empty the Trash:rm -rf ~/.Trash/*
- Save the application with a clear name like “Empty Trash”.
- Open the Calendar app and create a new event scheduled every 30 days (or your desired interval).
- Set an alert for the event to Open file and choose the Automator app saved earlier.
This setup runs the Trash-emptying script automatically at scheduled times, complementing or replacing the built-in 30-day feature.
Caveat: The Mac must be powered on and the user logged in for the Calendar event to trigger the Automator app. If the Mac is asleep or logged out, the event will not run.
Using Terminal and launchd for Advanced Users: Automating Trash Cleanup with Scripts
Advanced users may prefer precise control over Trash cleanup timing and behavior using shell scripts and launchd jobs.
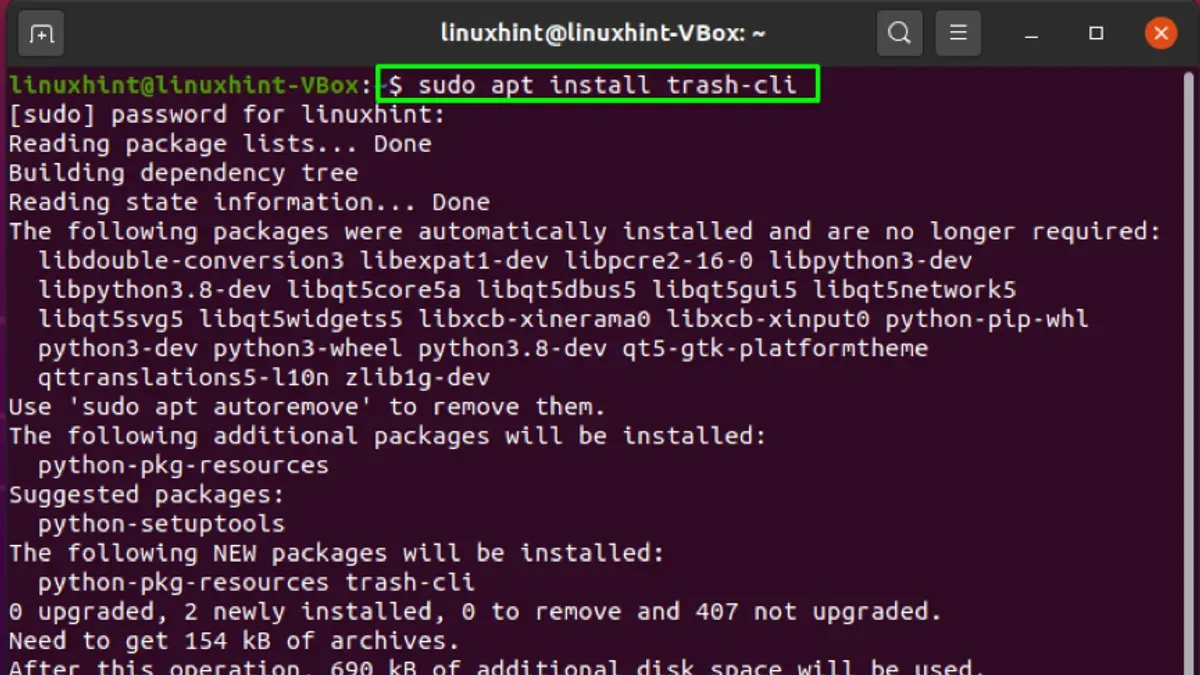
Shell Script Example to Delete Items Older Than 30 Days
#!/bin/bash
find "$HOME/.Trash" -type f -mtime +30 -delete
find "$HOME/.Trash" -type d -empty -delete
This script deletes files in the Trash older than 30 days and removes any empty directories. Note that -mtime +30 targets files last modified more than 30 days ago, which aligns with the age in Trash.
Setting Up launchd
Create a plist file at ~/Library/LaunchAgents/com.user.emptytrash.plist with the following content, replacing username with your actual macOS user name and ensuring the script path is correct and executable:
Label
com.user.emptytrash
ProgramArguments
/bin/bash
/Users/username/scripts/emptytrash.sh
StartInterval
2592000
RunAtLoad
Load the job with:
launchctl load ~/Library/LaunchAgents/com.user.emptytrash.plist
This approach provides full control over scheduling and script content but requires care to avoid accidental file loss.
Caveat: Mistakes in script design or plist settings can cause unintended data deletion. This method is recommended only for users comfortable with Terminal and scripting.
Comparing Methods: Built-in Feature vs. Automator vs. Terminal Scripts
| Method | Ease of Use | Customization | Reliability | Risk Level |
|---|---|---|---|---|
| Built-in 30-Day Feature | Very Easy | Fixed 30-day interval | High when enabled | Low |
| Automator + Calendar | Moderate | Custom schedules possible | Moderate; depends on Mac being awake and logged in | Low to Moderate |
| Terminal + launchd Scripts | Advanced | Highly customizable | High if configured correctly | Moderate to High |
Choose the built-in feature for straightforward needs, Automator for moderate customization without scripting, and Terminal scripts for full control and flexibility.
Best Practices and Safety Tips When Automating Trash Deletion
- Backup important files: Always maintain backups of files you might need later.
- Review Trash contents regularly: Automation does not replace manual checks to avoid losing important files.
- Recovery options: If files are deleted unintentionally, check Time Machine backups or use Apple’s file recovery tools promptly.
Common mistakes include enabling multiple deletion methods simultaneously or setting overly aggressive cleanup scripts that may delete files prematurely.
Caveats
This guide does not cover third-party Trash management software or recovery utilities. The recommended solutions assume users have comfort with macOS preferences or basic scripting for advanced options.
Frequently asked questions
Can I change the Trash auto-empty period to less or more than 30 days?
The built-in feature only supports a fixed 30-day interval. Custom periods require using Automator with Calendar or Terminal scripting methods.
What happens if I enable both the built-in feature and a custom script to empty Trash?
Both methods will run independently. This can increase the risk of unexpected deletions and is generally not recommended.
How can I recover files deleted automatically from Trash after 30 days?
Recovery depends on having backups such as Time Machine. Without backups, files deleted from Trash are usually unrecoverable.
Will automating Trash emptying affect files stored on external drives or network volumes?
Trash automation only affects the local Trash folder in your user directory. Files on external or network volumes have separate Trash locations and are not affected by these methods.



