
How to Install AppCleaner on Mac: A Step-by-Step Guide
This guide shows you how to download, install, and use AppCleaner on Mac to thoroughly remove apps and their files.
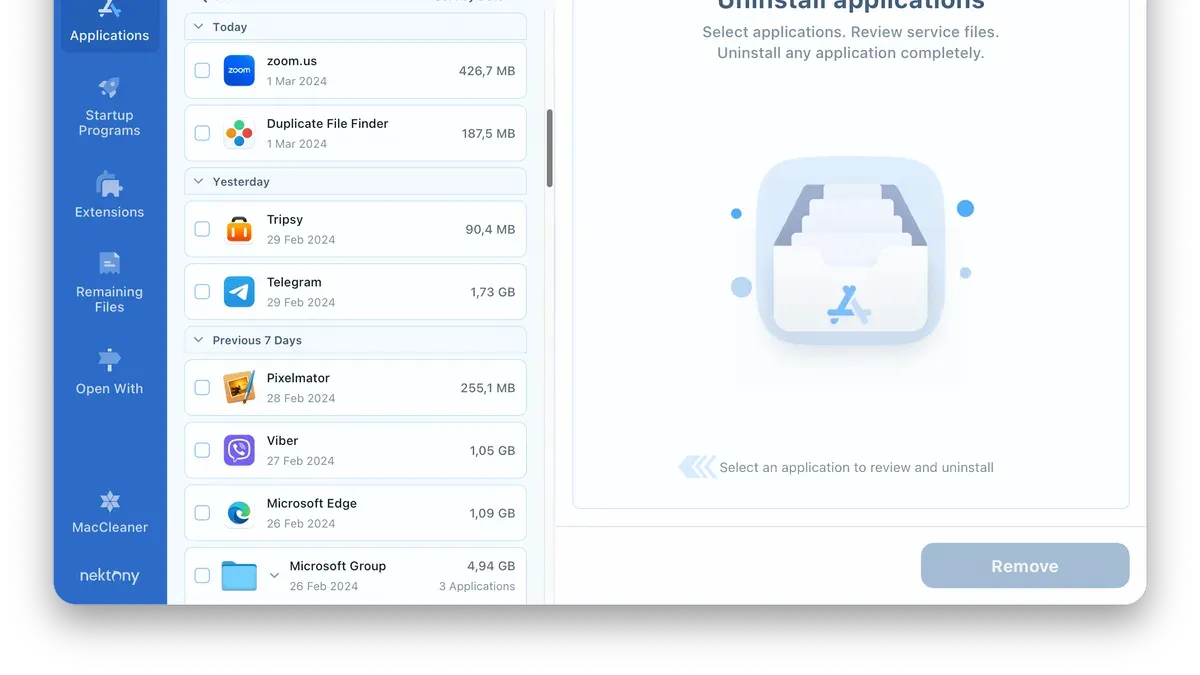
When you want to uninstall an application on your Mac, simply dragging it to the Trash often leaves behind unwanted files. These leftovers can take up space and clutter your system over time. Knowing how to install AppCleaner on Mac provides a more thorough way to remove apps along with their associated files.
This article guides you through the complete process of downloading, installing, and using AppCleaner for effective app management. It also covers checking installed software on your Mac and troubleshooting common issues with AppCleaner to help you decide if it fits your needs.
Key takeaways
- AppCleaner removes apps and related files to free up space more effectively than deleting apps alone.
- You must download AppCleaner from its official website or a trusted source to avoid security risks.
- Using AppCleaner involves dragging apps into its window or searching by name for removal.
- Checking installed software can be done via Finder’s Applications folder or System Information.
- Troubleshooting includes verifying permissions and restarting your Mac if AppCleaner doesn’t respond.
Before you start: What you need to install AppCleaner on Mac
Before installing AppCleaner, confirm your Mac runs macOS 10.9 or later, as this is the minimum version supported according to the official AppCleaner website. Older macOS versions may not be compatible, causing installation or functionality issues.
Ensure you have a stable internet connection to download the app smoothly. The AppCleaner download file is relatively small—usually under 5 MB—making it quicker to download compared to some alternative uninstallers that can be significantly larger.
You will need administrative permissions to install and run AppCleaner. This means you should have the username and password of an admin account on your Mac to authorize the installation and allow the app to remove system files related to uninstalled applications.
Always download AppCleaner directly from its official website to avoid unsafe or altered versions. Third-party sites may host outdated or potentially harmful files. The official source ensures you get the latest, safest version.
How to download and install AppCleaner on Mac
- Open your web browser and navigate to the official AppCleaner website at https://freemacsoft.net/appcleaner/. You should see the latest version available for download prominently displayed.
- Identify the version compatible with your Mac’s macOS. Typically, the site offers one version for recent macOS releases; confirm this matches your system before downloading.
- Click the download link to save the DMG file. Depending on your internet speed, this may take under a minute as the file size is generally small, around a few megabytes.
- Once downloaded, locate the DMG file in your Downloads folder and double-click it to mount the disk image. A new window should open, showing the AppCleaner app icon and a shortcut to the Applications folder.
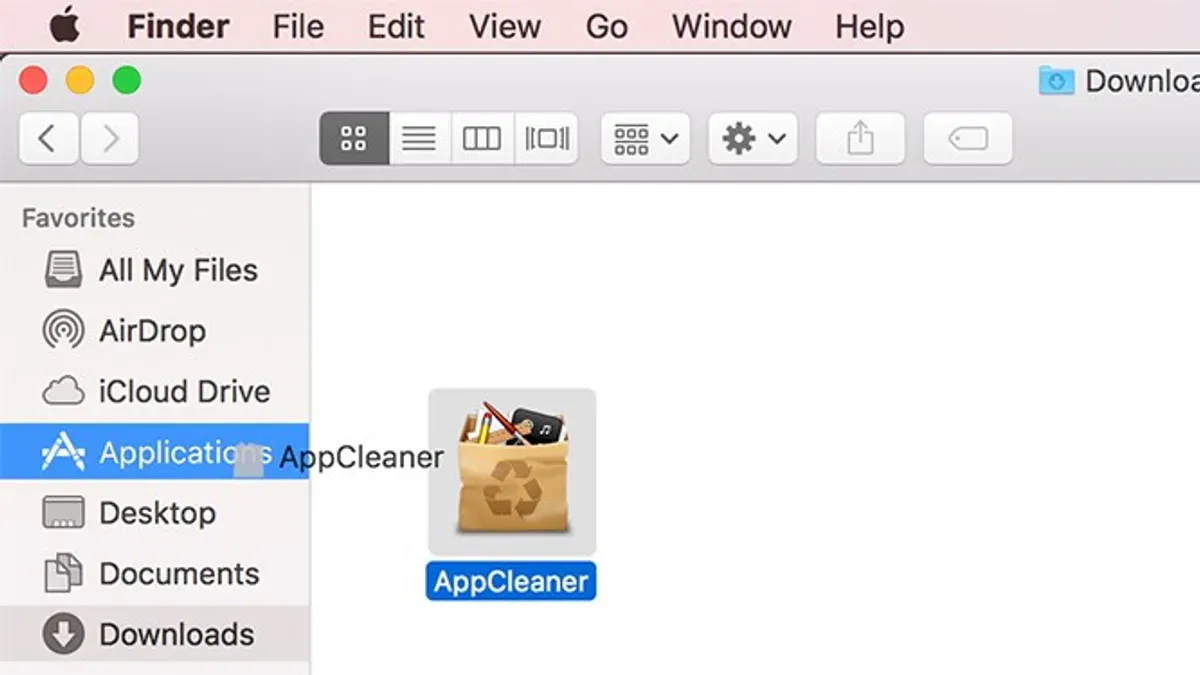
- Drag the AppCleaner icon into the Applications folder shortcut within the same window. This step copies the app to your Mac’s Applications directory, making it accessible system-wide.
- After the copy finishes, eject the mounted DMG by clicking the eject icon next to it in Finder's sidebar or right-clicking and selecting "Eject."
- Open the Applications folder and double-click AppCleaner. The first time you open it, macOS may prompt for confirmation because it was downloaded from the internet; click "Open" to proceed.
- AppCleaner should launch and be ready to use. This entire process typically takes just a few minutes from download to first launch.
How to use AppCleaner to remove apps and clean leftovers on Mac
- Open AppCleaner from your Applications folder. The interface shows a simple window with a search bar and an area to drop apps.
- Drag the app you want to uninstall into the AppCleaner window or type its name in the search bar. AppCleaner will scan and list related files including caches, preferences, and support files.
- Review the list of files AppCleaner found. Ensure all relevant files are selected; you can deselect items you want to keep. This step helps avoid accidental deletion of important data.
- Click the “Remove” button. You may be prompted to enter your administrator password. After confirmation, AppCleaner deletes the app and associated files.
- Check your disk space before and after uninstalling. For example, removing a 500 MB app might free roughly 600–700 MB due to leftover files AppCleaner cleans up, which manual uninstall usually misses.
Compared to manually dragging apps to Trash, AppCleaner finds hidden files scattered across your system, reducing clutter and potential conflicts. It is simpler and safer than hunting down files yourself.
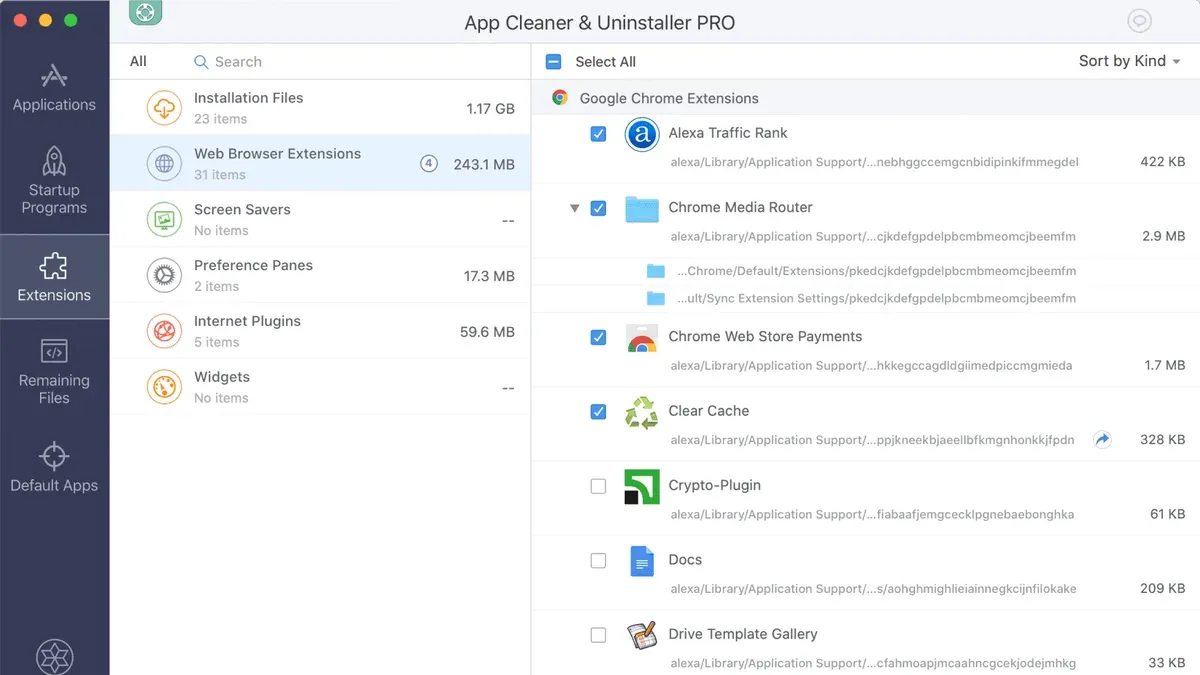
While some Mac cleaner apps offer broader system cleaning features, AppCleaner specializes in thorough app uninstallation without unnecessary extras. This focused approach minimizes risk of accidental system changes.
How to check what software is installed on a Mac
Verifying the software installed on your Mac helps you decide which apps to uninstall or clean up using AppCleaner. There are several methods to review installed applications and software components.
- Use Finder and the Applications folder: Open Finder and select "Applications" from the sidebar. Here, you'll see a list of installed apps, typically organized alphabetically. This method shows most user-installed apps but might omit system or hidden software.
- Use the System Information app: Open Spotlight (Command + Space), type "System Information," and open it. Navigate to Software > Applications. This provides a detailed list including app versions, last opened dates, and locations. It can help identify less obvious software and verify app details before removal.
- Use Terminal commands for advanced users: Open Terminal and enter
system_profiler SPApplicationsDataType. This command outputs a comprehensive list of installed applications with details similar to System Information. Alternatively,ls /Applicationslists apps in the main Applications folder. These commands provide text-based lists that can be searched or exported.
Checking installed software with these methods gives you a clearer picture of what’s on your Mac. This knowledge ensures you use AppCleaner effectively by targeting the correct apps and avoiding unintended removals.
Troubleshooting why AppCleaner isn’t working on Mac
If AppCleaner fails to open or crashes immediately, ensure your macOS version supports the installed AppCleaner version. A common error is “AppCleaner quit unexpectedly.” Restart your Mac and try again. If the problem persists, redownload the latest AppCleaner DMG from the official site to avoid corrupted files.
When AppCleaner doesn’t find all app leftovers, it might be due to insufficient permissions. Some system files require admin access to delete. To fix this, try running AppCleaner with elevated privileges by right-clicking its icon and selecting “Open” or entering your admin password when prompted.
macOS security features like Gatekeeper can block apps from unidentified developers, causing AppCleaner’s functions to be limited or disabled. Go to System Settings > Privacy & Security > Security, and if you see a message about AppCleaner being blocked, click “Allow Anyway” and restart the app.
If permission issues persist, check System Settings > Privacy & Security > Full Disk Access and add AppCleaner to this list to grant it the necessary rights to scan and remove files thoroughly.
When AppCleaner consistently fails despite these steps, consider manual uninstall methods like deleting apps from the Applications folder and removing related files in ~/Library/Application Support and ~/Library/Preferences. You can also use alternative uninstallers with broader system integration.
- How to Install The Unarchiver on Mac: A Clear Step-by-Step Guide
- How to Install and Use Keka on Mac: A Clear Step-by-Step Guide
- How to Install Transmission on Mac: A Clear Step-by-Step Guide
- How to Install qBittorrent on Mac: A Clear Step-by-Step Guide
Frequently asked questions
Why isn't appcleaner working on mac?
AppCleaner may not work properly if it lacks the necessary permissions. Check System Preferences > Security & Privacy > Privacy tab, then ensure AppCleaner has access to Files and Folders or Full Disk Access. Another common issue is using an outdated version; downloading the latest release from the official site can resolve compatibility problems. Lastly, some apps have system-level components that AppCleaner cannot remove, requiring manual deletion.
How to clean install macos?
To clean install macOS, first back up your data using Time Machine or another method. Restart your Mac and hold Command (⌘) + R to enter macOS Recovery mode. Use Disk Utility to erase your startup disk, then choose Reinstall macOS from the recovery options. Follow the on-screen instructions to complete installation, which will give you a fresh system without previous files or apps.
How to install plugins on mac?
Plugin installation varies by application. Typically, you download the plugin file, then copy it to the app’s designated Plugins or Extensions folder, often found within the Application Support directory in your Library. Some apps have built-in plugin managers accessible via their preferences or settings menu. Always check the plugin developer’s instructions for specific steps.
How to install wimlib on mac?
To install wimlib on a Mac, you can use the Homebrew package manager. Open Terminal and run brew install wimlib. If you don’t have Homebrew, install it first from https://brew.sh. After installation, verify by typing wimlib-imagex --version in the Terminal.
What is appcleaner for mac?
AppCleaner is a lightweight utility designed to uninstall applications on Mac by removing associated files such as caches, preferences, and support files. It helps ensure complete app removal, which prevents leftover data from consuming disk space. AppCleaner is particularly useful for users who want a simple, drag-and-drop method to manage app uninstallation beyond just deleting the app icon.
What AppCleaner does not cover and when to seek other solutions
AppCleaner is designed to simplify app removal by targeting files in common system locations. However, it does not guarantee the complete deletion of all app-related data, especially for apps that store files in non-standard directories or use complex installation methods like package installers or system extensions.
If you rely on critical software or need thorough removal of apps with deep system integration, consider using specialized uninstaller tools provided by the app developers or consulting professional support to avoid unintended system issues.
For advanced users, manual verification of residual files in Library folders and system caches remains essential to ensure no unwanted data persists.
The single most useful next step after installing AppCleaner is to familiarize yourself with the app’s drag-and-drop removal method and the option to review associated files before deletion. This helps you maintain control over what gets removed and prevents accidental loss of important data.



