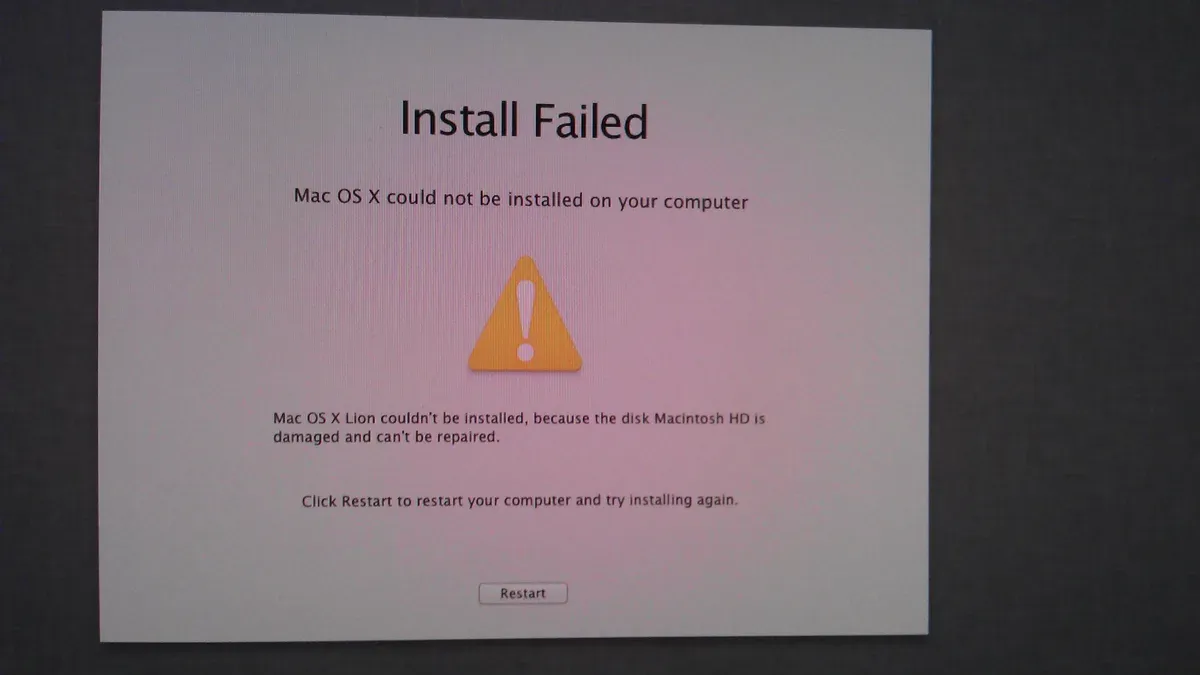
How to Fix 'macOS Could Not Be Installed on Your Computer' Error
Resolve the 'macOS could not be installed on your computer' error with easy steps to check compatibility, free space, and fix installer issues.
Settings, menu paths and limits here were checked against MiniTool, Apple Support, iBoysoft (full list at the end) in November 2026.
Check macOS Compatibility and Storage Space
Visit the macOS page in the App Store or Apple support to verify compatibility. Installing an unsupported macOS version leads to failure.
The installer requires up to 20GB of free space for download and installation. Insufficient storage triggers installation errors.
- Click the Apple menu and select About This Mac. You should see your Mac’s model and current macOS version.
- Go to the Storage tab. This shows the used and free space on your disk.
- Click Manage. This opens tools to free up space if needed.
- Free at least 20GB of disk space. The installer needs this to download and unpack files properly.
Set Date and Time Automatically to Avoid Verification Errors
Incorrect date and time settings on your Mac can cause the macOS installer to fail during verification. Apple’s servers require the system clock to match actual time to validate installer certificates and downloads properly. If the date or time is off, the installation process may stop with an error.
To prevent this, set your Mac to update the date and time automatically. This ensures the system clock stays accurate and avoids verification failures.
- Open System Settings from the Apple menu.
- Go to General and then select Date & Time.
- Enable Set date and time automatically. You should see your Mac connect to Apple’s time servers and update the clock.
If the installer still fails, double-check this setting before trying other fixes.
Remove Corrupted or Damaged macOS Installers and Download Fresh Copies
Damaged or incomplete macOS installer files cause verification or personalization errors that prevent installation from succeeding. You must delete any such installer files before proceeding.
- Open Finder and navigate to the Downloads folder or the location where the macOS installer is saved. You should see the installer file if it exists.
- Delete the damaged or incomplete macOS installer file. The file will move to the Trash, confirming it has been removed.
- Restart your Mac and enter macOS Recovery by holding Command + R during startup.
- In macOS Recovery, open Disk Utility from the Utilities menu.
- Select your startup disk, then click First Aid. Confirm by clicking Run. This repairs disk errors that could block installation.
- After First Aid completes successfully, exit Disk Utility and restart your Mac normally.
- Download a fresh, full macOS installer directly from Apple’s official source. For macOS Big Sur and later, only full installers are available; delta or combo updates no longer exist.
Follow this sequence strictly to avoid repeated installation failures.
Learn more about repairing disks and reinstalling macOS
Use macOS Recovery or Safe Mode for a Clean Installation Environment
Installing macOS in a controlled environment prevents conflicts from software that may block or disrupt the process. macOS Recovery mode is built for this purpose, allowing you to install the system without interference from other applications or background processes.
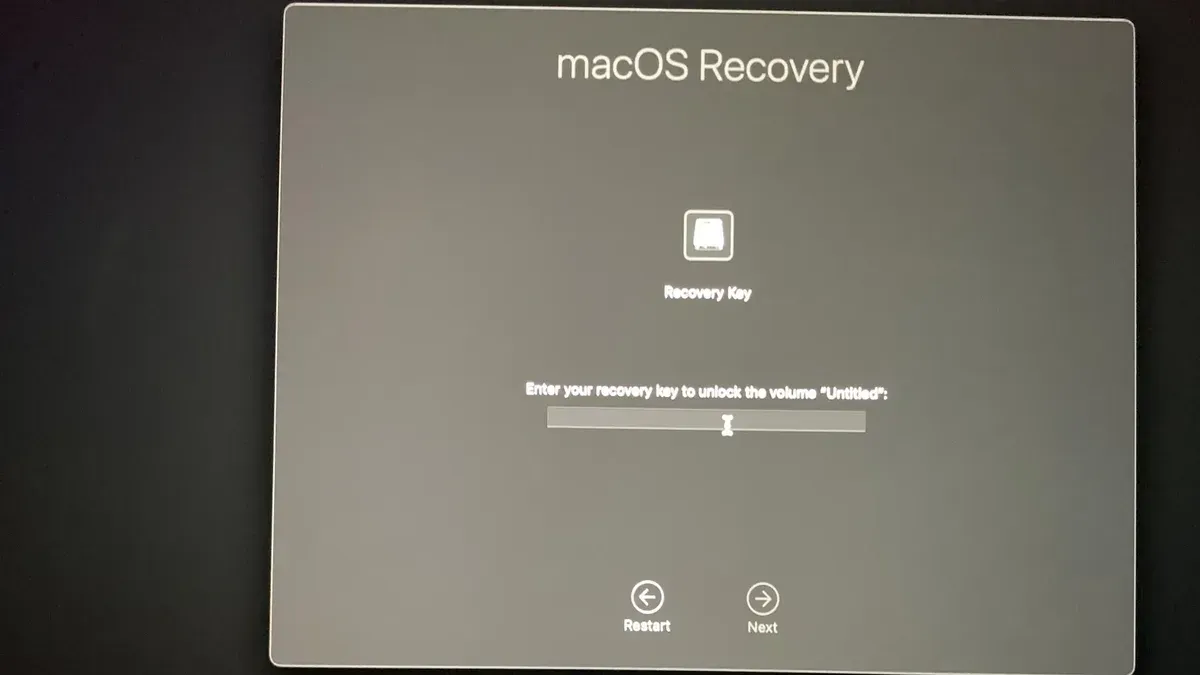
- Restart your Mac and immediately hold Command + R until you see the Apple logo or a spinning globe. This boots you into macOS Recovery mode, where you can access utilities like Disk Utility and reinstall macOS.
- Once in Recovery mode, select Disk Utility → choose your startup disk → click First Aid to check and repair disk errors that could cause installation failures.
- After repairing the disk, exit Disk Utility and choose Reinstall macOS to begin installation in this clean environment.
If you prefer not to use Recovery mode, Safe Mode offers a way to start your Mac with only essential drivers and software, disabling third-party launch agents and extensions that often interfere with installation.
- Shut down your Mac. Then press the power button and immediately hold the Shift key until the login window appears. This boots your Mac into Safe Mode.
- Log in normally. You’ll notice some features may be limited, but this minimal environment reduces software conflicts during installation.
- Run the macOS installer as usual while in Safe Mode.
Using either macOS Recovery or Safe Mode ensures the installation process runs with fewer interruptions from conflicting software, increasing the chances of success without needing to erase your disk prematurely. Learn more about macOS Recovery and Safe Mode.
Repair Disk and Reset Firmware Settings to Resolve Hidden Issues
Disk errors and firmware problems can silently block macOS installation. Start by running First Aid on your startup disk from macOS Recovery to fix disk corruption that prevents installation.
- Restart your Mac and hold Command + R to enter macOS Recovery.
- Open Disk Utility and select your startup disk (usually named "Macintosh HD").
- Click "First Aid" and confirm to begin the repair. A successful run shows confirmation that errors were repaired or none were found.
If you use an Intel-based Mac, reset the NVRAM/PRAM to clear stored settings like startup disk choice or screen brightness that might cause install failures.
- Shut down your Mac.
- Turn it on and immediately hold Option + Command + P + R keys for about 20 seconds.
- Release the keys after the second startup sound or when the Apple logo appears and disappears twice.
For Macs with Apple silicon or the Apple T2 Security Chip, a persistent install failure may require firmware revival or restoration. This process reloads low-level software that controls hardware and security, resolving hidden issues.
- Use Apple Configurator on a second Mac to revive or restore your Mac’s firmware as described in official Apple instructions.
- Confirm that the Mac successfully boots after the firmware process completes.
| Mac Type | Fix Method | Purpose |
|---|---|---|
| Intel-based | Run First Aid; Reset NVRAM/PRAM | Repair disk errors; clear stored configuration causing install errors |
| Apple silicon or T2 Chip | Run First Aid; Revive or restore firmware | Repair disk errors; reload firmware to fix persistent install failures |
Disable VPNs and Security Software Temporarily During Installation
VPNs and security software can block or interfere with the network connections necessary for downloading or verifying macOS components. This interference often causes the installation process to fail or stall.
Temporarily disabling these services removes potential interruptions and allows a smooth connection to Apple’s servers during installation.
- Turn off any active VPN services through their app or system settings. You should see your Mac reconnect to your normal network without VPN routing.
- Disable third-party security software, including firewalls and antivirus programs, by quitting their apps or using their built-in disable options. Confirm they are inactive by checking that their status icons disappear or show an off state.
- Proceed with the macOS installation once VPN and security software are disabled. The installation should now connect and verify components without network blockages.
- After the installation completes successfully, re-enable your VPN and security software to restore protection.
Decide When to Erase Your Mac and Reinstall macOS
If repeated troubleshooting steps fail to resolve the macOS installation error, erasing your Mac and restoring it to factory settings becomes necessary. This action removes all personal data, settings, and installed apps, leaving a clean slate for the macOS installation.
You must back up all important data before proceeding. This ensures your files are safe since erasing the Mac deletes everything on the startup disk.
Use this step only after exhausting all software fixes, including repairing disks, resetting firmware, and reinstalling macOS from Recovery mode without erasing.
- Back up your Mac using Time Machine or another reliable backup method. Verify the backup contains all critical files.
- Restart your Mac and enter Recovery mode by holding Command + R during startup. You should see the macOS Utilities window.
- Choose Disk Utility and select your startup disk.
- Click Erase, then confirm the action. When complete, exit Disk Utility to return to the macOS Utilities window.
- Select Reinstall macOS and follow the on-screen prompts. After installation, your Mac will start with factory settings and a fresh macOS installation.
Make sure your data is safely backed up before this irreversible step.
See this guide for detailed instructions on erasing and reinstalling macOS.
Common Pitfalls That Cause Installation Failures
Several recurring mistakes often cause the 'macOS could not be installed on your computer' error. First, insufficient free disk space is a primary culprit. The installer requires about 20GB of free space not just to store the installer itself but also to unpack and prepare installation files. Failing to meet this threshold causes the installation to halt unexpectedly.
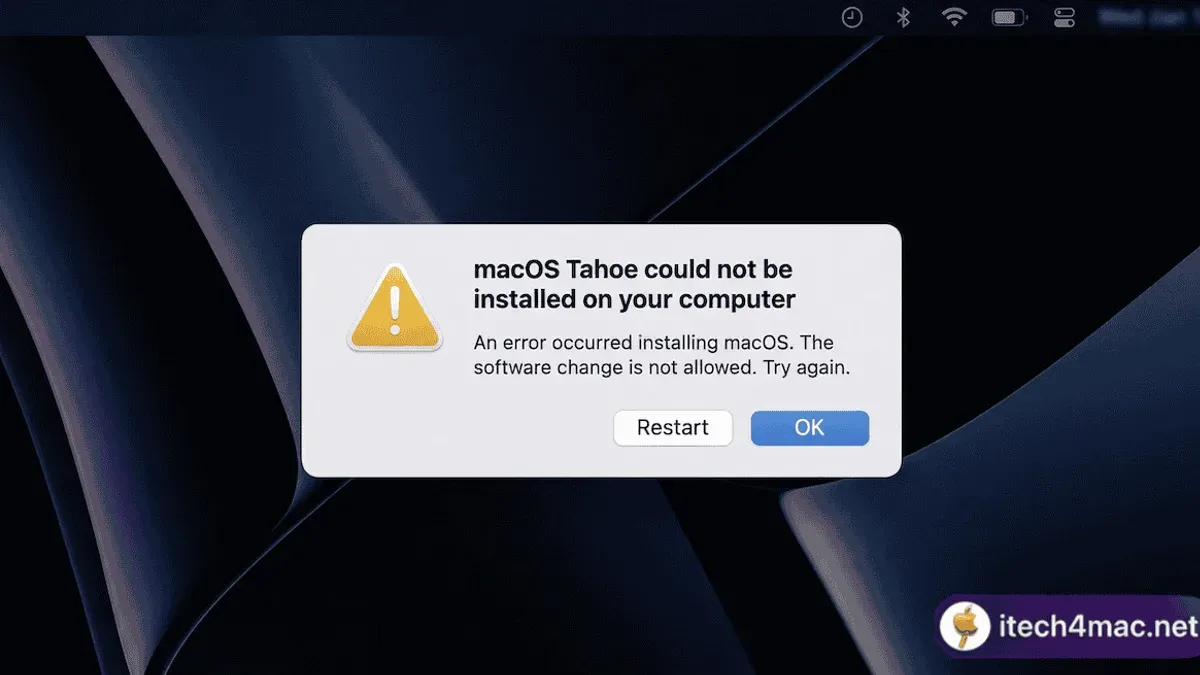
Second, using a corrupted or incomplete macOS installer results in verification and personalization errors. Damaged installer files cannot be properly validated by the system, which leads to failure during the installation process. Always ensure you download a fresh, complete installer.
Third, incorrect date and time settings on your Mac cause connection and verification failures with Apple servers. The system time must be accurate so the installer certificates and downloads can be validated securely.
Lastly, VPNs and security software can interrupt the installation by blocking or interfering with necessary network connections. Temporarily disabling these programs during installation prevents unexpected disruptions.
- Check that you have at least 20GB free on your startup disk. When sufficient space is available, the installer prepares files without error.
- Delete any damaged or partial installers and download a full, fresh macOS installer. A verified installer ensures the system can personalize and complete the setup.
- Set your Mac’s date and time to update automatically via System Settings → General → Date & Time → Set date and time automatically. This prevents validation failures linked to incorrect system time.
- Temporarily disable VPN and security software before starting installation. This avoids network interruptions that can cause installer verification or download errors.
Following these steps helps you avoid the most common pitfalls that cause installation failures and ensures a smoother macOS installation experience.
Checklist of Steps to Fix the Installation Error
- Confirm your Mac supports the macOS version and ensure at least 20GB of free disk space is available. A lack of sufficient space causes installation failure.
- Set your Mac’s date and time to update automatically via System Settings → General → Date & Time → Set date and time automatically. Incorrect system time blocks installer verification.
- Delete any damaged or incomplete macOS installers. Repair your disk using First Aid in Disk Utility from macOS Recovery, then download a fresh full installer from Apple's official source.
- Boot your Mac into Recovery mode by restarting and holding Command + R or into Safe Mode to create a clean installation environment free from third-party software interference.
- Run First Aid on your startup disk to fix file system errors. Reset NVRAM/PRAM on Intel Macs or revive/restore firmware on Apple silicon or T2 chip Macs to resolve hidden firmware-related installation blocks.
- Temporarily disable VPNs and security software before starting installation to prevent network interruptions affecting download or verification processes.
- If installation still fails after all software troubleshooting, back up your data, erase the Mac to factory settings, and reinstall macOS to eliminate persistent issues.
Essential steps to resolve macOS installation errors
Sources
- How to Fix: macOS Could Not Be Installed on Your Computer - MiniTool — MiniTool
- If an error occurred while updating or installing macOS - Apple Support — Apple Support
- [Fixed] macOS Could Not be Installed on Your Computer — iBoysoft
- 'macOS could not be installed on your computer': 8 fixes — MacPaw