
How to Install and Use Magnet on Mac: A Complete Step-by-Step Guide
Discover how to install Magnet on Mac and use it to manage your windows efficiently with easy steps and helpful tips.
You have multiple windows open on your Mac, and managing them feels cluttered and inefficient. You want a simple way to organize these windows quickly without manually resizing and positioning each one.
This article explains how to install Magnet on Mac, a popular window management app that helps you snap and arrange windows with keyboard shortcuts or drag gestures. It also clarifies the difference between using Magnet the app, magnet links in browsers, and magnetic connectors for Mac accessories, providing a comprehensive guide to these related but distinct topics.
Key takeaways
- Download Magnet directly from the Mac App Store to ensure security and updates.
- Enable necessary permissions in System Preferences under Security & Privacy for full functionality.
- Magnet links in browsers are unrelated to the Magnet app and serve different purposes.
- Magnetic connectors for Mac accessories provide simple plug-and-play but require care to avoid damage.
- Troubleshooting often involves checking permissions, app updates, and restarting the Mac.
Before you start: What you need to install Magnet on Mac
Magnet is a popular window management app designed to help you organize and resize application windows on your Mac quickly. It enables snapping windows to edges and corners of your screen, improving multitasking without manually resizing each window.
To install Magnet, your Mac must be running macOS 10.12 (Sierra) or later. This minimum requirement ensures compatibility with the app’s features and security standards. You can check your macOS version by clicking the Apple menu in the top-left corner, selecting “About This Mac,” and viewing the version number.
You can download Magnet exclusively from the Mac App Store. This guarantees you receive the latest official version with updates and security patches. Third-party downloads are not recommended due to potential risks.
It’s important to clarify that the Magnet app is not related to magnet links or physical magnets. Magnet links are URL schemes for peer-to-peer file sharing, while physical magnets refer to magnetic accessories or connectors. This guide focuses solely on the Magnet window management application.
- Open the Mac App Store from your Dock or Applications folder. You should see the App Store interface with a search bar at the top.
- Type “Magnet” into the search bar and press Enter. The search results will display Magnet among the top apps.
- Click on Magnet to view its product page, where you can see screenshots, descriptions, and system requirements.
- Confirm your macOS version meets the requirement (10.12 or newer) before proceeding to download.
- Click the price or “Get” button, then authenticate with your Apple ID if prompted. The button will change to “Installing.”
- Once installation completes, the button will show “Open.” You are now ready to install and use Magnet.
How to download Magnet for Mac from the App Store
Downloading Magnet for your Mac through the official Mac App Store ensures you get a safe and verified version of the app. Follow these steps to locate, purchase, and download Magnet efficiently.
- Open the App Store on your Mac. You can find it in the Dock or by searching with Spotlight (Command + Space) and typing "App Store." Once opened, you should see the main App Store interface with categories and a search bar at the top.
- Click the search bar in the upper-left corner and type "Magnet". Press Enter. The search results will present apps matching the keyword, usually with Magnet at or near the top due to its popularity.
- Locate the Magnet app by confirming the developer name and app icon. The app page will show details such as description, screenshots, ratings, and price. If a free trial is available, it will be noted here.
- Click the price button (e.g., "$7.99") if the app is paid, or "Get" if a free trial or free version is offered. You may be prompted to sign in with your Apple ID and password or use Touch ID/Face ID to authorize the purchase or download.
- Once authorized, the button will change to "Installing" with a progress bar. Download times vary based on your internet speed but generally complete within a few minutes for an app of this size.
- After the installation finishes, the button will display "Open". You can click it to launch Magnet immediately, or find the app in your Applications folder or Launchpad for later use.
- Verify the download completed successfully by checking that Magnet launches without errors and appears in your Applications folder. If you encounter issues, the App Store will typically display error messages or prompts to retry.
How to install Magnet on your Mac after download
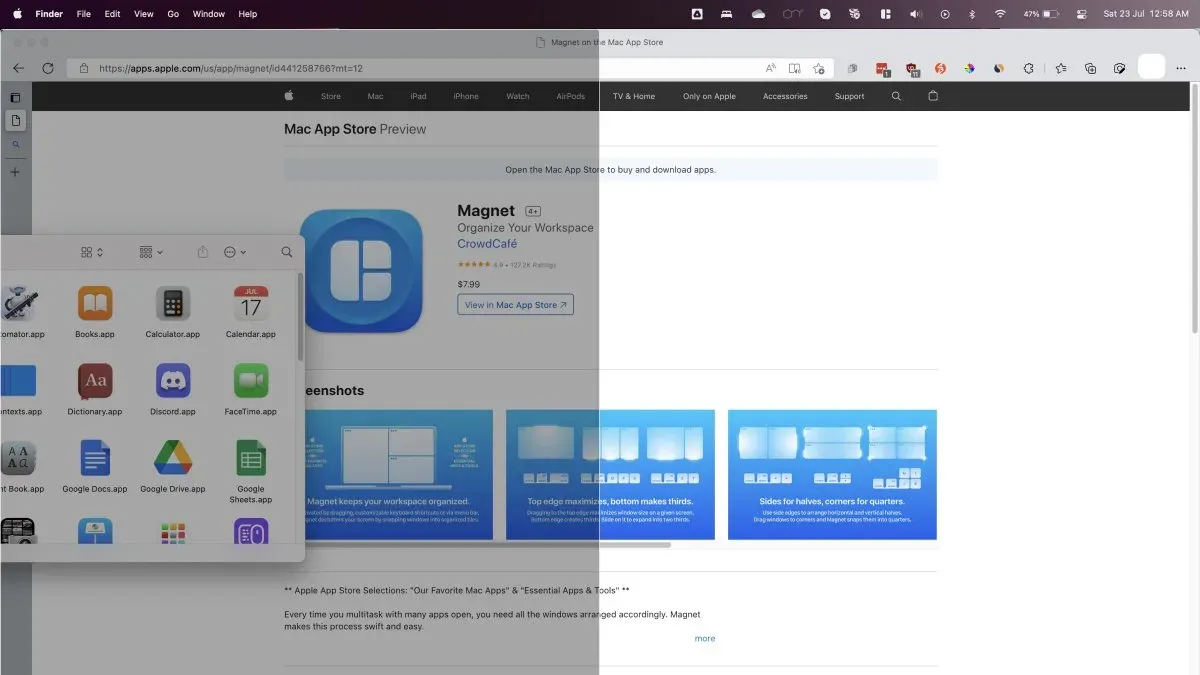
- Open your Launchpad or navigate to the Applications folder in Finder to locate the Magnet app. You should see the Magnet icon among your apps, indicating the download completed successfully.
- Double-click the Magnet app icon to launch it. On first launch, macOS will prompt you with a dialog asking to confirm opening an app downloaded from the App Store. Click Open to proceed.
- Magnet requires access to control your windows, so a permission dialog will appear requesting access to Accessibility features under System Preferences > Security & Privacy > Privacy > Accessibility. Click Open System Preferences, then check the box next to Magnet to grant the necessary permissions.
- After granting permissions, return to the Magnet app. The app may automatically restart or prompt you to quit and reopen it for the permissions to take effect. Follow the prompt if it appears.
- Once running with permissions, Magnet will display its basic settings window. Here, you can customize keyboard shortcuts for window snapping and enable or disable menu bar icons. Adjust these settings as needed to fit your workflow.
- Close the settings window. Magnet will now run in the background, accessible via its menu bar icon. You can begin using its window management features immediately.
How to use Magnet link in Mac: What it means and how it differs
Magnet links are URLs used primarily for peer-to-peer file sharing, especially with torrent clients. They differ from the Magnet app, which is a window management tool unrelated to downloading or opening these links.
A typical magnet link looks like this: magnet:?xt=urn:btih:12345abcdef67890&dn=Example+File. These links contain metadata that torrent clients use to find and download files from other users, without needing a central server.
On Mac, you must use a torrent client to open magnet links. Popular apps include Transmission, qBittorrent, and Deluge. These apps recognize magnet links and start the download process automatically when you click or paste the link.
The Magnet app cannot handle magnet links because it is designed for window snapping and organization, not file sharing or networking protocols.
To open a magnet link on your Mac:
- Install a torrent client like Transmission from its official website or the Mac App Store.
- Locate a magnet link in your browser or a message, typically starting with "magnet:?".
- Click the magnet link; your browser should prompt which app to open it with. Choose your installed torrent client.
- The torrent client will launch and begin fetching metadata, then start downloading the file.
- If clicking the link does not work, copy the magnet URL, open your torrent client, and use the "Add Torrent from URL" option to paste the link manually.
Using magnet links requires a reliable torrent client; ensure you download these apps from trusted sources to maintain security. Remember, the Magnet window management app and magnet links serve completely different functions on Mac.
How to connect a Mac to Ethernet and use plug-and-play magnetic connectors
Many Mac models do not have a built-in Ethernet port, so connecting to a wired network usually requires an adapter or dock. USB-C to Ethernet adapters and Thunderbolt docks are common options. These devices provide a stable Ethernet connection ideal for high-speed and low-latency networking.
- Choose a compatible Ethernet adapter or dock for your Mac. For example, Apple’s USB-C to Ethernet adapter or a Thunderbolt 3 dock with an Ethernet port.
When connected, your Mac should detect the Ethernet connection automatically. - Connect the Ethernet cable from your router or modem to the adapter or dock.
The Ethernet status should change to “Connected” in System Preferences > Network. - Plug the adapter or dock into your Mac’s USB-C or Thunderbolt port.
Your Mac should show the Ethernet interface as active without needing additional drivers.
Plug-and-play magnetic connectors are increasingly popular for MacBooks, providing easy attachment and detachment of cables such as charging or Ethernet connectors. Brands like Baseus and Griffin offer magnetic Ethernet adapters with detachable magnetic tips, designed to reduce wear on ports and provide a quick connection.
When using magnetic connectors, ensure they are certified or recommended for your Mac model to avoid connection issues. Magnetic connectors differ significantly from the Magnet app—they are physical hardware designed to improve cable management and safety, not software for window management.
Regarding safety, Apple advises keeping strong magnets away from Mac computers to prevent potential interference with internal components like storage drives and sensors. However, magnetic connectors designed specifically for Macs use carefully engineered magnets to avoid damage. Avoid placing loose magnets near your Mac’s screen, keyboard, or internal hardware.
In summary, connecting your Mac to Ethernet via appropriate adapters is straightforward, and magnetic connectors offer convenience when compatible and used with care.
How to mount magnets and where to put magnets safely around computers
Mounting magnets refers to physically attaching or placing magnets on or near objects, often for holding items in place or organizing cables. When using magnets around computers, especially Macs, caution is necessary to prevent potential damage to electronic components.
Modern Macs use solid-state drives (SSDs) that are generally less susceptible to magnet interference than older hard drives, but strong magnets can still affect other components like speakers, microphones, or sensors. Therefore, it is advisable to keep magnets at least several centimeters away from the computer’s internal components.
Placing magnets directly on the Mac's metal casing or screen is not recommended. While the aluminum body is not affected by magnets, the display and internal circuitry can be sensitive. Instead, use magnets on peripheral accessories such as cable organizers or on non-critical surfaces nearby to avoid risk.
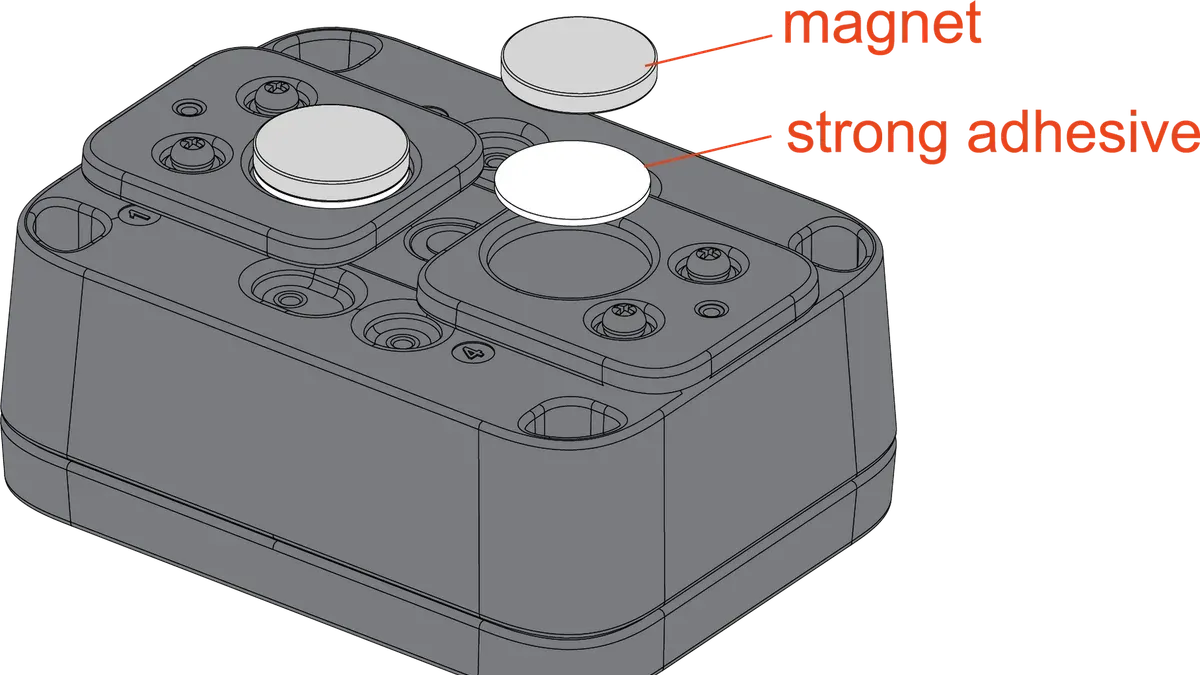
Making simple magnets can involve attaching small neodymium or ferrite magnets to surfaces with adhesive or embedding them into holders. However, avoid placing homemade magnets directly on your Mac or its accessories to prevent accidental interference.
Safe magnet usage examples include magnetic cable clips fixed to your desk or magnetic mounts for peripherals positioned away from the computer. If you need to use magnets near your Mac, test placement carefully and observe for any unusual behavior such as screen flickering or sound issues.
Troubleshooting common issues when installing and using Magnet on Mac
If Magnet does not launch or crashes immediately, first try restarting your Mac. If the app still fails to open, delete and reinstall it from the App Store to ensure a clean installation.
Permission errors often appear as "Magnet needs Accessibility access" or "Permission denied" messages. To fix this, open System Preferences > Security & Privacy > Privacy tab > Accessibility, then check the box next to Magnet. You may need to unlock the padlock icon at the bottom left using your administrator password before making changes.
When window snapping does not work as expected, confirm that Magnet is running in the menu bar and accessibility permissions are granted. Also, check for conflicting keyboard shortcuts by opening Magnet's Preferences and adjusting shortcuts if necessary.
Performance issues such as lag or unresponsiveness can occur if other window management or screen recording apps run simultaneously. Temporarily disable or quit those apps to see if Magnet's performance improves.
- Open System Preferences > Security & Privacy > Privacy > Accessibility.
Expected result: Magnet is listed and checked. If not, click the + button and add Magnet manually. - Restart your Mac.
Expected result: Magnet launches without crashing. - Open Magnet Preferences from the menu bar icon and verify keyboard shortcuts.
Expected result: Shortcuts are active and do not conflict with other apps. - Quit other window management or screen recording apps.
Expected result: Magnet runs smoothly without lag.
- How to Install and Set Up Rectangle on Mac: A Step-by-Step Guide
- How to Install and Use Keka on Mac: A Clear Step-by-Step Guide
- How to Install AppCleaner on Mac: A Step-by-Step Guide
- How to Install The Unarchiver on Mac: A Clear Step-by-Step Guide
Frequently asked questions
How to install magneto?
If you mean the Magnet app for Mac, you install it by downloading from the Mac App Store. Search for "Magnet" in the App Store app, click "Get" then "Install," and follow the on-screen prompts. If you meant a different software named Magneto, please specify as installation steps vary.
How to connect to mac?
Connecting to a Mac depends on the device or service. For external devices like displays or drives, use USB-C, Thunderbolt, or Bluetooth pairing via System Preferences > Bluetooth. For network connections, use Wi-Fi settings or Ethernet adapters if needed.
How to connect to ethernet on mac?
To connect Ethernet on a Mac, plug an Ethernet cable into the Mac’s Ethernet port or a compatible adapter (USB-C to Ethernet). Then, open System Preferences > Network, select Ethernet from the sidebar, and ensure it shows "Connected." You may need to configure settings or restart if connection issues arise.
Can i make a magnet?
Making a magnet requires specific materials and processes like magnetizing ferromagnetic metals using strong magnetic fields or electric currents. This is generally not practical at home without specialized equipment. Most users buy magnets rather than making them.
Can you put magnets on computers?
Placing magnets directly on computers is generally not recommended because strong magnets can interfere with hard drives or other components. However, small magnets used in accessories like magnetic charging cables or stands are designed to be safe. Always use manufacturer-approved magnetic accessories to avoid damage.
What this guide does not cover and when to seek other help
This guide does not cover torrent client installation or advanced magnet link usage beyond a basic explanation. If you need detailed support for downloading files via magnet links using torrent clients, consult dedicated resources for those applications. Additionally, this article does not endorse placing magnets directly on Mac hardware due to potential risks to internal components. For complex connectivity issues or hardware concerns involving magnetic accessories, contacting Apple Support or a certified technician is recommended.
To get the most from Magnet on your Mac, the single most useful next step is to explore its keyboard shortcut customization in System Preferences > Keyboard > Shortcuts. Tailoring these shortcuts to your workflow can significantly enhance window management efficiency and integrate Magnet seamlessly into your daily use.



