
How to Install The Unarchiver on Mac: A Clear Step-by-Step Guide
Follow this clear step-by-step guide to install The Unarchiver on your Mac and access multiple archive formats with ease.
You’ve just received a.zip or.rar file on your Mac and need to access its contents quickly. macOS’s built-in Archive Utility handles some formats but falls short with others like.rar or.7z, which is where The Unarchiver becomes essential.
This guide covers how to install The Unarchiver on Mac, providing clear, step-by-step instructions to get you started. You’ll also learn how it works with various archive formats, compare it briefly with Windows alternatives like WinRAR, and explore installation via Homebrew for more advanced users.
Key takeaways
- The Unarchiver supports numerous archive formats beyond macOS’s native options, including.rar,.7z, and.tar.gz.
- Installing through the Mac App Store is straightforward, but Homebrew offers a command-line alternative.
- The Unarchiver does not replace WinRAR but complements it by enabling Mac users to open Windows-specific archives easily.
- Common installation issues usually relate to security settings and can be resolved in System Preferences under Security & Privacy.
Before you start: what you need to install The Unarchiver
Before installing The Unarchiver on your Mac, ensure your system meets the necessary requirements and you have the right setup to avoid issues.
- Check macOS version compatibility: The Unarchiver supports macOS versions 10.9 (Mavericks) and later. Confirm your Mac runs one of these versions by clicking the Apple menu, selecting "About This Mac," and viewing the version number. You should see a version number like 10.9 or higher.
- Ensure a stable internet connection: You will need internet access to download The Unarchiver from the Mac App Store or official sources. A working connection will allow the download to complete without interruption.
- Confirm you have administrative privileges: Installing apps typically requires administrator rights. When prompted, use an admin username and password to authorize the installation.
- Understand supported archive formats: The Unarchiver handles a wide range of file types, including ZIP, RAR (including RAR5), 7z, TAR, GZIP, BZIP2, LZMA, XZ, and more. Knowing this helps you decide if it fits your needs for decompressing common archives.
How to download The Unarchiver on Mac
You can safely download The Unarchiver through the Mac App Store or directly from its official developer website. Both options ensure you get a legitimate copy, avoiding risks associated with third-party sources.
- Open the Mac App Store from your Dock or Applications folder. The App Store interface will load, showing featured apps.
- Use the search bar in the top-left corner to type "The Unarchiver". The app listing should appear in the results, usually the first item with the developer "MacPaw Inc.".
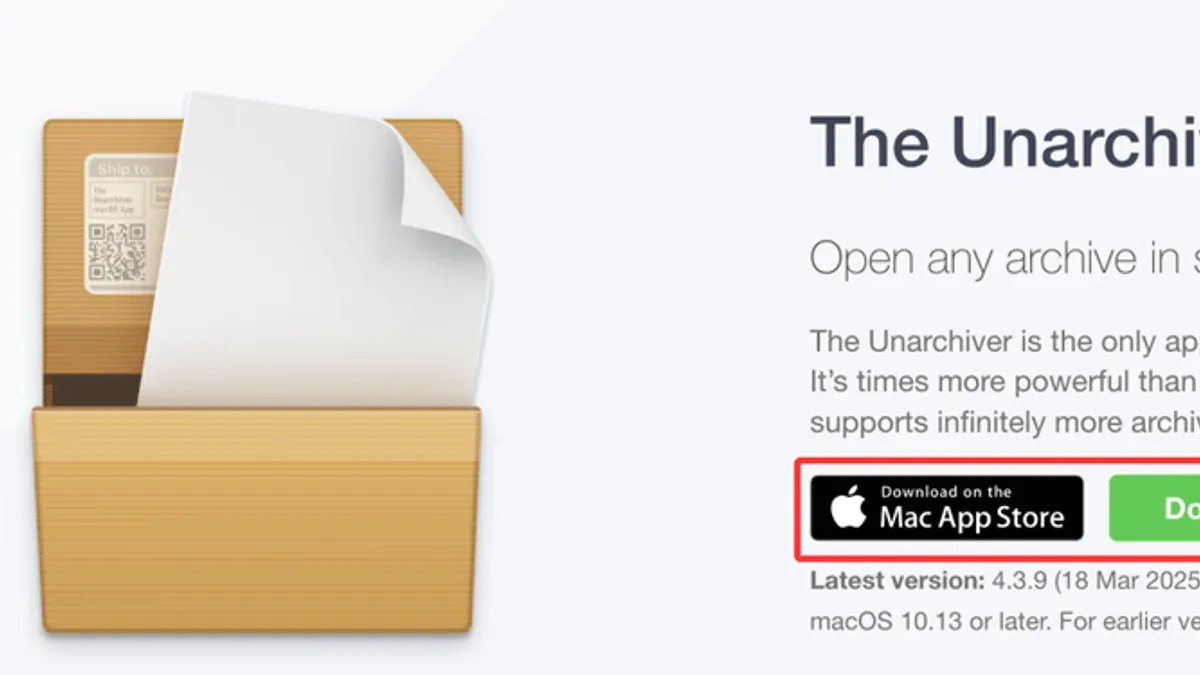
- Click Get or the download icon next to The Unarchiver. After authentication, the app will download and install automatically, and you’ll see it appear in your Applications folder.
- Alternatively, visit https://theunarchiver.com/ in your web browser. The official site displays a clear download button indicating compatibility with macOS.
- Click the download button on the site. Your browser will download a.dmg file, which you can open to drag The Unarchiver into your Applications folder.
- Verify the source by ensuring the URL is correct and the site displays the developer’s name, MacPaw Inc. Avoid downloading from unknown or unofficial websites to prevent malware risks.
How to install The Unarchiver on Mac step-by-step
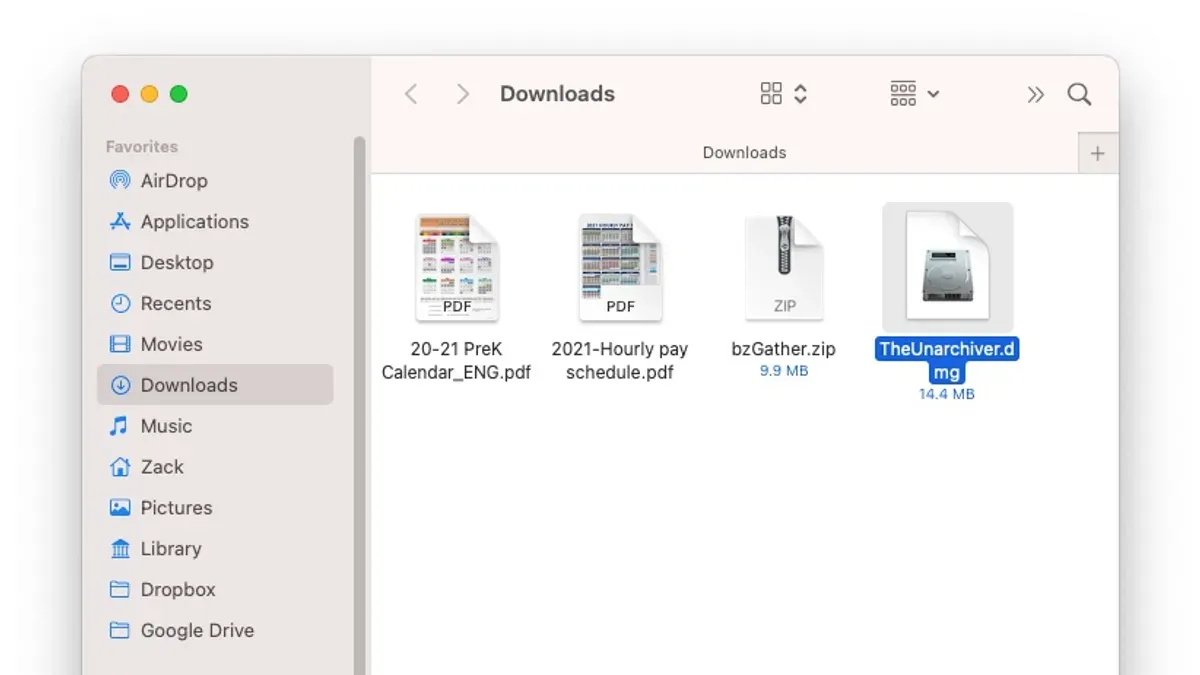
- Locate the downloaded app file, typically in your Downloads folder. Double-click the The Unarchiver app icon to open the installer window. You should see a prompt asking for confirmation to open an app downloaded from the internet.
- Click Open to proceed. If macOS asks for permission to run the app, enter your administrator password or use Touch ID. A window confirming the app’s readiness to install should appear.
- Drag The Unarchiver icon to the Applications folder shortcut shown in the installer window. This copies the app to your system for easy access. When the copying finishes, you can close the installer window.
- Open the Applications folder and launch The Unarchiver. The first time you open it, you may see a prompt requesting access to files and folders. Click OK to grant permission for the app to function fully.
- In The Unarchiver preferences window, navigate to the Archive Formats tab. Select the file types you want the app to handle by checking the boxes, such as ZIP, RAR, 7Z, or TAR. This ensures The Unarchiver will open these by default.
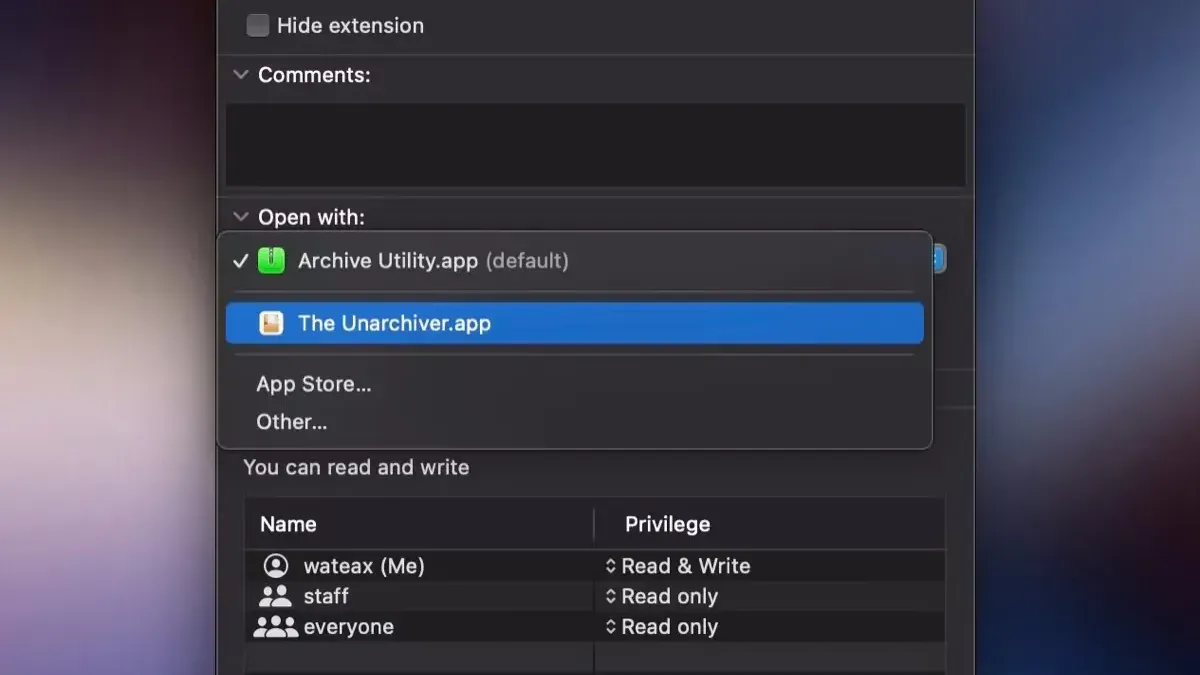
- To set The Unarchiver as the default application for these archive files, right-click an archive file in Finder, choose Get Info, then expand the Open with section. Select The Unarchiver from the dropdown menu and click Change All... to apply this choice system-wide.
- Adjust extraction preferences under the Extraction tab, such as setting the destination folder for extracted files or whether to keep the archive after extraction. Close preferences when done; the app is now ready for use.
How to use The Unarchiver on Mac for different archive formats
After installation, using The Unarchiver to extract files from various archive formats is straightforward. It supports common types like ZIP, RAR, 7z, TAR, and more, allowing you to handle most compressed files without additional software.
- Locate the archive file you want to extract (e.g., a.zip,.rar, or.7z file) in Finder.
- Double-click the archive; The Unarchiver will automatically open and extract its contents to the same folder.
- If the archive is password-protected, a prompt will appear; enter the correct password and click OK to proceed.
- Once extraction completes, a new folder with the archive’s contents will appear next to the original file.
- To extract multiple archives at once, select them all, right-click, and choose "Open With" > "The Unarchiver"; each will be extracted in turn.
The Unarchiver’s interface is minimal, focusing on extracting files rather than browsing archive contents. If you want to preview files before extracting, use Finder’s Quick Look or another utility. Managing extracted files is easiest when you configure The Unarchiver to place them in a dedicated folder, preventing clutter.
Can WinRAR work on Mac with The Unarchiver?
WinRAR is a Windows-based application known for creating and managing.rar archive files. While WinRAR itself does not have a native Mac version, The Unarchiver on Mac fully supports extracting.rar files created by WinRAR, allowing you to open and decompress these archives without issue.
However, The Unarchiver cannot create.rar files on Mac because the RAR compression algorithm is proprietary and requires WinRAR's licensing for encoding. On Mac, you can only extract existing.rar archives but not generate new ones using The Unarchiver.
For creating.rar archives on Mac, alternatives include using the command-line version of WinRAR (rar) available for macOS or third-party tools like Keka, which supports.rar compression through licensed binaries. These tools provide RAR creation capabilities not offered by The Unarchiver.
In summary, The Unarchiver reliably handles.rar extraction on Mac, bridging compatibility with Windows-generated archives, but for creating.rar files, dedicated tools are necessary.
How to install The Unarchiver with Homebrew on Mac
If you prefer using the command line, Homebrew provides an alternative way to install The Unarchiver. This method suits users comfortable with terminal commands and seeking automation or scripting options.
- Open the Terminal app on your Mac.
- Check if Homebrew is installed by entering brew --version. You should see output like Homebrew 4.x.x if it is installed. If not, install Homebrew first by following instructions at brew.sh.
- Install The Unarchiver by typing brew install --cask the-unarchiver and press Enter.
- Wait for the installation to complete. Successful output shows ==> Success! The Unarchiver was installed.
- Verify the app is installed by locating it in your /Applications folder or by running open -a The\ Unarchiver in Terminal to launch it.
Using Homebrew offers quick installation and easy updates through brew upgrade --cask the-unarchiver, ideal for users managing multiple apps via command line. However, this method may be less intuitive for those unfamiliar with Terminal and does not provide the App Store's automatic update and security checks.
For most Mac users, downloading from the Mac App Store or official website remains simpler and ensures you receive official updates and support. Use Homebrew when you prefer command line control or when integrating installation into scripts.
Troubleshooting common issues with The Unarchiver on Mac
If The Unarchiver won’t open or crashes, first try quitting the app completely and restarting your Mac. If you see an error like “The Unarchiver quit unexpectedly,” check for macOS updates and ensure The Unarchiver is updated via the App Store.
Unsupported archive formats may result in errors such as “Cannot extract file” or “Unsupported format.” Confirm the file extension is supported; otherwise, consider converting the archive or using a different tool.
Permission errors during extraction often display messages like “You do not have permission to save the file.” Fix this by right-clicking the destination folder, selecting Get Info, and adjusting permissions to allow your user account to read and write.
If The Unarchiver does not open archives by default, reset its association by right-clicking the file, choosing Get Info, selecting The Unarchiver under Open with, and clicking Change All…
When persistent problems occur, reinstall The Unarchiver by deleting it from the Applications folder and reinstalling from the Mac App Store. Regularly check for updates to avoid bugs fixed in newer versions.
- How to Install and Sync MEGA on Your Mac: A Clear Step-by-Step Guide
- How to Install Dropbox on Mac: A Clear Step-by-Step Guide
- How to Install OneDrive on Mac: A Step-by-Step Guide
Frequently asked questions
Can winrar work on mac with unarchiver?
The Unarchiver can extract files from RAR archives created by WinRAR, making it compatible for opening those files on Mac. However, The Unarchiver does not support creating or modifying RAR archives like WinRAR does. If you need full WinRAR features, you will require WinRAR’s official software or alternatives that support RAR creation.
How to use unarchiver on mac?
After installing The Unarchiver, you can open compressed files by double-clicking them or right-clicking and selecting "Open With" followed by The Unarchiver. The app will automatically extract the contents to the same folder or a location you specify in its preferences. You can also associate The Unarchiver with specific archive formats via its settings for seamless future use.
What is The Unarchiver for Mac?
The Unarchiver is a free decompression tool designed for Mac that supports a wide range of archive formats, including ZIP, RAR, 7z, and more. It is intended to be a simple and effective alternative to the built-in macOS Archive Utility with broader format compatibility. It focuses on extracting files rather than creating archives.
Is The Unarchiver available for Windows?
The Unarchiver is not available for Windows. It is exclusively designed for macOS. Windows users typically rely on other free tools like 7-Zip or WinRAR for archive management.
What is the best free unarchiver for Windows compared to The Unarchiver?
7-Zip is widely regarded as one of the best free alternatives to The Unarchiver for Windows. It supports many archive formats, including ZIP, RAR, and 7z, and offers both extraction and compression capabilities. Its lightweight design and open-source nature make it a popular choice among Windows users.
What this guide does not cover and when to consider other tools
This guide focuses on installing and using The Unarchiver primarily for extracting a wide range of archive formats on Mac. It does not cover creating RAR archives, as The Unarchiver is designed mainly for extraction rather than compression. If you need to create or manage RAR archives extensively, consider dedicated software like WinRAR for Windows via virtualization or alternative Mac apps that support full RAR creation.
For users seeking advanced archiving features such as encryption, repair, or batch compression of complex archive types, The Unarchiver may not meet all requirements. In those cases, exploring professional archiving tools or command-line utilities can provide greater control.
The most useful next step is to familiarize yourself with The Unarchiver’s preferences panel after installation. Adjusting settings like file association and extraction location ensures smoother workflows and helps avoid overwriting files unintentionally. This simple configuration step often improves daily use more than complex setups.



