Mac Keyboard Shortcut to Tile Window Left: How to Use It Efficiently
Discover how to use the Mac keyboard shortcut to tile window left and improve multitasking by snapping windows quickly and efficiently.
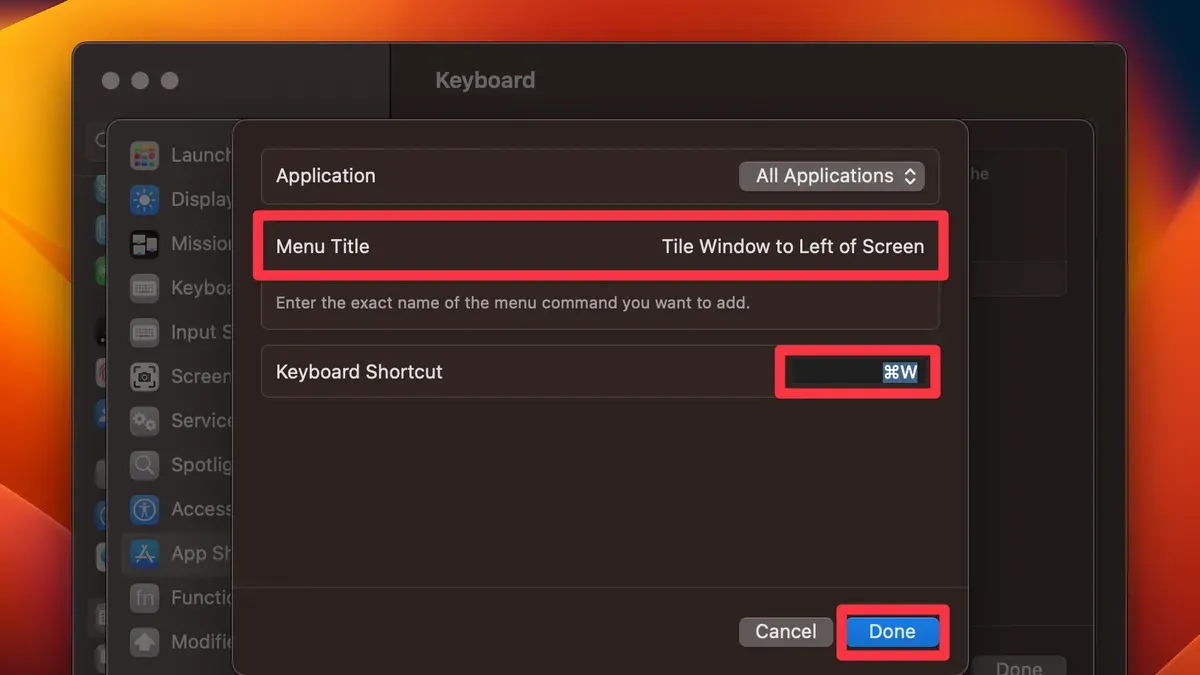
Managing multiple windows efficiently on a Mac can be challenging, especially when you need to focus on just one side of your screen. You might find yourself dragging windows around with the mouse, which slows down your workflow.
This article explains how to use the Mac keyboard shortcut to tile window left, allowing you to snap a window to the left half of your screen quickly. Beyond that, you'll learn how to type the tilde (~) symbol correctly on Mac keyboards, a key often confused with window management shortcuts, and explore third-party tools that enhance tiling options.
Key takeaways
- Use Control + Command + Left Arrow to tile a window to the left in macOS native Split View.
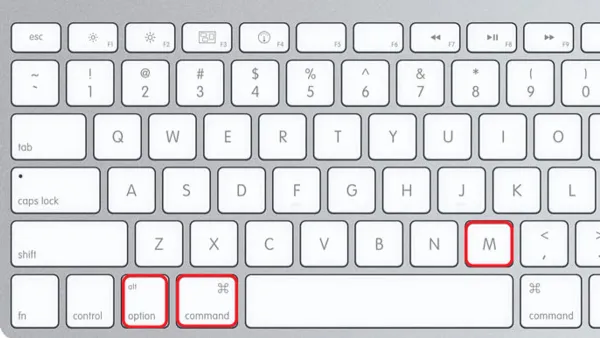
- The tilde (~) symbol is typed using Option + N followed by Space, often mistaken for shortcuts involving window tiling.
- Third-party apps like Rectangle or Magnet offer more flexible and customizable window tiling shortcuts.
- Common mistakes include confusing Mission Control shortcuts with tiling commands and misusing modifier keys.
- Keyboard shortcuts also exist to tile windows to the right or arrange them vertically, enhancing multitasking.
What window tiling means on Mac and why it matters
Window tiling on a Mac refers to the ability to organize open application windows side-by-side, typically splitting the screen into distinct sections. This arrangement allows you to view and interact with two apps simultaneously without overlapping windows, enhancing multitasking and making better use of your screen real estate.
Unlike maximizing a window, which enlarges it to fill the screen but hides other windows, or full screen mode, which dedicates the entire display to a single app and temporarily removes the menu bar and Dock, tiling keeps multiple apps visible and accessible. For example, you might tile Mail on the left half of your screen while writing a document on the right, avoiding constant window switching.
macOS offers native tiling through the “Split View” feature, activated by clicking and holding the green traffic light button on any window. However, this method is less flexible compared to Windows’ snap assist, which allows quick keyboard shortcuts and more nuanced window resizing. macOS lacks a built-in keyboard shortcut for directly tiling windows left or right, limiting power users who prefer keyboard-driven workflows.
| Window State | Description | Visibility of Other Apps |
|---|---|---|
| Tiled Left | Window occupies left half of screen; paired with another window on right | Second app visible on right half |
| Full Screen | Window fills entire display; menu bar and Dock hidden | No other apps visible without switching spaces |
| Maximized | Window fills screen but menu bar and Dock remain visible | Other windows overlap or hidden behind |
Studies on multitasking suggest users can maintain better focus and efficiency when windows are arranged visibly side-by-side. This reduces the time spent alt-tabbing or clicking through overlapping windows. However, macOS users often rely on third-party tools like Magnet or BetterSnapTool to gain more control over window tiling via keyboard shortcuts.
How to tile windows on Mac using keyboard shortcuts
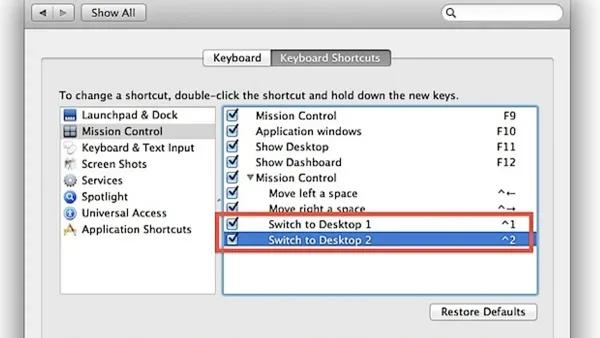
macOS does not provide a dedicated native keyboard shortcut to tile a window directly to the left side of the screen. However, you can use Split View via Mission Control as a workaround. First, press Control + Up Arrow to open Mission Control, then drag a window to the top of the screen to enable Split View. You can then select another window to fill the other half. While this approach involves mouse interaction, keyboard navigation can be used to switch between windows with Command + Tab.
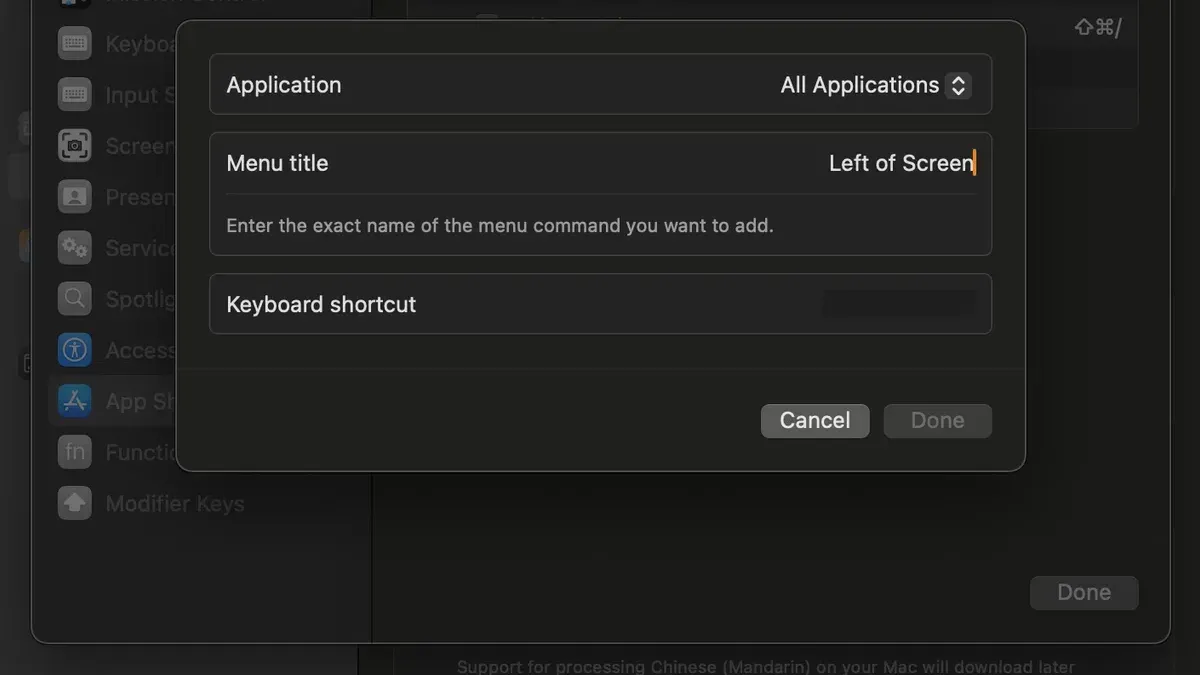
To get true keyboard-based window tiling, third-party apps such as Rectangle or Magnet are popular choices. For example, in Rectangle, after installation, you can tile a window to the left by pressing Control + Option + Left Arrow. These apps allow you to customize shortcuts for tiling left, right, top, and bottom and offer resizing options.
Once tiled, you can switch between windows using Command + Tab or Control + F4, and resize windows with app-specific shortcuts or by dragging the divider manually. Rectangle also supports shortcuts for resizing tiled windows incrementally.
For instance, with Rectangle, to tile a window left, simply focus the window and press Control + Option + Left Arrow. The window snaps to the left half, enabling quick side-by-side multitasking without reaching for the mouse. Native macOS methods require more steps and mouse use, making third-party apps more efficient for keyboard-centric workflows.
How to make a tilde on Mac and why it’s often confused with tiling shortcuts
Typing a tilde (~) on a Mac depends on your keyboard layout. On a standard US Mac keyboard, you press Option (⌥) + n, then release both keys and press the spacebar to produce a tilde: ~. For some European layouts, the tilde may be directly accessible via the Alt Gr or Option key combined with different letters, such as Option + 5 on some Spanish keyboards.
This key combination is often confused with window tiling shortcuts because users searching for ways to tile windows left or right sometimes recall the tilde key due to its proximity or involvement in custom shortcut setups. Since macOS does not have a default keyboard shortcut for tiling windows left, users often rely on third-party apps that use combinations including the tilde key. Misunderstanding which key combination produces a tilde can cause conflicts or confusion when customizing these shortcuts.
For comparison, on Windows keyboards, the tilde is typically typed using Shift + ` (the key directly below Escape), which differs from Mac’s use of the Option key. For example, pressing Option + n then spacebar on a Mac produces a tilde (~), whereas on Windows, pressing Shift + ` yields the same character directly.
| Platform | Key Combination for Tilde (~) |
|---|---|
| Mac (US Keyboard) | Option (⌥) + n, then space |
| Mac (Spanish Keyboard) | Option (⌥) + 5 |
| Windows | Shift + ` (below Escape) |
Imagine you want to set a shortcut in a third-party tiling app that uses Option + ~. Knowing exactly how to type the tilde ensures your shortcut works as intended and prevents accidental typing errors or shortcut conflicts.
Common mistakes when using Mac keyboard shortcuts for window tiling
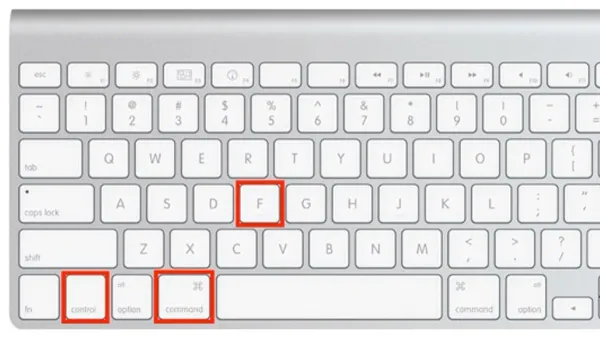
A frequent error is confusing full screen or maximize shortcuts with tiling commands. For example, pressing Control + Command + F toggles full screen mode, not tiling. Users expecting this to snap a window to the left often find themselves in full screen instead, leading to frustration.
Many assume macOS provides built-in keyboard shortcuts to tile windows left or right, but this is not the case. Without third-party tools like Rectangle or BetterSnapTool, you cannot rely solely on native shortcuts for precise tiling, which causes users to try ineffective key combinations.
Another common pitfall is mistaking the tilde (~) key's function when attempting tiling shortcuts. Since tiling shortcuts often involve modifier keys near the tilde key on the keyboard, users sometimes press Option + n (used for typing a tilde) expecting a window action, which does nothing related to window management.
Custom keyboard shortcuts or app-specific shortcuts can also interfere. For instance, if you assign a shortcut in System Preferences > Keyboard > Shortcuts that overlaps with a tiling shortcut in a third-party app, neither may work as intended. Users on forums frequently report shortcuts failing without realizing these conflicts.
Imagine trying to snap Safari to the left with a third-party shortcut, but Safari uses the same shortcut for a browser extension action. The shortcut triggers the extension instead, leaving the window unmoved and causing confusion.
How to tile windows vertically or right using keyboard shortcuts
While macOS does not provide native keyboard shortcuts for tiling windows to the right or vertically, third-party apps like Rectangle, Magnet, or BetterSnapTool fill this gap efficiently. For example, in Rectangle, you can tile a window to the right by pressing Control + Option + Right Arrow. This moves the active window to occupy the right half of your screen, mirroring the left-tiling shortcut.
Vertical tiling, which stacks windows on top of each other rather than side-by-side, is less common but supported by some apps. In Rectangle, you can press Control + Option + Up Arrow to tile a window to the top half of the screen and Control + Option + Down Arrow for the bottom half. This allows you to manage vertical layouts without dragging windows manually.
Managing multiple tiled windows efficiently often involves customizing or memorizing shortcuts. For instance, if you tile a browser to the right and a text editor to the left using these shortcuts, you can switch focus quickly with Command + Tab while keeping your workspace organized.
| Action | Shortcut (Rectangle) |
|---|---|
| Tile window left | Control + Option + Left Arrow |
| Tile window right | Control + Option + Right Arrow |
| Tile window top (vertical) | Control + Option + Up Arrow |
| Tile window bottom (vertical) | Control + Option + Down Arrow |
These shortcuts streamline window management beyond just left tiling, enhancing multitasking by adapting to your workflow needs.
- Mac Keyboard Shortcut to Maximize a Window: How to Do It Efficiently
- Mac Keyboard Shortcut to Switch Desktops: How to Navigate Fast
- Mac Keyboard Shortcut to Minimize All Windows: A Complete Guide
Frequently asked questions
How to type tilde on mac?
To type a tilde (~) on a Mac, press Option + n simultaneously, then release both keys and press the spacebar. This produces a standalone tilde character rather than an accent over a letter.
How to do tilde on windows keyboard?
On a Windows keyboard, you typically press Shift + ` (the key just left of the number 1) to type a tilde. If your keyboard layout differs, the tilde might be accessed via the Alt key plus numeric codes or through the on-screen keyboard.
How to tile windows on Mac
To tile windows on a Mac using the keyboard, hold the Option key and click the green full-screen button in the window's title bar to tile it to one side. Alternatively, third-party apps like Magnet or Rectangle offer customizable keyboard shortcuts for more precise tiling, including direct left or right placement without using the mouse.
How to make a tilde on Mac
Making a tilde on a Mac involves pressing Option + n, then hitting the spacebar to display the tilde character alone. This method differs from typing accents on vowels, where you press a letter after the key combination.
How to type tilde on Mac
The tilde symbol on a Mac is typed by pressing Option + n, releasing them, and then pressing the spacebar. This sequence creates a standalone tilde rather than a diacritical mark.
Limitations of this guide and who should look elsewhere
This guide focuses on macOS native features and widely used third-party tools like Magnet or Rectangle for window tiling. However, macOS does not provide comprehensive native keyboard shortcuts for tiling windows exactly to the left or right without using additional apps. If you require more advanced or highly customizable window management, consider dedicated third-party software tailored to your workflow.
Additionally, users with customized keyboard layouts or non-US keyboards may find that tilde key combinations differ from the standard US layout, which can affect shortcut use and typing the tilde symbol.
To move forward effectively, explore the built-in macOS Split View feature accessed via the green window button or learn third-party apps like Rectangle, which offer reliable, customizable keyboard shortcuts for precise window tiling. Setting up and mastering one of these solutions will enhance your productivity by simplifying window organization with a few keystrokes.