Troubleshoot MacBook Pro M1 Pro Camera Issues Step by Step
Learn how to troubleshoot and fix MacBook Pro M1 Pro camera not working issues with easy step-by-step solutions.
You open your favorite video app or join a video call, only to find your MacBook Pro M1 Pro camera not working. The frustration grows as the green indicator light doesn't turn on, and your face remains invisible to others.
This guide helps you troubleshoot common software and hardware interaction issues that often cause camera problems on your MacBook Pro M1 Pro. You’ll learn how to check software permissions, diagnose hardware connections, and apply safe fixes step by step. By following these instructions, you can avoid unnecessary repairs or resets and restore your camera functionality with confidence.
Key takeaways
- Verify camera access permissions in System Settings under Privacy & Security > Camera.
- Restart the MacBook and relevant apps to refresh hardware connections.
- Reset the SMC and NVRAM if basic steps don’t resolve the issue.
- Inspect the camera hardware connection if software fixes fail.
- Avoid unnecessary third-party apps that can block camera usage.
Understand Why Your MacBook Pro Camera Matters
The built-in camera on your MacBook Pro M1 Pro is more than just a convenience—it’s a key tool for daily communication and productivity. Whether you’re joining a Zoom meeting, making a FaceTime call, or using Photo Booth to capture quick images, the camera’s seamless integration with these apps makes it essential for work and personal use. For example, during a remote team meeting, a functioning camera allows you to engage visually, making interactions clearer and more effective.
Many MacBook users rely on video calls multiple times a week, reflecting how crucial camera functionality has become. The M1 Pro model includes an upgraded 1080p FaceTime HD camera, which offers better image quality than earlier models with 720p cameras. This improvement supports sharper video and better low-light performance, enhancing your presence in virtual meetings and content creation.
Because the camera is deeply integrated with macOS and common apps, a malfunction often results from software or minor hardware conflicts rather than a defective camera module. Troubleshooting these issues first can save you time, avoid unnecessary hardware replacements, and help you restore full functionality quickly.
Learn How MacBook Pro Camera Hardware and Software Work Together
Your MacBook Pro M1 Pro's camera system consists of a physical camera module connected internally through the system-on-chip (SoC) controller. This SoC acts as a bridge, managing communication between the camera hardware and macOS software. When you open an app like FaceTime or Zoom, that app sends a request to macOS to access the camera.
macOS handles these requests through specialized camera drivers that translate hardware signals into usable video streams for apps. Crucially, macOS enforces privacy permissions for camera access. You can check these permissions by going to System Settings > Privacy & Security > Camera. Here, you'll find a list of apps that have requested camera access. If the checkbox next to an app is unchecked, that app cannot use the camera, which often causes confusion.
For example, if you try to use your camera in a video call app but the camera stays off, the issue might be that macOS has denied permission for that app. The camera hardware itself and the drivers may be working perfectly, but without software permission, the camera remains disabled. This layered interaction between hardware, drivers, and privacy settings is why troubleshooting needs to check each part systematically.
Below is a simplified block diagram showing this interaction:
| Component | Role |
|---|---|
| Camera Module | Captures video images |
| System-on-Chip Controller | Manages data flow between camera and software |
| macOS Camera Drivers | Translate hardware data for apps |
| Privacy Permissions | Control app access to camera |
| Apps (e.g., FaceTime) | Request and use camera video |
Understanding this architecture helps you identify where a problem lies—hardware connection, driver issues, or permission blocks. This knowledge empowers you to take targeted troubleshooting steps instead of guessing.
Check for Software Settings That Block Camera Access
When your MacBook Pro M1 Pro camera appears nonfunctional, the cause often lies in software settings that restrict access. Begin by opening System Settings, then navigate to Privacy & Security. Scroll down to Camera and review which apps have permission to use it. If the app you want to use isn't checked, click the checkbox to grant access. For example, if FaceTime or Zoom lacks permission, the camera will stay off even if hardware is fine.
Next, close any apps that may be using the camera in the background. Sometimes, video conferencing or recording apps fail to release the camera, blocking others from accessing it. You can do this by right-clicking the app icon in the Dock and choosing Quit, or by using Force Quit from the Apple menu if the app is unresponsive.
After adjusting permissions and closing conflicting apps, restart the affected app to see if the camera works. If problems persist, reboot your MacBook Pro to reset system processes that manage camera access. This step often clears temporary locks or conflicts.
For a concrete example, if you see an error message like “Camera not available” or logs indicating “camera access denied,” checking privacy permissions is usually the first fix. Remember that changing permissions requires the app to be restarted to take effect.
Diagnose Potential Hardware or Connection Problems
If your MacBook Pro M1 Pro camera is still not working after checking software settings, the next step is to rule out hardware or connection issues. A reliable method is to run Apple Diagnostics, a built-in tool that tests your Mac’s components for faults, including the camera. To start Apple Diagnostics, first shut down your Mac, then power it on and immediately press and hold the D key until the diagnostic screen appears. Follow the on-screen instructions to complete the test. If the diagnostics report includes error codes related to the camera, such as VCAM-xxxx, this indicates a hardware problem.
Signs that your camera hardware might be damaged or disconnected internally include persistent camera failures despite software fixes, or system diagnostics flagging camera hardware errors. Unlike removable devices, the camera is integrated into the MacBook’s logic board, so any internal disconnection or damage typically requires professional repair. Attempting self-repair can risk further damage due to the device’s complexity and delicate components.
For example, if Apple Diagnostics returns a message like “VCAM-1001: Camera hardware failure detected,” this confirms the issue is hardware-related and not software. At this point, you should contact Apple Support or an authorized technician rather than trying to open the MacBook yourself. Avoiding unnecessary repairs or resets is best, but knowing when hardware is the root cause helps you make informed decisions.
Apply Safe Software Fixes Before Considering Repairs
Unlike Intel-based Macs, MacBook Pro M1 Pro models do not have a System Management Controller (SMC) or Parameter RAM (PRAM) that you can reset in the traditional way. Instead, these Macs manage hardware functions through the Apple silicon’s integrated system. When facing camera glitches, a practical step is to restart the camera-related processes that macOS uses.
To do this, open the Terminal app and enter the command sudo killall VDCAssistant. This command forces the system’s camera agent to quit, which macOS will automatically restart. If your camera was frozen or unresponsive, this often resolves the issue without a full system reboot.
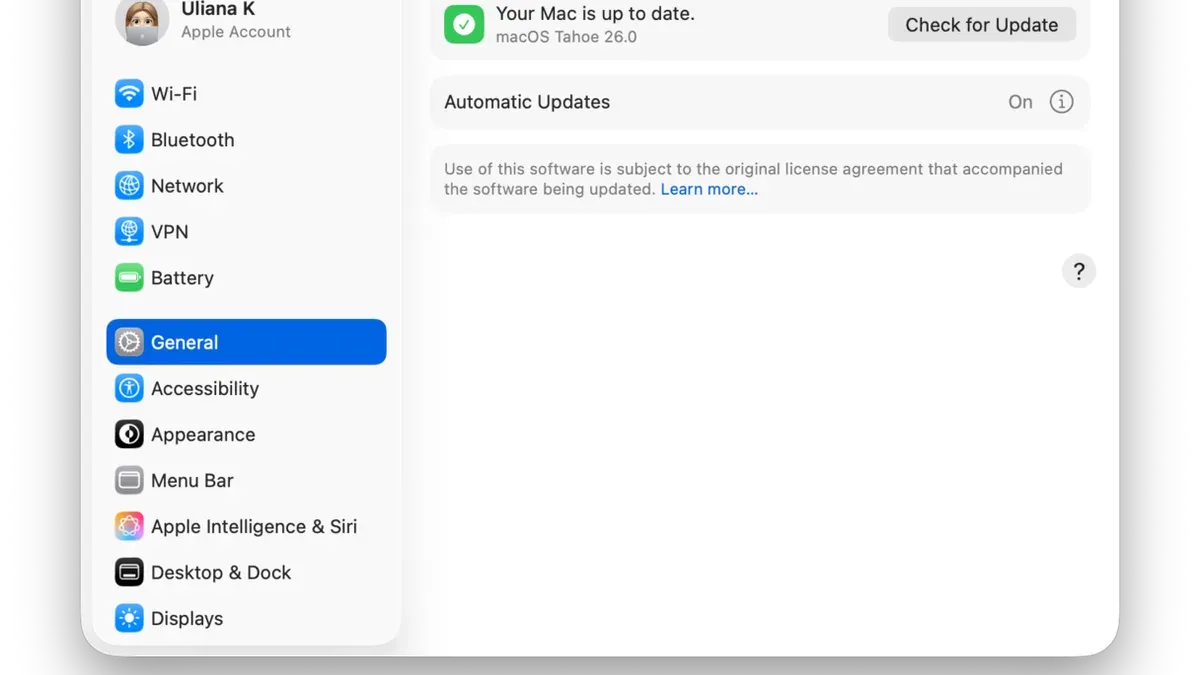
Additionally, ensure your macOS is up to date by going to System Settings > General > Software Update. Apple frequently includes bug fixes for camera and video functionality in macOS updates. For example, a recent update addressed a bug causing intermittent camera disconnects during video calls. Installing these updates can prevent persistent problems and improve overall stability.
Imagine you’re about to join an important video meeting, but the camera won’t activate. Before panicking about hardware faults, try restarting the camera process with the Terminal command and check for any pending system updates. These safe, non-invasive actions often restore camera functionality quickly and save you from unnecessary repairs.
Avoid Common Mistakes That Can Worsen Camera Issues
When troubleshooting your MacBook Pro M1 Pro camera, avoid uninstalling system components or using unauthorized apps that claim to fix camera problems. These tools can interfere with essential drivers or system files, leading to more severe issues like loss of camera functionality or system instability. For example, removing or disabling the "VDCAssistant" process manually without proper knowledge can cause your camera to stop working entirely until a full system restart is performed.
Opening your MacBook chassis without professional tools and experience is another common mistake. The internal layout of the M1 Pro model is compact and delicate; attempting to access the camera module yourself risks damaging connectors or voiding your warranty. Unlike authorized service providers, who use specialized equipment and follow strict protocols, DIY disassembly often results in hardware damage that requires costly repairs.
Be cautious when installing third-party camera software. Some applications may not be fully compatible with macOS or the M1 Pro architecture, leading to conflicts that disable the built-in camera or cause crashes. Always check for verified compatibility and prefer software from reputable sources to avoid these issues.
For instance, a user who installed an unverified virtual camera driver to enhance video calls found their built-in camera stopped working across all apps. Removing the driver required a complex process involving Terminal commands and system reboots, illustrating how such actions can complicate troubleshooting.
Frequently asked questions
Why does my MacBook Pro M1 Pro camera show a black screen?
A black screen often means the camera is active but not capturing video properly. This can happen if another app is holding exclusive access to the camera or if the camera’s connection is disrupted. Checking for software conflicts or restarting your MacBook can help resolve this.
How can I check if my camera is being used by another app?
Look for the green indicator light next to the camera; if it’s on, the camera is in use. You can open the Activity Monitor (found in Applications > Utilities) and search for apps that may be using the camera, like FaceTime, Zoom, or Safari. Closing those apps or quitting their processes can free up the camera.
What should I do if camera permissions are grayed out in settings?
If camera permissions are grayed out, it usually means Screen Time restrictions or a configuration profile is controlling access. Go to System Preferences > Screen Time > Content & Privacy, and check the Camera settings there. If a profile is installed, remove it via System Preferences > Profiles if you have the necessary permissions.
When is it necessary to contact Apple Support for camera issues?
Contact Apple Support when hardware diagnostics indicate a camera fault or if your MacBook won’t recognize the camera after trying software fixes. Also reach out if the camera hardware may be physically damaged or disconnected internally, which requires professional repair. Avoid opening your MacBook yourself as it can void warranty or cause further damage.
Know When to Seek Professional Help
This guide does not cover advanced hardware repair steps that require professional tools or expertise and may not resolve issues caused by physical damage or manufacturing defects. If your MacBook Pro M1 Pro camera remains unresponsive after checking software permissions, resetting system settings like the SMC and NVRAM, and ruling out simple hardware connection issues, it is best to consult Apple Support or an authorized service provider. Attempting to open your MacBook or replace internal components without proper training can void warranties and potentially cause further damage.
The most useful next step is to review your Mac's System Preferences > Security & Privacy > Camera settings. Make sure the apps you want to use with the camera have permission enabled. Often, camera access is blocked here without users realizing it, and toggling these permissions can immediately restore functionality without any complicated troubleshooting.
See also: How to Fix MacBook Pro M1 Pro USB-C Port Not Working: A Step-by-Step Guide · How to Fix Your MacBook Pro M1 Pro Stuck on Apple Logo: A Step-by-Step Guide · How to Update macOS on Your MacBook Pro M1 Pro