How to Make a Vertical Video for Instagram Using iMovie: Step-by-Step
Discover easy steps to create vertical videos for Instagram using iMovie, including editing and exporting tips for perfect portrait clips.
Creating vertical videos for Instagram can be tricky when using iMovie, as the app doesn’t offer a straightforward vertical project option. You might have footage shot in portrait mode that won’t display correctly if you import it directly. If you're wondering how to make a vertical video for Instagram in iMovie, this guide will walk you through effective workarounds to produce perfectly formatted content.
This article covers each step carefully, from preparing your footage and selecting the right aspect ratio workaround, to editing your clips while rotated, and finally rotating your finished video back to vertical orientation. You’ll also learn how to export your video optimized for Instagram and troubleshoot common issues that may arise during the process.
Key takeaways
- iMovie projects default to horizontal, so use rotation as a workaround for vertical videos.
- Import your portrait footage and rotate clips 90 degrees to edit in landscape mode.
- Rotate the final export 90 degrees back to vertical using QuickTime Player or similar tools.
- Export using 1080 x 1920 resolution settings for Instagram Stories or Reels.
- Check for black bars or cropping issues after export and adjust accordingly.
Before You Start: What You Need to Prepare
To create vertical videos for Instagram using iMovie, you first need to ensure your device and software are ready. You should have iMovie installed on a Mac, iPhone, or iPad, with the latest version recommended to access the newest features and compatibility updates. Use a device running a supported operating system: macOS Monterey or later for Mac, iOS 15 or later for iPhone and iPad usually works well.
Your source video footage should ideally be shot vertically or be suitable for cropping to vertical proportions. This will save time and reduce quality loss during editing. Basic familiarity with the iMovie interface and timeline is helpful so you can navigate the editing tools efficiently.
Optionally, you might want third-party apps or tools to rotate or crop footage before importing into iMovie. This is because iMovie does not natively support vertical projects, so external rotation or cropping apps can simplify the workflow. Having these preparation steps covered will help avoid confusion when you start editing.
- Check that iMovie is installed and up to date on your device. Open iMovie and confirm you can create or open projects without errors.
- Prepare your vertical or near-vertical video clips, ensuring they are accessible on your device.
- Review the iMovie interface briefly to confirm you can import clips and access the timeline.
- (Optional) Install any rotation or cropping apps if you plan to preprocess your footage.
Import Your Footage and Choose the Right Aspect Ratio Workaround
iMovie does not support vertical aspect ratios directly; its projects default to the 16:9 landscape format. To edit vertical videos, you need to import your footage and use a simple workaround: rotate your clips 90 degrees so they fit within the landscape frame. This way, you can edit your video as usual, but you will be working with the rotated version.
- Open iMovie and create a new project. You will see the default 16:9 landscape workspace.
- Click on the “Import Media” button and select your vertical video clips from your device or library. After import, drag the clip into the timeline.
- With the clip selected in the timeline, click the crop icon above the preview window to access cropping and rotation tools.
- Click the rotate button (a curved arrow) once to rotate the clip 90 degrees. The clip will now appear sideways in the preview but will fill the horizontal frame.
- Continue editing your video while it remains rotated. The timeline and preview will display the clip sideways, so keep this in mind when trimming or adding effects.
This workaround means you’re editing your vertical footage in a horizontal layout, which might feel unusual at first. However, it allows you to use all of iMovie’s features. Later, you will rotate the finished video back to vertical orientation before export.
Edit Your Video Clips While Rotated: Cutting, Trimming, and Adding Effects
When working with your rotated clips in iMovie, start by trimming and splitting them as usual. Select a clip in the timeline, then drag the edges to trim excess footage. To split, position the playhead where you want the cut and press Command + B or right-click and choose "Split Clip." You’ll see the clip divided into segments, ready for rearranging or deletion.
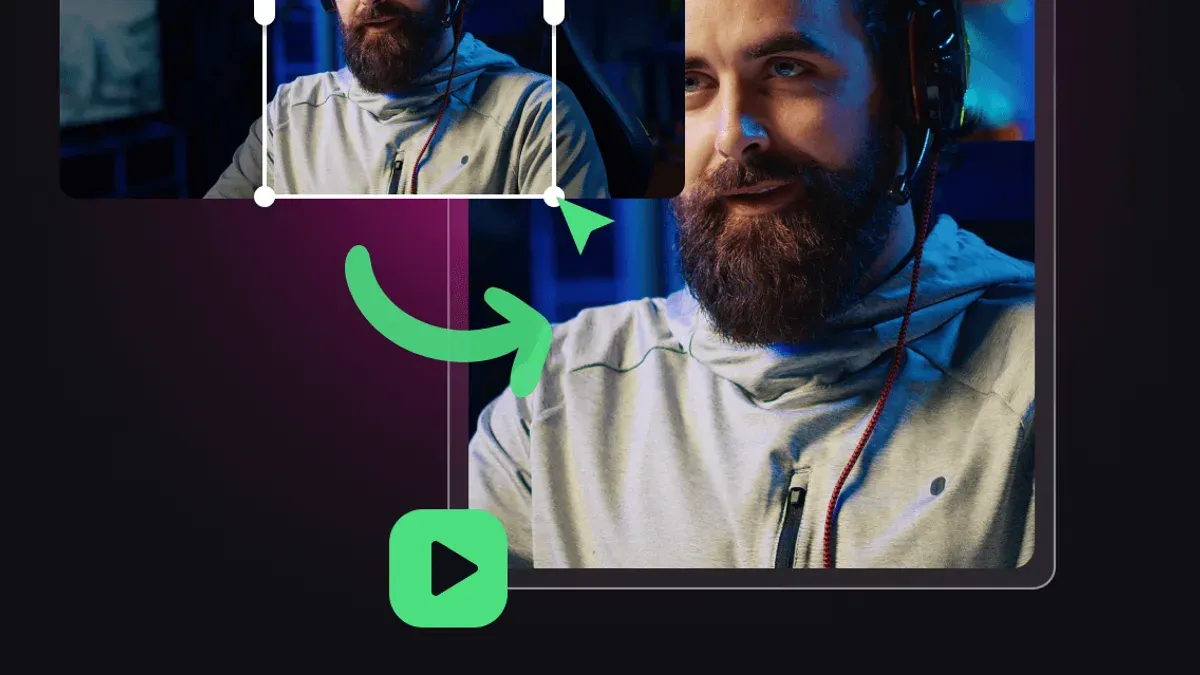
Keep in mind that because your video is rotated 90 degrees, what appears at the top of the frame in iMovie will become the left or right side after rotation correction. Position key visual elements near the center or along the horizontal middle of the rotated frame to ensure they appear properly in the final vertical video.
Adding text or titles requires extra care. Use the Titles browser to select a style, then drag it onto the timeline above your clip. Edit the text and adjust its size and position within the rotated frame so it won't be cut off or awkwardly placed after rotating back. For example, place titles centered vertically and slightly inward from the left or right edge of the rotated clip.
Effects and filters work normally on rotated clips. Apply color corrections or artistic filters from the Adjustments bar, but avoid cropping or zooming in ways that might crop important vertical content once rotated. Review the clip in the preview window frequently to confirm the look stays balanced and all vital details remain visible.
Rotate the Completed Video Back to Vertical Orientation
After finishing your edits in iMovie, you will export the video in its default landscape orientation because iMovie does not support vertical project frames. This exported file will still be rotated sideways, so you need to rotate it back to the vertical position for Instagram.
- In iMovie, click File > Share > File and choose your desired resolution and quality, then click Next and save your video. You should see a standard horizontal video file when playback is done.
- Open the exported video in QuickTime Player, which is free and comes pre-installed on Mac. From the menu, select Edit > Rotate Left or Rotate Right depending on your original rotation.
- After rotating, save the video by selecting File > Save. The saved file will now be correctly oriented vertically.
- If you prefer, you can rotate the video inside iMovie before exporting by creating a new project, importing the exported landscape video, rotating it using the crop/rotate tool, and then exporting the final vertical video. This avoids using additional software but involves an extra export step.
This two-step rotation process preserves video quality well because iMovie exports in high quality, and QuickTime Player's rotation does not re-encode the video heavily. Rotating before export in iMovie may slightly reduce quality due to repeated compression. Using QuickTime for rotation usually results in a crisp vertical video ready for Instagram upload.
Export Your Vertical Video Optimized for Instagram Upload
After rotating your video back to vertical orientation, the next step is to export it in a format that preserves quality and fits Instagram’s requirements. Instagram Stories and Reels typically use a 1080 x 1920 pixel resolution with a 9:16 aspect ratio. IGTV also supports vertical videos but allows up to 4K resolution; however, 1080 x 1920 remains optimal for most uploads to balance quality and file size.
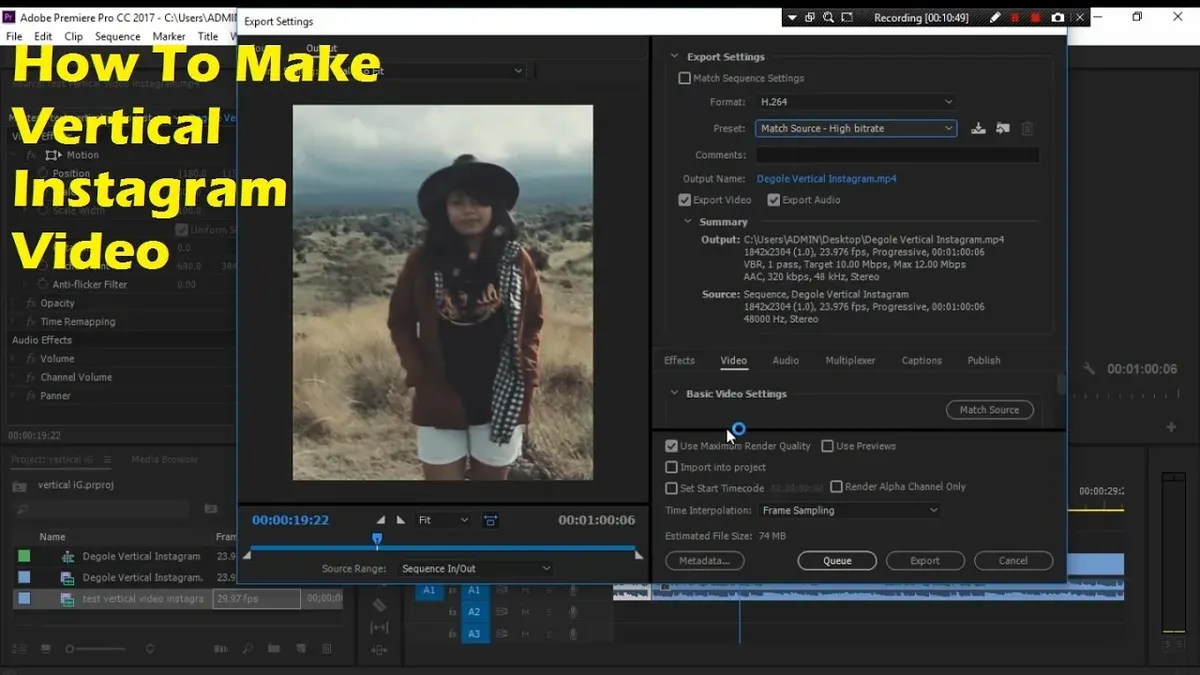
In iMovie, go to File > Share > File. Set the Resolution to 1080p to maintain HD quality. Choose Quality as "High" or "Best (ProRes)" if available, but be aware that ProRes creates larger files which might be harder to upload. Keep the Compress setting at "Better Quality" for a good balance. The exported file will be an MP4 (H.264 codec), fully compatible with Instagram.
To transfer your video from Mac to iPhone, use AirDrop for a quick wireless option. Alternatively, save to iCloud Drive or use a cable connection with Finder or iTunes. Once on your phone, open Instagram and upload the video directly from your Photos app.
- Open iMovie and select File > Share > File. The export window appears.
- Set Resolution to 1080p and Quality to "High" or "Best (ProRes)". Confirm Compress is set to "Better Quality". Click Next.
- Choose a destination folder and save the file. The export progress bar shows completion.
- Use AirDrop, iCloud Drive, or a cable to transfer the video to your iPhone. Verify the video plays correctly in the Photos app.
- Open Instagram and upload the video to Stories, Reels, or IGTV. The app will recognize the correct vertical orientation and resolution.
Troubleshoot Common Issues When Making Vertical Videos in iMovie
When working with vertical videos in iMovie, some common issues can arise due to its landscape-oriented workflow. If your video appears sideways or cropped incorrectly after export, double-check that you rotated the exported file properly in QuickTime Player or iMovie. Failure to do this can cause the video to display in the wrong orientation or have black bars cropping parts of the image.
Text or titles may not align correctly after rotation. This often happens if titles were placed near the edges of the rotated frame. To fix this, position text centrally within the rotated timeline during editing. Preview the video before export to ensure titles appear where you expect after rotation.
Quality loss after exporting and rotating is usually due to multiple compressions. Export your video once at the highest quality settings (e.g., 1080x1920, High quality) and rotate that file only once using QuickTime Player’s rotate function. Repeated exports or rotations degrade image sharpness.
Audio sync issues after rotation can occur if the rotation step involves re-encoding with third-party apps. Stick to QuickTime Player’s rotate feature, which preserves audio-video sync. If sync problems persist, re-import the rotated video into iMovie and check alignment before final export.
- Export your edited video at 1080x1920 resolution with high quality from iMovie.
You should have a landscape-oriented file with your vertical content rotated. - Open the exported file in QuickTime Player.
The video displays sideways in the player. - Use QuickTime Player’s Edit > Rotate Left or Rotate Right option once.
The video now appears correctly vertical without cropping. - Play the rotated video to verify text and titles are properly positioned.
Text should be fully visible and centered. - Check audio sync by playing the video through.
Audio matches video action without delays.
Following these steps prevents the most frequent pitfalls and ensures your vertical Instagram videos maintain their intended appearance and quality.
Frequently asked questions
Can I create a vertical video project directly in iMovie?
No, iMovie does not support creating vertical video projects natively. You must use a workaround by editing your video in a horizontal (landscape) project and then rotating the final video file to vertical orientation after export.
What’s the best way to add vertical text or titles in iMovie?
Since iMovie’s titles are designed for horizontal videos, the best way to add vertical text is to create your text in a separate app or graphic editor rotated vertically, then import that as an image overlay in your project. Alternatively, add horizontal text and rotate the entire clip after export to make it appear vertical.
Will rotating clips affect video quality?
Rotating clips within iMovie or after export usually does not reduce video quality if you maintain the original resolution and export settings. However, multiple re-encodings may slightly degrade quality, so keep rotations to a minimum and export using the highest resolution and quality options available.
How do I upload the finished vertical video to Instagram without losing quality?
To preserve quality, export your video from iMovie using the highest resolution available, typically 1080 x 1920 for vertical videos. Upload the file directly through the Instagram app without compressing it further. Using Wi-Fi and avoiding multiple format conversions before upload also helps maintain clarity.
What This Guide Does Not Cover
This guide does not cover advanced video editing software that natively supports vertical video projects, such as Final Cut Pro, Adobe Premiere Pro, or dedicated mobile apps like InShot or LumaFusion. If you need complex vertical editing features—like multi-track timelines, advanced color grading, or motion graphics—consider using those specialized tools instead of iMovie. This method works best for straightforward vertical Instagram videos created with basic editing and rotation steps.
Keep in mind that iMovie’s workaround involves editing your clips in a rotated horizontal workspace, which might feel less intuitive and limit some creative options. If your project requires precise vertical framing throughout the editing process or more sophisticated effects tailored specifically for vertical format, a more robust app will better suit your needs.
Now that you understand these limits, the most useful next step is to carefully follow the steps to rotate your final video back to vertical orientation and export it using the H.264 codec with a resolution of 1080 by 1920 pixels. This ensures your video is optimized for Instagram’s vertical feed, maintains quality, and uploads without issues.
See also: How to Crop a Video in iMovie: Step-by-Step Guide for iPhone, iPad, and Mac · How to Remove Background Noise in iMovie: A Step-by-Step Guide