
How to Upload an App to App Store Connect Using Xcode: Step-by-Step Guide
This guide explains how to upload an app to App Store Connect in Xcode with clear steps to help you submit your iOS app successfully.
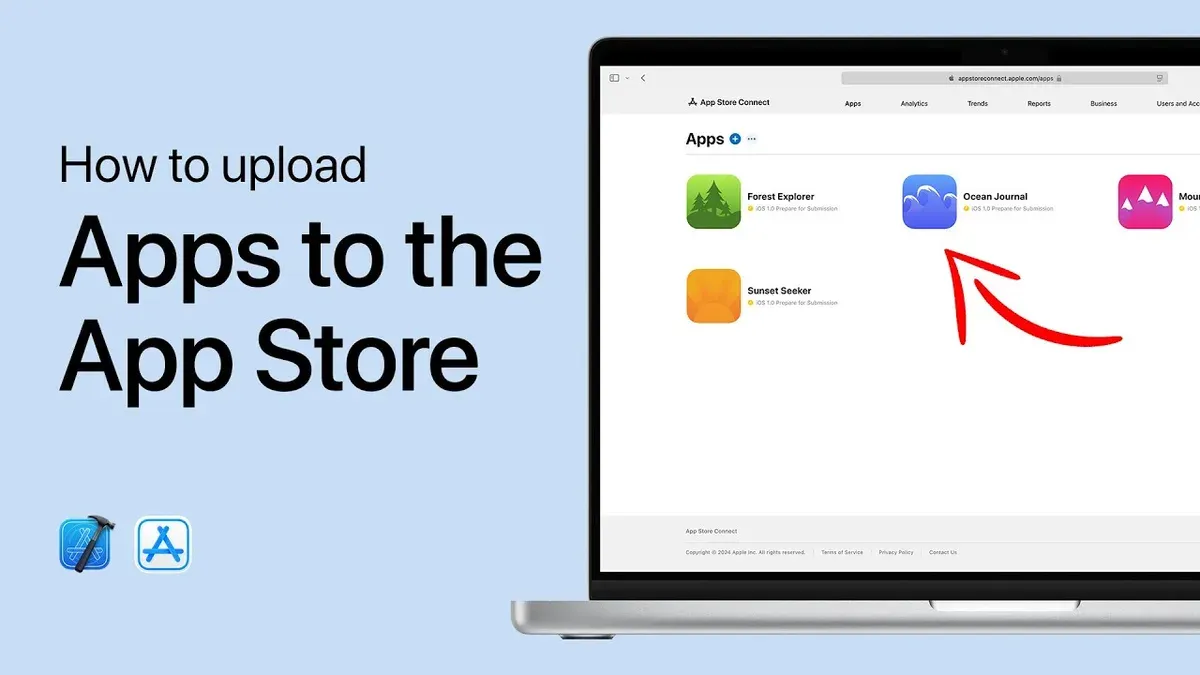
You’ve finished developing your iOS app and are ready to share it with users via the App Store. Uploading your app correctly is essential to ensure it passes Apple’s requirements and appears on the store without delay. This article explains how to upload an app to App Store Connect in Xcode, guiding you through each step with clear instructions and explanations on why each action matters.
From setting up your project for distribution to creating an archive, validating your build, and finally uploading it through Xcode, you’ll learn how to avoid common pitfalls. The guide also covers how to verify your upload in App Store Connect and troubleshoot typical errors, helping you feel confident throughout the publishing process.
Key takeaways
- Prepare your app and developer account details before starting the upload process.
- Use Xcode’s Archive and Validate features to ensure your app meets Apple’s requirements.
- Upload your app directly from Xcode to App Store Connect for a streamlined workflow.
- Check the status and metadata in App Store Connect to confirm a successful upload.
- Understand common upload errors and how to resolve them promptly.
Before You Start: Gather Your Essentials
Before uploading your app, ensure you have all necessary prerequisites ready to avoid interruptions. First, confirm you are an active member of the Apple Developer Program and have access to your App Store Connect account. Without these, you won’t be able to submit or manage your app on the App Store.
Your Xcode project must be complete with a valid bundle identifier formatted like com.yourcompany.yourapp. Check that your app’s version and build numbers are correctly set in the project’s General settings to reflect the release you intend to submit. Also, prepare your app icons and launch screens according to Apple’s Human Interface Guidelines, as missing or incorrect assets cause upload rejections.
Make sure provisioning profiles and signing certificates are configured. Xcode can manage these automatically if you enable 'Automatically manage signing' under the Signing & Capabilities tab. Finally, confirm you have the latest stable version of Xcode installed and a reliable internet connection to avoid upload errors.
- Open your project in Xcode and go to the General tab. You should see your bundle identifier clearly displayed, for example, com.example.myapp. This confirms your app is uniquely identified.
- Navigate to the Signing & Capabilities tab and verify that your team is selected and signing is configured. If you use automatic signing, check that no errors appear here.
- Check your app icons and launch screen assets in the Assets.xcassets folder. Confirm they meet Apple’s size and format specifications to prevent upload issues.
- Ensure your app’s version and build numbers are set appropriately in the General tab. The version should be user-facing (e.g., 1.0.0), and the build number should increment with every upload.
- Verify your Xcode installation is up to date by going to Xcode > About Xcode. Running the latest stable release minimizes compatibility risks.
- Confirm your internet connection is stable by opening a browser and visiting a few websites or running a speed test.
Set Up Your Xcode Project for Distribution
- Open your project in Xcode and select the correct target for your app from the dropdown menu at the top of the window. You should see the app name clearly indicated, confirming you are configuring the right build.
- Next, choose the appropriate scheme that matches your target. This ensures that the build settings and configurations align with the app you intend to distribute.
- Go to the General tab in your target’s settings and locate the Version and Build fields. Increment these numbers if you are uploading an update: the Version reflects the public app version (e.g., 1.0, 1.1), while Build is usually a higher integer that tracks internal iterations. This prevents issues during validation.
- Set the build destination by selecting Generic iOS Device or a connected physical device from the device selector next to the Run and Stop buttons. This is necessary because archiving requires a device target rather than a simulator.
- In the Signing & Capabilities tab, confirm that Automatically manage signing is enabled for simplicity. If you prefer manual signing, ensure you have selected the correct Provisioning Profile and Signing Certificate that correspond with your app’s bundle ID and developer account.
- Finally, archive your app by choosing Product > Archive from the menu bar. The Archive window will open when the process completes, displaying your archived build. This confirms your app is prepared for distribution and ready to upload.
Create an Archive and Validate Your App
Archiving your app packages it for distribution and is the next critical step before uploading to App Store Connect. Creating a valid archive ensures your app meets all requirements, reducing the chance of upload rejection. Use Xcode’s built-in tools to archive and then validate your app to catch issues early.
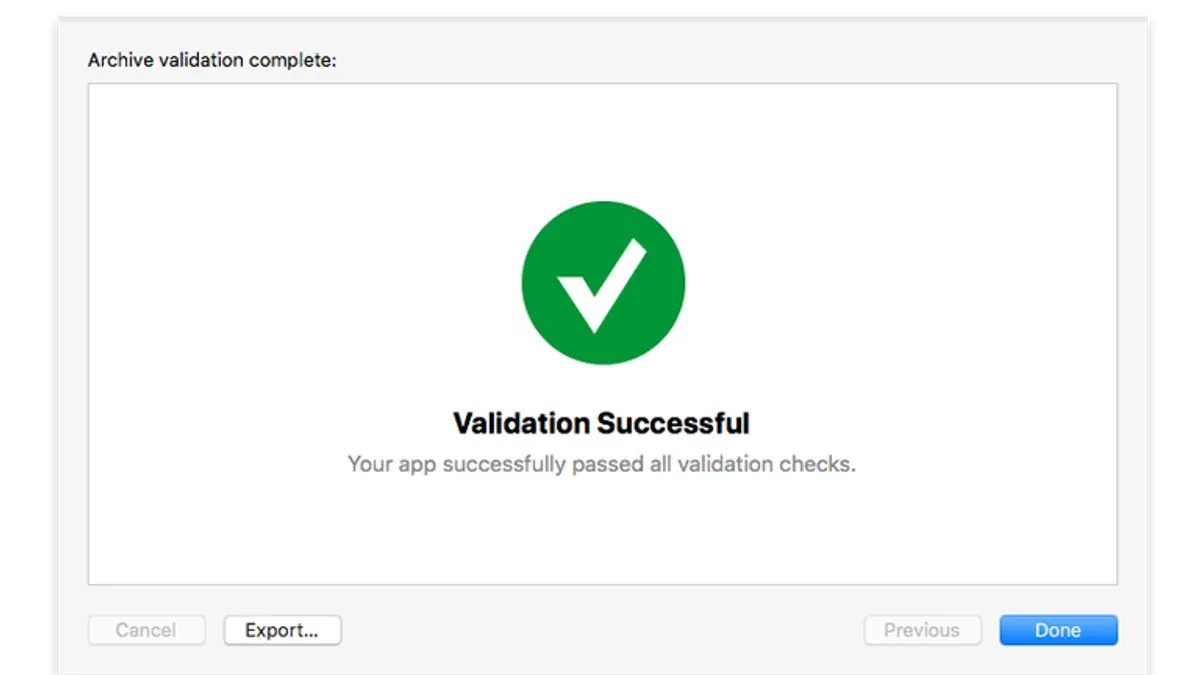
- In Xcode, select your project scheme and choose Product > Archive from the menu. When this completes successfully, Xcode’s Organizer window opens displaying your new archive.
- In Organizer, select the latest archive and click Validate App. This runs automatic checks on your archive, including code signing, entitlements, and build settings.
- Review validation results carefully. A common error is a code signing mismatch, often shown as "No matching provisioning profiles found". Resolve this by ensuring your signing certificates and profiles are current and correctly configured in your project.
- If you see warnings like "Missing Info.plist key" or entitlements mismatched with your App ID, update your Info.plist or capabilities accordingly, then re-archive and validate again.
- A valid archive will show a green checkmark with no blocking errors. If errors persist, use the detailed messages to pinpoint the problem rather than proceeding to upload.
By validating your app archive before upload, you significantly reduce the risk of rejection or upload failure, saving time and frustration.
Upload Your App to App Store Connect from Xcode
Once your archive has been validated, you are ready to upload it to App Store Connect directly from Xcode. This process ensures your app package is securely sent to Apple for review and distribution.
- Open the Organizer window: In Xcode, go to the Window menu and select Organizer. Here, you will see your most recent archives listed under the Archives tab. Selecting your latest archive is crucial to avoid submitting an outdated build.
- Choose Distribute App: After selecting your archive, click the Distribute App button on the right side. This starts the submission process and presents several distribution options.
- Select App Store Connect as your distribution method: This option is designed specifically for uploading builds intended for the App Store. After selection, click Next.
- Follow the submission dialogs step-by-step: You will be prompted to choose options such as export method (usually Upload), signing credentials, and any app thinning preferences. Pay attention to warnings or errors that might appear; these often indicate missing information or configuration issues.
- Enter your Apple ID credentials when requested: Xcode uses these to authenticate with App Store Connect. Ensure you have two-factor authentication enabled for your account to avoid login interruptions.
- Confirm and start the upload: At the final dialog, review the summary of your submission and click Upload. A progress bar will indicate the upload status, showing detailed logs for each step.
- Verify successful upload: Upon completion, Xcode will show a success message confirming your build was uploaded. You can also check your build’s appearance in App Store Connect under the TestFlight or App Store tab to confirm it is processing.
Following these steps carefully helps you avoid common mistakes such as uploading the wrong archive or missing required credentials. This built-in workflow in Xcode simplifies the process and provides real-time feedback on your submission status.
Verify Your Upload and Configure App Store Connect
After uploading your app archive via Xcode, the next step is to confirm that your build has successfully arrived in App Store Connect and is being processed. Processing times vary but typically take between 15 minutes to an hour. During this period, App Store Connect analyzes your build for issues and prepares it for submission.
- Log in to App Store Connect at appstoreconnect.apple.com and navigate to My Apps.
- Select your app from the list to open its dashboard. Here, click on the TestFlight or Activity tab, then select Builds.
- Locate your uploaded build by matching the version number and build number you set in Xcode. When processing is complete, the build status will change from Processing to Ready to Submit or Upload Complete. A green checkmark often indicates successful processing.
- If your build is missing or stuck in processing for several hours, check for common issues such as invalid code signing or missing assets, then re-upload the archive if needed.
- Once your build is ready, you can proceed to configure app metadata, upload screenshots, and set pricing under the App Store tab. These steps are essential before submitting your app for review but are managed separately from the upload process.
By carefully verifying your build’s arrival and status in App Store Connect, you ensure your app is on track for release and can address any upload-related problems early.
Troubleshoot Common Upload Failures
Encountering upload issues can be frustrating, but understanding common errors helps you resolve them efficiently. Here are frequent problems you might face and how to fix them.
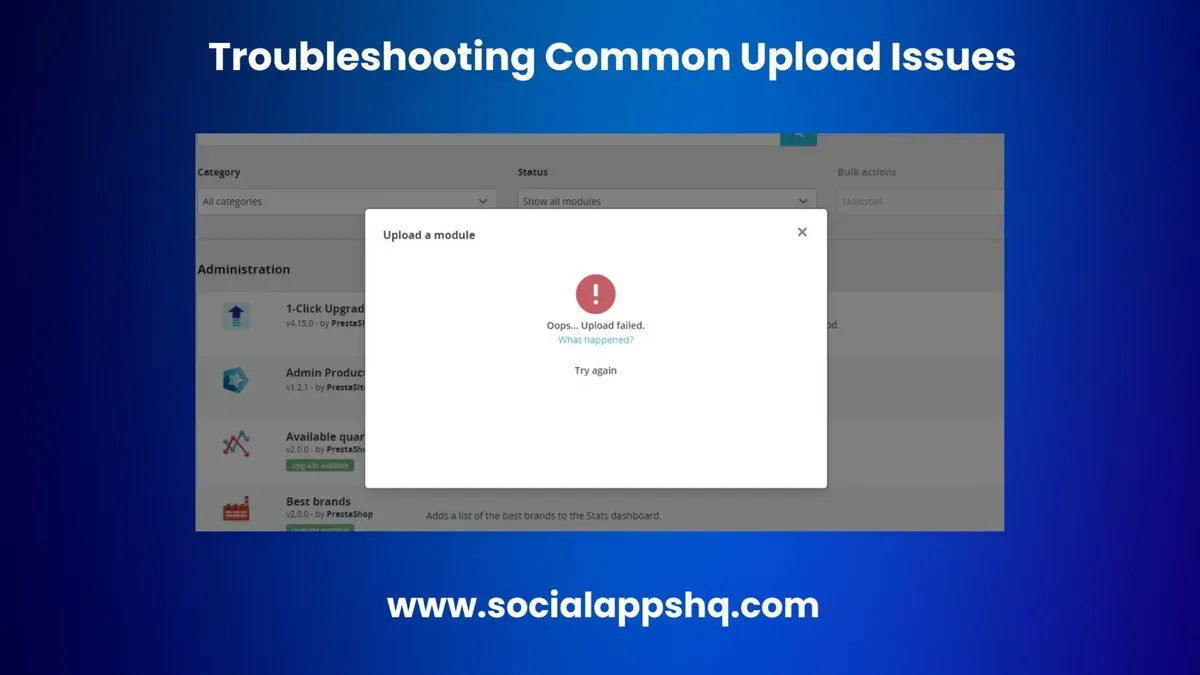
- Resolve Code Signing and Provisioning Profile Mismatches
When you see errors like "Code signing is invalid" or "Provisioning profile does not match the bundle identifier", check that your Xcode project uses the correct provisioning profile tied to your app’s bundle identifier. Ensure your Apple Developer certificates are valid and included in your Mac’s keychain. Once corrected, re-archive and attempt upload again. - Fix Version and Build Number Conflicts
If you get "A build with the same version and build number already exists", increment your build number or version in Xcode’s General tab under "Identity." This unique combination must not duplicate previous submissions. - Handle Network and Authentication Errors
Errors like "Failed to authenticate" or "Network connection lost" indicate issues with your Apple ID login or internet stability. Sign out and back into Xcode’s Preferences > Accounts, and verify your connection is stable. Retry the upload after these steps. - Fix Missing Info.plist or Invalid Bundle Identifier Errors
For the error "Missing Info.plist key" or "Invalid bundle identifier", check your Info.plist file in Xcode to ensure all required keys (e.g., CFBundleIdentifier) are present and correctly set. The bundle identifier must exactly match the one registered in your developer account. - Address Upload Stalls or Xcode Crashes
If Xcode stalls during upload or crashes, quit Xcode and restart your computer to clear temporary issues. Also, check for Xcode updates that might fix known bugs. Try uploading smaller builds or from a different network if problems persist.
Use this flowchart to systematically identify and resolve upload problems: start by verifying code signing, then check versioning, confirm network and login status, inspect Info.plist integrity, and finally address any application or system performance issues.
Frequently asked questions
What are the differences between version and build numbers in Xcode?
The version number represents the release version of your app visible to users, like 1.0 or 2.5. The build number is an internal identifier that increments with every upload to App Store Connect, such as 1, 2, or 45. You must increase the build number with each new upload, even if the version number stays the same, to distinguish different iterations of the same app version.
Can I upload an app without a paid Apple Developer account?
No, uploading an app to App Store Connect requires an active paid Apple Developer Program membership. This membership enables access to distribution certificates, provisioning profiles, and the ability to submit apps to the App Store. Without it, Xcode will not allow you to archive and distribute your app to the store.
Why does my app get rejected during validation in Xcode?
Validation failures often happen due to missing or incorrect provisioning profiles, mismatched bundle identifiers, or unsupported architectures. Another common cause is missing required icons or launch images. Carefully review the validation error messages in Xcode, then check your project’s signing settings and asset catalog for compliance.
How long does it take for a build to appear in App Store Connect after uploading?
After a successful upload, your build usually appears in App Store Connect within 10 to 30 minutes. Occasionally, it may take longer during high-traffic periods or if Apple is processing app metadata. You can monitor processing status under the “Activity” tab in App Store Connect to confirm when the build becomes available.
What This Guide Does Not Cover
This guide focuses specifically on the technical process of uploading your app to App Store Connect using Xcode. It does not cover submitting your app for Apple’s review, which involves additional steps like addressing App Store Review Guidelines and responding to feedback. Detailed setup of your App Store metadata—such as writing your app’s description, setting keywords, or choosing screenshots—is also outside the scope here, as these require navigating App Store Connect’s web interface separately. If you need help with these aspects, consider resources dedicated to App Store optimization and the Apple Developer documentation on app submission.
For apps with complex backend integrations or enterprise distribution, additional configuration beyond Xcode might be necessary.
Next Step: Start Your Upload with a Valid Archive
Now that you understand the upload process and how to verify each step, your most useful next action is to create a valid archive of your app in Xcode. Make sure your build uses the Release scheme and is signed with the correct distribution certificate and provisioning profile. Then, validate the archive within Xcode before uploading to catch common issues early. This preparation ensures a smoother submission experience and reduces delays caused by upload errors.
See also: How to Run an App on Your iPhone Using Xcode: Step-by-Step Guide · How to Run an iOS Simulator in Xcode: Step-by-Step Guide · How to Install Command Line Tools in Xcode: A Step-by-Step Guide · How to Clear DerivedData in Xcode: Step-by-Step Guide



