How to Open and Install.OTF Files on Mac: A Practical Guide
Discover how to open and install.otf font files on your Mac with easy steps and troubleshooting tips for smooth font management.
You have just downloaded a.otf font file and want to use it on your Mac, but you’re unsure how to open or install it properly. Maybe you need to customize a document or design project and the font is essential for your work.
This article explains how to open.otf file on Mac using built-in tools, guides you step-by-step through installation, and explores how to create or convert.otf fonts. It also covers common issues and troubleshooting tips to help you manage these font files effectively for personal or professional use.
Key takeaways
- .otf files are OpenType font files compatible with macOS Font Book and many design apps.
- You can open.otf files by double-clicking them to preview in Font Book before installation.
- Use Font Book’s “Add Fonts” option to install.otf fonts system-wide or for specific users.
- Font creation requires specialized apps like Glyphs or FontForge with a basic workflow involving vector design and exporting.
- Common issues include font conflicts and permissions, resolved by clearing duplicates or repairing disk permissions.
Before you start: What you need to open and install.otf files on Mac
To handle.otf files effectively on your Mac, ensure you have a basic understanding of font file types and how macOS manages fonts. OpenType fonts (.otf) are widely supported by macOS, but knowing the system's font management process helps avoid common pitfalls.
Your Mac should be running a supported macOS version for smooth font installation. Generally, macOS versions from 10.7 (Lion) onward support.otf files natively through the Font Book app. Check your macOS version by clicking the Apple menu and selecting About This Mac.
Obtain your.otf file from a trusted source, whether downloaded or transferred from another device. Verify the file extension is.otf to prevent compatibility issues.
If you plan to create or edit.otf fonts, you will need specialized software. Popular Mac font editors include Glyphs, FontLab, and RoboFont. These tools allow you to design and export OpenType fonts but are not necessary for basic installation.
Before installing new fonts, it is recommended to back up existing fonts or your system. This protects you from conflicts or corrupt fonts that might disrupt applications or system behavior.
- Check your macOS version: Click the Apple menu, select About This Mac, and confirm you are running macOS 10.7 or later. This ensures native support for.otf files.
- Locate your.otf file: Ensure the file has the correct .otf extension and is saved on your Mac, ready for installation.
- Optional: If you intend to create or edit fonts, install font editing software such as Glyphs or FontLab. Open these applications to confirm they launch properly.
- Back up your current fonts: Use Time Machine or copy the /Library/Fonts and ~/Library/Fonts folders to a safe location. This step safeguards your system against font-related issues.
- Prepare to use Font Book: Open the Font Book app from Applications or via Spotlight. This built-in tool manages font installation, validation, and removal.
What is a.otf file and what file type is it?
A.otf file is an OpenType font file, a font format developed jointly by Microsoft and Adobe to combine the strengths of two earlier font technologies: PostScript and TrueType. This hybrid nature allows.otf fonts to support advanced typographic features while maintaining broad compatibility across different platforms and applications.
OpenType fonts with the.otf extension use PostScript outlines, which provide more precise curve rendering compared to TrueType outlines found in.ttf files. Both.otf and.ttf are widely supported on Mac systems, but.otf files often include additional capabilities ideal for professional design work.
| Feature | .otf (OpenType) | .ttf (TrueType) |
|---|---|---|
| Outline Type | PostScript (CFF) | TrueType |
| Advanced Typography | Supports ligatures, alternate characters, swashes, small caps | Limited support for advanced features |
| Compatibility | Broad across modern OS and applications | Very broad, especially legacy systems |
| File Size | Often smaller due to efficient outlines | Can be larger |
In graphic design and publishing,.otf files are preferred for projects requiring fine typographic control, such as professional brochures, books, and branding materials. Their support for ligatures, contextual alternates, and multiple language scripts makes them versatile for creative layouts.
While both formats are functional for everyday use, choosing.otf can offer better design precision and flexibility. If you work with typography-intensive applications like Adobe InDesign or Illustrator,.otf fonts provide enhanced features that.ttf fonts might lack.
How to open.otf file on Mac using built-in tools
You can preview.otf font files on your Mac without installing them by using macOS’s built-in tools like Font Book and Quick Look. These methods allow you to examine the font’s appearance before deciding to add it permanently.
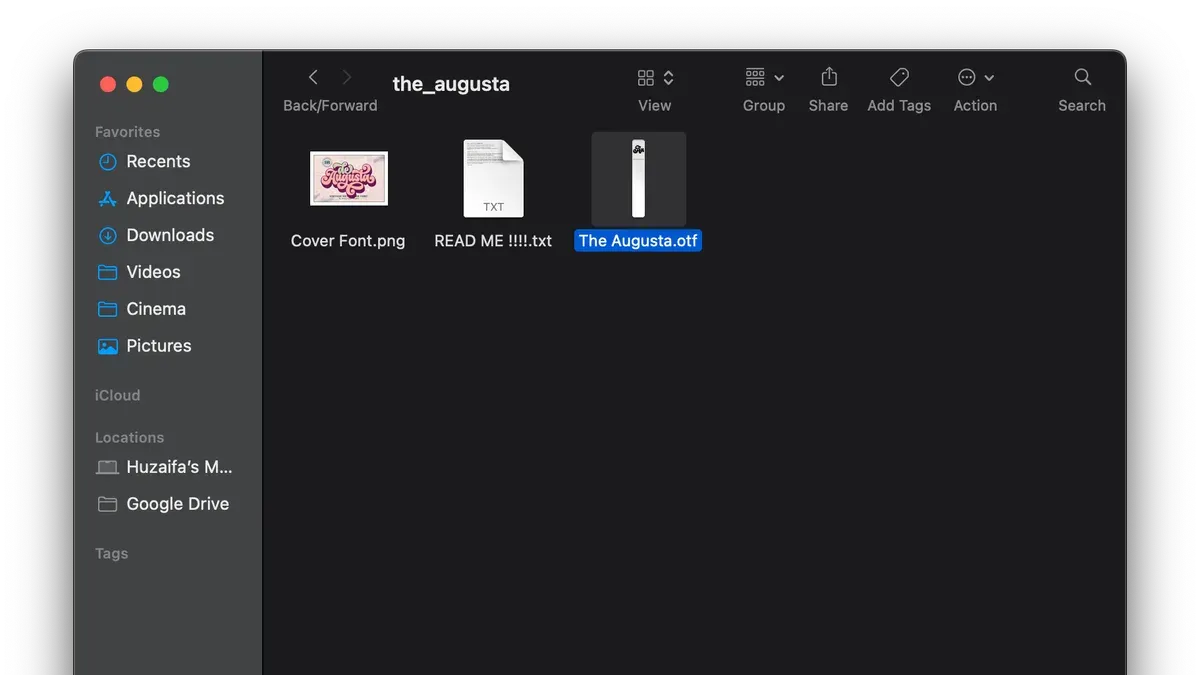
- Locate the.otf file in Finder. You should see the.otf file icon representing the font file.
- Double-click the.otf file. This action opens Font Book, displaying a preview window showing the font’s glyphs, sizes, and styles. You will see sample text using the font and a list of available characters.
- Use Quick Look for a quick preview. Select the.otf file, then press the spacebar. A Quick Look window appears, showing a sample of the font. This preview is simpler than Font Book but useful for a fast check.
- Navigate within Font Book preview. Use the sample text area to type custom text, scroll through character sets, or view different font styles if included in the file.
- Close the preview when done. Closing Font Book or Quick Look does not install the font; it only previews it.
Note that opening.otf files without installing them limits your ability to use the font in applications like Pages or Photoshop. The preview tools provide visual confirmation but do not activate the font system-wide.
How to install.otf file on Mac step-by-step
- Open the Font Book application from the Applications folder or by searching in Spotlight. You should see the Font Book interface ready for font management.
- Locate your.otf font file in Finder. Then, drag and drop the.otf file directly into the Font Book window. A progress bar will appear showing the font is being validated and installed.
- Choose the installation scope when prompted. You can install the font for the Current User only, meaning it will be available just in your user account, or for All Users, making it accessible system-wide. Select the option that fits your needs and click Install Font.
- Once installed, the font will appear in the Font Book list. Check that the font's name appears without any warning icons or errors, confirming a successful installation.
- To activate or deactivate fonts, select the font in Font Book and use the File menu or right-click to choose Enable or Disable. Enabled fonts are available in all compatible applications; disabled fonts are removed from the active font list without uninstalling.
- If you want to verify the font’s installation in applications, open a program like Pages or TextEdit, then look for the new font in the font selection dropdown. The font should be selectable and render correctly.
How to create an.otf file: tools and basic workflow
Creating an.otf font file on a Mac involves designing glyphs and exporting them using specialized font creation software. Two popular options compatible with macOS are Glyphs and FontForge. Glyphs offers a polished interface tailored for Mac users, while FontForge is an open-source alternative.
Here is a typical workflow using Glyphs:
- Open Glyphs and start a new font project; you should see a blank grid ready for glyph design.
- Design each glyph by drawing or importing vector shapes in the editing window; the preview pane updates to show your design.
- Adjust spacing and kerning values in the Metrics window to ensure proper character alignment; test by typing sample text.
- Set font metadata under File > Font Info, including family name, style, and licensing details; correct entries will appear in the font properties.
- Export the font by selecting File > Export and choose 'OpenType (OTF)' format; a dialog with export options like subsetting and hinting will appear.
- Configure export settings such as including PostScript outlines and embedding permissions; confirm settings and export.
- Locate the exported.otf file in your chosen folder; this file is now ready for installation or distribution.
When creating fonts, consider licensing terms carefully, especially if distributing commercially. Embedding permissions determine how the font can be used in documents or apps.
For beginners without design experience, font creation can be complex due to the precision needed in glyph design and spacing. Using templates or starting with existing fonts for modification can ease the process.
File converter to.otf: how to convert other font files on Mac
Converting fonts like.ttf or.woff to.otf on Mac can be useful when you need specific OpenType features or better compatibility with certain design software. Several tools and online services facilitate this conversion, each with its own pros and cons.
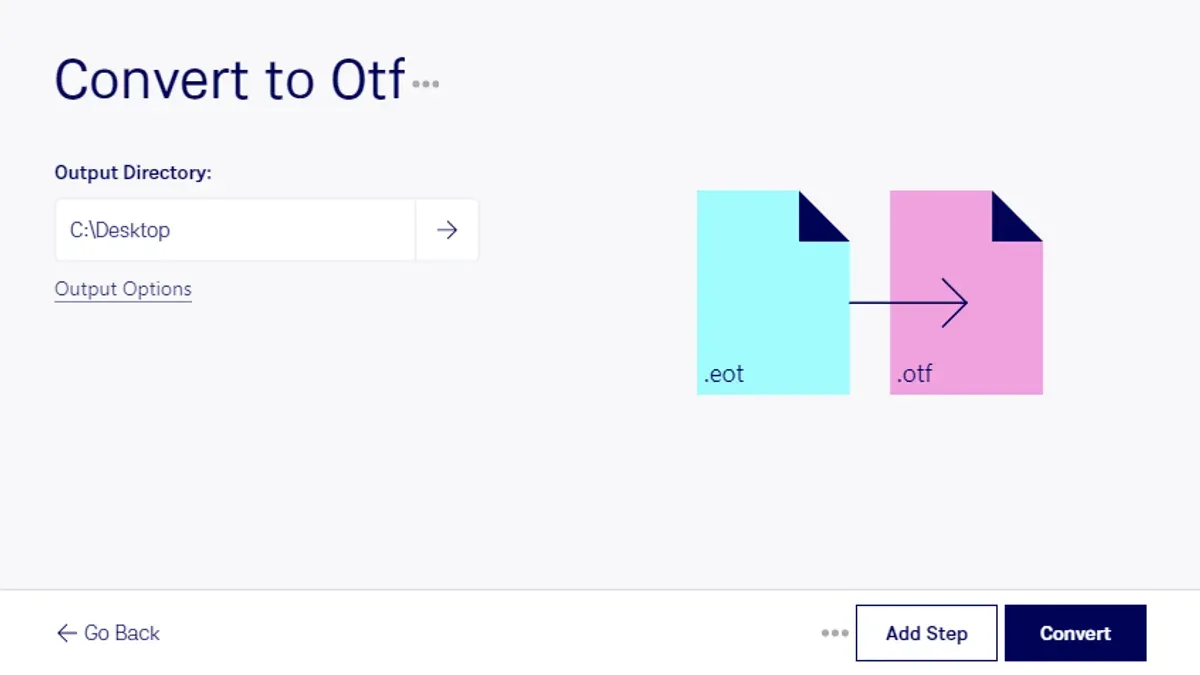
Recommended converters include FontForge, a free open-source font editor; TransType by FontLab, a paid but user-friendly application; and online converters like CloudConvert or Convertio, which do not require installation but may have file size limits.
To convert a font file to.otf using FontForge, follow these steps:
- Open FontForge and select File > Open, then choose your source font file (.ttf,.woff, etc.). You should see the font glyphs load in the editor.
- Verify the font information under Element > Font Info to confirm metadata accuracy.
- Go to File > Generate Fonts.
- In the format dropdown, select OpenType (CFF) to produce an.otf file.
- Choose a destination folder and click Generate. A success message indicates conversion completion.
Using an online converter typically involves uploading your font file, selecting.otf as the output format, and downloading the converted file. Ensure you use reputable sites to avoid security risks.
Conversion is advisable when you need OpenType features not available in other formats or when software compatibility requires.otf specifically. However, converting fonts can sometimes lead to quality loss or missing advanced typographic features, especially when converting from web font formats like.woff.
Before and after conversion, check font features such as ligatures, kerning pairs, and glyph sets using a font viewer or editor. Some converters may not preserve hinting or OpenType tables fully, which can affect rendering quality.
Choose your converter based on your comfort with software: FontForge offers detailed control but requires familiarity, TransType simplifies the process with a polished interface, and online tools offer convenience for occasional conversions.
Troubleshooting common issues opening or installing.otf files on Mac
When installing or opening.otf font files on your Mac, you may encounter errors related to Font Book, corrupted files, conflicts with existing fonts, or permission issues. Understanding how to address these problems helps ensure smooth font management.
Resolving Font Book errors
Common Font Book error messages include “The font is damaged and could not be opened” and “Font validation failed.” To fix these:
- Open Font Book and locate the problematic font.
- Right-click the font and select “Validate Font.” A window appears showing validation results.
- If errors appear, remove the font by right-clicking and choosing “Remove.”
- Obtain a fresh copy of the.otf file from a trusted source and try installing it again.
If Font Book continues to reject the font, the file may be corrupted or incompatible with macOS.
Handling corrupted or incompatible.otf files
Corrupted fonts can cause system instability or fail to load. If validation fails repeatedly:
- Download the font file again from the original distributor.
- Try opening the font in a font editor like FontForge to check file integrity.
- If corruption persists, seek an alternative font or contact the vendor for support.
Dealing with font conflicts and duplicates
Conflicts arise when duplicate fonts or different versions of the same font are installed, leading to unpredictable behavior in applications.
- In Font Book, use the “All Fonts” collection and click “Edit” > “Look for Enabled Duplicates.”
- Review duplicates and choose “Resolve Automatically” or manually disable duplicates by right-clicking and selecting “Disable.”
- Restart your applications to ensure the correct font version is active.
Fixing permissions or security settings blocking installation
macOS security features can prevent font installation if you lack proper permissions or if the font file is quarantined.
- Right-click the.otf file and select “Get Info.”
- Under “Sharing & Permissions,” confirm you have “Read & Write” access.
- If not, click the lock icon, authenticate, and adjust permissions accordingly.
- Open Terminal and run sudo xattr -d com.apple.quarantine /path/to/font.otf to remove quarantine flags (replace with actual file path).
- Attempt installation again via Font Book.
These steps address the typical barriers to opening or installing.otf files, helping you maintain a clean and functional font library on your Mac.
- How to Open and Use.ttf Files on Mac: A Step-by-Step Guide
- How to Open a.key File on Mac and Windows: Step-by-Step Guide
- How to Open.pages Files on Mac and Windows: A Step-by-Step Guide
Frequently asked questions
How to open.oft file on mac?
The.oft file extension is often confused with.otf, but.oft usually refers to Outlook Template files, not fonts. To open an.oft file on Mac, you need Microsoft Outlook installed. Simply double-click the file or open it from Outlook's File menu under Open & Export.
How to create otf file?
Creating an.otf file involves using specialized font design software such as Glyphs, FontLab, or Adobe Font Development Kit. The process includes designing glyphs, defining font metrics, and exporting the finished font as an OpenType (.otf) file. Basic knowledge of typography and font structure is necessary for effective creation.
How to install otf file?
To install an.otf file on Mac, first locate the font file in Finder. Double-click it to open in Font Book, then click the “Install Font” button. The font will then be available system-wide for use in most applications.
What programs open otf files?
OpenType fonts (.otf) can be opened and installed using built-in macOS tools like Font Book. Design programs such as Adobe Photoshop, Illustrator, and InDesign also recognize and use.otf fonts. Additionally, most word processors and graphic design apps support these files once installed.
How to open otf file?
You can open an.otf file on Mac by double-clicking it in Finder, which launches Font Book. This built-in app allows you to preview the font’s characters and install it if desired. No additional software is required for basic opening and installation.
What this guide does not cover and who should seek other resources
This guide does not cover advanced professional font development or editing beyond basic creation and conversion. If you require complex font design features such as intricate glyph manipulation, hinting, or scripting, specialized font design software like Glyphs or FontLab and dedicated tutorials are recommended. Similarly, if you need to embed fonts for app development or web use with specific licensing concerns, consult resources tailored to those fields.
For the most straightforward management of.otf files on Mac, start by using the built-in Font Book app to open and install fonts. This ensures system-wide availability and minimizes compatibility issues. If you encounter difficulties, verifying file integrity and restarting Font Book often resolves common problems efficiently.