How to Install Xcode Without Using the App Store: Step-by-Step Guide
Discover a clear step-by-step guide to install Xcode without using the App Store, including downloading, setup, and troubleshooting tips.
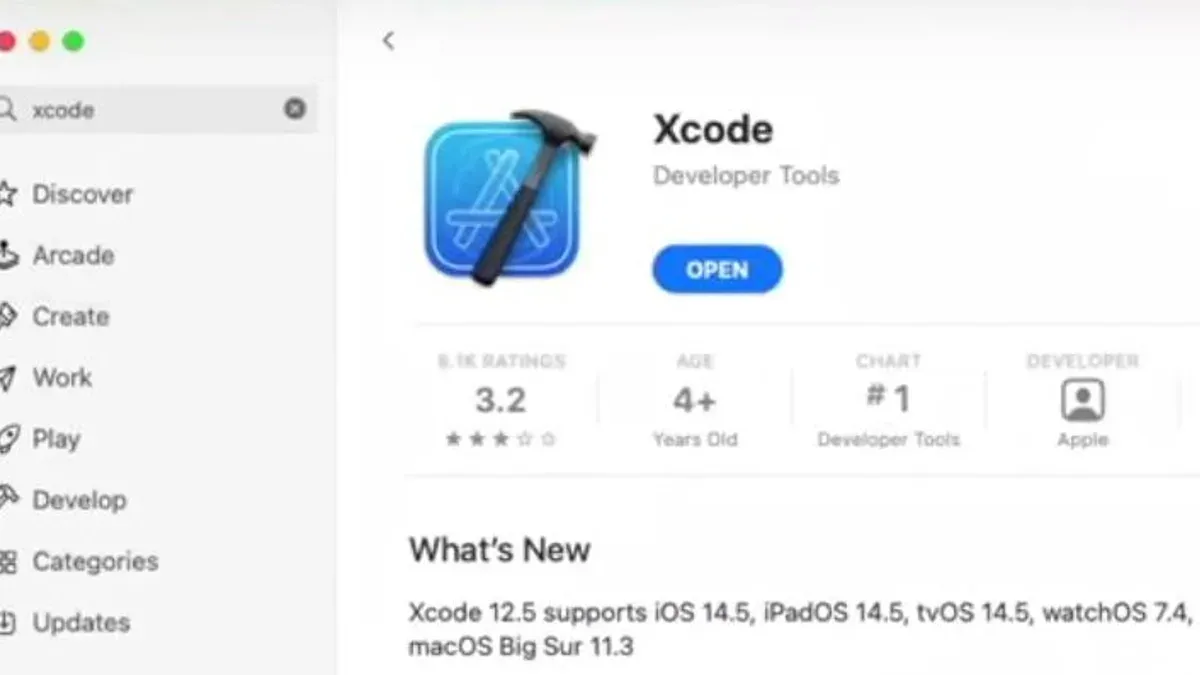
You want to install Xcode on your Mac but prefer not to use the App Store, either due to network restrictions, storage concerns, or personal preference. Perhaps you’ve searched for solutions and landed on how to install Xcode without App Store in Xcode, looking for a clear and reliable method.
This guide walks you through the practical steps to install Xcode outside the App Store environment. You will learn how to download Xcode directly from the official Apple Developer website, install it from the downloaded archive, set up the necessary command line tools, and configure your system through the Terminal. Along the way, common issues and security considerations will be addressed to ensure a smooth installation process.
Key takeaways
- Download Xcode archives from developer.apple.com to avoid the App Store.
- Use Terminal commands to install and configure Xcode command line tools.
- Verify macOS compatibility before starting the installation.
- Accept Xcode licenses via Terminal to enable full functionality.
- Address common errors by checking permissions and software updates.
Check Your Mac’s Compatibility and Prepare Your System
Before installing Xcode without the App Store, you need to confirm that your Mac meets the software requirements. Different Xcode versions support specific macOS versions—for example, Xcode 14 requires at least macOS Monterey 12.4, while older versions may only run on macOS Big Sur or earlier. Installing an incompatible version can cause errors or unstable performance.
Ensure your Mac has enough free disk space for the full Xcode installation, which typically requires around 40–50 GB to accommodate the app and its components. A stable internet connection is also necessary for downloading large installation files and any dependencies.
It’s useful to understand the distinction between the full Xcode app and the Command Line Tools package: the full install provides the complete IDE, simulators, and device support, whereas the Command Line Tools include essential compilers and debugging tools for terminal use only.
| macOS Version | Compatible Xcode Version |
|---|---|
| macOS Monterey 12.4 and later | Xcode 14 and above |
| macOS Big Sur 11.3 to 11.7 | Xcode 13.x |
| macOS Catalina 10.15.4 to 10.15.7 | Xcode 12.x |
- Click the Apple menu and choose About This Mac. You should see your macOS version displayed prominently.
- Verify that your macOS version matches or exceeds the minimum required for your desired Xcode version. If it does, proceed; otherwise, consider updating your macOS or selecting a compatible Xcode version.
- Open Finder, then select your startup disk and press Command + I to check available disk space. Confirm you have at least 50 GB free to avoid installation interruptions.
- Connect to a reliable internet network with sufficient bandwidth to download large files smoothly. A wired connection or strong Wi-Fi is preferable.
Download Xcode Directly from the Apple Developer Website
To install Xcode without using the App Store, you will download it directly from Apple's official developer portal. Start by visiting developer.apple.com/download/all/. Here, you need to either create a free Apple Developer account or log in if you already have one. This account grants you access to all available Xcode versions and other developer tools.
- Go to the Apple Developer download page and sign in with your Apple ID. Once signed in, you should see a list of available downloads.
- Click on the “More” or “More Downloads” link to access a comprehensive archive of Xcode versions. This section includes both current and older releases.
- Look for the Xcode version that suits your macOS version and requirements. You will typically find files ending with .xip or .dmg. The .xip archive is the most common format for full Xcode downloads.
- Select the desired file and click the download button. Download sizes usually range from 7 to 12 gigabytes, so expect the process to take some time depending on your internet speed.
After the download starts, you can monitor its progress in your browser. A reliable internet connection is recommended to avoid interruptions. When the download completes, you will have the Xcode installer ready on your Mac for the next steps.
Install Xcode from the Downloaded Archive
- Locate the downloaded
.xipor.dmgfile in Finder, typically found in your Downloads folder. You should see a file named something like Xcode_14.2.xip or Xcode_14.2.dmg. - If your file is a
.xip, double-click it in Finder to begin extraction. This process may take several minutes. Once complete, you will see theXcode.appbundle appear in the same folder. If the file is a.dmg, double-click to mount it, then drag theXcode.appicon from the mounted volume to your Desktop or another convenient location. - Open a new Finder window and navigate to the
/Applicationsfolder. Drag the extractedXcode.appfrom your current location into theApplicationsfolder. This step correctly installs Xcode where macOS expects it. - To verify installation permissions, open Terminal and run
ls -l /Applications | grep Xcode.app. You should see output showing thatXcode.appis owned by your user or root, with read and execute permissions for all users. - If permissions need adjustment, use the command
sudo chmod -R 755 /Applications/Xcode.appto ensure Xcode is executable. Enter your password when prompted. This prevents permission-related issues when running Xcode.
After these steps, you have successfully installed Xcode from the archive without using the App Store. You can now launch Xcode from the Applications folder or Launchpad.
Install Xcode Command Line Tools Without the App Store
The Xcode Command Line Tools package provides essential compilers and utilities without requiring the full Xcode app, saving significant disk space (typically under 200 MB compared to several gigabytes for full Xcode). To install these tools independently of the App Store, start by opening Terminal and typing the command xcode-select --install. This triggers a software update prompt to download and install the Command Line Tools.
If the xcode-select --install command returns an error or states the tools are already installed, you can manually download the latest Command Line Tools package from the Apple Developer website under the Downloads section, similar to obtaining Xcode archives. This direct download avoids the App Store and allows offline installation.
- Open Terminal and type
xcode-select --install, then press Enter.
Expected result: A dialog appears asking to install the Command Line Tools; click "Install" and wait for completion. - If step one fails or no prompt appears, visit the Apple Developer site, download the Command Line Tools.dmg package, and open it.
Expected result: The installer launches; proceed through the prompts to install. - After installation, verify success by typing
xcode-select -pin Terminal.
Expected result: The output shows a valid path like/Library/Developer/CommandLineTools, indicating installation location. - Confirm the compiler is accessible by running
gcc --version.
Expected result: Terminal prints the installed GCC version, confirming tools are ready to use.
By following these steps, you ensure the command line development environment is set up securely and efficiently without relying on the App Store.
Configure Xcode and Accept Licenses via Terminal
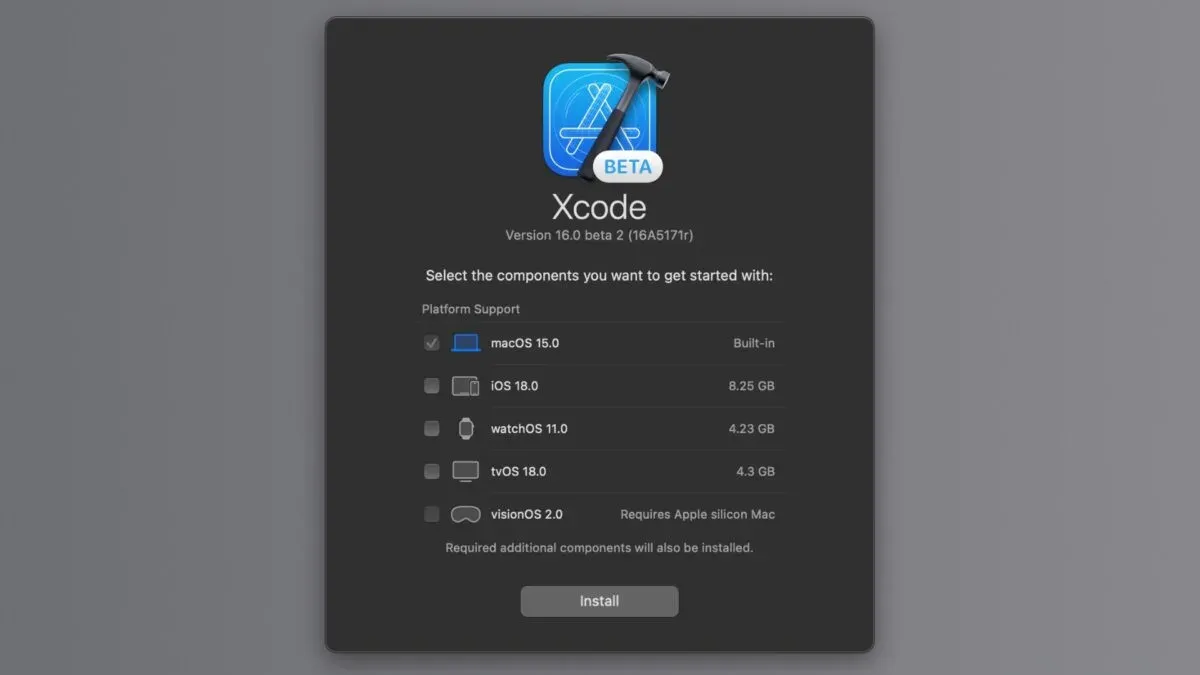
After installing Xcode, you need to finalize the setup by configuring it and accepting the license agreements without opening the app. This ensures all command line tools and system integrations function properly. You will use Terminal commands to complete these steps quickly and securely.
- Open Terminal on your Mac.
- Run sudo xcodebuild -license. This command displays the Xcode license agreement. Read through the terms by scrolling down using the spacebar.
- At the end of the license text, you will be prompted to type agree to accept the terms. Type agree and press Enter. Successful acceptance allows Xcode tools to run without interruption.
- Set Xcode’s active developer directory by running sudo xcode-select -s /Applications/Xcode.app. This points system tools to the correct Xcode installation.
- Verify the active Xcode path with xcode-select -p. It should return /Applications/Xcode.app/Contents/Developer confirming the directory is set correctly.
- Check the installed Xcode version by running xcodebuild -version. The output shows the Xcode version and build number, confirming a proper install.
Here is a sample terminal session for accepting the license and verifying setup:
$ sudo xcodebuild -license
... (license text scrolls)...Type 'agree' to accept, 'print' to print, or 'cancel' to exit: agree
$ sudo xcode-select -s /Applications/Xcode.app
$ xcode-select -p
/Applications/Xcode.app/Contents/Developer
$ xcodebuild -version
Xcode 14.3
Build version 14E222b
Following these steps ensures your Xcode installation is fully configured and ready for development tasks without needing to launch the application first.
Troubleshoot Common Installation Issues
If you encounter a corrupted or incomplete Xcode.xip download, the archive may fail to extract or show errors like "The archive is damaged". In this case, delete the downloaded file and re-download it using a stable internet connection. Verifying the file size against the official size listed on the Apple Developer site helps confirm a complete download.
Permission errors when moving Xcode.app to the Applications folder often manifest as "Operation not permitted" or "Permission denied". To fix this, use sudo mv in Terminal to move the app with administrator privileges, or adjust folder permissions via Finder’s Info panel. Proper ownership and read/write permissions are necessary for Xcode to function correctly.
If you have multiple Xcode versions installed, conflicts can arise, especially if symbolic links or command line paths overlap. Remove or rename older Xcode versions to avoid confusion. Use sudo xcode-select -s /Applications/Xcode.app/Contents/Developer to explicitly point to the intended Xcode installation.
When xcode-select points to the wrong or missing path, running xcode-select -p may return an error like "xcode-select: error: tool 'xcodebuild' requires Xcode, but active developer directory '/Library/Developer/CommandLineTools' is a command line tools instance". Reset the path using sudo xcode-select --reset or set it manually as above, then verify with xcode-select -p showing the correct developer directory.
Frequently asked questions
Can I update Xcode installed without the App Store?
Yes, you can update Xcode installed outside the App Store by downloading the newer version manually from the Apple Developer website. Unlike the App Store version, updates are not automatic, so you need to check for new releases yourself and repeat the manual installation process. Remember to back up your current projects before updating to avoid data loss.
Is it safe to download Xcode from sources other than the App Store or Apple Developer site?
Downloading Xcode from sources other than the official Apple Developer site or the App Store is not recommended due to security risks. Unofficial sources may provide tampered or outdated versions that could compromise your system or lead to instability. Always use Apple's official channels to ensure you get a secure and up-to-date version.
What are the differences between installing full Xcode and just command line tools?
Full Xcode includes the complete integrated development environment (IDE) with a graphical interface, simulators, and debugging tools, suitable for comprehensive app development. Command line tools provide essential utilities like gcc, git, and make without the IDE, ideal for developers who only need compilation and basic development tools. Installing just the command line tools is quicker and uses less disk space but lacks the visual interface and additional features.
How do I uninstall Xcode completely if I installed it manually?
To uninstall Xcode manually installed, delete the Xcode application from the /Applications folder by dragging it to the Trash. Then, remove additional files by deleting the ~/Library/Developer and /Library/Developer directories if present. You might also want to run sudo xcode-select --reset in Terminal to clear any active path settings related to Xcode.
What This Guide Does Not Cover
This guide does not cover installing Xcode on non-macOS systems or using unofficial third-party installers, which may pose security risks and lead to unstable or compromised software environments. If you need to use Xcode features on Windows or Linux, consider using virtual machines or cloud-based Mac services instead. Additionally, this guide avoids methods that bypass Apple’s security measures, helping you maintain system integrity and software authenticity. For users unfamiliar with terminal commands or system configuration, consulting Apple’s official documentation or seeking professional support is recommended.
The most useful next step after installing Xcode without the App Store is to open Terminal and run sudo xcodebuild -license to review and accept the license agreement if you haven’t already done so. This ensures that all command line tools function correctly and prevents permission-related errors when building or running projects. Confirming this early saves time troubleshooting later and keeps your development environment properly configured.
See also: How to Use the Chord Track in Logic Pro: Step-by-Step for Creative Harmony · How to Export Stems in Logic Pro: Step-by-Step for Clean, Organized Mixes · How to Reduce Recording Latency in Logic Pro: Step-by-Step Solutions · How to Record with a MIDI Keyboard in GarageBand: Step-by-Step Guide