How to Mount an ISO File in Disk Utility: A Clear Step-by-Step Guide
This guide shows you how to mount an ISO file in Disk Utility on macOS, making its contents accessible as a virtual disk.
You’ve downloaded an ISO file and want to access its contents on your Mac. Perhaps you’re unsure how to open it or what mounting an ISO file really means on macOS. This article walks you through how to mount an ISO file in Disk Utility, the built-in macOS tool designed for managing disk images and volumes.
We’ll guide you step-by-step through using Disk Utility to mount your ISO file safely and effectively. Along the way, you’ll also get quick comparisons with Windows and Linux methods, alternatives if Disk Utility isn’t ideal for you, and explanations of virtual disks and common troubleshooting tips. By the end, you’ll be confident handling ISO files across different systems and understand what happens when you mount one on your Mac.
Key takeaways
- Disk Utility allows you to mount ISO files on macOS without additional software.
- Mounting an ISO creates a virtual disk volume accessible like a physical drive.
- Windows and Linux have different built-in tools and commands for mounting ISOs.
- Alternative macOS apps offer more features if Disk Utility doesn’t meet your needs.
- Common mounting issues often relate to file permissions or corrupted ISO files.
Before you start: What you need to mount an ISO file
An ISO file is a digital copy of an optical disc, such as a CD or DVD. It contains the complete contents and structure of the disc in a single file. When you "mount" an ISO file on a Mac using Disk Utility, you are telling your system to treat that file like a virtual disc, making its contents accessible without needing to burn it onto a physical disc.
To mount an ISO file, you need a Mac with Disk Utility installed, which comes standard with macOS. Make sure the ISO file you want to mount is saved locally on your Mac, such as in your Downloads or Documents folder. There's no need to install any additional software since Disk Utility can handle ISO files natively.
Mounting an ISO file differs from burning or extracting it. Burning writes the contents onto a physical disc, while extracting involves unpacking the files inside the ISO to a folder. Mounting simply opens the ISO as a virtual disk, allowing you to access its files as if they were on an actual disc.
Below is a simple overview of mounting an ISO file using Disk Utility:
- Open Disk Utility from Applications > Utilities. You should see the main interface with a sidebar.
- Locate the ISO file in Finder and drag it into Disk Utility’s sidebar. If successful, the ISO appears as a new virtual drive.
- Click the virtual drive in the sidebar. The mounted ISO’s contents should appear in Finder under Devices, just like a physical disc.
The Disk Utility interface will show the mounted ISO with an eject icon next to it, indicating it is recognized as a virtual disk.
How to mount an ISO file in Disk Utility step-by-step
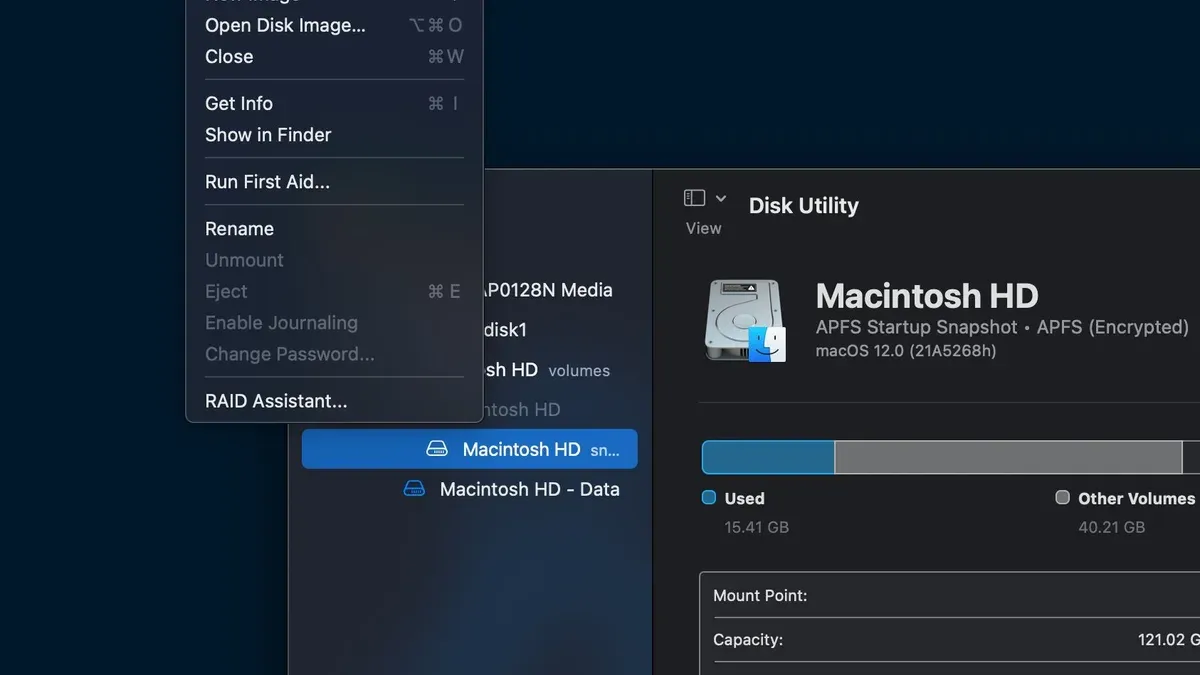
- Open Disk Utility by navigating to Applications > Utilities > Disk Utility. The Disk Utility window will appear, showing your internal and external drives.
- Use the File menu and select Open Disk Image..., then browse to your ISO file and select it. Alternatively, you can drag and drop the ISO file directly into the Disk Utility sidebar. The ISO should appear as a new image in the list.
- Select the ISO image in the sidebar. If it hasn’t mounted automatically, click the Mount button in the toolbar or right-click the ISO and choose Mount. Once mounted, it will appear as a volume under the ISO image.
- Verify the mounted volume by checking Finder under Locations or within Disk Utility’s sidebar. The mounted ISO behaves like a virtual drive, allowing you to access its contents normally.
- When you finish using the mounted ISO, safely unmount it by selecting the mounted volume in Disk Utility and clicking the Unmount button, or by clicking the eject icon next to it in Finder. This ensures no data corruption and frees system resources.
Note: Screenshots typically show Disk Utility with the ISO listed in the sidebar and the mounted volume visible in Finder’s sidebar under Devices or Locations.
How to mount iso file in Windows: a quick comparison
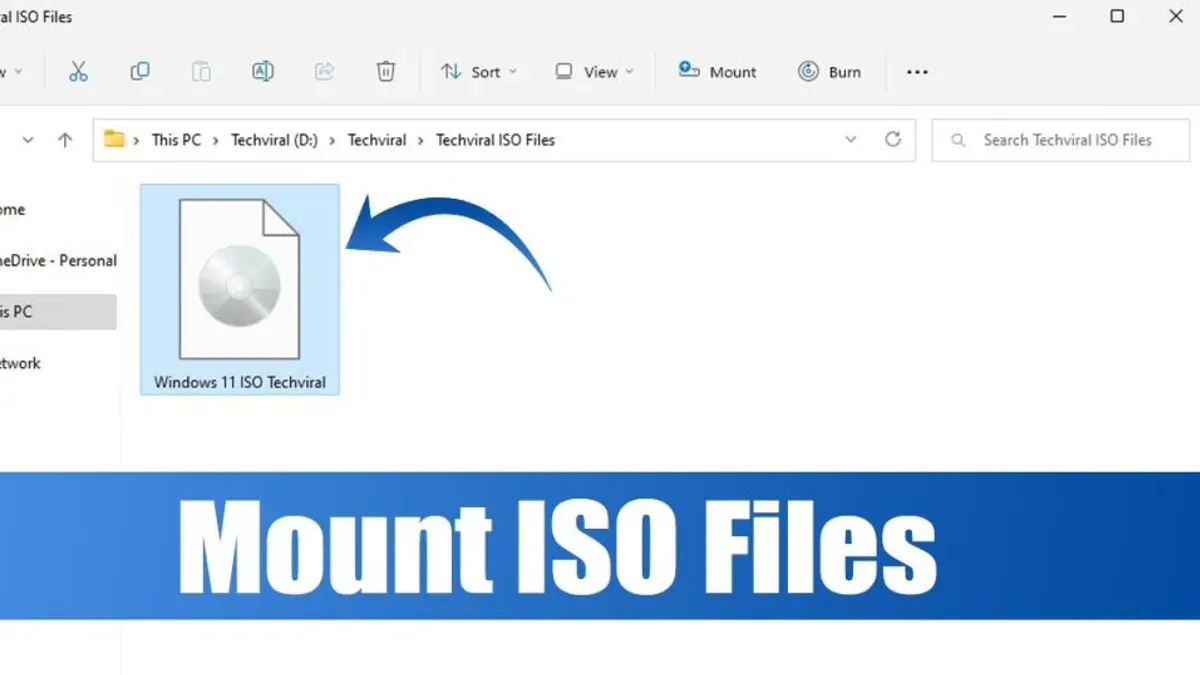
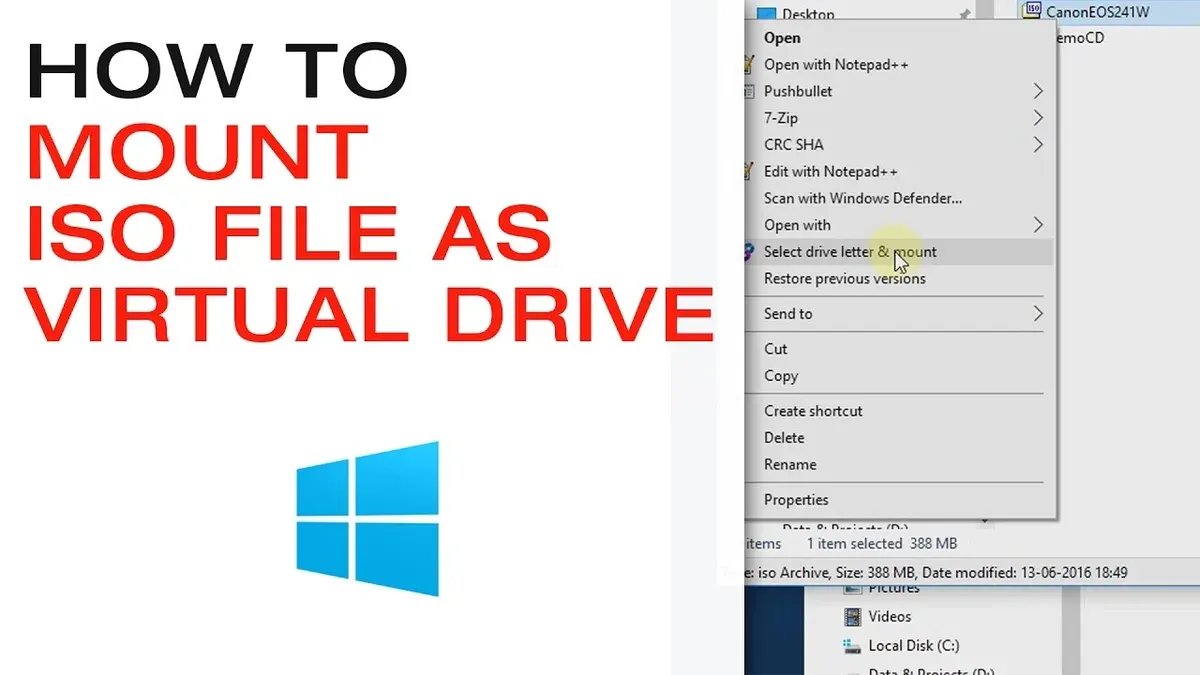
Windows 10 and later versions provide native support for mounting ISO files without needing extra software. You can simply right-click the ISO file in File Explorer and select "Mount." This action creates a virtual drive with the ISO contents accessible just like a physical disk. The interface is straightforward, displaying the mounted ISO as a new drive letter under "This PC."
Alternatively, Windows users often rely on third-party applications such as WinCDEmu or Virtual CloneDrive. These tools offer more advanced features like mounting multiple ISOs simultaneously or emulating other disk formats. However, they require installation and may have additional settings to configure compared to the built-in method.
The main difference between Windows and macOS Disk Utility is in the user interface and mounting process. While Disk Utility uses a dedicated application showing the ISO as a disk image in the sidebar, Windows integrates mounting directly into File Explorer for quicker access. Windows also supports ejecting the virtual disk through right-click options in File Explorer.
If you primarily work on a Mac, it’s usually best to transfer your ISO file to macOS and use Disk Utility for mounting. This avoids compatibility issues and leverages macOS’s native disk management features. Use Windows methods when you are on a Windows machine or need features provided by third-party software.
| Aspect | Windows (File Explorer) | macOS (Disk Utility) |
|---|---|---|
| Mounting Method | Right-click ISO > Mount | Open Disk Utility > Open Disk Image |
| Interface | File Explorer virtual drive | Disk Utility sidebar virtual disk |
| Third-party Options | WinCDEmu, Virtual CloneDrive | Fewer popular alternatives, mostly for advanced uses |
| Unmounting | Right-click virtual drive > Eject | Disk Utility > Eject icon or right-click |
| Best Use | Windows environment, quick mounts | macOS environment, integrated disk management |
How to mount iso file linux: overview of common methods
Mounting ISO files in Linux involves different tools and approaches compared to Disk Utility on macOS. The concept of mounting an ISO as a virtual drive is universal, but Linux primarily relies on command-line utilities and various graphical interfaces depending on the distribution.
Using the command line with mount -o loop
The most common method to mount an ISO file on Linux is through the terminal using the mount command with the -o loop option. This creates a loop device that treats the ISO as a block device, allowing you to access its contents without burning it to a physical disk.
- Open a terminal window.
- Create a mount point directory, for example:
sudo mkdir /mnt/iso. This directory will serve as the access point for the mounted ISO. - Run the command
sudo mount -o loop /path/to/your.iso /mnt/iso. Replace/path/to/your.isowith the actual file path of your ISO. - Verify the contents by listing the directory:
ls /mnt/iso. You should see the files contained within the ISO. - When finished, unmount with
sudo umount /mnt/isoto safely detach the ISO.
GUI tools for mounting ISOs
Popular Linux desktop environments often include graphical utilities to mount ISO files more intuitively. For instance, GNOME Disks on Ubuntu or KDE's Dolphin file manager allows users to right-click and mount ISO images directly.
These tools provide visual feedback such as showing the mounted ISO as a virtual drive in your file manager, simplifying the process for users less comfortable with the terminal.
Remember, Disk Utility is specific to macOS. Linux distributions use different utilities tailored to their environments, but all serve the same purpose of mounting ISO files as virtual drives.
How to mount iso file software: alternatives to Disk Utility on Mac
While Disk Utility is a reliable built-in tool for mounting ISO files on Mac, several third-party applications offer alternative methods with additional features. Popular options include Daemon Tools, Roxio Toast, and VirtualBox, each catering to specific user needs beyond basic mounting.
Daemon Tools is known for supporting a wide range of disk image formats and providing advanced options like emulating multiple virtual drives. Roxio Toast combines mounting capabilities with disc burning and media management features, making it useful if you want an all-in-one solution. VirtualBox, primarily a virtualization platform, allows mounting ISO files as virtual optical drives within virtual machines, useful for testing or running other operating systems.
Compared to Disk Utility, these tools may offer more flexibility but often come with added complexity and cost. Disk Utility remains straightforward and free, ideal for simple mounting tasks. Third-party software might be necessary when you require features like multiple concurrent mounts, different image format support, or integration with virtual environments. However, users should be cautious of potential risks such as software bloat, unwanted extras, or security concerns when downloading from unofficial sources.
| Software | Features | Ease of Use | Cost |
|---|---|---|---|
| Disk Utility | Mount ISO files, verify, unmount | High (native integration) | Free (built-in) |
| Daemon Tools | Multiple image formats, multiple virtual drives | Moderate (more options) | Free basic, paid advanced |
| Roxio Toast | Mount, burn discs, media tools | Moderate (feature-rich) | Paid |
| VirtualBox | Mount ISO in virtual machines | Low to moderate (requires virtualization knowledge) | Free |
How to mount iso file to USB: what you need to know
Mounting an ISO file and writing it to a USB drive are two different processes that often cause confusion. When you mount an ISO, you create a virtual disk on your Mac that behaves like a physical drive, allowing you to access the files inside without altering any hardware. Writing an ISO to a USB, however, involves copying the entire disk image onto the USB drive, making it bootable or a portable copy of the original media.
On macOS, Disk Utility does not write ISO files to USB drives directly; its role is mainly to format the USB drive correctly before you write an ISO image. To create a bootable USB from an ISO, you typically use Terminal commands like dd or third-party apps such as balenaEtcher or UNetbootin.
Here’s a general procedure to write an ISO image to a USB drive on Mac:
- Insert your USB drive and open Disk Utility. Select the USB drive and click Erase. Choose MS-DOS (FAT) or ExFAT as the format and GUID Partition Map as the scheme, then click Erase to prepare the drive.
- Open Terminal and identify your USB device using
diskutil list. Note the device identifier (e.g.,/dev/disk2). - Unmount the USB disk using
diskutil unmountDisk /dev/diskX(replacediskXwith your device identifier). - Write the ISO image to the USB using the
ddcommand:sudo dd if=/path/to/your.iso of=/dev/rdiskX bs=1m. TherbeforediskXspeeds up the process. Terminal will not show progress until it finishes. - Eject the USB drive with
diskutil eject /dev/diskX. Your USB is now bootable or contains the ISO image data.
You might want to mount an ISO to browse its contents safely or install software without creating physical media. Creating a bootable USB from an ISO is necessary when you want to install an operating system or run diagnostics on another machine.
How to mount iso to drive: understanding virtual disks and volumes
When you mount an ISO file on your Mac, macOS connects it as a virtual disk. This means the system treats the ISO as if it were a physical, read-only drive inserted into your Mac. In Finder and Disk Utility, the mounted ISO appears alongside other drives and volumes, allowing you to access its contents easily without altering the original ISO file.
Technically, mounting creates a virtual disk layer between the ISO file and the system. This virtual disk acts as a bridge, presenting the ISO’s data as a usable volume. However, because this volume is read-only, you cannot modify or save changes directly to the ISO. Any attempt to write to the mounted volume will be blocked to protect the integrity of the original file.
The benefit of this approach is convenience. You can browse, copy, and open files from the ISO quickly without burning it to physical media such as a DVD. This saves time and resources while providing the same access you would have from a physical disk.
Below is a simple diagram illustrating the relationship:
- ISO file: The disk image file stored on your Mac.
- Virtual disk layer: The system-created layer that mounts and connects the ISO.
- Mounted volume: The read-only drive visible in Finder and Disk Utility.
Troubleshooting common issues when mounting an ISO file in Disk Utility
Sometimes, Disk Utility may fail to mount your ISO file or not recognize it at all. This often happens if the file is corrupted or in an unsupported format. To check integrity, try opening the ISO with Finder or verifying its size and source. Disk Utility supports standard ISO9660 and UDF formats; other variants may cause errors.
If the mounted ISO volume disappears quickly, it might be auto-unmounting due to inactivity or system policies. To keep it mounted, avoid closing Disk Utility or ejecting the image manually. You can also access the volume via Finder's sidebar to confirm it stays connected.
Permission errors or read-only warnings are macOS's way of protecting mounted images. These messages appear when you try to write to the ISO volume, which is inherently read-only. To modify content, copy files from the mounted image to your local drive instead.
When Disk Utility crashes or freezes during mounting, first quit the app safely using Command + Q or the Apple menu. Restart your Mac if needed to clear temporary system issues. As an alternative, try mounting the ISO through Finder by right-clicking the file and selecting "Open With > DiskImageMounter." This method bypasses Disk Utility and often succeeds when Disk Utility struggles.
- Verify your ISO file by opening it in Finder; it should show contents without error.
- If the volume disappears, keep Disk Utility open and check Finder’s sidebar for the mounted image.
- When encountering permission errors, remember the mounted ISO is read-only; copy files out rather than edit in place.
- If Disk Utility freezes, quit the app safely, restart your Mac, then try mounting via Finder.
- Consider re-downloading or obtaining a new ISO if mounting repeatedly fails due to file corruption.
Frequently asked questions
What does mounting an iso file do?
Mounting an ISO file makes its contents accessible as if it were a physical disk inserted into your computer. Instead of burning the ISO to a disc, mounting creates a virtual drive that you can browse, copy files from, or run software directly. This process simplifies access without needing extra hardware.
What is mounting an iso file?
Mounting an ISO file means attaching it to your operating system so it appears like a real disk drive. The system treats the ISO as a disk volume, allowing you to interact with the files inside without extracting them. It’s a way to use disk images conveniently and efficiently.
How to mount iso file to virtual disk?
On macOS, you can mount an ISO file to a virtual disk using Disk Utility by selecting the ISO and choosing the mount option. This creates a new volume accessible in Finder. Alternatively, right-click the ISO file and select "Open With" > "DiskImageMounter" for a quick mount.
Program to mount iso files?
On Mac, Disk Utility and the built-in DiskImageMounter handle ISO mounting without extra software. Windows 10 and later include native ISO mounting via File Explorer. For Linux, common tools include the mount command in Terminal or graphical utilities like Gnome Disk Image Mounter. Third-party apps like Daemon Tools or PowerISO are also popular across platforms.
What This Guide Does Not Cover
This guide does not cover creating or editing ISO files, nor does it cover advanced bootable USB creation in detail; users needing those should consult specialized resources. Disk Utility can only mount ISO files readable by macOS; encrypted or corrupted ISOs may not mount properly. Additionally, mounting an ISO file provides read-only access—you cannot modify the contents of the ISO through the mounted volume.
The most useful next step is to explore Disk Utility yourself by mounting a simple ISO file, observing how it behaves as a virtual disk on your Mac. This hands-on experience will help you gain confidence in managing disk images, and prepare you for more advanced tasks if needed.
See also: Step-by-Step Guide to Partitioning a Drive Using Disk Utility