How to Manage Free Version Limits in DaVinci Resolve on Mac
Discover how to work within the free version limits of DaVinci Resolve on Mac to optimize editing and export without upgrading.
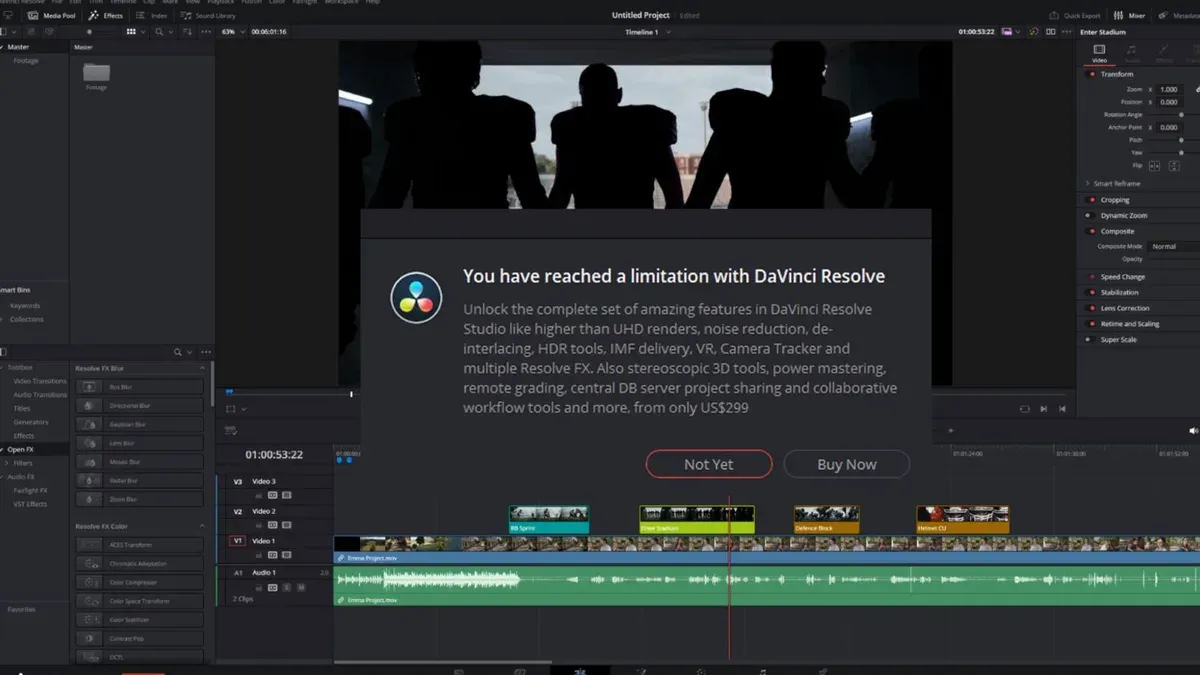
You’ve downloaded DaVinci Resolve’s free version on your Mac and opened it, ready to start editing your video. However, you quickly notice some features and export options are restricted compared to the paid version.
This article explains how to use free version limits in DaVinci Resolve on Mac effectively. You’ll learn how to recognize when these restrictions affect your workflow and practical steps to work within resolution boundaries, use available effects, and optimize performance without upgrading.
Key takeaways
- Identify resolution limits by checking the Project Settings under Master Settings.
- Use Fusion effects and color grading tools available in the free version strategically to enhance your projects without premium plugins.
- Optimize playback by adjusting timeline proxy mode under Playback > Timeline Proxy Mode.
- Export up to UHD 3840x2160 resolution without codec restrictions in the free version.
- Monitor GPU usage carefully as hardware acceleration is limited, impacting rendering speed.
Before you start: What you need to use DaVinci Resolve free version on Mac
To run DaVinci Resolve's free version smoothly on a Mac, your system must meet specific requirements from Blackmagic Design. Your Mac should have at least macOS 10.15 Catalina or later, 16 GB of RAM (32 GB recommended for complex projects), and a dedicated GPU with Metal support. A solid-state drive (SSD) is advisable for better performance.
To download the free version safely, visit Blackmagic Design’s official website. Avoid third-party sites to prevent corrupted or outdated installers. The installation process is straightforward and guided by an installer that verifies system compatibility.
The free version includes essential editing, color correction, Fusion visual effects, Fairlight audio tools, and basic export options. However, it excludes advanced features like 4K+ project support, multi-user collaboration, and certain premium effects available in the Studio version.
- Go to the official Blackmagic Design website's DaVinci Resolve page and click 'Download'. You should see options for different operating systems.
- Select 'Mac' and complete the required registration form. Once submitted, the download of the installer file should begin.
- Open the downloaded.dmg file and double-click the installer. You will see a welcome screen confirming the start of the installation.
- Follow the on-screen prompts to complete the installation. When finished, you should find DaVinci Resolve in your Applications folder ready to launch.
| Feature | Free Version | Studio Version |
|---|---|---|
| Maximum resolution | Up to 4K UHD | Supports higher than 4K UHD |
| Noise reduction | Not included | Included |
| Multi-user collaboration | Not included | Included |
| 3D tools and effects | Limited | Full suite |
| GPU acceleration | Basic support | Advanced support with more GPU types |
Understanding DaVinci Resolve free version limits on Mac
The free version of DaVinci Resolve on Mac offers robust video editing tools but comes with specific functional and technical restrictions that affect your workflow. One key limitation is the maximum timeline resolution capped at 3840x2160 (4K UHD); projects exceeding this resolution require the paid Studio version to export properly. Additionally, export format options are more limited, with advanced codecs and formats such as H.265 (HEVC) encoding only available in Studio.
Effect-wise, many high-end Resolve FX and OFX plugins, including some noise reduction, 3D tools, and film grain effects, are locked behind the Studio license. This affects creative flexibility if you rely on these effects in your projects.
GPU acceleration is restricted in the free version, meaning hardware encoding and specific GPU-accelerated features like AI-based tools run slower or are disabled. This can impact export and rendering times, especially on Macs with integrated graphics.
Collaboration features such as multi-user timelines and remote project sharing are not available in the free version, limiting team workflows. Understanding these constraints helps you anticipate when your project may require adjustments or upgrading.
| Feature | Free Version | Studio Version |
|---|---|---|
| Maximum timeline resolution | Up to 3840x2160 (4K UHD) | Supports resolutions beyond 4K |
| Export codecs | Standard codecs, no H.265 hardware encoding | Includes H.265, advanced formats, hardware encoding |
| Effects and plugins | Limited set of Resolve FX and no OFX plugins | Full suite of Resolve FX and OFX plugins |
| GPU acceleration | Basic GPU support, no hardware encoding | Full GPU acceleration, hardware encoding |
| Collaboration features | Not included | Multi-user collaboration supported |
For example, if you attempt to export a 6K timeline in the free version, DaVinci Resolve will prompt you to reduce the resolution or upgrade. Similarly, applying certain Studio-only effects results in error messages or disabled controls. Recognizing these boundaries early in your editing process helps maintain an efficient workflow.
Step-by-step: How to work within resolution and export limits
- Open your project in DaVinci Resolve and go to File > Project Settings. Under the Master Settings tab, locate the Timeline Resolution dropdown menu. Set this to a maximum of 3840 x 2160 (4K UHD) or lower, as the free version does not support resolutions above 4K. When set correctly, your timeline resolution will match the free version’s capabilities.
- Navigate to the Deliver page to configure export settings. Under the Render Settings, select an export format compatible with the free version, such as QuickTime or MP4. Avoid formats like DNxHR or ProRes 4444, which require the Studio version.
- Choose supported codecs like H.264 or H.265 for video encoding. These codecs maintain a good balance between quality and file size and are available in the free version.
- Adjust the export resolution to match your timeline or lower it if file size or performance is a concern. Exporting at a resolution higher than the timeline setting will cause an error or fallback to a lower resolution.
- Set the Quality slider to "Best" if you want maximum quality within the free version’s limits, but keep in mind higher quality increases render time and file size.
- Use the Single Clip export option to consolidate your project into one file, which minimizes complexity and reduces the chance of export errors within the free version.
- Start the export by clicking Add to Render Queue and then Start Render. A successful export will complete without errors and produce a playable file matching your set settings.
Worked example: Exporting a 4K UHD timeline at 3840 x 2160 resolution using H.264 codec in MP4 format passes in the free version. Trying to export the same timeline in ProRes 4444 or at 6K resolution triggers an error message or fails to render, indicating the need to adjust settings.
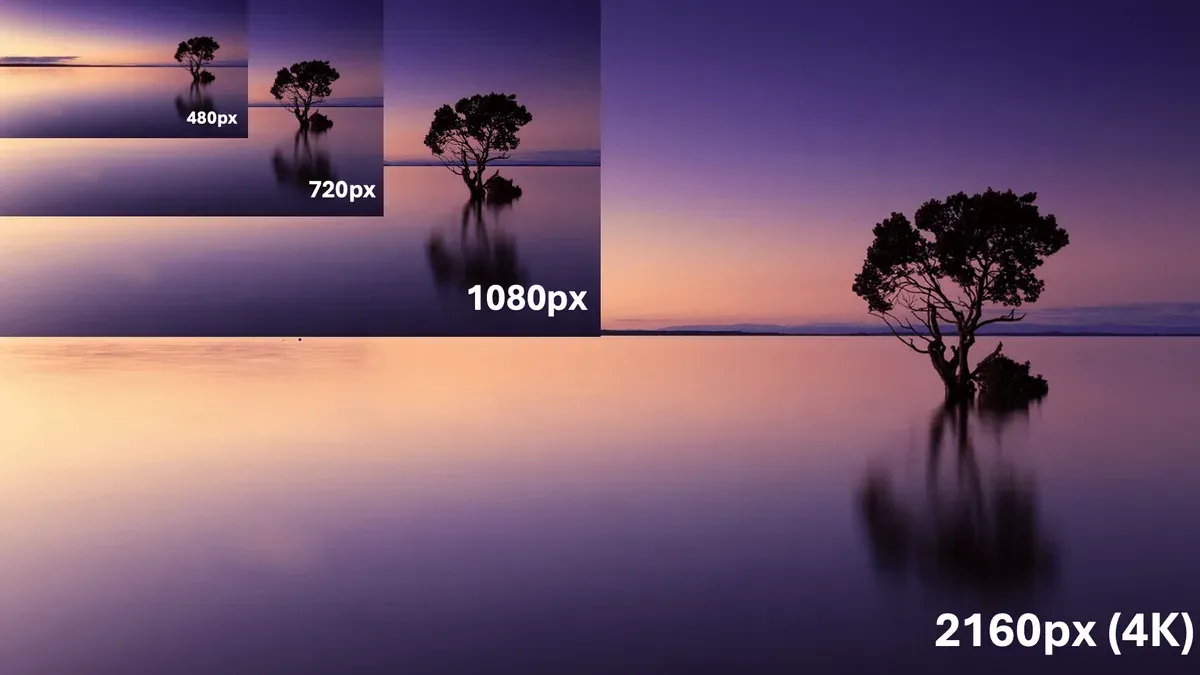
Using screenshots of the Project Settings Timeline Resolution panel and the Deliver page's export format and codec dropdowns can guide you visually to avoid common misconfigurations.
Step-by-step: Using available effects and plugins effectively
The free version of DaVinci Resolve offers a solid selection of effects and transitions, though some premium options remain locked. To maximize your production value, focus on mastering the free effects and using creative workarounds for unavailable features.
- Open the "Effects Library" panel from the top left corner of the interface. You should see categories like "OpenFX" and "Transitions" with effects listed.
- Identify free effects by checking if they can be dragged onto your clips without prompting for an upgrade. Common free effects include color correction tools, blur, sharpen, and basic transitions like cross dissolve and dip to color.
- For unavailable premium effects such as ResolveFX Noise Reduction or lens flares, look for similar free alternatives or replicate effects manually. For example, use combination of blur and color grading nodes to mimic some stylized looks.
- When building your node structure in the Color page, keep nodes simple and organized. Use serial nodes to apply multiple free effects sequentially, ensuring you do not exceed performance limits.
- Create an example project using only free effects by applying a cross dissolve between clips, a color corrector node for grading, and a Gaussian blur node for softening. Render the timeline to verify smooth playback and export.
Step-by-step: Optimizing performance without hardware acceleration
- Go to the Playback menu and select Proxy Mode, then choose Half Resolution or Quarter Resolution. You should notice smoother playback as the software uses lower-resolution previews instead of full-quality video.
- Navigate to the Playback menu and click on Render Cache, then select Smart or User. This enables caching of timeline segments, which reduces lag during playback and editing. You will see a blue or red bar above cached clips indicating progress and readiness.
- Right-click clips in the Media Pool and select Generate Optimized Media. Optimized media uses lower bitrate, easier-to-process files. Once generated, playback will be more fluid, especially on complex timelines.
- In the Media Storage settings, confirm the location of optimized media and cache files is on a fast internal drive. This reduces delays caused by slow read/write speeds.
- Reduce timeline complexity by disabling or temporarily removing unused video tracks and effects. This lightens processing load, resulting in fewer dropped frames and more responsive editing.
Using proxy mode and optimized media can significantly improve playback smoothness, often turning choppy video into near real-time preview. Render caching further decreases timeline lag by pre-rendering effects and transitions. Managing timeline layers complements these settings by minimizing processing demands.
Troubleshooting common issues with free version limits
When working within DaVinci Resolve's free version limits, you may encounter export failures, unsupported codec errors, or project instability. Address these issues by following targeted steps.
- For export failures with messages like "Export failed due to codec incompatibility," open the Deliver page, select an export preset compatible with the free version (e.g., H.264 in MP4), and avoid restricted formats such as DNxHR or ProRes. Successful export proceeds without error.
- If you see an "Effect not supported in free version" error, identify the effect in the Color or Fusion page, then replace it with a free alternative from the Effects Library. The timeline should update without warnings.
- To resolve slowdowns or crashes, reduce timeline resolution to 1920x1080 or lower under Project Settings > Master Settings, and enable Optimized Media by right-clicking clips and selecting "Generate Optimized Media." Playback should become smoother and crashes less frequent.
- When encountering project load failures, clear the cache by going to Playback > Delete Render Cache > All, then restart DaVinci Resolve. The project should open without error.
These targeted approaches help you manage common free version limits and maintain a stable editing workflow.
Frequently asked questions
Can I upgrade from the free version to Studio without losing my projects?
Yes, you can upgrade from the free version to DaVinci Resolve Studio without losing your existing projects. Your project files are stored separately and remain compatible across versions. To ensure safety, back up your project database via the Project Manager before upgrading.
What export formats are not available in the free version on Mac?
The free version limits export formats mainly by excluding certain professional codecs and advanced formats. For example, you won’t have access to DNxHR, ProRes 4444, or some high-bitrate H.264 profiles. Standard formats like H.264 and QuickTime are available for most typical export needs.
How do I know if an effect or feature is locked behind the Studio version?
Effects or features locked behind Studio usually display a padlock icon when you try to apply them. Additionally, attempting to use advanced tools like facial recognition, motion blur, or noise reduction triggers a prompt indicating they require Studio. Reviewing the DaVinci Resolve manual or Blackmagic Design’s official website can clarify feature availability.
Is hardware acceleration completely disabled in the free version on Mac?
Hardware acceleration is not completely disabled but is limited in the free version. Basic GPU acceleration is available for playback and rendering, but advanced GPU processing, such as multi-GPU support or certain CUDA/OpenCL optimizations, requires Studio. This means performance may be slower on complex timelines without the paid upgrade.
Honest limits of the free version
This guide does not cover advanced color grading techniques or multi-user collaboration features, both of which require the paid Studio version of DaVinci Resolve. If your projects demand high-end color workflows, noise reduction, or collaborative editing, upgrading may be necessary. Additionally, hardware acceleration for certain codecs and advanced effects are disabled in the free version, which can impact export times and performance on some Macs.
To use the free version effectively, focus on mastering resolution limits, available effects, and performance optimizations described here. However, if you frequently need features like 4K+ exports, HDR grading, or Fusion visual effects, consider whether these justify the paid upgrade for your workflow.
The most useful next step is to familiarize yourself with the Deliver page export settings. Setting your timeline resolution to 1920x1080 and using optimized render cache can prevent bottlenecks and ensure smooth exports within the free version’s limits, helping you maximize what you can achieve without upgrading.