How to Use SSH in Mac Terminal: A Clear Step-by-Step Guide
This guide shows how to use SSH in Mac Terminal to securely connect to remote servers, transfer files, and set up passwordless authentication.
You need to access a remote server or another computer securely from your Mac. Using the Terminal app, you can connect to these devices through SSH, which keeps your data encrypted and safe during the session.
This guide explains how to use SSH in Mac Terminal, covering everything from enabling the service to performing file transfers and troubleshooting common problems. You will also learn how to generate SSH keys for passwordless login and apply security best practices tailored to Mac users.
Key takeaways
- Enable Remote Login in System Preferences under Sharing to activate SSH access on your Mac.
- Use the Terminal command ssh username@hostname to connect securely to remote machines.
- Generate SSH keys with ssh-keygen for easier and more secure passwordless authentication.
- Transfer files safely using Terminal commands scp and sftp within the SSH environment.
- Check firewall settings and key permissions to resolve common SSH connection issues on Mac.
Before you start: What you need to use SSH on Mac
To use SSH on your Mac, you first need to ensure your system has the necessary tools and access configured. macOS includes the OpenSSH client by default, so no additional software installation is required for initiating SSH connections.
- Open Terminal (found in Applications > Utilities). Type ssh -V and press Enter. You should see the OpenSSH version displayed, confirming the SSH client is installed.
- Verify network access to the remote server by confirming its IP address or domain name and the SSH port (default is 22). Ensure your Mac’s internet or local network connection can reach this server.
- Prepare your login credentials for the remote server. This typically includes a username and either a password or an SSH key pair if passwordless login is set up.
- Decide if you want your Mac to accept incoming SSH connections. Enabling the SSH server on your Mac allows other devices to connect to it remotely.
- Understand the difference between roles: the SSH client on your Mac initiates connections to remote servers, while the SSH server accepts incoming connections. By default, macOS runs the client but not the server.
OpenSSH is included in macOS versions from 10.7 (Lion) onward, covering most currently supported Macs. This built-in support means you can start using SSH immediately, provided you have the network and credential setup ready.
How to enable SSH on Mac
macOS includes a built-in SSH server, but it is disabled by default to protect your Mac from unsolicited network access. To allow remote connections, you need to enable the Remote Login feature.
- Open System Preferences and go to Sharing.
- In the list on the left, find and check the box for Remote Login. This will start the SSH server.
- Under Remote Login, you can specify which users are allowed to access your Mac remotely. Choose All users or select specific users for better security.
- To verify the SSH server status via Terminal, open Terminal and run: sudo systemsetup -getremotelogin. It should return Remote Login: On.
- Alternatively, you can enable Remote Login with the command: sudo systemsetup -setremotelogin on. Disable it with sudo systemsetup -setremotelogin off.
- Check that your Mac’s firewall allows incoming connections on port 22, which is the default port SSH uses. You can manage this in System Preferences > Security & Privacy > Firewall Options. Ensure Remote Login or sshd is allowed.
Security note: Enabling the SSH server exposes your Mac to network connections. Use strong passwords or, preferably, SSH key authentication to reduce risk. Restrict remote login access to specific users whenever possible.
How to use SSH command in Mac Terminal to connect to a remote server
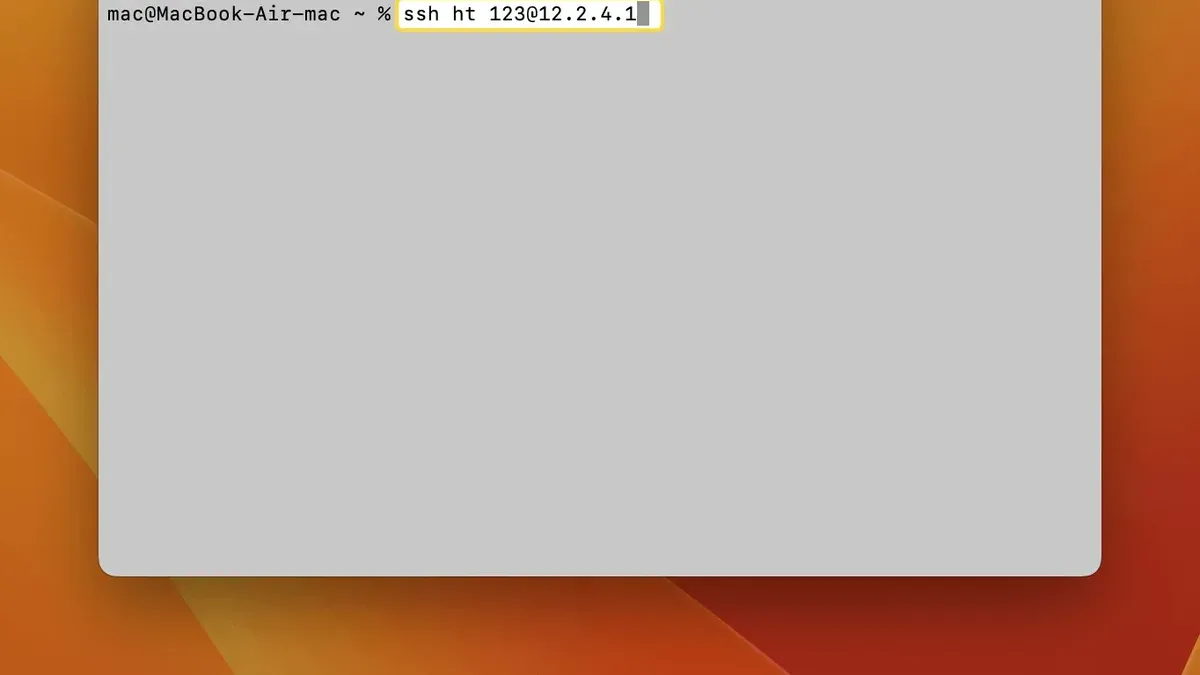
- Open the Terminal app on your Mac. You should see a prompt like username@MacBook ~ %.
- Type the basic SSH command using the syntax ssh username@hostname or ssh username@IP_address. For example, ssh [email protected]. Press Enter.
- The first time you connect to a new host, you will see a prompt stating: The authenticity of host '192.168.1.100 (192.168.1.100)' can't be established. It will show a fingerprint and ask if you want to continue connecting. Type yes and hit Enter to add the host to your known hosts.
- Next, you will be prompted to enter the password for the remote user. Type it carefully (the cursor will not move) and press Enter. If the password is correct, you will be logged into the remote server's command line.
- If the SSH server is listening on a port other than the default 22, specify it with the -p option, for example: ssh -p 2222 [email protected].
- When finished, type exit or press Ctrl+D to close the SSH session and return to your Mac's local Terminal prompt.
Sample terminal output after initiating a connection might look like this:
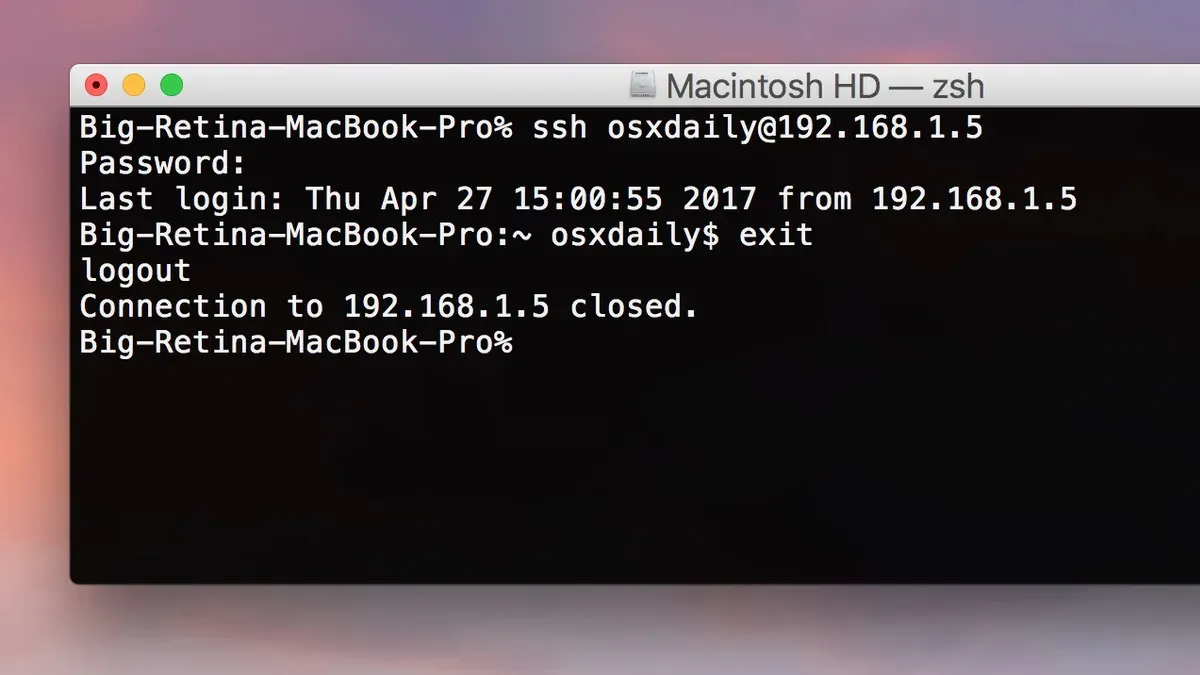
~ % ssh [email protected]
The authenticity of host '192.168.1.100 (192.168.1.100)' can't be established.
ECDSA key fingerprint is SHA256:abc123def456...
Are you sure you want to continue connecting (yes/no)? yes
Warning: Permanently added '192.168.1.100' (ECDSA) to the list of known hosts.
[email protected]'s password:
Last login: Thu Oct 15 09:30:00 2026 from 192.168.1.50
alice@remote-server:~$
This process securely connects you to the remote machine, ready for command execution or file transfers.
How to generate and use SSH keys on Mac for passwordless login
Using SSH keys enables secure, passwordless authentication when connecting to remote servers. You start by generating a key pair—a private key kept on your Mac and a public key copied to the server.
- Open Terminal and run ssh-keygen -t ed25519 -C "[email protected]". This generates an Ed25519 key, which is recommended for security and speed. You will see prompts to save the file and enter a passphrase. A passphrase adds protection if your private key file is compromised.
- Once complete, your keys are stored by default in the
~/.ssh/directory asid_ed25519(private) andid_ed25519.pub(public). - To enable passwordless login, copy the public key to the remote server. If you have
ssh-copy-idinstalled, runssh-copy-id username@remote_host. You will see output confirming key transfer and successful authentication setup. - If
ssh-copy-idis unavailable on your Mac, manually append the content of~/.ssh/id_ed25519.pubto the remote server’s~/.ssh/authorized_keysfile usingcat ~/.ssh/id_ed25519.pub | ssh username@remote_host "mkdir -p ~/.ssh && cat >> ~/.ssh/authorized_keys". A successful command means your key is installed. - SSH key authentication is more secure than passwords because keys are nearly impossible to guess and can be protected by passphrases. Ensure your private key permissions are restricted with
chmod 600 ~/.ssh/id_ed25519to prevent unauthorized access.
After setup, connect to the server with ssh username@remote_host and you should log in without entering your password.
How to SSH file transfer with Terminal for Mac using SCP and SFTP
Securely transferring files between your Mac and remote machines is straightforward using SSH-based tools like scp and sftp. Both operate over SSH, providing encrypted file transfer, but differ in interaction and use cases.
Using scp to copy files and directories
The scp command copies files and directories between hosts in a single command. Use this syntax:
- Copy a local file to a remote server:
scp /path/to/local/file username@remotehost:/path/to/remote/destination - Copy a file from a remote server to your Mac:
scp username@remotehost:/path/to/remote/file /path/to/local/destination - Copy a directory recursively (including all files and subdirectories):
scp -r /local/directory username@remotehost:/remote/directory
After running scp, you should see progress information and a prompt once the transfer completes, confirming success.
Using sftp for interactive file transfer sessions
sftp opens an interactive session similar to FTP but encrypted over SSH. To start, run:
sftp username@remotehost
Within the session, use commands like:
lsto list filescdto change directoriesget filenameto download a fileput filenameto upload a file
Type help for more commands and exit to close the session.
Choosing between scp and sftp
scp is ideal for quick, one-off file copies or scripting, while sftp suits interactive file management, allowing multiple transfers and directory navigation within one session.
Verifying and resuming transfers
Check transfer success by verifying file sizes or using checksums on both ends. If a transfer is interrupted, sftp supports resuming downloads with the reget command; for scp, consider using rsync over SSH for better resume capabilities.
Example screenshot of an sftp session commands:
sftp> ls
remote_file.txt
sftp> get remote_file.txt
Fetching /remote_path/remote_file.txt to remote_file.txt
sftp> put local_file.txt
Uploading local_file.txt to /remote_path/local_file.txt
sftp> exit
How to SSH from Mac Terminal to another Mac or device
SSH enables secure connections from your Mac to other Macs or Linux devices, as long as an SSH server is running on the target machine. This cross-platform compatibility lets you remotely manage various systems using the same Terminal commands.
- Find the IP address or hostname of the target Mac or device. On a Mac, open Terminal and enter ifconfig to identify the local IP under en0 or en1. For example,
inet 192.168.1.12indicates the IP address. - On the Mac you want to connect to, ensure Remote Login is enabled via System Preferences > Sharing. You should see "Remote Login: On" to confirm SSH access.
- From your Mac's Terminal, connect using
ssh [email protected](replace with the actual username and IP). You should see a prompt for the remote machine's password or a key-based login confirmation. - If connecting over the internet, use the device's public IP or hostname and ensure port 22 is open and forwarded if behind a router.
- For connections on public or untrusted networks, consider using SSH tunnels or proxies to encrypt traffic beyond SSH's default encryption, reducing exposure risk.
- Once connected, you can run commands or transfer files as needed, verifying a successful connection by the remote shell prompt appearing in your Terminal.
Troubleshooting common SSH issues on Mac
When using SSH on your Mac Terminal, several issues can arise. Here are common problems and how to address them.
SSH command not found or client missing
If you see "ssh: command not found", it means your Mac's OpenSSH client is not accessible. Verify by running which ssh in Terminal; it should return /usr/bin/ssh. If it doesn’t, your system might have path issues or the SSH client is missing.
- Open Terminal and type
echo $PATHto check your environment paths. - If
/usr/binis missing, add it by editing your shell profile (e.g.,~/.zshrc) and addingexport PATH=$PATH:/usr/bin. - Restart Terminal and try
sshagain.
If the client is truly missing, consider reinstalling macOS components or using Homebrew to install OpenSSH.
Connection refused or timeout errors
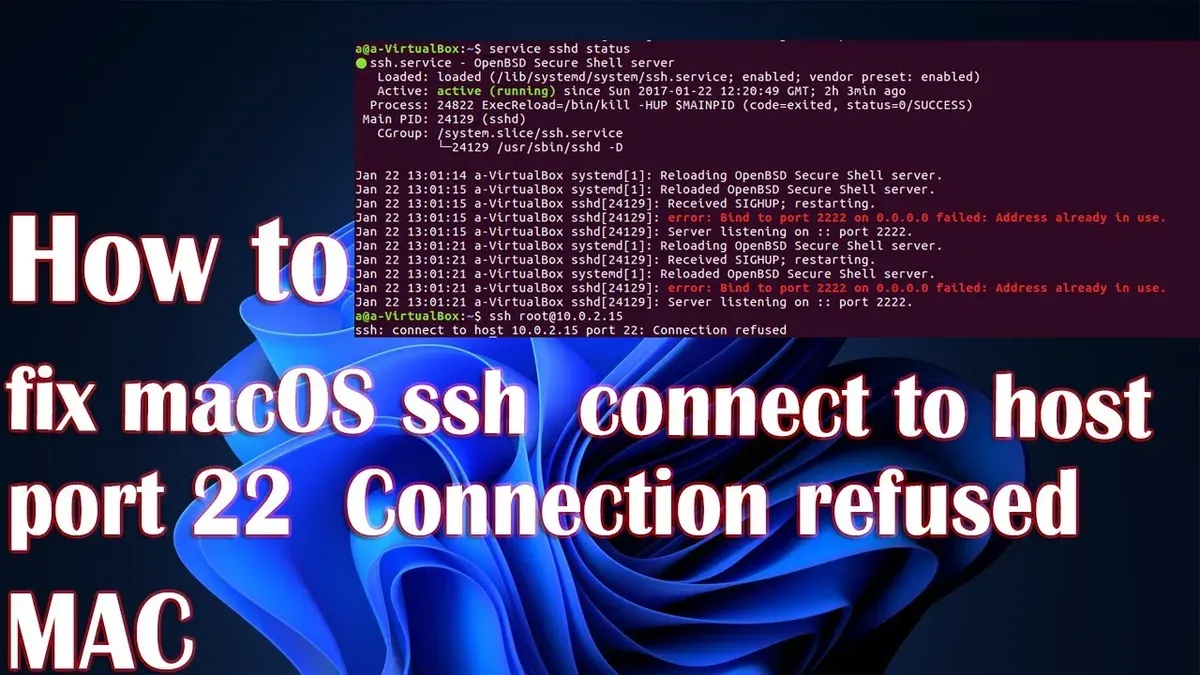
Errors like "ssh: connect to host example.com port 22: Connection refused" or "Connection timed out" usually indicate network issues or the remote server not accepting connections.
- Check that the remote server is running an SSH service and listening on port 22 (or specified port).
- Use
ping [hostname]to verify network reachability. - Test port access with
telnet [hostname] 22ornc -zv [hostname] 22; success means the port is open. - If blocked, ensure your Mac firewall or router allows outbound SSH traffic, and the server firewall permits inbound connections on port 22.
Authentication failures and permission denied messages
"Permission denied (publickey,password)" indicates SSH couldn’t authenticate you.
- Confirm you are using the correct username in your SSH command:
ssh user@hostname. - If using keys, ensure your private key has correct permissions (
chmod 600 ~/.ssh/id_rsa). - Verify the public key is properly added to the remote server's
~/.ssh/authorized_keysfile. - Try verbose mode
ssh -v user@hostnameto see detailed authentication steps.
Host key mismatch or known_hosts file errors
SSH may warn about a host key mismatch if the remote server's fingerprint changes, showing a message like "WARNING: REMOTE HOST IDENTIFICATION HAS CHANGED!"
- Confirm with the server administrator that the change is legitimate to avoid man-in-the-middle attacks.
- If verified safe, remove the old key entry by running
ssh-keygen -R hostname. - Reconnect to add the new key fingerprint to your
~/.ssh/known_hostsfile.
Firewall and network settings blocking SSH traffic
Your Mac or network firewall could block SSH traffic.
- On your Mac, go to System Preferences > Security & Privacy > Firewall and ensure it’s either off or configured to allow incoming connections for SSH.
- If using a router or VPN, check their settings to allow outbound connections on port 22.
- Test with another network if possible to isolate the issue.
Security tips for using SSH on Mac Terminal
Using SSH keys instead of passwords is one of the most effective ways to secure your remote access. Key-based authentication significantly reduces the risk of brute force attacks, which are common against default password logins.
Disable root login by editing the /etc/ssh/sshd_config file and setting PermitRootLogin no. This prevents attackers from targeting the root account directly. Additionally, consider changing the default SSH port from 22 to a non-standard port to reduce exposure to automated scans.
Keep your macOS system and OpenSSH client updated. Security patches often address vulnerabilities found in SSH implementations, minimizing the risk of compromise.
Protect your private keys with strong passphrases and store them securely. Avoid sharing private keys or leaving them unencrypted on disk. Use the ssh-add command with the macOS Keychain integration to manage keys safely.
Regularly monitor SSH login attempts and system logs located in /var/log/system.log or via the Console app. Look for repeated failed login attempts or unfamiliar IP addresses, which may indicate malicious activity.
- How to Download Files Using curl in Mac Terminal: A Step-by-Step Guide
- How to See Wi-Fi Password in Mac Terminal: A Clear Step-by-Step Guide
- How to Check Uptime Using Mac Terminal: A Clear Step-by-Step Guide
- How to Find Large Files in Mac Terminal: Step-by-Step Guide
Frequently asked questions
How to ssh in to a mac?
To SSH into a Mac, first ensure that Remote Login is enabled in System Preferences under Sharing. Then, use the Terminal command ssh username@IP_address, replacing username with the Mac user account name and IP_address with the Mac’s local or public IP. You may need the password for that user unless you set up SSH keys for passwordless login.
How to enable ssh on macos?
Enable SSH on macOS by opening System Preferences, navigating to Sharing, and checking the box for Remote Login. This activates the SSH server, allowing incoming SSH connections. You can restrict access to specific users in the same pane for better security.
How to use ssh in terminal?
Open Terminal and enter the command ssh username@hostname, where username is the remote account and hostname is the IP address or domain name. After connecting, you can execute commands on the remote machine. Use options like -p to specify a port if it's not the default 22.
What is mac in ssh?
In SSH context, mac refers to message authentication codes, which ensure the integrity and authenticity of data exchanged over the connection. It is part of the cryptographic protocols SSH uses to prevent tampering and verify that messages come from the expected source.
How to use ssh on mac?
To use SSH on a Mac, enable Remote Login in Sharing settings, then open Terminal and run SSH commands to connect to remote servers or devices. You can also generate SSH keys using ssh-keygen to simplify authentication and enhance security during connections.
What this guide does not cover and who should look elsewhere
This guide does not cover advanced SSH configurations such as setting up multi-factor authentication or integrating SSH with enterprise identity management systems. If you require complex security setups, automated orchestration of SSH keys across many devices, or compliance with strict corporate policies, consult specialized documentation or your IT department. Additionally, this article focuses on SSH usage within Mac Terminal and does not cover alternative SSH clients or graphical tools that may better suit some workflows.
The single most useful next step is to practice connecting securely to a known remote server using SSH with key-based authentication. This hands-on experience will help you understand how Terminal commands interact with remote systems and highlight any environment-specific adjustments you may need. Remember to verify your connection by checking the remote host fingerprint on first connect and keep your private keys secure with appropriate file permissions (chmod 600). From there, you can explore transferring files, tunneling, and other SSH features tailored to your needs.