How to Use Window Tiling on Mac: A Practical Step-by-Step Guide
Discover practical steps to use window tiling on Mac with native Split View and third-party apps to manage multiple windows efficiently.
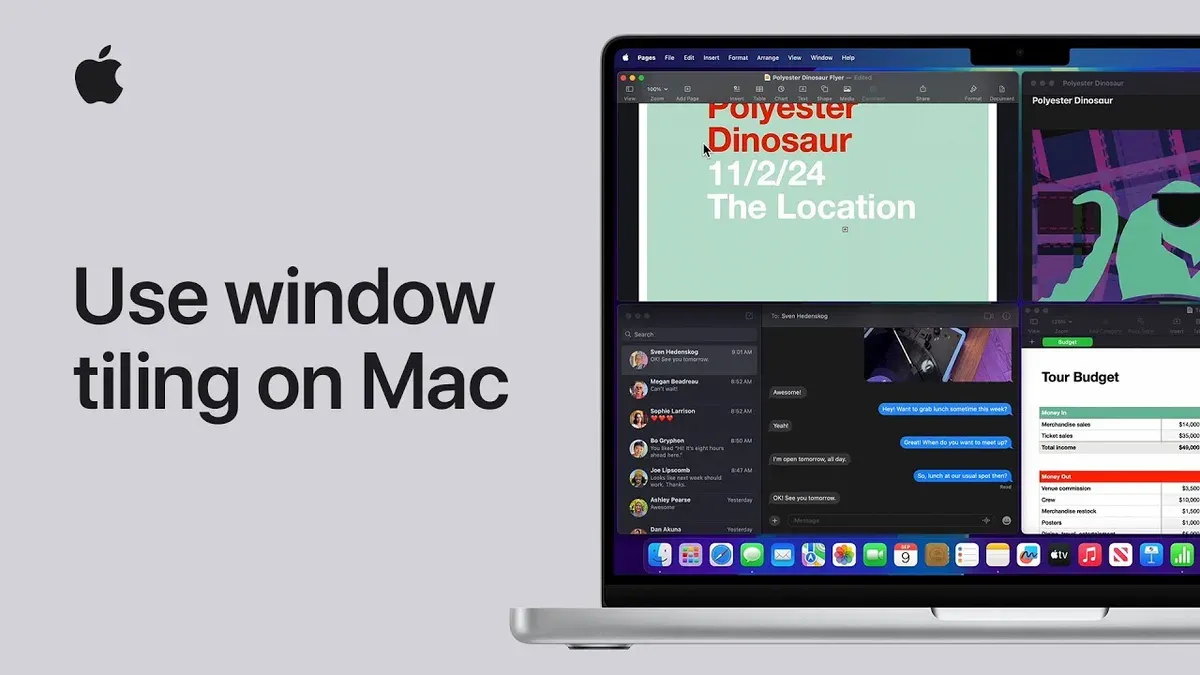
You’re working on a project with multiple apps open, and you need to organize your screen quickly. Managing overlapping windows without losing focus can be frustrating if you don’t use efficient window tiling methods.
This guide explains how to use window tiling on Mac, covering both native macOS features and popular third-party tiling window managers. You’ll learn practical workflows and keyboard shortcuts to manage your workspace better and decide which approach suits your needs best.
Key takeaways
- Use macOS Split View by clicking and holding the green traffic light button to tile two windows side by side.
- Keyboard shortcuts like Control + Command + F can help toggle full screen, but third-party tools extend tiling to more complex layouts.
- Third-party apps such as Magnet or Rectangle offer customizable window arrangements beyond built-in macOS options.
- Understanding Apple’s terminology around tiling prevents confusion when navigating settings and shortcuts.
- Regularly check System Preferences > Mission Control to enable or adjust window management features for smoother tiling.
Before you start: What you need for window tiling on Mac
Window tiling on Mac can be achieved through built-in macOS features or via third-party applications. Native support includes Split View and basic window snapping, available starting from macOS El Capitan (10.11) onward. To use these features, your Mac must be running at least this version.
Native tiling is straightforward but limited, mostly supporting two windows side by side without much customization. For more advanced window management, third-party tiling window managers offer greater flexibility and additional features such as keyboard shortcuts, multiple window layouts, and multi-monitor support.
| App | Key Features | Pricing |
|---|---|---|
| Rectangle | Free, keyboard shortcuts, drag-and-drop snapping | Free |
| Magnet | Simple interface, snap windows to edges, keyboard shortcuts | One-time purchase |
| Amethyst | Automatic tiling, multiple layouts, keyboard control | Free, open source |
Hardware plays a role: MacBooks with smaller screens may benefit more from tiling features than those connected to external monitors, which offer more screen real estate for flexible window arrangements.
How to tile windows on a Mac using native macOS features
macOS includes a built-in feature called Split View that allows you to tile two windows side-by-side without additional software. Here's how to use it.
- Hover your cursor over the green full-screen button in the top-left corner of a window. After a moment, the button changes to show two options: "Tile Window to Left of Screen" and "Tile Window to Right of Screen."
- Click either option to snap the current window to that side of the screen. The window will occupy exactly half the display, and Mission Control will show thumbnails of other open windows on the opposite side.
- Click a second window from the thumbnails on the other side to tile it next to the first window. Both windows now share the screen in Split View mode.
- To adjust the relative width of the two windows, drag the vertical divider between them left or right. This lets you allocate more space to one window while keeping both visible.
- Use Mission Control (swipe up with three or four fingers or press the Mission Control key) to see all your Spaces and manage your Split View desktops. You can switch between them or add new desktops.
- To exit Split View, move your cursor to the top of the screen to reveal the window buttons and click the green full-screen button on either window. The window returns to normal mode, and the other window expands to full screen.
Additionally, keyboard shortcuts like Control + Left Arrow and Control + Right Arrow help you switch between Spaces, including Split View desktops.
While native Split View offers simple and reliable tiling for two apps, it does not support tiling more than two windows or complex layouts. Third-party tiling window managers provide greater flexibility and customization for managing multiple windows simultaneously.
How to use keyboard shortcuts for window tiling on Mac
macOS includes native keyboard shortcuts primarily for navigating full-screen apps and Spaces rather than for direct window tiling. For example, you can use Control + Right Arrow or Control + Left Arrow to move between Spaces or full-screen windows. However, macOS does not provide built-in shortcuts to snap or tile windows into halves or quarters.
To gain more precise control over window tiling via keyboard, third-party apps like Rectangle and Magnet are popular choices. These tools offer customizable shortcuts that snap windows to screen halves, quarters, or user-defined grids, streamlining window management.
Setting up shortcuts in Rectangle
- Download and install Rectangle from its official website or the Mac App Store.
- Open Rectangle and access its preferences from the menu bar icon.
- Navigate to the Shortcuts tab to view and customize key bindings.
- Assign or modify shortcuts for actions like "Left Half," "Right Half," "Top Left," and "Bottom Right."
- Test a shortcut by pressing it while a window is active; the window should immediately snap to the corresponding position.
Using shortcuts in Magnet
- Install Magnet from the Mac App Store.
- Launch Magnet and open its preferences.
- Review default keyboard shortcuts for tiling options or customize them as needed.
- Use shortcuts such as Control + Option + Left Arrow to snap a window to the left half or Control + Option + Up Arrow to maximize the window.
- Observe how quickly windows reposition, facilitating multitasking.
Many users report that employing these shortcuts reduces the time spent manually resizing and repositioning windows, allowing for faster task switching and better focus. For example, a user might quickly tile a browser and a document side by side to reference information while writing.
How to tile windows on MacBook with third-party tiling window managers
Third-party window managers like Rectangle, Magnet, and Amethyst offer MacBook users advanced window tiling beyond macOS’s native Split View. These tools provide flexible layouts, including multi-window grids and automatic tiling, improving productivity especially on smaller screens.
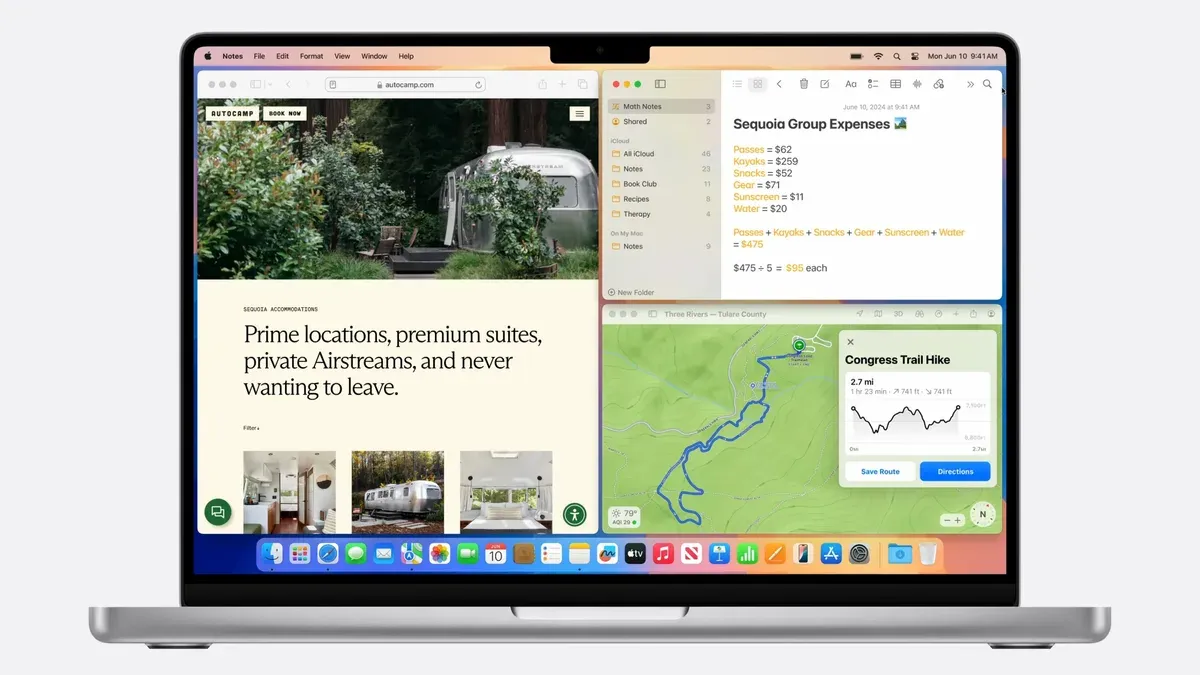
Installation and setup:
- Download your chosen app from the official website or the Mac App Store. For example, Rectangle is free and open source, Magnet costs a small fee, and Amethyst is free but more complex.
- Open System Preferences > Security & Privacy > Privacy > Accessibility and add the app to allow it to control windows. You should see a confirmation prompt or the app’s interface activate.
- Launch the app and access its preferences. Configure your preferred keyboard shortcuts or mouse snapping zones. Most have preset shortcuts for tiling windows into halves, thirds, or quarters.
- Enable automatic tiling if available (e.g., Amethyst). This arranges windows dynamically as you open or close them, unlike manual snapping where you drag or use shortcuts for each window.
Feature comparison:
| App | Cost | Tiling Type | Keyboard Shortcuts | Automatic Tiling | User-Friendliness |
|---|---|---|---|---|---|
| Rectangle | Free | Manual snapping | Yes, customizable | No | High |
| Magnet | Paid (low cost) | Manual snapping | Yes, fixed | No | High |
| Amethyst | Free | Automatic tiling | Yes, customizable | Yes | Medium (steeper learning curve) |
Example workflow: On a MacBook with limited screen space, you can use Rectangle to snap your browser to the left half and a note-taking app to the right half with a single keyboard shortcut. For more complex layouts, Amethyst’s automatic tiling can organize multiple windows into columns or grids without manual adjustment.
Battery and performance: These apps run efficiently but enabling automatic tiling may increase CPU usage slightly. On MacBooks, this can have a minor impact on battery life, so monitor performance when using resource-heavy tiling managers.
How to use an Apple tile: Clarifying terminology and features
The phrase "Apple tile" is not an official term used by Apple to describe any specific window management feature. Often, users searching for "Apple tile" are referring either to macOS's native window tiling capabilities, such as Split View, or to third-party window tiling apps compatible with Mac.
Another frequent source of confusion arises from the company named Tile, which produces Bluetooth trackers for hardware items. This hardware accessory is unrelated to software window tiling on Mac.
To clarify, Apple’s official documentation refers to window management features under terms like "Split View," "Mission Control," and "Spaces." There is no mention of an "Apple tile" as a distinct feature.
If you encounter search queries like "Apple tile window" or "Apple tile app," they generally point to either native macOS window snapping or popular third-party tiling window managers.
When choosing window tiling solutions, focus on the functionality you need—such as automatic layout, keyboard shortcuts, or multi-window arrangements—rather than the terminology. Identifying the feature set that fits your workflow is more useful than relying on ambiguous terms.
How to make a tilde on Mac and how it relates to window tiling shortcuts
The tilde symbol (~) is typed on a Mac using a two-step keyboard shortcut. Press Option + n together, which creates a tilde accent, then press space or any vowel key to produce the standalone tilde or a tilde-accented character respectively.
- Hold down the Option key and press n simultaneously. You will see a tilde accent appear but no character yet.
- Press the space bar to generate the standalone tilde (~) symbol, or press a vowel (a, e, i, o, u) to add a tilde accent on that letter (ñ, õ, etc.).
Users sometimes confuse the tilde (~) with "tiling" because of their similar sounds, or they mistake the tilde key for a window tiling shortcut key. For example, macOS uses Command + ` (grave accent, below Escape) to switch windows within an app, which is often called the "tilde key" informally but is a different character.
A common issue is when Command + ` does not cycle through windows as expected. This can happen if third-party window managers override or block this shortcut. To fix this, check the shortcut settings in your tiling manager app and either disable conflicting shortcuts or remap them.
To avoid shortcut conflicts involving the tilde or related keys, review the keyboard shortcut preferences in your window tiling tool. Assign unique shortcuts or disable those that interfere with macOS default commands, ensuring smooth window management without losing access to essential system functions.
Troubleshooting common issues with window tiling on Mac
If Split View doesn’t activate when clicking the green button, check that both windows are not in full-screen mode already and that they belong to the same user account. Sometimes, holding the green button longer triggers the tiling option. If it remains unresponsive, restart the app or macOS to clear temporary glitches.
For keyboard shortcuts in third-party tiling apps like Rectangle or Magnet, conflicts often arise if the shortcuts overlap with system or other app commands. Open System Preferences > Keyboard > Shortcuts to review and reassign conflicting keys. Also, ensure the app has Accessibility permissions under System Preferences > Security & Privacy > Privacy for full functionality.
To reset or uninstall a third-party tiling manager, first quit the app. For reset, check the app preferences for a restore default option. To uninstall, drag the app from the Applications folder to Trash and remove related startup items in System Preferences > Users & Groups > Login Items.
Performance issues or battery drain can occur with tiling apps running constantly in the background. Close unused tiling apps or disable automatic tiling features when not needed to conserve resources. macOS has inherent limitations, such as restricting Split View to two windows, which third-party apps cannot fully overcome.
- Attempt Split View by holding the green button on a window; you should see half the screen shaded, indicating readiness to tile.
- If shortcuts fail, open System Preferences > Keyboard > Shortcuts and verify or reassign keys; successful reassignment lets shortcuts work immediately.
- Quit the third-party tiling app, then drag it from Applications to Trash; reboot your Mac to confirm removal.
- Check battery usage in Activity Monitor; if tiling apps appear high, quit or adjust settings to reduce impact.
- Recognize macOS Split View limits; use third-party managers if you need more than two windows tiled simultaneously.
Comparing window tiling on Mac to Windows 10 and Windows 11
Windows 10 and Windows 11 offer built-in window tiling features such as Snap Assist, which allows users to easily snap windows to screen edges and corners, supporting up to four windows tiled simultaneously. Windows 11 expands on this with Snap Layouts, presenting multiple preset grid options accessible via hovering over the maximize button, enhancing multitasking flexibility.
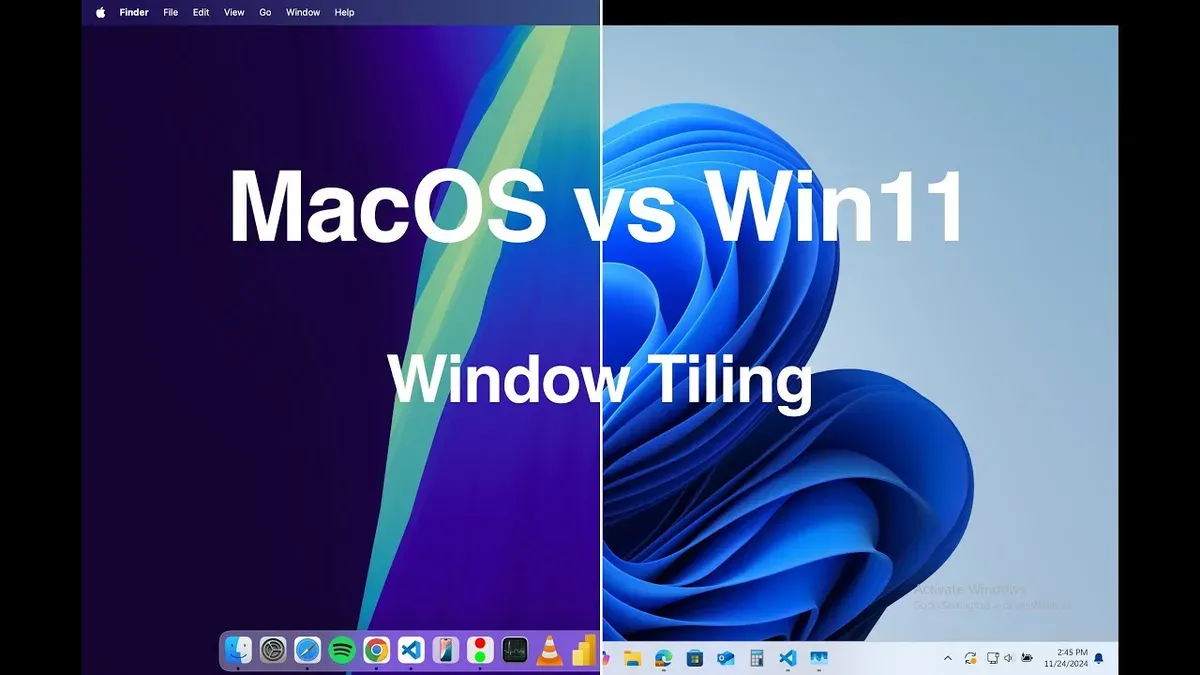
In contrast, macOS native window tiling through Split View is more limited, supporting only two windows side-by-side without preset grid layouts. This simplicity benefits users seeking a straightforward approach but lacks the grid versatility seen in Windows.
Third-party tiling apps like Rectangle and Magnet are available on both platforms, though Windows users often rely on built-in tools. Mac users frequently need these apps to achieve the more advanced tiling options and keyboard shortcut customizations Windows provides natively.
| Feature | macOS Native | Windows 10 | Windows 11 | Third-party Apps (Mac/Windows) |
|---|---|---|---|---|
| Maximum Windows Tiled | 2 | 4 | 4+ | Varies, often unlimited |
| Preset Layouts | No | Limited (corners, halves) | Multiple grid options | Highly customizable |
| Keyboard Shortcuts | Basic | Moderate | Enhanced | Extensive and customizable |
| Ease of Use | Simple | Moderate | Moderate | Depends on app |
For users who multitask heavily or require complex window arrangements, Windows 11 offers superior native multitasking tools. Mac users aiming for similar efficiency often supplement with third-party apps to match or exceed Windows’ flexibility. For example, developers working with multiple code windows or designers using several reference materials side-by-side benefit from these enhanced tiling options.
Overall, Windows provides richer native tiling capabilities, while macOS prioritizes simplicity and stability, often relying on third-party solutions to fill advanced multitasking needs.
- How to Turn Off Window Tiling on Mac: A Clear Step-by-Step Guide
- How to Add Widgets to Your Mac Desktop: A Step-by-Step Guide
- How to Customize Control Center on Mac: A Complete Step-by-Step Guide
Frequently asked questions
How to tilt in windows?
If you mean arranging windows side by side on Windows, you can use the Snap Assist feature. Drag a window to the left or right edge of the screen until you see a visual outline, then release to snap it to that half. Alternatively, use the keyboard shortcut Windows key + Left/Right arrow to snap windows quickly.
How to type tilde on mac?
To type a tilde (~) on a Mac, press Option (⌥) + N, then press the spacebar. This creates a standalone tilde character. If you hold a letter key after pressing Option + N, it adds a tilde accent to that letter instead.
How to do a tilde on windows?
On Windows, you can type a tilde (~) by holding down the Shift key and pressing the key located to the left of the number 1 key (usually the ~ and ` key). Alternatively, you can use the numeric keypad by holding Alt and typing 126 on the keypad, then releasing Alt.
How to tile windows in mac?
To tile windows natively on a Mac, hover over the green full-screen button in the window’s title bar, then choose “Tile Window to Left of Screen” or “Tile Window to Right of Screen” from the dropdown. You can then select another window to fill the other half of the screen. Third-party apps like Rectangle or Magnet offer more flexible tiling options with customizable keyboard shortcuts.
How to use apple tile?
“Apple tile” typically refers to the native macOS window tiling feature accessed via the green full-screen button. Use it by hovering over that button and selecting a tile option to split your screen between two windows. This method is straightforward but limits you to two windows side by side, unlike some third-party tiling managers that allow more complex layouts.
What this advice does not cover
This article focuses on window tiling for productivity using native macOS features and popular third-party tools suitable for general users. It does not cover advanced tiling window managers designed primarily for developers or Linux users seeking full keyboard-driven control and highly customizable layouts.
If you require extensive scripting capabilities or integration with developer workflows, exploring options like yabai or other specialized tools on macOS through the command line may be more appropriate.
To get the most from window tiling on your Mac, start by experimenting with native Split View and Mission Control features combined with keyboard shortcuts. These built-in options offer an immediate productivity boost without installing additional software and are straightforward to master.