How to Use Picture in Picture on Mac: A Step-by-Step Guide
Discover how to enable and use Picture in Picture on Mac to multitask efficiently across browsers and apps like Netflix and YouTube.
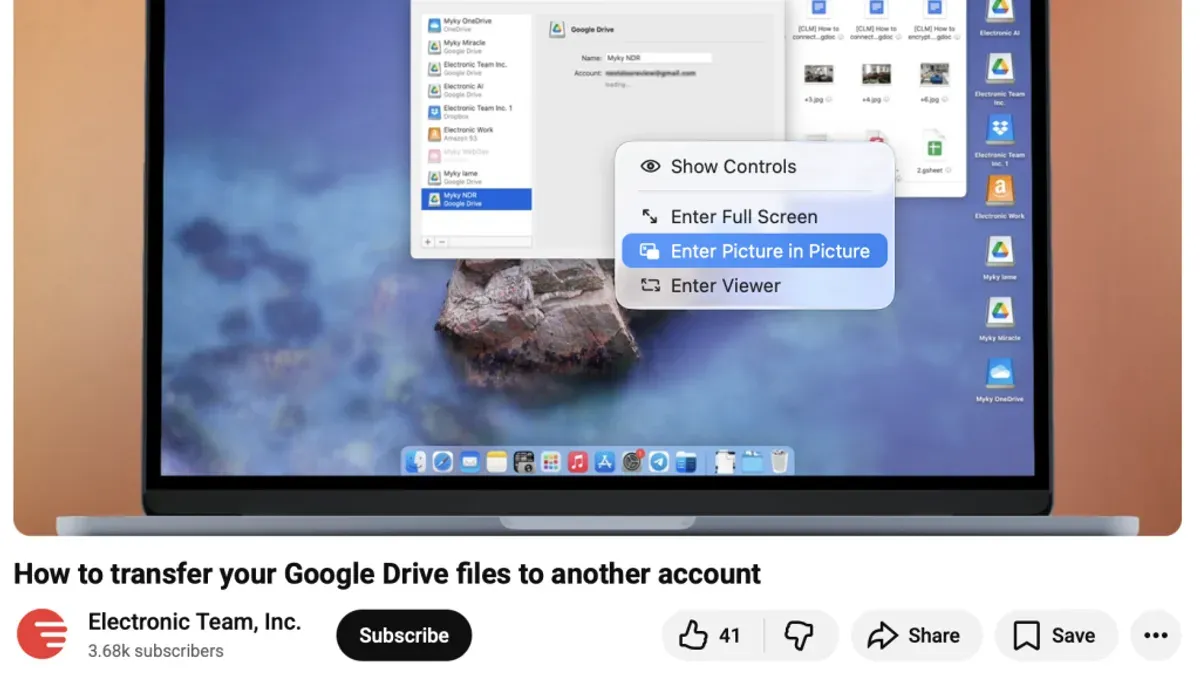
You’re watching a tutorial video on your Mac and need to jot down notes without switching windows constantly. Or you want to keep an eye on a live stream while working on a presentation. Picture in Picture (PiP) mode lets you float video content above other windows, making multitasking more efficient.
This article explains how to use Picture in Picture on Mac across Safari and Chrome browsers, the Netflix app, and YouTube. It also covers how to take photos using your Mac’s built-in camera and manage those images effectively. By combining these features, you can enhance your workflow and content creation processes seamlessly.
Key takeaways
- Activate Picture in Picture by right-clicking a video or using browser-specific controls in Safari and Chrome.
- Netflix and YouTube offer dedicated PiP options for uninterrupted viewing while multitasking.
- You can capture photos with your Mac’s built-in camera using the Photo Booth app or shortcuts.
- Manage your photos efficiently with the Photos app or explore alternatives like Preview and third-party apps.
- Troubleshoot common PiP issues by checking system preferences and app updates.
Before you start: What you need to use Picture in Picture on Mac
Picture in Picture (PiP) is supported on Macs running macOS Sierra (10.12) and later, with enhanced functionality in newer versions like macOS Big Sur and Monterey. To use PiP smoothly, ensure your Mac model supports these macOS versions and that you have updated your system to the latest available release.
Popular apps and browsers that support Picture in Picture include Safari (version 10 and later), Google Chrome (version 70 and later), and streaming services such as Netflix via their app or browser. YouTube also supports PiP, primarily when accessed through Safari or Chrome.
Before using PiP, check your system settings to ensure smooth operation. Open System Preferences and navigate to "Displays" to confirm your display settings support multiple windows without restrictions. Also, verify that "Picture in Picture" is enabled in the browser or app settings where applicable. For example, in Safari, right-clicking a video should show the "Enter Picture in Picture" option.
- Check your macOS version by clicking the Apple menu and selecting "About This Mac." You should see a version number of 10.12 or higher; if not, update your macOS through the App Store. Success means your system is compatible with PiP.
- Ensure you are using a supported browser version: open Safari and go to Safari > About Safari to check the version (10 or later). For Chrome, go to Chrome > About Google Chrome and confirm version 70 or later. If outdated, update the browser. After updating, the PiP options should appear on compatible videos.
- Verify that apps like Netflix are updated to the latest version via the App Store or their official website. When running the app, you should see a PiP icon or option when playing video content.
- Confirm system display settings support window multitasking by opening System Preferences > Displays and ensuring that "Displays have separate Spaces" is enabled (found under Mission Control settings). This enables smoother PiP window management.
How to do Picture in Picture on Mac using Safari and Chrome browsers
Using Picture in Picture on Safari
- Open Safari and navigate to a webpage with a video, such as a news site or streaming service.You should see the video player embedded in the page.
- Right-click twice on the video itself (not the webpage background) until a menu appears with the option Enter Picture in Picture.On the second right-click, the menu changes to show the Picture in Picture option.
- Click Enter Picture in Picture. The video detaches and appears in a floating window.This window stays on top while you browse other apps or Safari tabs.
- Use the controls on the PiP window to play/pause, close, or resize it.Dragging the window to screen corners snaps it to preset sizes.
Using Picture in Picture on Chrome
- Open Google Chrome and go to a video page, for example, YouTube or Vimeo.The video should be visible in the browser window.
- Right-click on the video twice until the Chrome video context menu appears.The first right-click shows the website menu; the second shows the browser menu.
- Select Picture in Picture from the menu. The video will pop out into its own floating window.This window remains on top for multitasking.
- If Picture in Picture is not available by default, install the official Picture-in-Picture Extension (by Google) from the Chrome Web Store.Click the extension icon to activate PiP mode when watching videos.
| Feature | Safari | Chrome |
|---|---|---|
| Native PiP Support | Yes, built-in with macOS Safari | Partial; requires extension for consistent support |
| Activation Method | Right-click twice on video > Enter Picture in Picture | Right-click twice or use extension icon |
| PiP Window Controls | Play, pause, resize, move | Play, pause, move; resize may be limited |
| Browser Integration | Seamless with macOS features | Depends on extension quality and website |
Both browsers offer Picture in Picture but Safari provides a more integrated experience without additional setup. Chrome users may find the extension necessary for full functionality depending on the website. Controls and window behavior can differ slightly, so choose the browser that fits your workflow best.
How to do Picture in Picture on Mac using the Netflix app and YouTube
Picture in Picture (PiP) on Netflix and YouTube can enhance your viewing experience, but the approach depends on whether you're using a dedicated app or a browser.
Using Picture in Picture on Netflix
Netflix does not currently offer a dedicated Mac app with native PiP support. Instead, you rely on the Netflix website in a supported browser like Safari or Chrome.
- Open Netflix in Safari or Chrome and start playing a video.
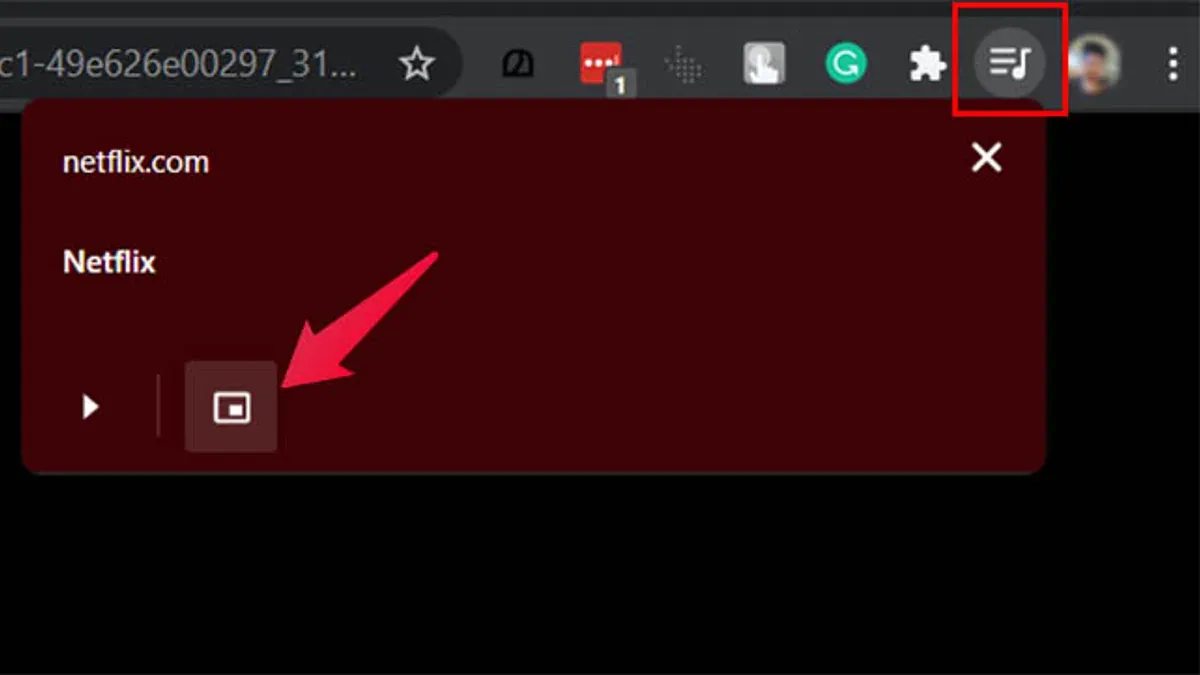
- Right-click twice on the video (in Safari) to reveal the browser's context menu, then select "Enter Picture in Picture." In Chrome, right-click once, and if the PiP option is not visible, use the browser’s PiP extension or click the PiP icon that appears on the video controls.
- The video will pop out into a resizable floating window that stays on top of other windows.
- You can move and resize this window anywhere on your screen while continuing other tasks.
Note that some streaming services use Digital Rights Management (DRM), which may restrict PiP functionality or limit the ability to interact with controls while in PiP mode. Netflix videos are DRM-protected, so full control might be limited compared to other content.
Using Picture in Picture on YouTube
- Open YouTube in Safari or Chrome and play a video.
- In Safari, right-click twice on the video to access the context menu and select "Enter Picture in Picture." The PiP window will appear.
- In Chrome, right-click once on the video and select "Picture in Picture" from the menu. If this option is missing, click the PiP button that appears in the video controls or use the Chrome PiP extension.
- You can now drag and resize the floating window and continue browsing or working.
YouTube supports PiP well across browsers, but ads or certain videos might temporarily disable the feature. Subscriptions like YouTube Premium can mitigate interruptions.
Overall, using PiP on these platforms is straightforward in browsers, but native app support is limited. DRM restrictions may affect control availability, so browser-based PiP with compatible extensions often offers the best experience.
How to take a picture on Mac using the built-in camera
You can use the built-in camera on your Mac to capture photos easily with the Photo Booth app. This is useful when multitasking with Picture in Picture, allowing quick photo capture without switching devices.
- Open the Photo Booth app by searching for it in Spotlight (click the magnifying glass icon or press Command + Space, then type "Photo Booth" and press Enter). Once opened, you should see a preview from your Mac’s built-in camera.
- To take a photo, click the red camera shutter button located at the bottom center of the Photo Booth window. You will see a countdown of 3 seconds before the photo is taken.
- After the photo is captured, it appears as a thumbnail strip at the bottom of the app window. You can click any thumbnail to view the photo in full size.
- To save or export a photo, right-click (or Control-click) the thumbnail and select Export or Export to... to choose a location on your Mac. Alternatively, drag the thumbnail to your Desktop or a Finder folder.
- Photos taken with Photo Booth are also saved automatically in the Pictures folder under a subfolder named Photo Booth Library. You can access them from Finder if you want to manage them outside the app.
Keyboard shortcuts include pressing the spacebar to take a photo when the Photo Booth window is active, speeding up capture without clicking the button. Ensure your Mac’s camera permissions allow Photo Booth access under System Settings > Privacy & Security > Camera.
How to manage and view photos on Mac: Using the Photos app and alternatives
The Photos app on Mac offers a comprehensive solution for organizing, editing, and viewing your images. It automatically imports photos from your connected devices and organizes them by date, location, and albums. You can create custom albums, use smart albums with specific criteria, and take advantage of the search feature to locate photos quickly.
Compared to Windows photo management, Photos integrates tightly with iCloud, enabling seamless syncing across Apple devices. Windows users switching to Mac may notice that Photos emphasizes automation and cloud integration more, while Windows Photos often relies on manual folder structures and local storage.
For users seeking alternatives, several third-party applications offer advanced features or different interfaces. Adobe Lightroom provides professional-grade editing and cataloging, while apps like Google Photos offer cloud storage with AI-powered search. For lightweight viewing and organization, apps such as XnView MP and Lyn are popular among Mac users.
| Feature | Photos (Mac) | Windows Photos | Adobe Lightroom | Google Photos |
|---|---|---|---|---|
| Automatic organization | Yes, by date, location, people | Basic date grouping | Yes, with custom tags | Yes, AI-powered |
| Cloud syncing | iCloud integration | OneDrive optional | Adobe Cloud (paid) | Google Drive integration |
| Editing tools | Basic to intermediate | Basic | Advanced professional | Basic to intermediate |
| Search capability | Strong (faces, keywords) | Moderate (keywords) | Strong (metadata, tags) | Strong (AI labels) |
To start managing your photos in the Photos app:
- Open the Photos app from your Applications folder or Dock. You will see your photo library organized by Years, Months, and Days.
- Click on "Albums" in the sidebar to view or create custom collections. Select the "+" button and choose "New Album" to add new photo groups.
- Use the search bar in the upper right to find photos by date, location, or recognized faces. The app will display matching results instantly.
- To view photos in full screen, double-click any image and use arrow keys to navigate. Press the "Escape" key to exit full screen.
- To edit a photo, select it and click the "Edit" button in the toolbar. Apply adjustments and filters, then click "Done" to save changes.
- For alternatives, download apps like Adobe Lightroom or Google Photos from their official websites or the Mac App Store. Install and import your photo library following their instructions.
Tips for optimizing Picture in Picture experience on Mac
Customizing the Picture in Picture (PiP) window size and position enhances your workflow by allowing you to place it where it least obstructs your view. You can drag the PiP window to any corner of your screen and resize it by dragging its edges.

- Click and hold the PiP window to drag it to your preferred screen corner; it will snap to that position.
- Hover over any edge or corner of the PiP window until the resize cursor appears, then click and drag to adjust size; the window will scale proportionally.
Keyboard shortcuts and gestures provide quick control without interrupting your multitasking. Press Command + Shift + ] or Command + Shift + [ to cycle the PiP window through predefined screen corners. Using the trackpad, a three-finger swipe can also be configured in System Preferences under Trackpad gestures for window management.
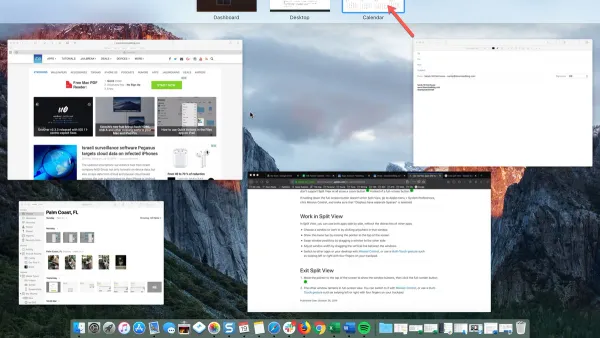
Combining PiP with macOS multitasking features like Split View or Mission Control maximizes screen real estate. For example, you can run a PiP video while using two other apps side-by-side in Split View.
- Enter Split View by holding the green full-screen button on any window, then select a second app; your PiP window remains visible and movable.
- Use Mission Control (Control + Up Arrow) to organize spaces and drag the PiP window between desktops for flexible viewing.
These steps allow you to tailor the PiP experience precisely, balancing visibility with workflow needs. Screenshots of these multitasking setups can be found in the macOS user guide and support forums for visual reference.
Troubleshooting common Picture in Picture issues on Mac
If the Picture in Picture option is missing, first check whether the video or app supports PiP. Some websites or apps disable this feature intentionally. Also, ensure your browser or app is updated, as outdated versions often lack full functionality.
When the Picture in Picture window becomes unresponsive or video playback stops, try closing and reopening the PiP window. If that fails, reload the webpage or restart the app. Persistent freezing may require quitting and relaunching the browser or app completely.
If you see error messages like "Video playback failed" or "Unsupported format," verify the video source and try switching browsers. Safari and Chrome may handle video formats differently, so testing both can help isolate the issue.
- Confirm your browser or app is updated to the latest version. You should see the latest version number in the About section (e.g., Safari > About Safari).
- Refresh the page or close and reopen the app. The PiP button should reappear if the source supports it.
- If PiP is still missing, try a different browser to check compatibility. The PiP option should be visible for compatible videos.
- When the PiP window freezes, click the close button, then activate PiP again. The video should resume playing smoothly.
- Restart your Mac if issues persist. After reboot, launch the app or browser and test Picture in Picture functionality again.
Keeping your system and apps up to date is crucial. Developers regularly fix bugs related to Picture in Picture, so ignoring updates can cause recurring problems.
Frequently asked questions
How to take pic on mac?
To take a picture on Mac, open the built-in Camera app called Photo Booth. Position yourself in front of the camera and click the red camera button to capture the photo. The image saves automatically within the app for easy access and sharing.
How to take a photo on mac?
You can take a photo on Mac by using Photo Booth, which utilizes the built-in camera. Launch Photo Booth from the Applications folder or via Spotlight, then click the capture button. The app lets you review, delete, or export your photos immediately.
How to take a picture on macbook?
On a MacBook, open Photo Booth to use the integrated FaceTime HD camera. Click the camera icon to snap a picture, which appears instantly in the app's gallery. You can then drag the image to your desktop or share it directly from Photo Booth.
How to take pics on macbook?
Taking pictures on a MacBook is done through the Photo Booth app, which is pre-installed. Open the app, frame your shot using the camera preview, and press the capture button. Photos are stored within the app and can be exported or edited as needed.
How to use picture in picture on mac youtube?
To use Picture in Picture on Mac with YouTube, start playing a video in Safari or Chrome. Right-click the video twice (or Control-click) to open the context menu and select "Picture in Picture." The video detaches into a floating window that stays on top while you work in other apps.
What this guide does not cover
Picture in Picture functionality depends heavily on app and browser support, which means not every video or streaming service will allow this mode due to digital rights management (DRM) restrictions. This guide also does not cover third-party applications that might offer additional multitasking or Picture in Picture-like features beyond the native macOS capabilities.
If you rely on specialized video players or streaming platforms with strict DRM, you may need to consult their own support resources or look into alternative software solutions tailored for advanced multitasking.
To get the most out of Picture in Picture on your Mac, start by exploring this feature in Safari or Chrome with supported websites, as these browsers offer the most consistent experience. Familiarizing yourself with the built-in macOS camera and Photos app will also enhance your multitasking and content creation workflow.