How to Use Hardware Encoding in Premiere Pro on Mac
Learn how to enable hardware encoding in Premiere Pro on Mac to speed up export times while balancing quality and compatibility.
When you're working on a video project in Premiere Pro on your Mac, export times can sometimes feel longer than expected, especially with high-resolution footage. You might wonder if there's a way to speed up this process without sacrificing quality.
This article explains how to use hardware encoding in Premiere Pro on Mac, guiding you through the setup, when it helps improve export performance, and the potential limitations tied to Mac hardware and software versions.
Key takeaways
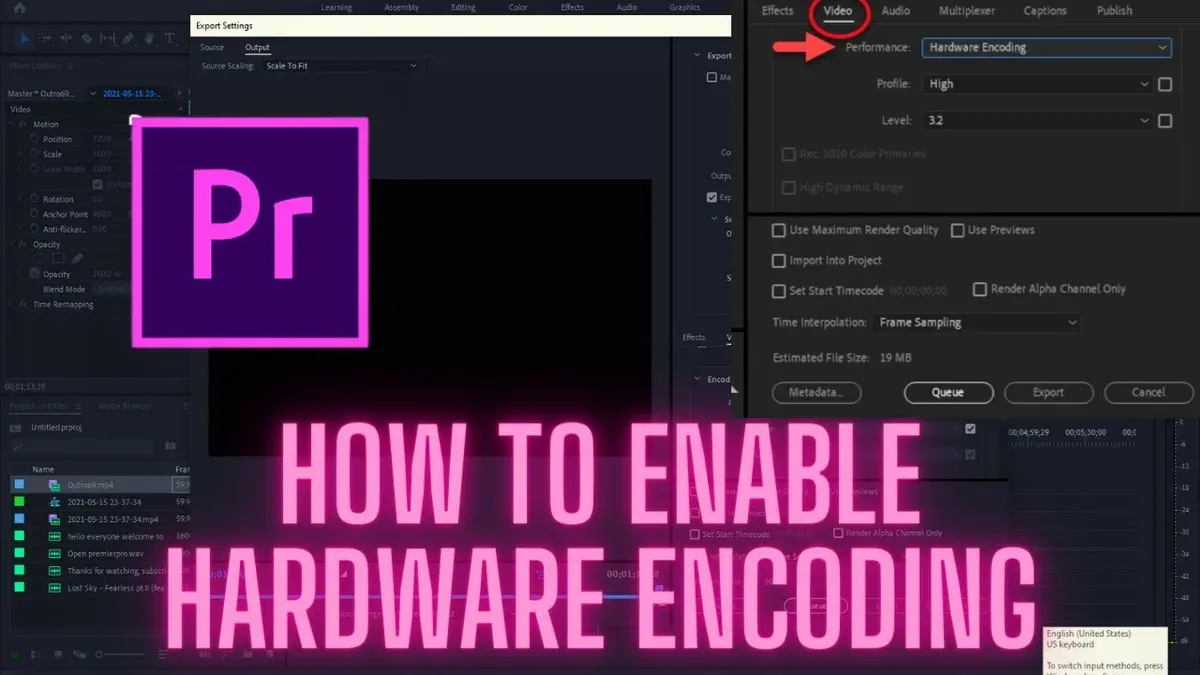
- Hardware encoding is enabled via the "Encoding Settings" within Premiere Pro’s export dialog, typically by selecting "Hardware Encoding" under the Performance dropdown.
- Hardware encoding can significantly reduce export times on Macs with supported GPUs, but it may not always provide quality parity with software encoding.
- Compatibility varies depending on your Mac’s chip (Intel or Apple Silicon) and the Premiere Pro version.
- Monitoring the export progress window can help confirm hardware acceleration is active.
- If hardware encoding causes errors or crashes, switching back to software encoding or updating drivers may resolve these issues.
Before you start: what you need for hardware encoding in Premiere Pro on Mac
Hardware encoding in Premiere Pro on Mac requires specific hardware and software conditions to function properly. Macs with Apple Silicon chips (such as M1, M2, and their variants) or those equipped with supported AMD GPUs typically support hardware encoding. Intel-based Macs with older GPUs generally rely on software encoding.
Premiere Pro must be updated to a version that includes hardware encoding options—generally, recent releases from the last few years provide this feature. Additionally, your macOS version should be current enough to support hardware acceleration APIs, usually macOS Big Sur or later.
Hardware encoding uses dedicated hardware to speed up export times, often reducing CPU load, while software encoding uses the CPU, which can yield higher quality but slower exports. The choice depends on your hardware, project complexity, and quality needs.
Before enabling hardware encoding, have a project ready to export so you can test settings and verify performance improvements.
| Encoding Type | Speed | Quality | CPU Load |
|---|---|---|---|
| Hardware Encoding | Faster | Good, sometimes slightly lower | Low |
| Software Encoding | Slower | High | High |
Common compatible Mac models include:
- Any Mac with Apple Silicon (M1, M2 series)
- MacBook Pro, iMac, and Mac Pro models with AMD Radeon Pro 5000 series GPUs or newer
Summary: Ensure your Mac hardware, Premiere Pro version, and macOS are compatible with hardware encoding before attempting to enable it, and have a project ready to test export performance.
How to enable hardware encoding in Premiere Pro export settings on Mac
- Open your project in Premiere Pro and navigate to File > Export > Media. This action opens the Export Settings dialog where you configure your output.
- In the Export Settings window, set the Format to either H.264 or HEVC (H.265), as these codecs support hardware encoding on Mac.
- Locate the Encoding Settings section. Here, find the Performance dropdown menu, which typically defaults to Software Encoding.
- Click the Performance dropdown and select Hardware Encoding. Doing so enables your Mac’s GPU or dedicated hardware to handle encoding, potentially reducing export times and CPU usage.
- Adjust bitrate and quality presets as needed. For example, you can select VBR, 2 pass to balance quality and file size or choose preset profiles optimized for your target platform.
- To save these settings for future exports, click Save Preset at the top of the Export Settings dialog, name your preset clearly (e.g., "Hardware Encode H.264"), and click OK. This step streamlines future workflows.
- Start the export by clicking Export or queue it in Adobe Media Encoder. You can compare export durations by toggling between Hardware and Software Encoding to see the performance difference on your Mac.
Note: Hardware Encoding availability depends on your Mac model and Premiere Pro version. If the option is grayed out, verify that your hardware and software meet the necessary requirements.
Understanding when hardware encoding improves export performance and when it does not
Hardware encoding in Premiere Pro on Mac excels with projects that use H.264 or HEVC codecs, especially for 1080p or 4K footage. It significantly reduces export times by offloading encoding tasks to dedicated hardware, which is particularly beneficial on Apple Silicon Macs equipped with the VideoToolbox framework.
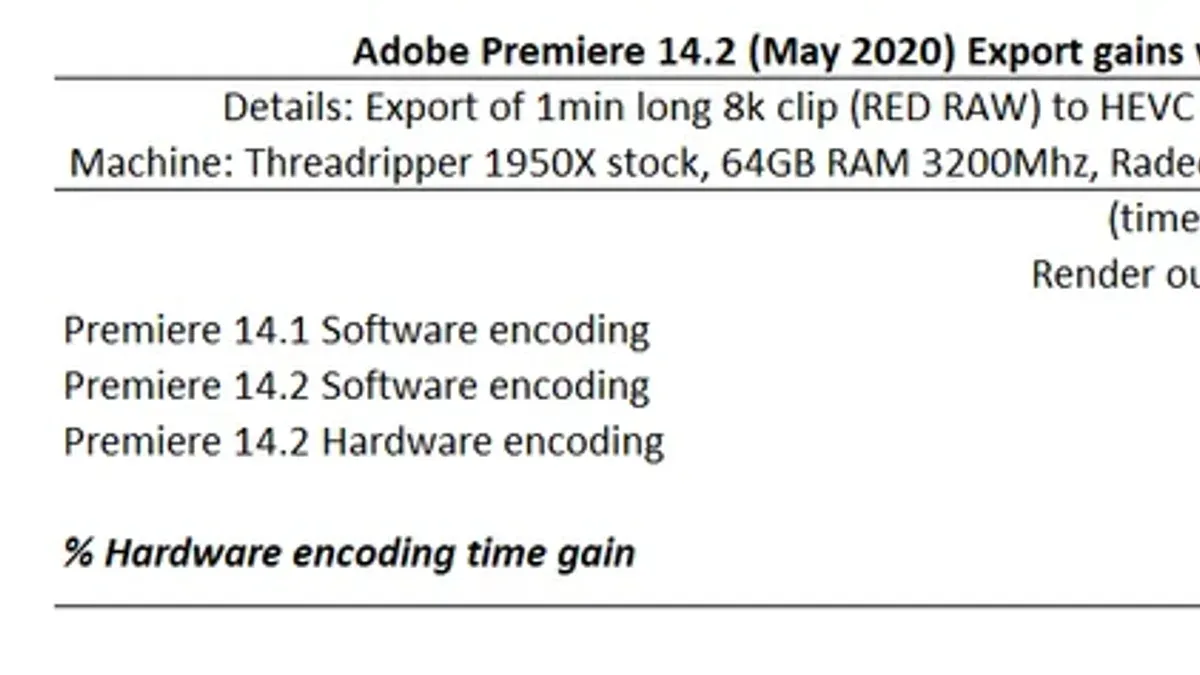
On Apple Silicon Macs, hardware encoding typically delivers faster exports with minimal quality loss. Intel Macs with supported AMD GPUs also see improvements, though the speed gains may be less pronounced, and compatibility with HEVC hardware encoding can vary.
However, hardware encoding has limitations. It may produce slightly lower visual quality than software encoding due to less flexible compression algorithms. Complex projects involving multiple effects, color grading, or high bit depth footage might not see the same quality preservation. In such cases, software encoding ensures better visual fidelity at the cost of longer export times.
Software encoding is preferable when maximum quality is essential, or when using codecs or formats unsupported by hardware acceleration. If export speed is critical and your project fits common codec profiles, hardware encoding offers a valuable performance boost.
Benchmarks show hardware encoding shortens export duration notably on Apple Silicon Macs, while maintaining near-equivalent output quality for standard workflows. Users working on intensive color grading or motion graphics may still choose software encoding for the highest quality results.
How to verify hardware encoding is working during export
Confirming that Premiere Pro uses hardware encoding during export helps ensure you gain expected performance benefits. You can do this by monitoring system resource usage, checking Premiere Pro’s export indicators, and running test exports.
- Open Activity Monitor on your Mac (found in Applications > Utilities).
When hardware encoding is active, you should see increased GPU activity in the GPU History tab, reflecting the Apple Silicon or AMD GPU handling encoding tasks. - Start an export in Premiere Pro with hardware encoding enabled.
Observe the CPU usage in Activity Monitor; it should stay relatively moderate compared to a software encode, indicating offloading to the GPU. - Check Premiere Pro’s export progress bar.
Hardware encoding typically results in faster export speeds; if the progress moves significantly faster than previous software-encoded exports of similar projects, hardware acceleration is likely active. - Review the export log by going to the Window menu > Metadata panel and selecting the Encoding tab.
Look for entries mentioning "Hardware Encoder" or specific GPU hardware references, which confirm hardware use. - Run a short test export on a sample project with hardware encoding enabled and then switch to software encoding.
Compare export times and system resource usage in Activity Monitor to validate the difference.
Example Activity Monitor screenshots typically show GPU utilization around 20-50% during hardware encoding, whereas CPU usage remains lower than in software encoding. Export logs will explicitly note hardware encoding involvement, making this a reliable confirmation method.
Troubleshooting common issues with hardware encoding in Premiere Pro on Mac
If the hardware encoding option is greyed out or missing, first confirm your Mac supports hardware acceleration with Apple Silicon or compatible AMD GPUs and that you have selected H.264 or HEVC formats in Export Settings. Incompatible codecs or unsupported formats can also disable this option.
Export errors or crashes during hardware encoding often result from outdated Premiere Pro versions, macOS, or GPU drivers. Adobe forums report errors like “Failed to encode video stream” or “Export failed due to hardware acceleration error.” Updating Premiere Pro to the latest version, along with macOS updates, often resolves these issues.
Poor video quality or visible artifacts after hardware encoding can occur because hardware encoders prioritize speed over fidelity. Comparing exports side-by-side with software encoding can reveal blockiness or color banding caused by aggressive compression. If quality is critical, switching to software encoding is advisable.
Compatibility issues may arise with certain codecs or export presets, especially with legacy media formats. Adobe support notes that some third-party plugins or effects may conflict with hardware acceleration, causing failures or glitches.
- Update Premiere Pro via the Creative Cloud app; you should see the version number advance to the latest release.
- Update macOS through System Preferences > Software Update; this ensures you have necessary driver and hardware support.
- Restart your Mac to apply updates and clear temporary conflicts.
- In Premiere Pro, create a new export in H.264 or HEVC and verify that the Hardware Encoding option under Performance is selectable.
- If artifacts persist, export a short clip using software encoding for comparison; this identifies if hardware encoding is the cause.
- Disable any third-party plugins temporarily to check for compatibility conflicts if exports still fail.
Alternatives and complementary options to hardware encoding in Premiere Pro on Mac
Using proxy workflows is an effective way to speed up both editing and exporting. By creating lower-resolution proxies through the Media Encoder or within Premiere Pro, you reduce processing demands, often resulting in faster exports compared to hardware encoding alone. However, proxies may reduce preview quality and require reconforming to full-resolution media before final export.
Optimizing your Premiere Pro project settings can also improve export times. Adjusting sequence settings to match your source footage, minimizing effects or unnecessary layers, and using optimized render options like "Maximum Render Quality" only when needed can balance speed and quality.
Third-party encoding software such as Apple Compressor or HandBrake can leverage hardware acceleration on Mac and sometimes offer more encoding presets or better performance. Both are compatible with macOS and support hardware-accelerated H.264 and HEVC encoding, providing alternatives when Premiere Pro's hardware encoding falls short.
Cloud rendering services offer another option, offloading encoding tasks to powerful remote servers. This can be beneficial for very large projects or when local hardware limits export speed, but it involves data upload times and potential costs.
Balancing export speed with quality needs means choosing proxies or hardware encoding for faster results during rough cuts and relying on software or third-party encoders for final high-quality exports.
Frequently asked questions
What Mac models support hardware encoding in Premiere Pro?
Hardware encoding in Premiere Pro on Mac is supported primarily on Macs equipped with Apple Silicon chips (M1, M2 series) and recent Intel-based Macs with dedicated GPUs that support VideoToolbox acceleration. Older Macs without these capabilities typically rely on software encoding. Ensure your macOS version and Premiere Pro are up to date to access hardware encoding features.
Does hardware encoding reduce export quality compared to software encoding?
Hardware encoding may result in slightly lower quality compared to software encoding because it prioritizes speed and efficiency over bit-level precision. However, the difference is often minimal and generally acceptable for most projects. If maximum quality is critical, software encoding remains the preferred option.
Why is the hardware encoding option not available in my Premiere Pro export settings?
The hardware encoding option may be missing if your Mac hardware or GPU does not support it, or if you are exporting to a format that Premiere Pro does not accelerate via hardware. Also, certain codecs and export presets default to software encoding. Verify your export format, update Premiere Pro, and check that your Mac meets the hardware requirements.
Can hardware encoding speed up exports for all video formats?
Hardware encoding speeds up exports mainly for H.264 and H.265 (HEVC) formats, where VideoToolbox acceleration is available. For other codecs or formats, hardware encoding may not be supported or might not provide a significant speed benefit. Always check the export codec compatibility within Premiere Pro’s export settings.
What this advice does not cover and who should look elsewhere
This article does not cover hardware encoding on Windows or older versions of Premiere Pro where encoding options and hardware support differ significantly. If you are using Premiere Pro versions prior to the introduction of Metal support or rely on third-party codecs not supported by Mac hardware acceleration, this guide may not apply fully. Additionally, users working with highly specialized export formats or requiring maximum quality over speed might find software encoding preferable despite longer export times.
The single most useful next step is to open Premiere Pro’s export dialog and carefully check the "Encoding Settings" under the "Video" tab. Here, select "Hardware Encoding" from the Performance dropdown menu, and observe any related options such as GPU acceleration or codec selection. Testing a short export with hardware encoding enabled will help you determine if your Mac’s hardware and project settings benefit from this feature, balancing speed and output quality effectively.