
How to Install Google Drive for Desktop on Mac: A Step-by-Step Guide
Step-by-step guide to install Google Drive for desktop on Mac, covering setup, syncing preferences, and troubleshooting for smooth file access.
You want to access your Google Drive files quickly on your Mac without opening a browser every time. Yet, simply installing the app is not enough to ensure smooth syncing and easy desktop integration.
This guide covers how to install Google Drive for desktop on Mac, focusing on practical setup steps and troubleshooting tips often missed in other instructions. You’ll learn how to download, install, and configure Google Drive to work seamlessly with your existing desktop environment, including adding the Drive folder to your desktop for faster access and managing syncing preferences to avoid performance slowdowns.
Key takeaways
- Download Google Drive from the official Google website to ensure the latest version.
- Choose between streaming or mirroring files during setup based on your storage needs.
- Add the Google Drive folder to your desktop via Finder for quick access.
- Adjust syncing preferences to balance performance and offline availability.
- Resolve common issues by checking permissions in System Preferences > Security & Privacy.
Before you start: What you need to install Google Drive for Desktop on Mac
Before installing Google Drive for Desktop, confirm your Mac runs a supported macOS version. Google Drive for Desktop requires macOS 10.15 (Catalina) or later. To check your macOS version, click the Apple menu and select "About This Mac." If your system is older, update macOS via System Preferences > Software Update.
Ensure you have an active internet connection, as the app downloads files and syncs continuously. Also, verify that you have a Google account ready for sign-in; this account will link your desktop app to your cloud storage.
Review your available disk space carefully. Syncing 10GB or more of files typically requires at least double that free space to accommodate temporary files and caching. Check your free space by selecting your startup disk in Finder and pressing Command + I for the info window.
Understand the app’s permissions: Google Drive for Desktop will ask for access to files and folders to sync content. It also may request access to Accessibility and Full Disk Access under System Preferences > Security & Privacy to function correctly. Grant these permissions to avoid syncing interruptions.
- Check macOS version: Apple menu > About This Mac. You should see 10.15 or later.
- Confirm internet connectivity: Open a browser and visit any website.
- Verify Google account readiness: Go to accounts.google.com and sign in if needed.
- Check free disk space: In Finder, select your disk > Command + I. Ensure you have enough space, ideally double your expected sync size.
- Prepare to grant permissions: After installation, be ready to open Security & Privacy preferences to approve required access.
How to download Google Drive for desktop on Mac
- Open your preferred web browser and go to the official Google Drive download page at https://www.google.com/drive/download/. You should see a clear option for "Backup and Sync" or "Drive for desktop".
- Locate the section labeled for Mac users. Google Drive for Desktop offers two versions: one for Intel-based Macs and one for Apple Silicon (M1 or later). Identify your Mac's processor type by clicking the Apple menu, selecting "About This Mac," and checking the "Processor" or "Chip" field.
- Click the download button next to the version matching your Mac's processor type. For example, the installer file for Intel Macs might be named "GoogleDrive.dmg" with a size around 50-60 MB, while the Apple Silicon version has a similar name but optimized for ARM architecture.
- Once the download starts, monitor your browser's download bar or folder to ensure the file is fully downloaded. The typical file size should be consistent with the version you selected.
- To verify file integrity, compare the file size shown on the download page with the downloaded file's size. Although Google does not provide checksums for this installer, matching file size and source can assure its authenticity.
Downloading directly from Google's official site minimizes the risk of corrupted or malicious installers. Avoid third-party sites to ensure you get the latest and safest version.
How to install Google Drive for desktop on your Mac
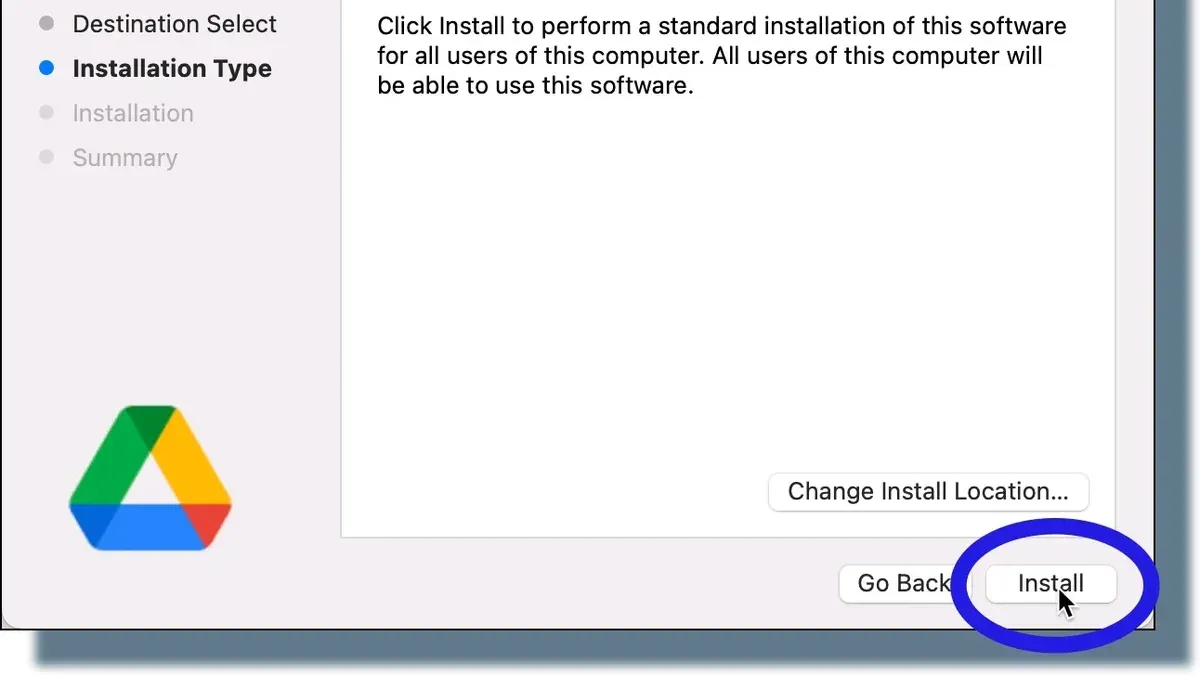
- Locate the downloaded .dmg file, usually in your Downloads folder, and double-click it to open. You should see a window displaying the Google Drive app icon and a shortcut to the Applications folder.
- Drag the Google Drive app icon into the Applications folder shortcut. This action copies the app to your Mac's main application directory, ensuring it is properly installed.
- Open the Applications folder and double-click the Google Drive app to launch it. You may see a security prompt warning about opening an app downloaded from the internet; click Open to proceed.
- Grant the necessary permissions when prompted. Google Drive will request access to files and folders on your Mac to sync your data correctly. Approve these permissions in the System Preferences under Security & Privacy > Privacy. If prompted, click Open System Preferences and enable access for Google Drive in Files and Folders and Full Disk Access.
- Once permissions are set, Google Drive will prompt you to sign in. Enter your Google account credentials and complete any two-factor authentication if enabled. After signing in, the app will finalize setup and prepare syncing your files.
During installation, you will see progress indicators such as the copying of files into Applications followed by permission dialogs and sign-in windows. Ensure each step completes before moving on to avoid errors requiring reinstallation.
How to set up Google Drive on desktop Mac for syncing
After installing Google Drive for Desktop, configuring your syncing preferences ensures it fits your workflow and storage needs. You can choose between two syncing modes: Stream files or Mirror files.
| Syncing Mode | Description | Use Case | Storage Impact |
|---|---|---|---|
| Stream files | Files appear on your Mac but are stored in the cloud until accessed. | Best if you want to save local disk space and have mostly online access. | Minimal local storage used. |
| Mirror files | Files are fully downloaded and stored locally, syncing changes with the cloud. | Ideal if you need offline access or faster file opening times. | Uses significant local disk space. |
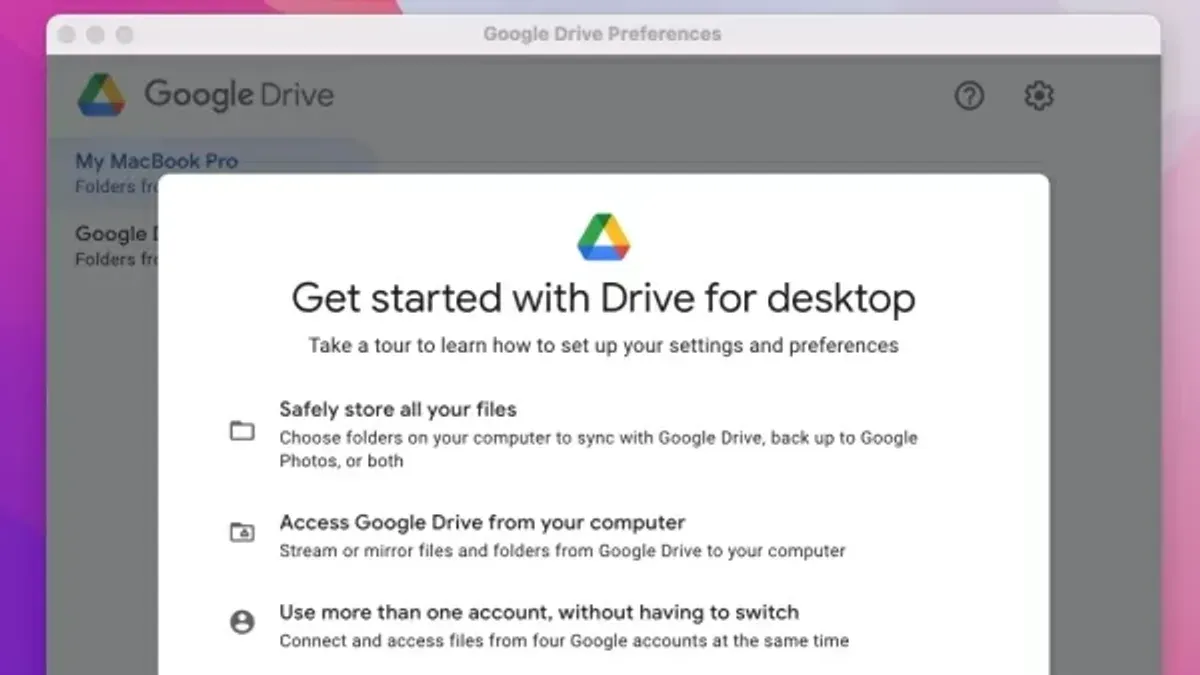
- Click the Google Drive icon in the menu bar, then select the gear icon and choose Preferences. You should see syncing options appear.
- In the Google Drive section, select your preferred syncing mode: Stream files or Mirror files. Confirm your choice; the app will adjust file availability accordingly.
- To sync specific folders only, go to the My Mac or Google Drive tab depending on direction, click Add folder or Choose folders, and select folders to include or exclude. The app shows these folders listed when done.
- In the Settings tab of Preferences, adjust startup options by checking or unchecking Open Google Drive at login. You can also enable or disable notifications for sync status here.
- Click Save or close Preferences. The syncing process will now operate as configured, showing progress in the Google Drive menu bar icon.
Choosing Stream files helps conserve local disk space, but requires internet to access most files. Mirror files ensure all files are available offline but consume more storage. For example, if you regularly edit large media files offline, Mirror mode is preferable. Conversely, if your work is mostly cloud-based with occasional local edits, Stream mode suits better.
How to add Google Drive folder to desktop on Mac
Creating an alias of your Google Drive folder on the desktop allows quick access without navigating through Finder each time. This shortcut mirrors the folder’s contents and updates automatically as your Drive syncs.
- Open Finder and locate the Google Drive folder in the sidebar or under your user directory (usually under \~/Google Drive\ or \Google Drive\ in the sidebar). You should see all your synced files here.
- Right-click (or Control-click) on the Google Drive folder and select Create Alias from the context menu. A new item labeled \Google Drive alias\ will appear in the same location.
- Drag the newly created alias to your desktop. You should now see the Google Drive folder icon on your desktop labeled as an alias.
- Double-click the alias on the desktop to open your Google Drive folder directly. Changes made here will sync with your cloud storage.
Benefits of this approach include easy file access and reduced Finder navigation. However, the alias is merely a pointer; deleting the alias does not remove actual files, but deleting files through it affects your Drive storage. Also, if you move or rename the original folder, the alias will break and need to be recreated.
Below is an example screenshot showing the Google Drive alias on the desktop, providing instant access:
[Screenshot of Mac desktop displaying Google Drive folder alias]
How to put Google Drive on desktop Mac: Customizing your experience
Making Google Drive easily accessible on your Mac desktop can streamline your workflow. Pinning the Google Drive app to the Dock provides one-click access regardless of the Finder window you are in.
- Open the Applications folder and locate Google Drive.
- Click and drag the Google Drive app icon to the right side of the Dock, near the Trash. Release the icon.
- Confirm the Google Drive icon remains in the Dock after closing the Applications folder. This means it is pinned for quick launch.
Adding Google Drive to the Finder sidebar helps you navigate your files faster without searching through folders.
- Open a Finder window and find your Google Drive folder.
- Drag the Google Drive folder to the Favorites section in the sidebar until you see a horizontal line indicating placement.
- Release the folder. Google Drive will now appear in the sidebar for quick access.
Personalizing the Google Drive folder icon or color can provide visual cues, making it easier to spot among other folders.
- Right-click the Google Drive folder and select "Get Info." A new window opens.
- Copy an image or icon you want to use (for example, from Preview or an icon website).
- Click the small folder icon at the top left of the Get Info window to highlight it.
- Press Command + V to paste the new icon. The folder icon updates immediately.
- Close the Get Info window to save changes.
This customization helps differentiate your Google Drive folder visually, especially if you manage multiple cloud storage folders.
Troubleshooting common issues installing and setting up Google Drive on Mac
Installation may fail if macOS restricts permissions. You might see a "System Extension Blocked" alert. To fix this, open System Preferences > Security & Privacy > General, then click "Allow" next to the message about Google Drive. Restart your Mac to apply changes.
If Google Drive isn’t syncing or showing files, check that the app is signed in correctly and that syncing mode matches your needs. Sometimes, pausing and resuming syncing from the app menu can resolve temporary stalls. Also, verify that the Google Drive folder is not excluded in Finder preferences or blocked by any firewall.
When the app crashes or won’t open after installation, try quitting it via Activity Monitor and reopening. If the problem persists, uninstall by dragging the app to Trash, then reinstall. Clearing cached data under ~/Library/Application Support/Google/DriveFS can also help, but back up important files first.
Conflicts with other cloud storage apps or antivirus software may cause syncing errors or crashes. Temporarily disable antivirus or pause other cloud sync services to isolate the issue. Google’s official support notes that multiple real-time sync tools can interfere with each other, so running only Google Drive during setup is advisable.
Managing Google Drive storage and syncing performance on Mac
Keep an eye on your Google Drive storage quota by visiting drive.google.com/settings. If you approach your quota limit, syncing will slow or stop. Also monitor your Mac’s local disk space through About This Mac > Storage to prevent system slowdowns.
To optimize syncing, use selective sync by opening Google Drive Preferences, then under the My Mac or Google Drive tab, deselect folders you don’t need locally. This reduces disk use and speeds up sync operations, especially if you have thousands of files.
Sync speeds vary widely based on your network and file sizes but generally range from a few megabytes per second to slower rates for large or numerous files. Streaming mode uses less local space but can slow access to large files compared to mirroring, which stores files locally but requires more disk space.
For large files, upload during off-peak hours to avoid bandwidth throttling. Break large folders into smaller batches to improve syncing reliability. Avoid syncing very large numbers of small files at once, as this can cause processing delays.
- How to Install Google Chrome on Mac: A Clear Step-by-Step Guide
- How to Install Zoom on Mac: A Clear Step-by-Step Guide
- How to Install Microsoft Teams on Mac: A Complete Step-by-Step Guide
- How to Install the ChatGPT App on Your Mac: A Step-by-Step Guide
Frequently asked questions
How do i get google drive on my mac desktop?
To get Google Drive on your Mac desktop, download and install the Google Drive for Desktop app from Google's official website. Once installed and signed in, you can add the Google Drive folder as a shortcut on your desktop for quick access by dragging the folder from Finder to the desktop or creating an alias.
How do i install google drive for desktop on my mac?
Visit the Google Drive download page, click the download button for Mac, and open the installer once downloaded. Follow the on-screen prompts to install the app, then sign in with your Google account to start syncing your files.
How to download google drive to desktop mac?
Go to the Google Drive for Desktop official download page and select the Mac version. After the download finishes, open the.dmg file and drag the Google Drive app into your Applications folder to complete the installation.
How do I get Google Drive on my Mac desktop?
After installing Google Drive for Desktop and signing in, you can access your files through the Google Drive folder in Finder. To have it on your desktop, create a shortcut by right-clicking the folder in Finder and selecting "Make Alias," then move this alias to your desktop.
How do I install Google Drive for desktop on my Mac?
Download the Google Drive for Desktop installer from the official site, open the file, and follow installation instructions. Once installed, launch the app, sign in, and configure syncing preferences to ensure your Drive files are accessible on your Mac.
What this guide does not cover
This guide does not cover using Google Drive through the web interface or any third-party apps that integrate with Google Drive. It focuses exclusively on the official Google Drive for Desktop app for Mac, which offers direct syncing and file access on your local machine. If you require advanced collaboration features, web-only access, or integration with other cloud services, you should look into Google Drive’s web platform or specialized third-party software.
The single most useful next step is to familiarize yourself with the Google Drive preferences pane after installation. Adjust settings under "Google Drive" > "Preferences" to select which folders to sync and to control file streaming options. This step helps you tailor storage use and syncing behavior to your workflow and prevents unintended data usage or clutter on your Mac.



