How to Lock Files from Editing in Finder on macOS
This guide shows how to lock a file from editing in Finder on macOS to safeguard your important documents from accidental changes.
Locking files from editing in Finder is a straightforward way to safeguard important documents on your Mac. This guide explains how to use Finder's native locking features and explores additional methods for stronger file protection.
Understanding File Locking in Finder: What It Does and Doesn’t Do
Finder’s “Locked” checkbox prevents accidental edits, renames, or deletions of files on your Mac. When a file is locked, macOS blocks direct modifications through Finder and many apps that honor this setting.
However, this lock is not a security encryption. It does not restrict access to the file or encrypt its contents. Users with administrative privileges or technical knowledge can override the lock using Terminal commands or by changing permissions. It serves as a local safeguard rather than a robust security barrier.
Locking also affects file sharing and collaboration. For example, if a locked file is shared via iCloud Drive or other cloud services, the lock attribute may not sync to other devices or users, potentially allowing edits elsewhere.
| File State | Allowed Actions | Blocked Actions |
|---|---|---|
| Unlocked | Edit, Rename, Delete | None |
| Locked | Open, Read | Edit, Rename, Delete (without unlocking) |
Step-by-Step: How to Lock a File from Editing Using Finder
Locking a file using Finder is simple. Follow these steps to lock or unlock any file:
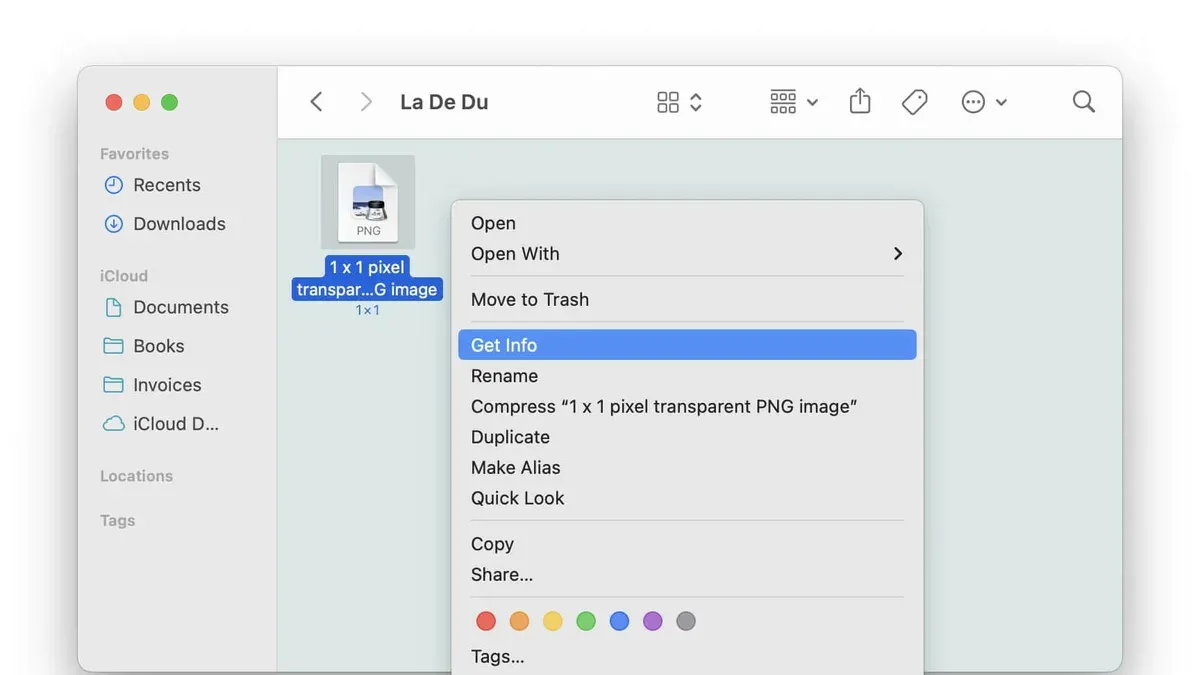
- Right-click the file you want to lock and select Get Info from the context menu.
- In the Info window, locate the Locked checkbox near the bottom under the "General" section.
- Check the box to lock the file; uncheck to unlock.
- Close the Info window to apply changes.
Alternatively, select the file in Finder, then use the File menu and choose Get Info to open the same window.
For faster access, select the file and press Command + I to open the Info window directly.
Important Detail: Some users miss that the Locked checkbox only appears in the "General" section of the Info window, not under "Sharing & Permissions." Also, locking a file does not prevent apps that ignore Finder's lock attribute from editing the file.
Example: Lock a Word document named "Report.docx" by right-clicking, selecting Get Info, and checking the Locked box. When opened in Microsoft Word, the app may open it in read-only mode or prompt to unlock, depending on the app's support for Finder locks.
Alternatives When Finder Lock Isn’t Enough: Permissions and Third-Party Tools
If locking files in Finder does not meet your security needs, consider these options:
- macOS File Permissions: Set files to “Read only” by adjusting permissions. Right-click the file, select Get Info, and under “Sharing & Permissions,” set your user access to “Read only.” This prevents editing at the system level but requires administrative rights to change.
- Encryption: Use FileVault to encrypt your entire disk or create encrypted disk images via Disk Utility for sensitive files. This protects file contents from unauthorized access, not just editing.
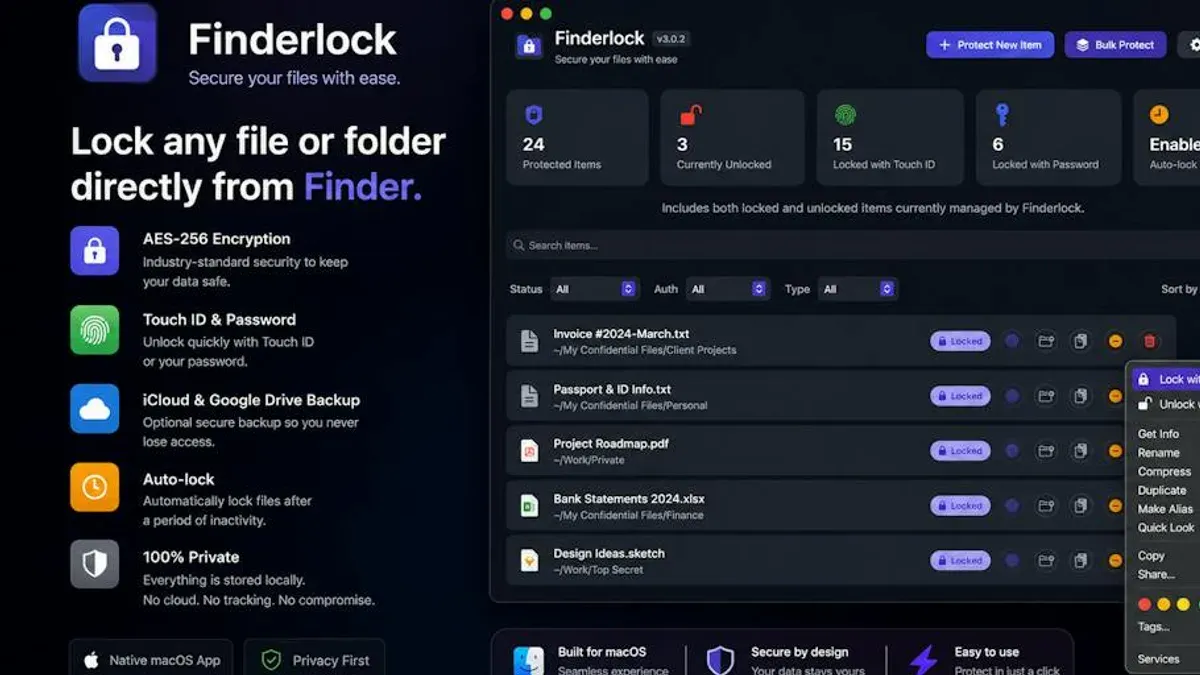
- Third-Party Apps: Folder lock utilities or version control tools offer advanced locking and editing control, including password protection and change tracking. These vary in complexity and reliability.
| Method | Ease of Use | Security Level | Reversibility |
|---|---|---|---|
| Finder Locked Checkbox | Easy | Low | Immediate |
| File Permissions | Moderate | Moderate | Immediate with admin rights |
| Encryption (FileVault, Disk Images) | Complex | High | Requires password |
| Third-Party Lock Apps | Varies | High | Depends on app |
Example Terminal Command to Set Read-Only Permissions:
chmod 444 /path/to/your/fileThis command removes write permissions for all users, making the file read-only. Note that users with admin privileges can reverse this.
When Not to Use Finder Lock: Scenarios and Risks
Using Finder's lock feature is not ideal in these cases:
- Network Shared Files: Locking a file locally does not guarantee the lock applies when accessed over a network or on other devices.
- Collaborative Documents: For multiple users needing controlled editing, shared cloud documents with versioning and permission controls are more reliable than Finder locks.
- Third-Party Password Tools: Password-protected locking apps risk losing access if passwords are forgotten or apps become unsupported.
Note: A locked file shared via iCloud Drive may open unlocked on another device if the lock attribute does not sync, allowing edits despite the original lock.
Tips to Manage Locked Files Efficiently
Improve managing locked files with these workflow tips:
- Identify Locked Files Quickly: Use Finder’s search bar with a filter for "Locked" files or create a smart folder that automatically lists all locked files.
- Naming Conventions: Prefix locked files with "LOCKED_" or a similar tag for visual identification.
- Backups: Regularly back up locked files separately to prevent accidental loss.
- Automator Workflows: Create Automator scripts to lock or unlock files in bulk. For example, a workflow can set the Locked attribute on selected files automatically.
Sample Automator Script Steps:
- Get Selected Finder Items
- Run Shell Script:
chflags uchg "$@"(sets the User Immutable flag)
This script marks files as immutable, which is a stronger lock than the Finder Locked checkbox and prevents modifications until the flag is removed.
Limitations and Caveats
Finder’s file locking feature is a local safeguard and not a security encryption method. It does not prevent access by users with administrative privileges or via Terminal commands. For truly sensitive files, use encryption or advanced security tools.
Frequently Asked Questions
Can I lock multiple files at once in Finder?
Yes. Select multiple files, right-click, choose Get Info, and adjust the Locked checkbox for all selected files simultaneously. Note that some apps may not respect locks on all files.
Does locking a file prevent it from being copied or shared?
No. Locking prevents editing, renaming, or deletion but does not stop copying or sharing the file.
How do I unlock a file if I forget it is locked and can’t edit it?
Open the file’s Get Info window and uncheck the Locked box. If you used permissions or third-party tools, you may need to adjust those settings or remove immutable flags via Terminal.
Is locking a file in Finder the same as encrypting it?
No. Locking restricts editing but does not encrypt or protect the file’s contents from access.
Related reading
- How to Show File Extensions in Finder on Your MacDiscover how to show file extensions in Finder on your Mac to improve file identification and security.
- How to Pin a Folder to the Sidebar in Finder: Quick Access TipsThis guide explains how to pin a folder to the sidebar in Finder on macOS 2026 for quick and easy access to your important directories.