How to Open Files and Folders from Terminal with Code Command in VS Code on Mac
Discover how to open files and folders directly from the Mac terminal using the code command in VS Code for efficient project access.
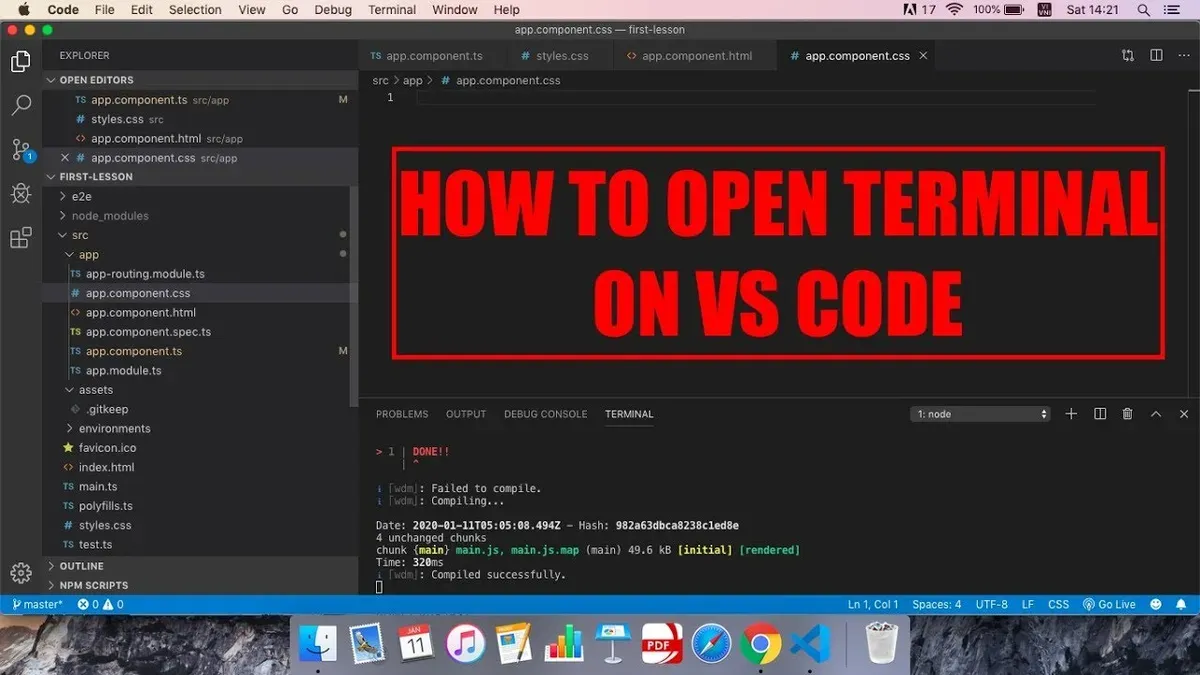
You are working on a Mac and want to quickly open your project files in Visual Studio Code without leaving the terminal. Knowing how to open from terminal with code command in VS Code on Mac can save you valuable time during development.
This article explains how to install and configure the 'code' command in your Mac terminal, ensuring you can launch files and folders directly in Visual Studio Code. It covers the necessary setup steps, environment configurations for persistent access, and practical troubleshooting tips with real terminal outputs. You will also find advanced usage scenarios like opening files over SSH or integrating the command into automation scripts.
Key takeaways
- Install the 'code' command via VS Code's Command Palette under 'Shell Command: Install 'code' command in PATH'.
- Verify your shell configuration file (e.g., .zshrc or .bash_profile) includes the PATH to the 'code' command for persistent access.
- Use 'code .' to open the current directory or 'code filename' to open specific files from the terminal.
- Common issues include PATH misconfiguration and permission errors, which can be diagnosed with terminal output.
- The 'code' command supports remote workflows, including SSH and automation scripts, for streamlined development.
Before you start: What you need to use the code command
To use the code command in your Mac terminal, you need to meet a few prerequisites. First, ensure Visual Studio Code is installed on your Mac. The recommended version for 2026 is 1.80 or later, which includes improved command-line integration and shell compatibility.
You should also have basic familiarity with the macOS Terminal app, as you'll be entering commands directly. Knowing which shell you use—most commonly zsh (the default since macOS Catalina) or bash—is important for configuring your environment correctly.
Some setup steps require administrator privileges, such as adding the code command to your system PATH. Make sure you have access to an admin account or can authenticate when prompted.
In 2026, zsh remains the default shell for the majority of Mac users, with bash still widely used. This affects how you configure shell profiles for persistent command availability.
- Verify Visual Studio Code is installed and updated to version 1.80 or later. You should see the application in your /Applications folder and can open it normally.
- Open Terminal and determine your shell by running
echo $SHELL. The output will typically be/bin/zshor/bin/bash. - Confirm you have administrator privileges by attempting a command like
sudo ls. If prompted for a password and the command succeeds, you have the necessary rights.
How to install the 'code' command in your terminal on Mac
Enabling the 'code' command in your Mac terminal allows you to open Visual Studio Code directly from the command line. Follow these steps to install it:
- Launch Visual Studio Code.
- Open the Command Palette by pressing Shift + Command + P.
- Type Shell Command: Install 'code' command in PATH and select it.
- Wait for a confirmation message in VS Code indicating the command was installed.
- Open your terminal and type code --version. If installed correctly, you will see output similar to 1.80.0 or your VS Code version number.
Example of successful terminal output:
$ code --version
1.80.0
If the terminal responds with command not found: code, the PATH variable may not include the location of the 'code' command.
Manual PATH addition
- Find the location of the 'code' command by running: which code in VS Code's integrated terminal or searching
/Applications/Visual Studio Code.app/Contents/Resources/app/bin. - Add this location to your shell's PATH environment variable by editing your shell configuration file (e.g.,
~/.zshrcor~/.bash_profile) and appending:export PATH="$PATH:/Applications/Visual Studio Code.app/Contents/Resources/app/bin" - Save the file and reload your shell configuration with
source ~/.zshrcorsource ~/.bash_profile. - Verify again with
code --versionin a new terminal window.
This manual step ensures the 'code' command is recognized if the automatic install fails due to shell or permission issues.
Using the 'code' command to open files and folders from the terminal
- Open a single file: Type code filename in your terminal, replacing filename with the exact file name or path. For example, code README.md opens the README.md file in VS Code. The editor window appears with the file ready for editing.
- Open a folder: Use code foldername to open an entire folder in VS Code. For instance, code ~/Projects/MyApp loads the folder MyApp and its contents in the VS Code Explorer view.
- Open files or folders in a new window: Add the --new-window flag to open a file or folder in a separate VS Code window. Example: code --new-window index.js launches a new window with index.js loaded.
- Open multiple files and folders simultaneously: List multiple paths separated by space, such as code file1.js file2.js ~/Documents/Notes. VS Code opens all specified files and the folder in the same window or multiple windows if --new-window is included.
After running these commands, VS Code should come to the foreground showing the requested files or folders. If the terminal does not return to prompt immediately, VS Code is still launching or processing the request.
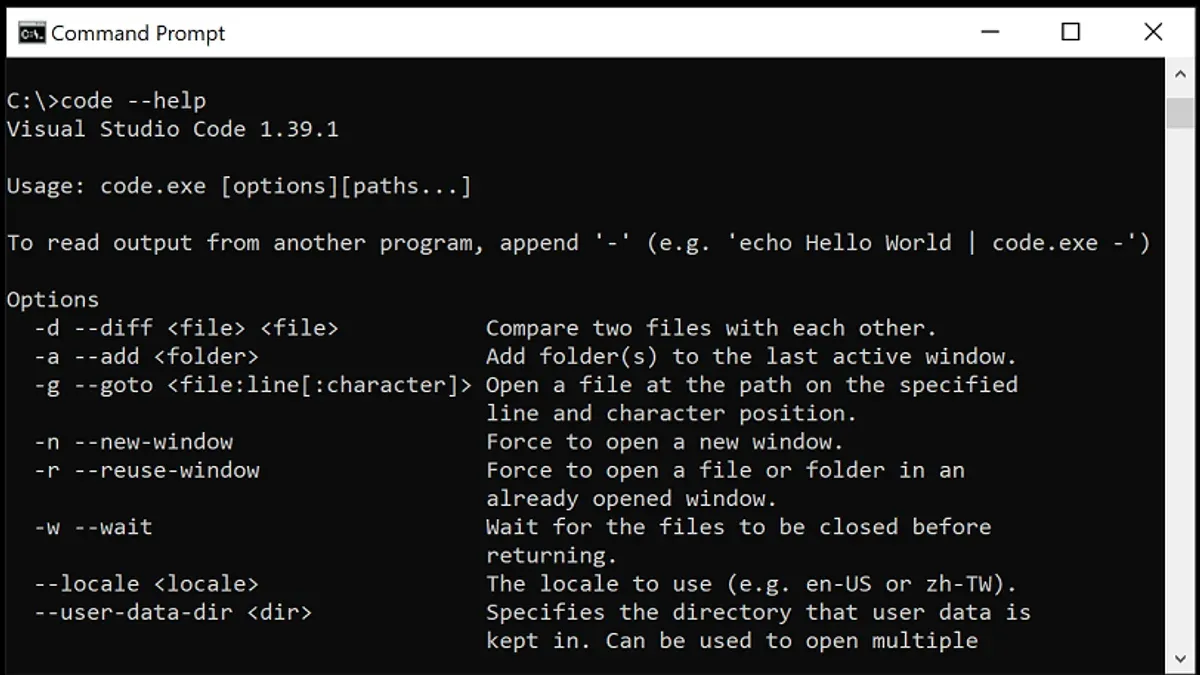
Configuring your shell environment for persistent 'code' command access
To ensure the 'code' command is available every time you open your terminal, you must add it to your shell's PATH environment variable. First, identify your shell by running echo $SHELL. Common Mac shells include zsh (default on macOS 10.15 and later), bash, and fish.
- Open your shell configuration file:
~/.zshrcfor zsh,~/.bash_profileor~/.bashrcfor bash, and~/.config/fish/config.fishfor fish. - Add the path to VS Code's 'code' command, usually
/usr/local/bin, by insertingexport PATH="$PATH:/usr/local/bin"(adjust path if different) orset -gx PATH $PATH /usr/local/binfor fish. - Save the file and reload the shell configuration with
source ~/.zshrc(or corresponding file), or restart the terminal. This ensures the PATH update takes effect. - Verify by running
which code. It should output the full path, confirming your shell recognizes the 'code' command.
macOS security features may block PATH changes if your shell configuration files are not properly set or if permissions restrict editing. Ensure your user has write access to these files and that no conflicting PATH settings override your additions.
Comparing PATH outputs before and after changes with echo $PATH helps confirm the 'code' command’s location is included. Persistent configuration avoids re-adding the path in each terminal session, streamlining your development workflow.
Troubleshooting common problems with the 'code' command on Mac
If you see code: command not found, your shell likely does not recognize the 'code' command path. First, verify the path with which code. If empty, reinstall the 'code' command from VS Code's Command Palette using Shell Command: Install 'code' command in PATH. Then restart your terminal.
Permission denied errors during installation often occur when you lack admin rights. Run the installation command prefixed with sudo to grant necessary permissions, for example: sudo ln -s /Applications/Visual\ Studio\ Code.app/Contents/Resources/app/bin/code /usr/local/bin/code. You should see no error after this.
If VS Code does not open or launches the wrong version, check for multiple VS Code installations. Use ls /Applications and which code to identify active paths. Remove or update conflicting versions. Also, ensure your shell config points to the correct 'code' binary.
Conflicts with other software or PATH misconfigurations can cause unexpected behavior. Inspect your PATH variable with echo $PATH and confirm the VS Code binary path appears before conflicting entries. Adjust your shell config file accordingly and reload the shell.
Typical terminal error output for 'command not found' looks like:
zsh: command not found: code
After a successful fix, running code --version should print the VS Code version number.
Advanced tips: Using 'code' command with SSH and automation scripts
To open remote files over SSH, use the VS Code Remote - SSH extension. Connect to your remote Mac or Linux server directly from VS Code by selecting Remote Explorer > SSH Targets and establishing a session. Once connected, you can execute code commands on the remote terminal to open files in the VS Code window running locally.
For automation, you can call the code command inside shell scripts to open files or folders as part of your workflow. For example:
- Create a script file
open_logs.shwith#!/bin/bash code /path/to/logs/ - Make it executable with
chmod +x open_logs.sh - Run
./open_logs.shfrom your terminal and VS Code will open the specified folder
Note that when using code in non-interactive shells (such as CI pipelines or cron jobs), the command may fail due to environment variables like DISPLAY or PATH not being set properly. Ensure your shell environment configuration files load correctly or invoke scripts with explicit environment settings to avoid such issues.
- How to Auto Rename Files Using Automator on Mac
- How to Watermark Images Using Automator: A Step-by-Step Guide
- How to Create a Quick Action in Automator: A Step-by-Step Guide
Frequently asked questions
How do I check if the 'code' command is installed on my Mac terminal?
Open your terminal and type which code. If it returns a file path like /usr/local/bin/code, the command is installed. If it returns nothing or an error, you'll need to install the 'code' command from within Visual Studio Code's Command Palette under Shell Command: Install 'code' command in PATH.
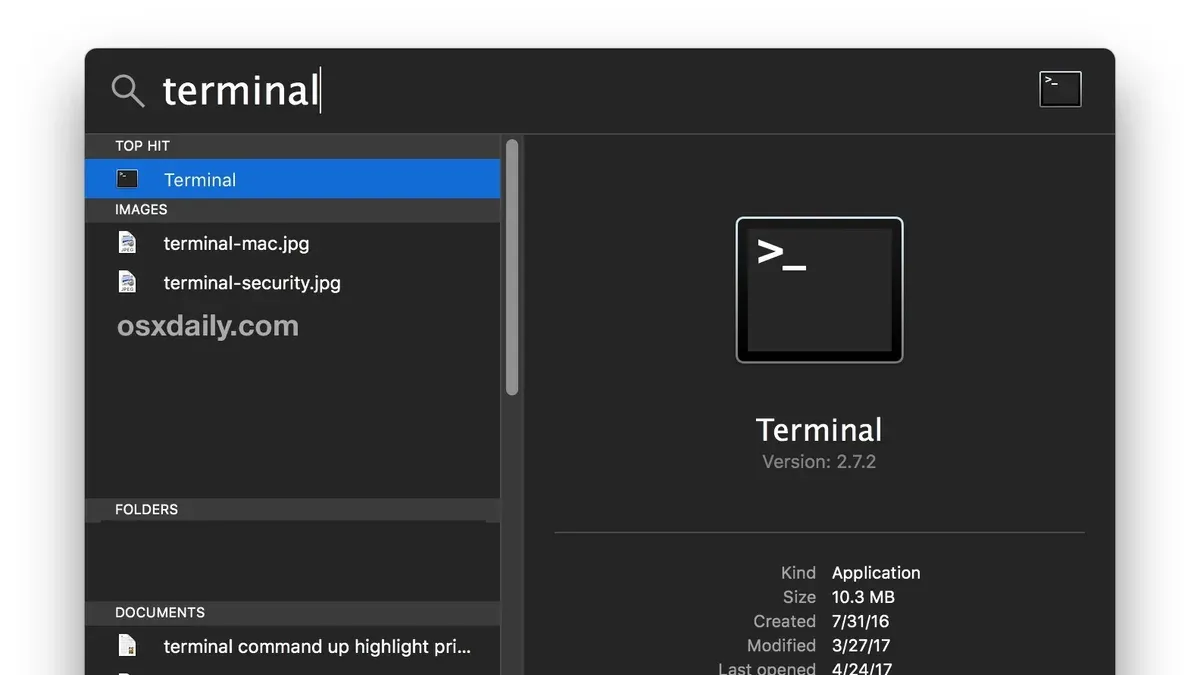
What do I do if 'code' command opens an older version of VS Code?
This usually happens due to multiple VS Code installations. Check your PATH environment variable for conflicting versions by running echo $PATH and verify which 'code' is invoked with which code. Removing older versions or updating your PATH to prioritize the latest installation resolves this.
Can I open files with spaces in their names using the 'code' command?
Yes, you must enclose the file or folder path in quotes, for example, code "My File.txt". Alternatively, you can escape spaces with backslashes, like code My\ File.txt. This ensures the terminal correctly parses the path.
Is it possible to open VS Code from terminal on macOS without installing the 'code' command?
Yes, you can open VS Code by dragging the app icon into the terminal or using the open -a "Visual Studio Code" command. However, this method lacks the convenience and flexibility of the 'code' command, especially for opening specific files or folders directly.
What this advice does not cover
This article does not cover the use of the code command on Windows or Linux systems. It also excludes guidance for VS Code Insiders or other non-standard builds, which may have different command line behaviors or installation paths. If you are using those environments or versions, consult the official documentation specific to your setup.
Additionally, this guide focuses on the default Mac terminal shells and standard configurations. Users with highly customized shell environments or third-party terminal applications might need to adjust paths and settings accordingly.
Next step to try now
To ensure smooth usage of the code command, verify that it is correctly installed by opening your terminal and running code --version. If you see the version number displayed, try opening a folder by typing code . inside a project directory. This quick check confirms your setup works and lets you start streamlining your development workflow immediately.