How to Set Up Sidechain Compression in Logic Pro: A Step-by-Step Guide
Discover how to set up sidechain compression in Logic Pro to create space and clarity in your mix with easy-to-follow steps.
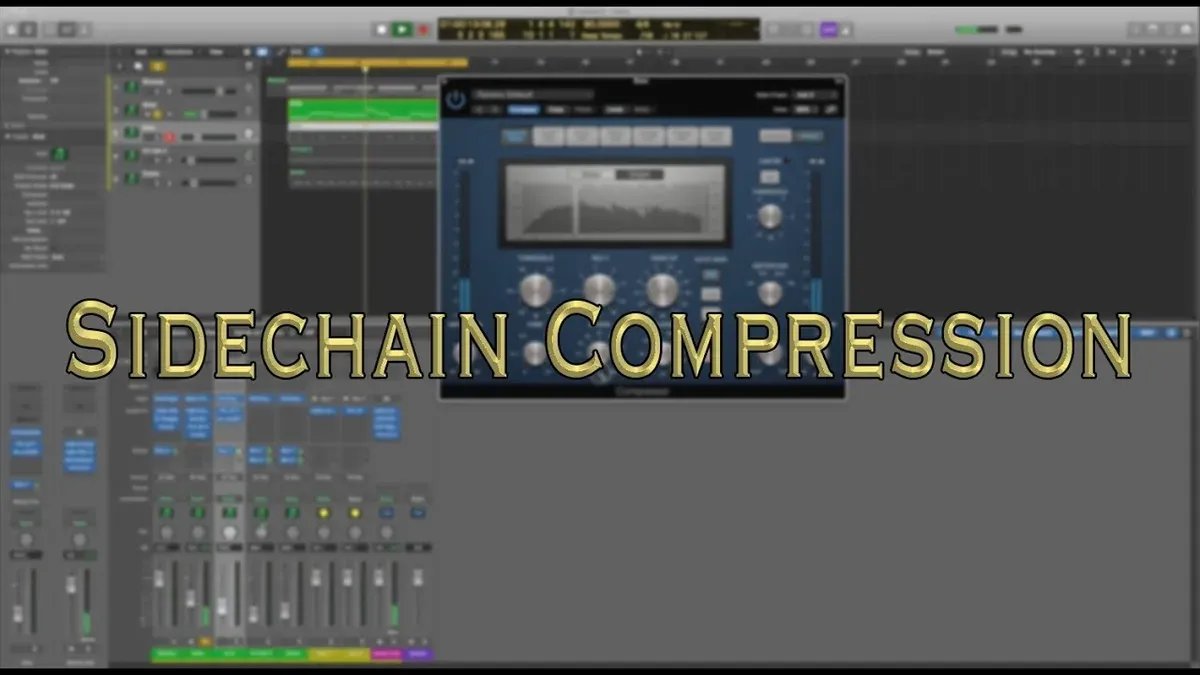
You’re mixing a track and want the bass to duck smoothly whenever the kick drum hits, creating space and clarity in your mix. Achieving this dynamic interaction without losing musicality is a common challenge for music producers and audio engineers.
This article explains how to set up sidechain compression in Logic Pro, guiding you through the routing and compressor settings step by step. You'll also discover creative ways to use sidechain compression beyond the typical pump effect, helping you make more informed mixing decisions and bring energy to your tracks.
Key takeaways
- Use the compressor plugin's sidechain menu to select the input source for ducking.
- Adjust threshold and ratio carefully to balance transparency and effect audibility.
- Route the sidechain input from the kick or other rhythmic element to control compression.
- Experiment with attack and release times to shape the groove and feel.
- Check for phase issues or unintended signal loss when setting up the sidechain path.
Before you start: what you need to know and prepare
Sidechain compression is a dynamic mixing technique where the compressor’s gain reduction is controlled by an external audio signal, commonly used to create space in a mix or achieve rhythmic effects. For example, a kick drum can trigger compression on a bass track, making the bass volume dip briefly each time the kick hits, which helps clarify the low end in electronic music and other genres.
To set this up in Logic Pro, you need the built-in Compressor plugin, which supports sidechain input. The key concept is the sidechain input or key input: this is the signal that triggers compression on another track’s audio. You will route one track’s output (the trigger, like a kick drum) into the compressor on a different track (the audio source to be compressed, like a bassline).
Before starting, prepare at least two tracks in your Logic Pro session: one track with the audio you want to compress and another track with the audio that will act as the trigger signal. This setup allows you to control how the compressor reacts dynamically based on the trigger’s activity.
In simple signal flow terms: the source track plays its audio through the compressor, while the trigger track sends its signal to the compressor’s sidechain input. When the trigger audio exceeds the compressor’s threshold, gain reduction occurs on the source track.
- Open your Logic Pro project and identify two tracks: one for the audio you want to compress and one for the sidechain trigger.
- Insert Logic’s Compressor plugin on the source track where you want to apply sidechain compression.
- Locate the sidechain input menu at the top right of the Compressor plugin window—you will use this to select the trigger track.
- Ensure both tracks are playing together so you can monitor the sidechain effect once routing is configured.
How to sidechain compress in Logic Pro: routing the sidechain input
To start routing the sidechain input in Logic Pro, first open your project containing the tracks you want to work with. Identify the track that you want to compress; this will be your compressed track. Insert the Compressor plugin on this track by selecting the channel strip, clicking an empty Audio FX slot, navigating to Dynamics, and choosing Compressor.
Once the Compressor plugin window is open, locate the Side Chain menu at the top right corner. Click on this drop-down menu to enable and select the sidechain input. Here, you will see a list of available tracks in your project. Choose the track that will act as the sidechain trigger, typically the kick drum or any rhythmic element driving the compression.
Make sure the trigger track is outputting audio that the compressor can detect. If the trigger track is muted or not sending audio to the main output or a bus, the compressor won’t respond. You may need to send the trigger track to a bus if you want to keep it silent in the mix but still use it as a sidechain input.
- Open your Logic Pro project with the relevant tracks visible.
What you see: Your tracks displayed in the mixer and arrange window. - On the track you want to compress, insert the Compressor plugin from the Audio FX menu.
What you see: The Compressor interface appears. - In the Compressor window, click the Side Chain drop-down menu at the top right.
What you see: A list of all tracks and buses available for sidechain input. - Select the track that will act as the sidechain trigger.
What you see: The chosen track name appears in the Side Chain menu. - Verify the trigger track is sending audio either to the main output or the specific bus selected.
What you see: Audio meters moving on the trigger track indicating signal presence.
Following these steps ensures the Compressor plugin receives the correct sidechain input, preparing you to adjust compression settings effectively in the next stage.
How to set up sidechain compression in Logic: adjusting compressor settings
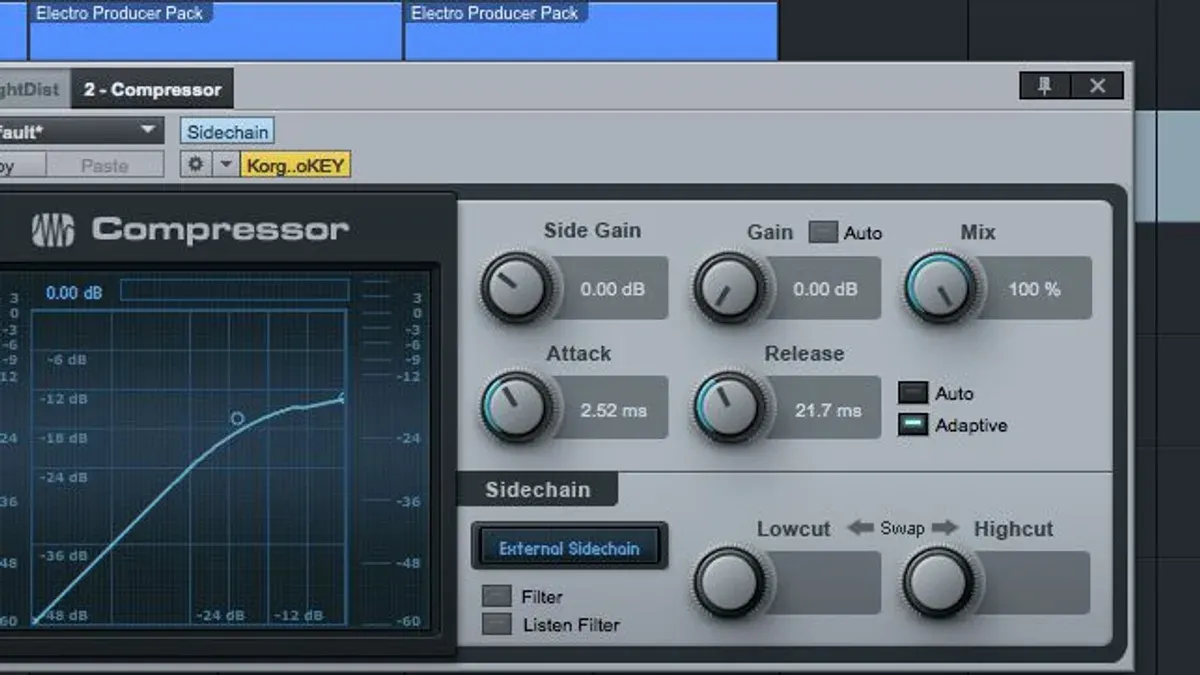
- Open the Compressor plugin on the track you want to compress. Set the Side Chain input to the trigger source, such as your kick drum track. This ensures the compressor listens to the correct signal.
- Adjust the Threshold slider to a level where the compressor starts reacting when the sidechain input is present. For example, setting the threshold around -30 dB often works well to catch the kick’s transient and initiate compression. You'll see gain reduction meters move when the kick hits.
- Set the Ratio to determine how much the gain will be reduced once the threshold is crossed. A ratio between 4:1 and 6:1 is typical for ducking a bass under a kick, providing a noticeable but controlled reduction in volume.
- Modify the Attack time to shape how quickly the compressor responds to the sidechain signal. A fast attack, around 10 ms, ensures the compressor clamps down as soon as the kick hits, creating a tight pumping effect. If the attack is too slow, the kick may punch through uncompressed.
- Set the Release time to control how quickly the compressor stops reducing gain after the kick’s transient. A release of about 100 ms helps the bass recover smoothly, avoiding abrupt volume jumps. Adjust this to match the tempo and feel of your track.
- Use the Knee control to smooth out the transition into compression. A soft knee setting makes the compression sound more natural, while a hard knee creates a sharp, noticeable effect. For subtle ducking, start with a soft knee and tweak to taste.
- Play your mix and listen carefully. Adjust the threshold and ratio while the sidechain trigger plays to balance between audible pumping and maintaining the bass presence. Fine-tune attack and release to fit the groove, ensuring the sidechain compression enhances the rhythm without sounding unnatural.
How to sidechain compression logic Pro for different creative effects
Sidechain compression in Logic Pro goes beyond the classic bass-drum ducking effect, opening up various creative possibilities. One popular use is applying sidechain compression to pads or synths to create rhythmic pumping that adds movement and groove to your mix. For example, sidechaining a pad to a kick drum with a medium attack (around 10-20 ms) and quick release (around 50-100 ms) can produce a smooth, breathing effect that syncs with the beat.
Another effective technique is using sidechain compression on background instruments to improve vocal clarity. By routing the vocal track as the trigger source, you can subtly duck competing elements like guitars or keyboards whenever the vocals are present, helping the voice stand out without manual automation.
You can also sidechain multiple tracks from a single trigger source to enhance mix cohesion. For instance, sidechaining the bass, synths, and effects buses to the kick drum track creates a unified pumping effect that keeps the rhythm tight without overwhelming the mix.
For advanced routing, Logic Pro allows sidechaining from buses or even external MIDI triggers. By sending a MIDI trigger signal to a bus and sidechaining multiple tracks from that bus, you gain precise control over sidechain timing and creative patterns beyond simple audio sources.
- Insert the Compressor plugin on the track(s) you want to sidechain creatively. When you open the plugin, select the sidechain input menu at the top and choose your trigger track or bus. You should see the compressor’s gain reduction meter respond to the trigger signal.
- Adjust the compressor settings: use a moderate to high ratio (around 4:1 to 8:1) and set the threshold so gain reduction activates clearly but musically. A faster attack and release will create a pumping effect, while slower settings produce smoother volume changes.
- Listen to the track before and after enabling sidechain compression. You’ll notice rhythmic pulsing on pads or synths when sidechained to drums, improved vocal presence when sidechaining background instruments, or cohesive movement when sidechaining multiple elements from one source.
- Experiment with routing sidechain triggers from buses or external MIDI to create unique rhythmic patterns. For example, assign a MIDI pattern to a bus and use it as the sidechain input to compress multiple tracks in sync with your composition.
How to set up sidechain compression: troubleshooting common issues
When sidechain compression doesn’t behave as expected, it usually comes down to a few common issues. Checking these systematically will help you identify and fix the problem quickly.
- Sidechain input not appearing in Compressor plugin dropdown: Make sure the trigger track is routed correctly. The Compressor plugin must be placed on the track you want to compress, and the sidechain input dropdown will list only tracks that are sending audio to the sidechain input. If you don’t see the trigger track, verify that the trigger track’s output is active and that it’s not muted or soloed incorrectly.
- No audible compression effect: Check that the threshold is set low enough and the ratio high enough for audible compression. Also ensure the trigger track actually contains audio signal when you expect sidechain triggering. Without a trigger signal, compression won’t engage.
- Compression sounds unnatural or choppy: Adjust attack and release times to better match the rhythmic content of the trigger source. Too fast attack or release can cause pumping artifacts. Also evaluate the dynamics of the trigger track—if it’s too static, try adding some variation or using a more dynamic source.
- Latency or timing issues: Confirm that plugin delay compensation is enabled in Logic Pro’s audio preferences. If you notice timing misalignment, check project settings for buffer size and plugin delay compensation. Sometimes adjusting these reduces audible latency between the trigger and compressed track.
By following these steps, you can diagnose typical sidechain compression problems and apply practical fixes to achieve smooth, musical results.
Frequently asked questions
How to sidechain compress in Logic Pro?
To sidechain compress in Logic Pro, insert the Compressor plugin on the track you want to compress. Then, in the Compressor’s sidechain menu at the top right, select the input source track that will trigger the compression. Make sure the source track is actively playing so the compressor receives the sidechain signal. Adjust threshold, ratio, attack, and release settings to shape the compression effect.
How to sidechain compression logic?
Sidechain compression in Logic involves routing an external audio signal into the Compressor plugin’s sidechain input. This signal controls the compression rather than the audio on the compressed track itself. Logic Pro's Compressor plugin has a dedicated sidechain selector allowing you to choose any other track or bus as the trigger source, enabling dynamic interaction between tracks.
How to set up sidechain compression in Logic?
Begin by sending the audio source you want to use as the sidechain trigger to a bus or directly select it in the Compressor’s sidechain menu on the track you want compressed. Activate the Compressor plugin and choose the sidechain input from the dropdown. Next, tweak threshold to determine when compression kicks in, ratio for the amount of compression, and attack and release times to control the compressor’s responsiveness. Make sure to monitor and adjust until the desired pumping or ducking effect is achieved.
What is the best compressor plugin for sidechain in Logic Pro?
The built-in Logic Pro Compressor is widely regarded as one of the best for sidechaining due to its straightforward sidechain routing and versatile controls. Its classic modes, including Vintage and Studio VCA, provide different tonal characteristics suitable for various styles. While third-party plugins can offer unique features, Logic’s native Compressor covers most sidechain compression needs effectively without added cost.
What This Guide Does Not Cover
This guide focuses specifically on using Logic Pro’s built-in Compressor plugin for sidechain compression and the native routing options available within Logic Pro’s environment. It does not cover sidechain compression using third-party plugins, which often have different interfaces, routing methods, or additional features that require separate instructions. If you rely heavily on external plugins for sidechaining or need advanced sidechain setups beyond Logic Pro’s native options, exploring dedicated plugin manuals or tutorials is recommended.
For those working with sidechain compression in live performance settings or using hardware compressors, the signal flow and controls will differ significantly from the software-based approach covered here.
What to Do Next
To deepen your understanding and refine your results, experiment with the Compressor’s threshold and ratio settings while listening closely to how they affect the dynamic interaction between your sidechain input and the compressed track. Pay particular attention to the attack and release parameters to control the timing of the effect, which can dramatically change the groove and feel of your mix. Regularly toggle the sidechain input on and off to ensure the effect enhances your mix without overwhelming it. This hands-on adjustment is where you’ll make the most informed mixing decisions tailored to your specific project.
See also: How to Master a Song in Logic Pro: A Step-by-Step Guide · How to Set Up an Audio Interface in Logic Pro: A Step-by-Step Guide · How to Bounce a Track in Logic Pro: Step-by-Step Guide