How to Auto Duck Audio in Final Cut Pro: Step-by-Step Guide
This guide shows you how to auto duck audio in Final Cut Pro to keep dialogue clear while balancing background music effortlessly.
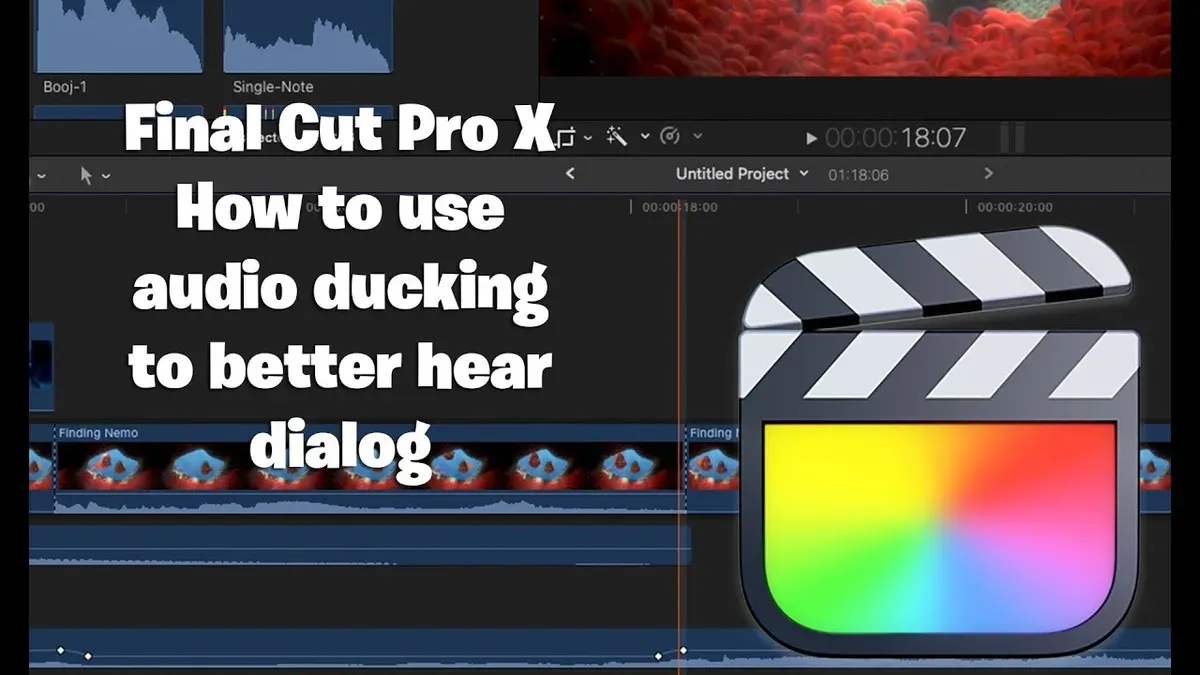
You're editing a video where the dialogue needs to stand out clearly against background music, but lowering the music manually feels tedious and inconsistent. This is a common challenge when balancing audio levels to ensure your message is heard without sacrificing the atmosphere created by background tracks.
This article explains how to auto duck audio in Final Cut Pro, guiding you through a step-by-step process to automatically reduce background sound levels during speech. Along the way, you'll also learn practical audio cutting and trimming techniques in CapCut and Premiere Pro, helping you decide which tool best fits your workflow.
Key takeaways
- Enable auto ducking in Final Cut Pro via the Voice Isolation and Auto Ducking controls in the Audio inspector.
- Use CapCut's precise trimming tools to adjust audio clip length and timing for better synchronization.
- Adjust ducking sensitivity and amount in Final Cut Pro to avoid unnaturally low background audio.
- Fade audio smoothly using Final Cut Pro's fade handles or Premiere Pro's fade effects for a polished sound.
- Compare methods across Final Cut Pro, CapCut, and Premiere Pro to choose the best fit for your editing needs.
Before you start: Prepare your project and audio clips
To use auto ducking effectively in Final Cut Pro, first ensure your software version supports this feature. Auto ducking is available in Final Cut Pro 10.4.6 and later versions, so verify your app is updated to at least this version. If you are running an earlier version, consider updating to access built-in auto ducking.
Next, organize your project’s audio tracks clearly. Separate dialogue from background music or sound effects by placing them on distinct audio lanes in your timeline. This separation is crucial because auto ducking works by lowering the volume of background tracks when dialogue is present, so properly labeled and isolated tracks help Final Cut Pro identify what to duck.
Set up your timeline so you can easily spot the clips you want to adjust. For example, name your audio clips descriptively like “Dialogue_Main” and “Music_Background.” This makes it easier to select and manage them during the auto ducking process.
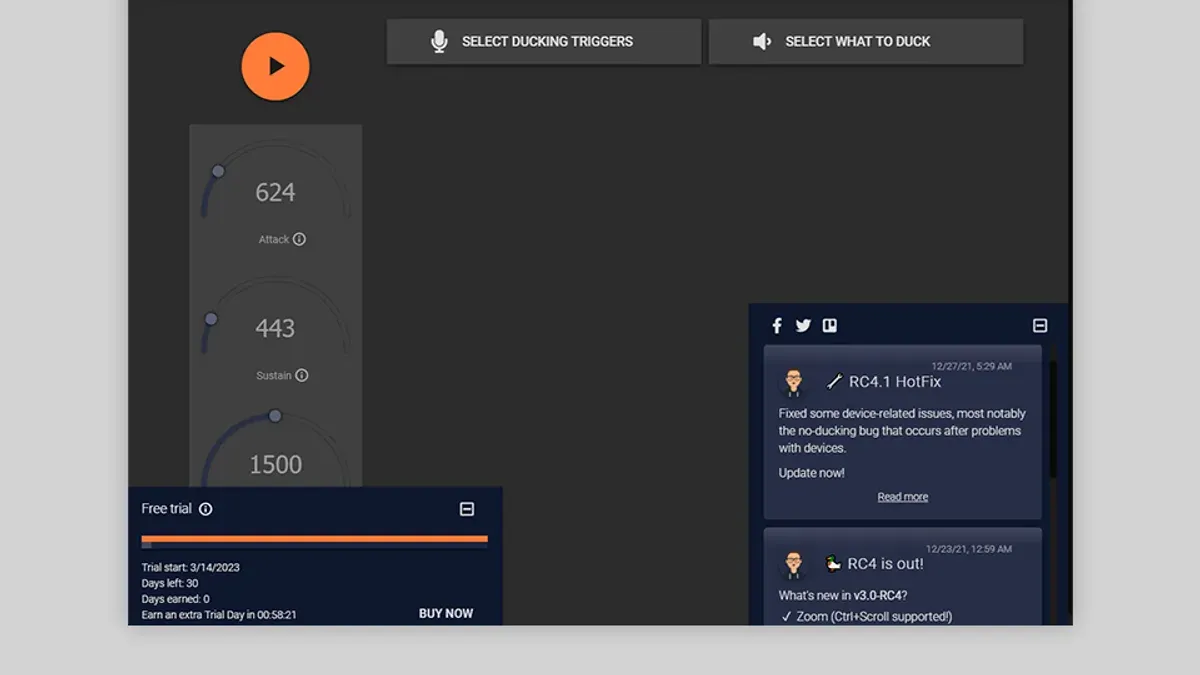
While Final Cut Pro has robust built-in auto ducking, third-party plugins are available for more advanced or specialized audio control. These plugins might help if you need custom ducking curves or additional processing, but for most beginners, the native tools suffice.
- Open Final Cut Pro and check your version by going to the menu bar and selecting Final Cut Pro > About Final Cut Pro. You should see version 10.4.6 or higher.
- Import your audio clips and arrange dialogue and background tracks on separate audio lanes in the timeline. You should see clearly labeled tracks for each audio type.
- Name your audio clips descriptively by selecting each clip, pressing Control+Click, and choosing Rename. Confirm the names appear in the timeline.
- Review your timeline layout to ensure dialogue and music tracks are visually distinct and easy to select.
Turn on auto ducking in Final Cut Pro
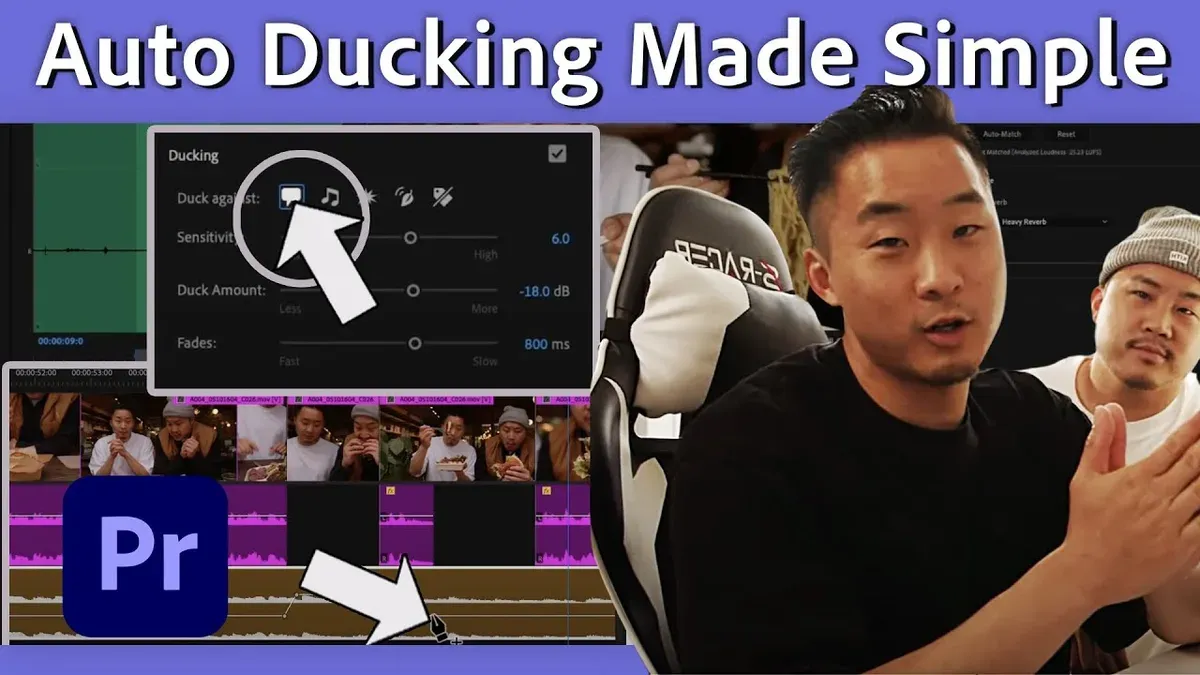
To begin lowering your background audio automatically under dialogue, first select the background audio clip in your timeline. Then open the Audio Inspector by clicking the speaker icon in the top right corner of Final Cut Pro. Within the Audio Inspector, locate the Auto Ducking checkbox and enable it. Once enabled, you’ll see options to adjust Sensitivity, Amount, and Fade Duration.
Adjust Sensitivity to control how closely Final Cut Pro detects dialogue levels—higher sensitivity means more aggressive ducking. The Amount slider determines how much the background audio volume lowers beneath the dialogue, and Fade Duration controls how smoothly the volume changes between dialogue and background audio. Experiment with these settings to find a balanced mix where dialogue is clear without the background disappearing entirely.
While auto ducking handles most volume adjustments, you can still use keyframes sparingly to manually tweak specific sections where the automatic ducking sounds too abrupt or uneven. Simply add volume keyframes on the background track in the timeline for precise control.
| Feature | Final Cut Pro | Premiere Pro |
|---|---|---|
| Enable Auto Ducking | Audio Inspector checkbox | Essential Sound Panel toggle |
| Sensitivity Adjustment | Available via slider | Available via slider |
| Amount of Ducking | Adjustable slider | Adjustable slider |
| Fade Duration | Adjustable slider | Adjustable slider |
| Manual Keyframe Control | Yes, via timeline | Yes, via timeline |
Trim and cut audio clips in CapCut for precise control
CapCut offers a straightforward interface for trimming and cutting audio clips, making it a useful alternative if you want precise timing adjustments outside Final Cut Pro. To start trimming, select the audio clip on your timeline. You'll see handles at the beginning and end of the clip that you can drag to shorten or lengthen the audio segment. This lets you remove unwanted parts and sync audio perfectly with your video.
- Click the audio track on your timeline; it will be highlighted when selected.
- Hover over the start or end of the clip until the trim cursor appears, then drag inward to trim. You should notice the waveform shrinking, indicating the trimmed segment.
- To cut the clip into parts, position the playhead precisely where you want to split, then click the scissor icon or press the "Split" button. The clip will divide into separate segments you can move or delete independently.
- For smoother transitions, select a clipped audio segment and use the fade handles at the edges to create fade-in or fade-out effects. The waveform will taper off, visually confirming the fade.
Compared to Final Cut Pro, CapCut’s audio editing is simpler and more visual, focusing on basic trimming and fading rather than advanced keyframe automation or detailed volume curves. While CapCut lacks some professional features, its accessible tools can efficiently handle timing adjustments and basic sound balancing for quick projects.
Including screenshots of the CapCut timeline with highlighted trim handles, split tool, and fade controls can help you recognize these features quickly. A side-by-side timeline comparison shows CapCut’s more streamlined interface versus Final Cut Pro’s depth, helping you decide which fits your workflow best.
Fix ducked audio that sounds too low or unnatural
If your auto ducking reduces background audio too much or creates inconsistent volume dips, you need to fine-tune several settings and inspect your timeline carefully. Over-ducking often occurs when sensitivity is set too high or the duck amount is excessive, causing the background to nearly disappear. To fix this, adjust the Sensitivity slider to a lower value, around 20-30%, and reduce the Duck Amount to about 3-6 dB. You should see the waveform for background audio maintain a clearer presence under dialogue after this adjustment.
Another common cause of unnatural ducking is overlapping audio clips that trigger auto ducking multiple times, creating conflicting volume changes. Check your timeline for stacked or overlapping clips with ducking enabled, and separate or mute redundant clips to prevent conflicts. The waveform should then display smooth, consistent dips aligned with dialogue sections.
For tricky audio parts where auto ducking still sounds off, use manual volume keyframes to override the automatic behavior. Select the background audio clip, open the volume control line in the timeline, and add keyframes to raise or lower volume precisely where needed. This approach lets you fine-tune audio levels beyond the auto ducking algorithm.
When you need more advanced control, consider using a dedicated audio plugin compatible with Final Cut Pro, such as a sidechain compressor or third-party ducking tool. These offer customizable parameters and smoother transitions than built-in auto ducking, especially in complex mixes.
- Open the auto ducking settings in Final Cut Pro and lower Sensitivity to 20-30%. You should hear less aggressive volume drops and see waveforms with clearer background audio peaks.
- Reduce Duck Amount to 3-6 dB and play back the timeline. The background audio should remain audible but still yield space for dialogue.
- Inspect the timeline for overlapping background clips. Separate or mute any that overlap to avoid conflicting duck triggers. Waveforms will become smoother and less erratic.
- In sections where ducking remains problematic, add manual volume keyframes on the background clip to adjust levels precisely. Volume changes should now follow your keyframes instead of auto ducking alone.
- If issues persist, test a sidechain compressor or dedicated ducking plugin in your audio effects panel. Notice improved smoothness and control in volume transitions compared to built-in auto ducking.
Fade out audio smoothly for professional polish
Fading out audio clips adds a refined finish to your sound mix, especially after applying auto ducking. In Final Cut Pro, you can create a smooth fade by dragging the fade handle at the end of an audio clip on the timeline. This small triangular handle appears when you hover near the clip’s edge. Adjusting the fade duration here allows you to control how gradually the audio volume decreases, which you can verify by viewing the audio level graph that visually slopes downward.
For more precise control, open the Audio Inspector in Final Cut Pro and set both the fade duration and fade curve types, such as linear or logarithmic. These curves affect how natural the fade sounds and help ensure a seamless transition between ducked background audio and silence or another track.
In CapCut, fading out audio is similarly straightforward. Select the audio clip in the timeline, then drag the white fade handle located at the clip's upper-right corner toward the left to create a fade-out effect. The timeline will display a descending audio waveform, indicating the fade. CapCut’s fade duration can be adjusted visually, making it easy to match the timing of your dialogue or other elements.
Integrating fades with auto ducking ensures that background sounds don’t cut off abruptly. Instead, they gently recede, preserving audio clarity and maintaining a professional sound balance. Always watch the timeline views and audio level graphs as you adjust fades to confirm the smoothness of your transitions.
Frequently asked questions
How to fix ducked audio?
If your ducked audio sounds too low or unnatural, adjust the amount of ducking in Final Cut Pro by selecting the background audio clip and modifying the “Ducking Amount” slider in the Audio Inspector. You can also increase the “Sensitivity” to better detect dialogue or reduce the “Ducking Amount” if the background audio is too quiet. Another tip is to manually keyframe the volume to smooth out abrupt changes for a more natural sound.
How to trim audio in capcut pc?
To trim audio in CapCut on PC, first import your audio clip into the timeline. Then, drag the edges of the audio clip inward to cut off unwanted parts at the beginning or end. You can also use the split tool by positioning the playhead where you want to trim and clicking the scissors icon to cut the clip, allowing you to delete or move segments precisely.
How to cut audio in capcut?
Cutting audio in CapCut involves using the split feature. Position the playhead at the point where you want to cut, then click the scissors icon in the toolbar or press the shortcut key to split the audio clip into two parts. This lets you delete, move, or edit each section independently for better control over your audio.
How to cut audio on capcut?
The process to cut audio on CapCut is the same as cutting video clips. Place the playhead at the desired cut point, then use the split tool found in the toolbar or right-click menu. After splitting, select and delete any unwanted segments or rearrange clips to suit your project.
How to trim audio in capcut?
Trimming audio in CapCut is done by selecting the audio clip on the timeline and dragging its start or end edges inward to remove excess parts. This is useful for quickly shortening clips without splitting. For more precise edits, use the split tool to isolate sections and delete or adjust them individually.
What This Guide Does Not Cover
This guide focuses on Final Cut Pro’s built-in auto ducking feature and basic audio trimming techniques in CapCut. It does not cover advanced third-party audio mixing software like Logic Pro or Pro Tools, nor does it address complex multi-track sound design workflows that require detailed frequency shaping or surround sound mixing. If your project demands highly intricate sound design or professional-grade audio mastering, consider specialized audio software and possibly consulting an audio engineer.
For most video editors working on dialogue clarity and straightforward background music balancing, the steps outlined here provide a solid foundation. Experimenting with Final Cut Pro’s auto ducking settings and simple edits in CapCut or Premiere Pro will suit many common video editing scenarios without overwhelming you with complexity.
The most useful next step is to practice applying auto ducking on a variety of clips with different audio levels. Adjust the sensitivity and amount settings in Final Cut Pro’s audio enhancements panel while listening carefully. This hands-on approach will help you develop a feel for achieving natural-sounding audio balance and knowing when to fine-tune or manually adjust keyframes for the best result.
See also: How to Create Compound Clips in Final Cut Pro: A Step-by-Step Guide · How to Generate Auto Captions in Final Cut Pro: A Step-by-Step Guide · How to Export ProRes in Final Cut Pro: A Clear Step-by-Step Guide