
How to Import Photos from Your Camera into the Photos App
This guide shows how to import photos from your camera into the Photos app using direct connection, memory card, or wireless transfer.
You’ve just finished a day of shooting with your digital camera and want to get those photos onto your Mac or iOS device. Maybe you’re unsure of the best way to transfer your images or have run into hiccups when trying before. This guide covers how to import photos from a camera in Photos app, helping you choose the right method for your camera type and setup.
Whether you connect your camera directly, use a memory card reader, or prefer wireless options, you’ll learn the exact steps to follow and common pitfalls to avoid. By understanding each part of the process, you’ll gain confidence in managing your photo imports and organizing them effectively.
Key takeaways
- Connect your camera via USB or use a memory card reader depending on your device compatibility.
- Use the Photos app Import tab to select and import images efficiently.
- Organize imported photos immediately with albums or folders for easier access later.
- Check camera settings like USB mode and battery level before importing to prevent errors.
- Use wireless import when supported for a cable-free transfer experience.
Before You Start: What You Need to Import Photos
To import photos into the Photos app, you’ll need a few essential items prepared in advance. First, have your digital camera ready along with the appropriate connection method—either a USB cable that matches your camera’s port, such as USB-C or Micro-USB, or a compatible memory card reader if you choose to transfer photos via the card. Your Mac or iOS device must have the Photos app installed and updated to avoid compatibility issues.
Check your camera’s settings before connecting it. Ensure the USB mode is set to "PTP" (Picture Transfer Protocol) or "Mass Storage," which allows your device to access the images. Also, verify that your camera’s memory card is properly formatted and that the images are saved in supported formats like JPEG or RAW files, as Photos app supports these common formats.
Lastly, confirm your device has enough free storage space to accommodate the photos you plan to import. A safe guideline is to have at least twice the size of your photo collection free—for example, if your camera’s memory card holds 4 GB of photos, aim for at least 8 GB of free space on your device. Preparing these items and settings will help you avoid interruptions during import.
Connect Your Camera Directly to Your Device
Connecting your camera directly to your Mac or iOS device is often the most straightforward way to import photos. Start by using the USB cable that came with your camera or an appropriate Lightning cable for iOS devices. Plug one end into your camera and the other into your device.
- Turn on your camera and unlock it if it has a lock screen or security feature. Set the camera to “Playback” or “Transfer” mode—this is usually found in the camera’s menu or on a physical dial.
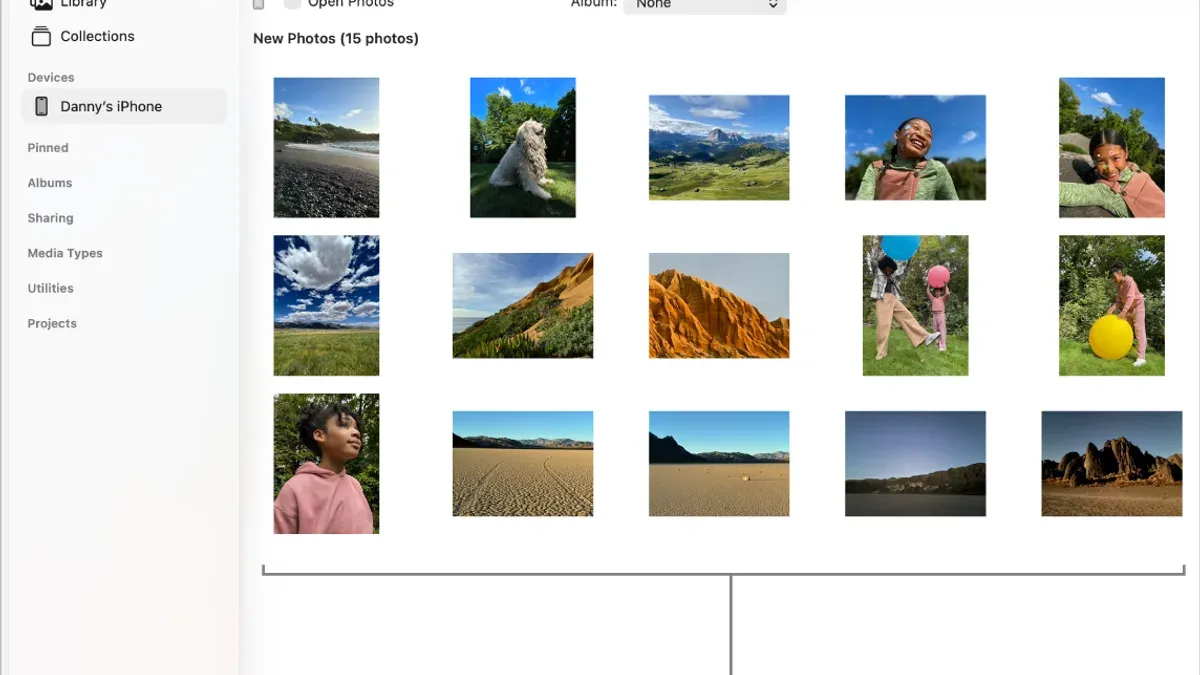
- Open the Photos app on your Mac or iOS device. The import window should appear automatically, displaying thumbnails of the photos on your camera. If the window does not pop up, click the “Import” tab in the Photos app sidebar.
- Review the thumbnails and select individual photos by clicking on them, or choose “Import All New Photos” if you want to transfer everything. The app will show the number of photos selected and the total photos available for import.
- Click the “Import Selected” or “Import All New Photos” button. A progress bar will appear at the top of the window indicating how many photos have been imported and how many remain.
- Once the import finishes, you can choose to keep or delete the photos on your camera. The Photos app often prompts you to decide—select the option that fits your preference.
Following these steps ensures a smooth transfer and lets you see your photos organized immediately within the Photos app. If the import window doesn’t appear, make sure your camera is in the correct mode and unlocked, as some cameras won’t show photos unless they are ready for transfer.
Import Photos Using a Memory Card Reader
If your camera or device setup does not support direct USB connection, using a memory card reader is an effective alternative that often provides faster transfer speeds. First, ensure your camera is powered off before removing the memory card to prevent data corruption. Gently eject the card following your camera's instructions.
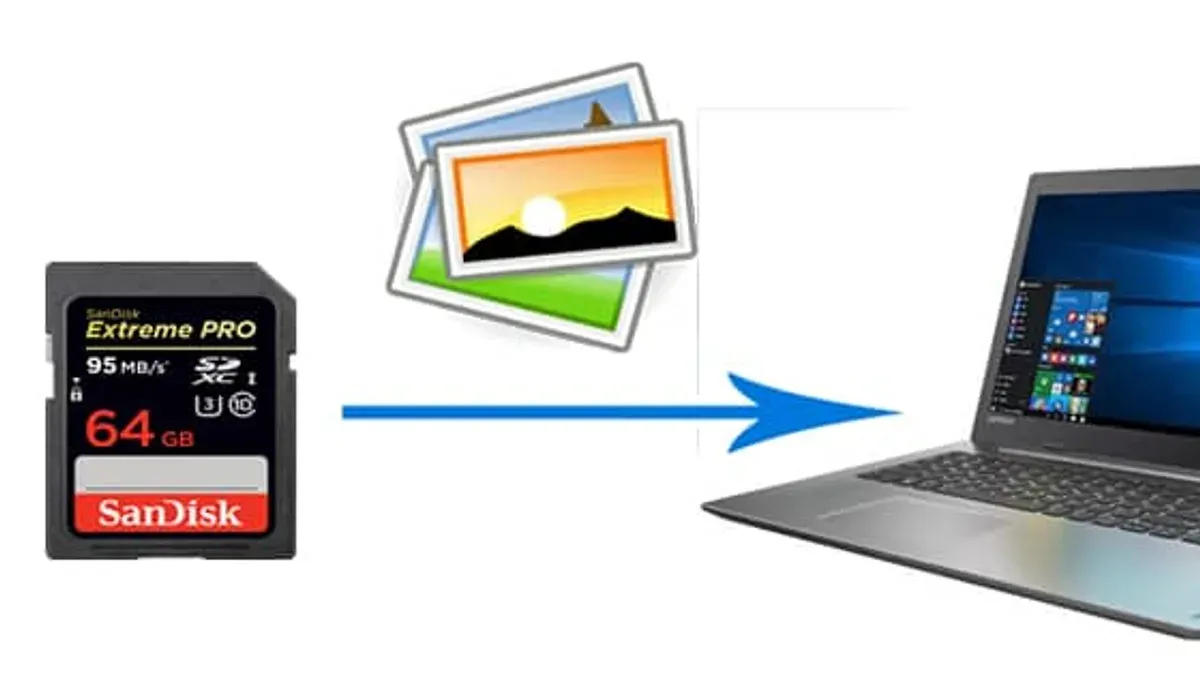
Next, choose a compatible card reader that matches your memory card type—common models include SanDisk Extreme Pro and Anker USB-C card readers. Connect the card reader to your Mac or iOS device using the appropriate port or adapter. Your Photos app should automatically detect the inserted card and open the import window.
- Insert the memory card into the card reader and connect it to your device. You should see the import screen appear in the Photos app.
- Select the photos you want to import or choose "Import All New Photos" to transfer everything. Confirm your selection, and watch the progress bar until the import completes.
- After importing, eject the card reader properly using Finder or by tapping the eject icon to avoid data loss.
Compared to direct camera connections, card readers usually offer quicker transfer speeds because they bypass the camera’s internal processing. Always use a reliable card reader and safely eject the card to protect your photos from corruption or loss during transfer.
Organize Imported Photos with Albums and Folders
After importing your photos into the Photos app, organizing them can help you find and enjoy them more easily. Start by creating albums to group photos by event, date, or theme. For example, if you just imported vacation photos, create an album named "Summer Beach Trip." This groups all related images together in one place.
To create an album, go to the sidebar and click the “+” button, then select “Album.” Name the album and drag the desired photos into it. If you have multiple albums for different trips or occasions, use folders to keep them organized. Create a folder by clicking “+” and choosing “Folder,” then drag albums inside it. For instance, place your "Summer Beach Trip" and "Winter Ski Vacation" albums inside a folder called "2026 Vacations."
During or after import, you can rename photos or add tags (keywords) to make searching easier. Select a photo, press Command-I (or right-click and choose “Get Info”), then enter a descriptive title or keyword. Finally, if you use iCloud Photos, your albums, folders, and tags sync across all your Apple devices automatically, keeping your library consistent everywhere.
Troubleshoot Common Issues When Importing Photos
If your camera or memory card reader isn’t recognized by the Photos app, first check your connections. Make sure cables are firmly plugged in and that your device supports the accessory. If you see an error like “No connected device found,” try disconnecting and reconnecting the hardware or restarting your Mac or iOS device.
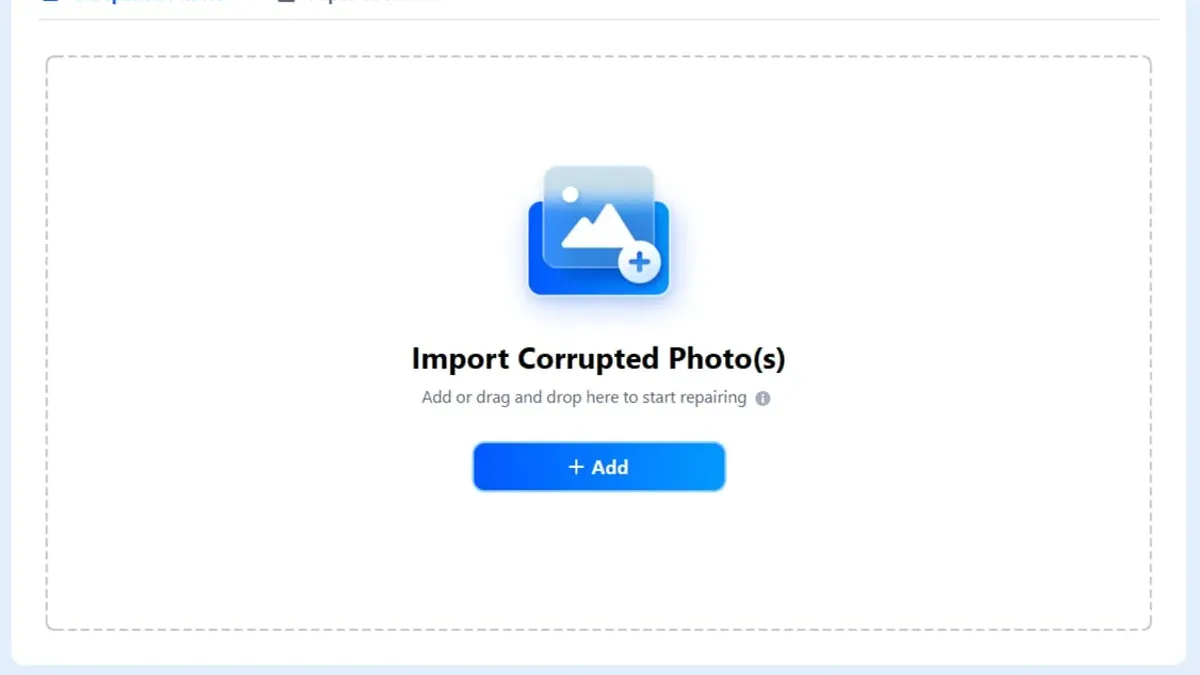
Unsupported file formats or corrupted files can prevent successful imports. The Photos app supports common formats such as JPEG, PNG, and most RAW files from popular cameras. If you encounter a message like “File format not supported,” verify the file type or try converting the photo using third-party software. For corrupted files, the import may fail silently or show an error; in this case, attempt to recover the files with specialized repair tools or retransfer them from your camera.
Slow or stalled imports often result from large file sizes or slow connections. If the import seems stuck, check your cable or card reader and try a different USB port if available. Closing other apps that consume system resources can also improve speed. If the import freezes completely, force quit the Photos app and reopen it.
- Force quit the Photos app (press Command + Option + Escape, select Photos, then click Force Quit). You should see the app close immediately.
- Restart your Mac or iOS device. Once rebooted, open Photos again and try importing.
By following these steps, you can resolve most common issues and continue importing your photos smoothly.
Use Wireless Import Options When Available
Many modern digital cameras, such as the Canon EOS R series or Nikon Z models, include built-in Wi-Fi or Bluetooth capabilities that allow you to transfer photos wirelessly to your Mac or iOS device. To use these features, you typically need to enable the wireless transfer mode in your camera’s settings menu, often found under connectivity or network options. Once enabled, you can connect your device either via the Photos app directly or through the camera manufacturer’s companion app, like Canon Camera Connect or Nikon SnapBridge.
Here is a step-by-step process to import photos wirelessly:
- Turn on Wi-Fi or Bluetooth on your camera and enable its wireless transfer mode. You should see an icon or message indicating the connection is active.
- On your Mac or iOS device, open the Photos app or the relevant companion app. Look for the option to import or receive photos wirelessly; this may appear as a new device or camera in the import pane.
- Follow any on-screen prompts to pair your camera with the device, which may involve entering a passcode or confirming a connection request.
- Select the photos you want to import and initiate the transfer. You should see progress indicators or thumbnails appearing as the photos download.
- When the transfer completes, verify the photos appear in your library and disconnect the wireless session from both devices.
Wireless import offers the convenience of avoiding cables and can be particularly useful for cameras mounted on tripods or in hard-to-reach places. However, wireless transfers tend to be slower and less reliable than wired methods, especially when moving large batches of high-resolution images. To maintain security, ensure your camera’s wireless network is password-protected or uses encrypted connections, and avoid using public Wi-Fi networks for transfers.
Frequently asked questions
Can I import photos from any camera brand into the Photos app?
The Photos app supports importing photos from most major camera brands, including Canon, Nikon, Sony, and Olympus. However, compatibility can depend on your camera’s connection type and file system. If your camera uses a standard USB or memory card format, you should be able to import photos without issue.
What file formats does the Photos app support for importing?
The Photos app supports common image formats like JPEG, PNG, TIFF, and RAW files from many camera manufacturers. Some proprietary RAW formats may require additional software or plugins to be recognized. For video, formats such as MOV and MP4 are usually supported.
How do I import photos if my computer does not recognize my camera?
If your computer doesn’t recognize your camera, try using a memory card reader to import photos directly from the card. Ensure your camera is turned on and set to the correct mode, such as “Playback” or “PC” mode. Also, check your USB cable and ports for any faults, and make sure your device’s software is updated to support your camera model.
Is it possible to import photos wirelessly from my camera to the Photos app?
Some modern cameras offer Wi-Fi or Bluetooth connectivity that allows wireless transfer to your Mac or iOS device. You can use the manufacturer’s app or AirDrop for compatible devices. Keep in mind that wireless transfer speeds may be slower than wired methods, and initial setup often requires pairing the devices first.
What This Guide Does Not Cover
This guide focuses specifically on importing photos from digital cameras into the Photos app on Mac and iOS devices. It does not cover importing photos from smartphones or tablets, which often use different apps and workflows such as iCloud Photos or AirDrop. If you need help with those devices, consult guides tailored to their unique transfer methods. Additionally, this article does not address advanced photo management software beyond the Photos app or professional tethered shooting setups.
For the best results when importing from your camera, always ensure your device’s software is up to date and that you have the necessary cables or card readers for your setup. Understanding your camera’s connection options can prevent frustration and improve efficiency.
Now that you know how to import photos safely and organize them effectively, the next best step is to explore creating smart albums in the Photos app. Smart albums automatically group photos based on criteria like date, location, or keywords, helping you keep your growing photo library neatly organized without manual effort.
See also: How to Name Faces in People Album in Photos App: Step-by-Step Guide · How to Move Your Photos Library to an External Drive in Photos App · How to Create a Slideshow with Music in the Photos App · How to Copy Edits to Multiple Photos in Photos App: Step-by-Step Guide



