
How to Fix Not Enough Disk Space Error in iMovie Quickly and Safely
Discover safe and effective ways to fix the not enough disk space error in iMovie and keep your editing projects running smoothly.
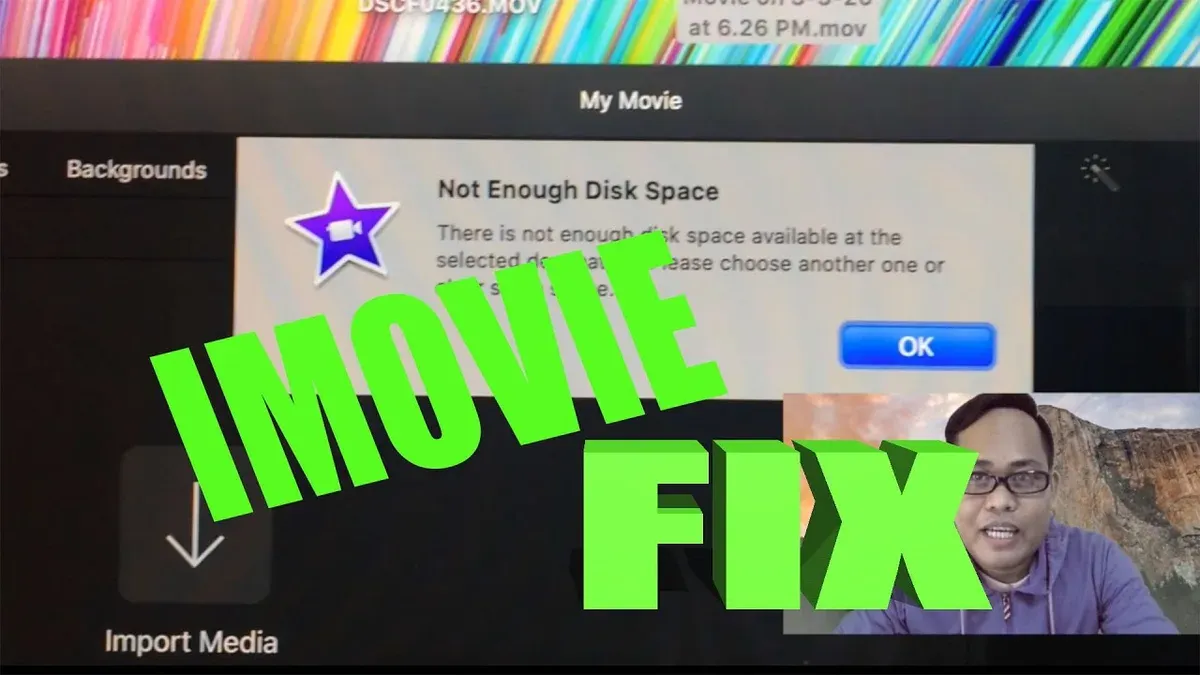
You’re working on your iMovie project when suddenly a warning pops up: “Not enough disk space.” This error can interrupt your editing and cause frustration if you’re unsure how to proceed safely. Understanding how to fix not enough disk space error in iMovie is essential to keep your projects running smoothly without risking data loss.
This guide walks you through recognizing the error, the common reasons iMovie runs out of space, and step-by-step, safe methods to free up storage. You’ll also learn about managing iMovie’s internal files and advanced storage options if the problem persists. By the end, you’ll know exactly how to troubleshoot this issue with confidence.
Key takeaways
- iMovie requires sufficient free disk space for rendering and temporary files, not just for your project size.
- Deleting unused media and emptying the Trash can quickly free up safe space.
- Managing iMovie library files, like optimized and proxy media, helps recover significant storage.
- Using external drives for media storage reduces pressure on your startup disk.
- If disk issues persist, consider professional support to avoid data loss or system problems.
Recognize the Not Enough Disk Space Error in iMovie
The "Not Enough Disk Space" error in iMovie usually appears as a popup message when you try to import media, export a finished project, or sometimes even during editing. The message typically states something along the lines of "There is not enough disk space to complete the operation." This alert is a clear indicator that your device's available storage is insufficient for the current task.
Besides this message, you might notice other symptoms like unusually slow performance, failed exports, or an inability to save your project. These signs often accompany disk space shortages and should prompt you to check your storage status before proceeding.
To confirm if disk space is the true cause, you can check your available storage using system tools. On a Mac, go to Apple menu > About This Mac > Storage, which provides an overview of used and free space. On iOS devices, open Settings > General > iPhone Storage or iPad Storage to see detailed storage usage. Comparing these readings before and after encountering the error helps verify if storage is low.
If you confirm that disk space is low, follow these steps to verify and resolve the issue safely:
- Open the Storage overview on your Mac or iOS device to see the exact free space available.
- Close iMovie and any other apps that might be using significant disk space temporarily.
- Try the iMovie operation again (import, export, or save) to check if the error persists.
- If the error is gone and the operation completes, the issue was likely related to temporary storage usage.
- If the error continues, you need to free up disk space before proceeding with your project.
Knowing when disk space is the true cause helps you avoid unnecessary troubleshooting and ensures you take the safest next steps to protect your projects and system.
Understand Common Causes of Disk Space Shortage in iMovie
When you work with iMovie, the size of your projects and media files plays a major role in how much disk space is used. High-resolution videos, such as 4K footage, can be several gigabytes per minute, much larger than standard 1080p videos. Importing these large files quickly consumes available storage, especially if your disk is already near capacity.
iMovie also creates cache and render files while you edit. These files temporarily store processed video data to improve playback and editing speed. Over time, these cache files can grow to several gigabytes, increasing storage demands well beyond the original media size.
In addition, temporary files and hidden data accumulate as you work on multiple projects. These files are not always visible in Finder but contribute to overall disk usage. System-wide storage issues, such as a nearly full startup disk or insufficient free space for virtual memory, can worsen iMovie’s performance and trigger the disk space error.
If you suspect cache and temporary files are causing the issue, try this safe cleanup:
- Close iMovie completely.
- Open Finder, then press Command+Shift+G and enter “~/Library/Containers/com.apple.iMovieApp/Data/Library/Caches”.
- Select and move the cache files to the Trash.
- Empty the Trash to free disk space.
- Restart iMovie and check if the error persists.
You will know this worked if iMovie no longer shows the disk space error and your free disk space has noticeably increased in the Storage section of About This Mac.
Free Up Disk Space with Quick and Safe Actions
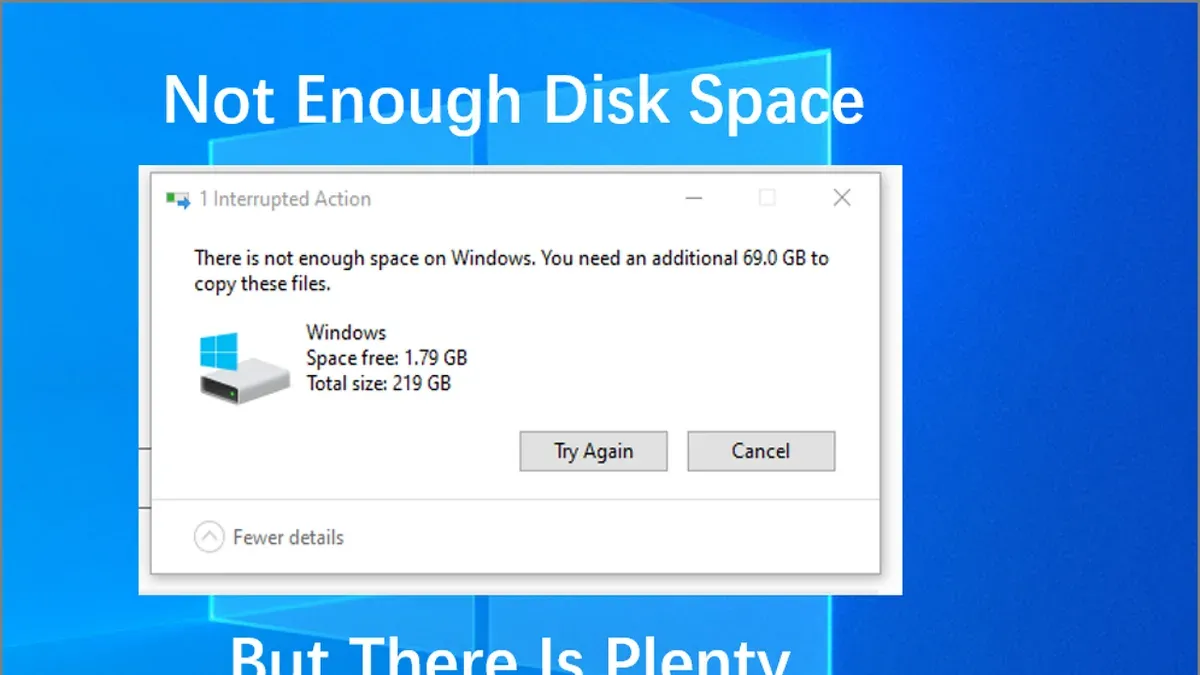
When you encounter the 'Not Enough Disk Space' error in iMovie, start with simple and safe steps that can quickly free up space without risking your projects or system stability. These actions are easy to perform and often recover significant storage.
- Empty the Trash: Deleted files still occupy storage until you empty the Trash. Open the Trash from your desktop or Finder sidebar, right-click and select Empty Trash. After emptying, check your available disk space by clicking the Apple menu > About This Mac > Storage. You should see a noticeable increase in free space.
- Delete Unused iMovie Libraries or Old Projects: Go to your Movies folder and identify iMovie libraries or projects you no longer need. Move them to Trash and then empty the Trash as described above. This step can free up large amounts of space if you have old footage or libraries stored.
- Close Other Applications: Running apps consume temporary storage and memory, which can limit available space for iMovie. Close apps you are not using by right-clicking their icons in the Dock and selecting Quit. Then, recheck your disk space to confirm improvement.
- Restart Your Device: Restarting your Mac clears temporary caches and system files that might be holding onto storage. Click the Apple menu and choose Restart. After the system boots up, verify your free space again to see if the error might be resolved.
After each step, comparing your available storage before and after will help you see the impact of these actions. If disk space has increased enough, you can try working in iMovie again. If not, continue with more detailed storage management methods.
Manage iMovie Project and Media Files to Recover Space
When quick fixes don’t free enough disk space, managing your iMovie projects and media files can help you recover significant storage safely. One effective method is moving your iMovie libraries to an external drive. This is especially useful if you have large libraries that you don’t access daily but want to keep. To do this, close iMovie, locate your iMovie Library file (usually in the Movies folder), copy it to a connected external drive formatted for macOS, then open iMovie while holding the Option key and select the library from the external drive. Once confirmed that the library opens properly and your projects play, you can delete the original from your internal drive to free up space.
iMovie also stores render files that can grow large over time. To clear these safely, open iMovie, go to the File menu, and choose "Delete Render Files." This action removes temporary files but leaves your projects intact, often saving several gigabytes. You’ll know it worked because the "Delete Render Files" option will be grayed out or show less available after completion.
Another space-saving step is to identify and export unused large clips from your projects. Export these clips to an external drive or cloud storage, then delete them from the iMovie media browser. Before deleting any media, back up your entire project by copying the iMovie Library or exporting the project as a file. This precaution prevents accidental data loss. Managing media this way helps keep your active projects lean and your disk space healthier.
Advanced Storage Management Techniques for Persistent Issues
If you continue to face disk space errors after trying basic fixes, advanced management techniques can help. These methods suit users comfortable with more detailed system control and require careful attention to avoid data loss.
Use macOS Storage Management Tools
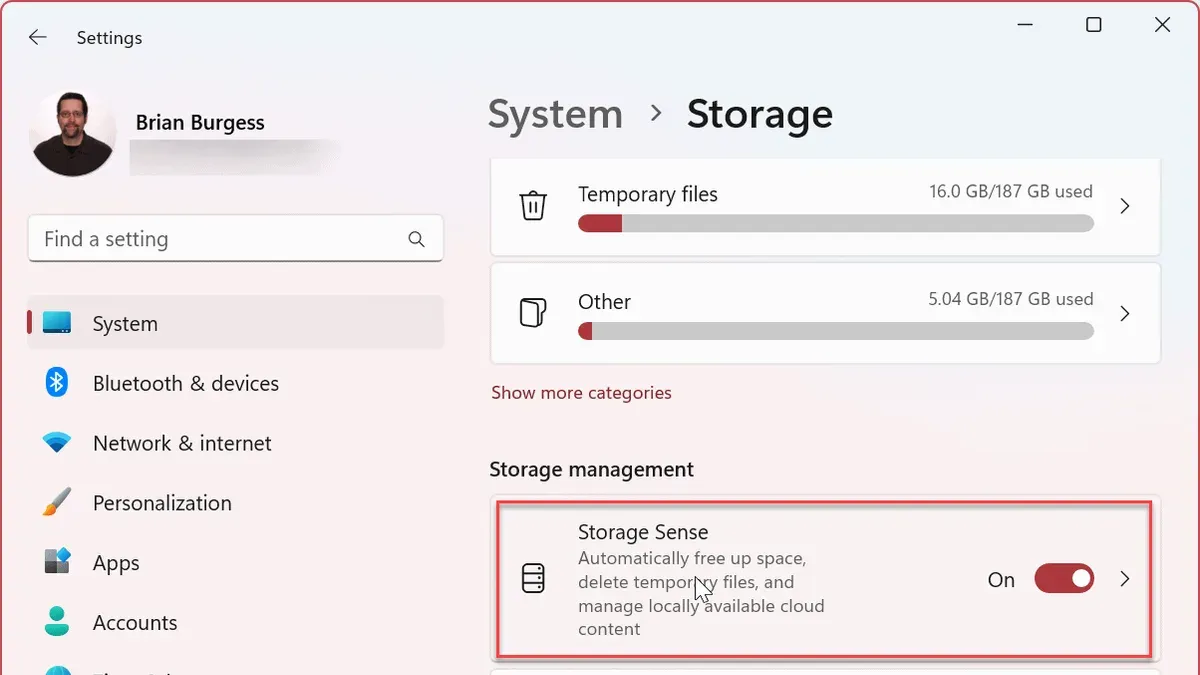
Begin by opening About This Mac > Storage > Manage. This tool categorizes files by size and type, helping you spot large non-iMovie files hogging space. For example, you might find old disk images or unused downloads taking gigabytes. Deleting or moving these files can noticeably increase free space, often by several gigabytes.
Clear System and User Caches Safely
Caches build up over time and can consume significant storage. You can clear caches manually by opening Finder, selecting Go > Go to Folder, typing ~/Library/Caches, and deleting contents of folders related to rarely used apps. Alternatively, trusted third-party tools like OnyX provide safe cache cleaning with clear instructions. Always back up before deleting cache to prevent accidental loss.
Reinstall iMovie
If corrupted iMovie files trigger false disk space warnings, reinstalling iMovie can help. First, move your projects and libraries to an external drive. Then, drag iMovie to Trash and empty it. Re-download iMovie from the App Store. Successful reinstallation resolves errors if they were caused by app corruption.
Check and Repair Disk Permissions or File System Errors
Disk errors can cause misleading storage reports. Use Disk Utility found in Applications > Utilities. Select your startup disk, click First Aid, and run the repair. The output will show if errors were fixed, such as "file system check complete" messages. After repair, check if available disk space increased and if iMovie runs without errors.
These advanced steps require caution. Make sure to back up important data before proceeding. If unsure, seek professional assistance to avoid unintended damage.
Know When to Get Professional Help
If you continue to see disk space errors in iMovie even after freeing up storage and managing your projects carefully, it might be time to consider hardware issues. Repeated errors, sudden crashes, or unusually slow file operations can indicate a failing hard drive or SSD. For example, frequent file read/write errors or corrupted project files are common symptoms of disk problems.
Professional technicians use diagnostic tools like Apple Diagnostics or third-party utilities such as DriveDx to check disk health, including SMART status and bad sector mapping. These tests reveal if the drive’s physical condition is deteriorating and if data recovery is necessary.
When should you seek help? Follow these steps:
- Note persistent disk errors or corrupted iMovie projects despite thorough storage management.
- Run Apple Diagnostics by restarting your Mac and holding the D key until the test begins.
- Contact Apple Support or visit an authorized repair center if diagnostics report hardware issues or if you cannot resolve the problem independently.
- If data recovery is needed, professionals can attempt to retrieve corrupted projects safely without risking further loss.
You’ll know the issue is resolved when iMovie no longer shows disk space errors and project files open and save without problems. Avoid attempting hardware repairs yourself, as these can lead to permanent data loss or void warranties.
Frequently asked questions
What causes the 'not enough disk space' error in iMovie?
This error usually appears when your Mac's available storage is too low to support iMovie’s processing needs. iMovie requires extra space not only for your original media but also for rendering files, cache, and backups that can quickly accumulate. Large or multiple projects, high-resolution video files, and limited free space on your startup disk often trigger this message.
How can I check how much disk space iMovie is using?
You can check iMovie’s storage usage by opening the Finder, selecting your home folder, and then navigating to Movies > iMovie Library. Right-click the iMovie Library file and choose Get Info to see its total size. Additionally, use the Storage Management tool (Apple menu > About This Mac > Storage > Manage) to review how much space is allocated to videos and media files.
Is it safe to delete iMovie render files and cache?
Yes, deleting render files and cache is generally safe and can free up significant space. iMovie will recreate necessary render files when you reopen your project, though this may take some time. To delete them, close iMovie, then locate the iMovie Library file, right-click it, and select Show Package Contents; you can remove the Render Files folder here without affecting your original media.
Can I move my iMovie projects to an external drive to fix disk space errors?
Moving iMovie projects to an external drive can free up internal storage, but the drive must be fast and formatted as APFS or Mac OS Extended (Journaled) for compatibility. After moving, open the projects directly from the external drive to avoid file duplication. Keep in mind that working from an external drive may affect performance, so use a reliable and fast connection like Thunderbolt or USB-C.
What This Guide Does Not Cover
This guide focuses on storage-related errors in iMovie and does not cover unrelated software bugs, such as app crashes unrelated to disk space, or hardware failures like a failing hard drive unless clearly indicated. If you encounter persistent crashes, corrupted projects, or hardware diagnostics issues, consider consulting Apple Support or a professional technician. Additionally, this advice does not address operating system-level storage management beyond what directly affects iMovie’s operation.
The single most useful next step is to use the Finder to locate and delete large, unnecessary files outside of iMovie, such as old video exports or downloads, especially in the Movies and Downloads folders. This quick action often frees significant space without risking your current iMovie projects. After freeing space, restart your Mac to allow iMovie to refresh its storage status before continuing your work.
See also: How to Remove Background Noise in iMovie: A Step-by-Step Guide · How to Export for YouTube in iMovie: A Clear Step-by-Step Guide · How to Add Background Music in iMovie: A Step-by-Step Guide · How to Add Subtitles in iMovie: A Complete Step-by-Step Guide



