How to Print a Spreadsheet on One Page in Numbers: Step-by-Step Guide
Discover simple steps to print a spreadsheet on one page in Numbers by adjusting print settings and scaling for a clean, readable layout.
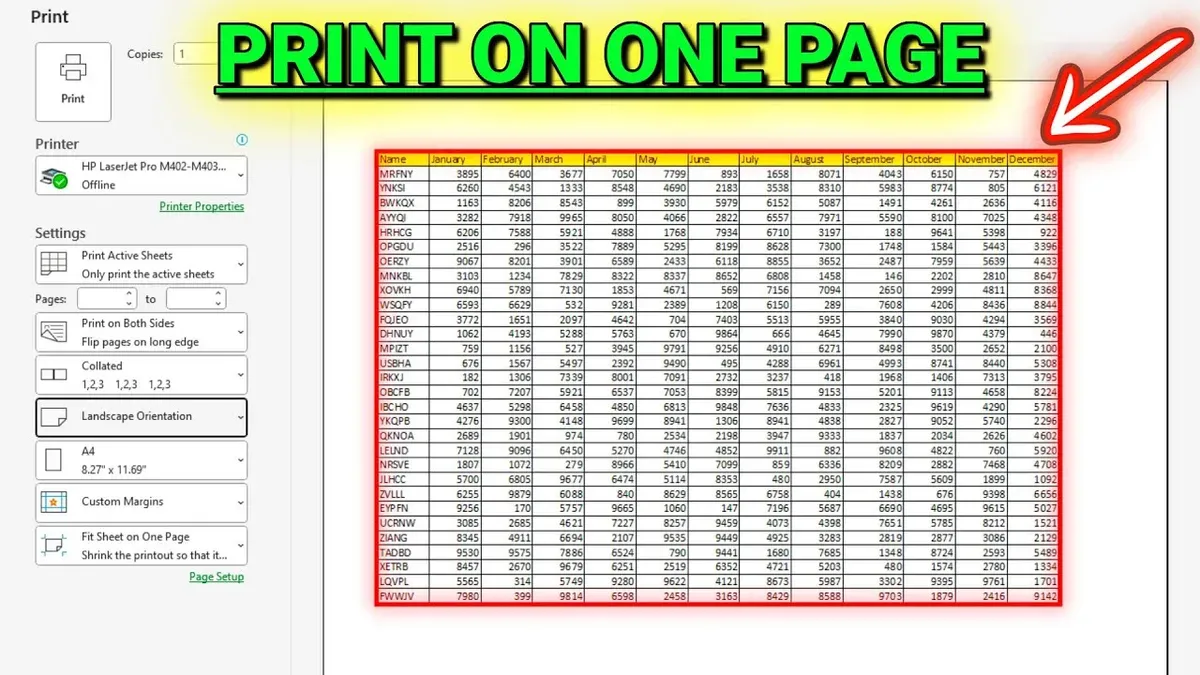
Printing a spreadsheet that fits neatly on one page can be tricky, especially when your data spans multiple columns and rows. You might find that default print settings either cut off important information or spread content awkwardly across several pages. This article explains how to print a spreadsheet on one page in Numbers by guiding you through practical adjustments to page setup and scaling options.
You'll learn step-by-step methods to configure your print settings, including how to fit a single sheet or the entire spreadsheet onto one page without sacrificing readability. Along the way, you’ll find tips on balancing layout tweaks and scaling to avoid tiny text or cluttered prints.
Key takeaways
- Adjust page orientation and margins in Page Setup for better fit.
- Use the Scale option in Print Settings to shrink or enlarge content precisely.
- Choose to print a single sheet or the whole spreadsheet depending on your needs.
- Preview your printout to catch layout issues before printing.
- Modify column widths and font sizes to improve clarity on one page.
Before you start: What you need to prepare
Before printing your spreadsheet on one page in Numbers, make sure your document and equipment are ready. Have your file open and saved on your Mac or iPad to avoid any loss of changes during setup. You should also know whether you plan to print a single sheet or multiple sheets, as this affects your layout and scaling choices.
Next, confirm your printer is connected and powered on. Check that it has enough paper loaded—using standard letter or A4 size is typical. Without paper or a proper connection, you won’t be able to preview or print your spreadsheet correctly.
Familiarize yourself with the Print Preview window in Numbers. This window shows how your spreadsheet will appear when printed and lets you adjust settings before you commit to printing. For example, a typical spreadsheet with 20 rows and 8 columns might initially span multiple pages, but the preview helps you see the effect of scaling and layout changes in real time.
- Open your Numbers spreadsheet and save any recent changes. You should see your data clearly on the screen.
- Decide if you want to print only the current sheet or all sheets in the document. Note this decision for later settings.
- Ensure your printer is connected to your Mac or iPad and powered on. Check the paper tray is loaded with the appropriate paper size.
- Go to File > Print to open the Print Preview window. You should see a preview of your spreadsheet on the right side, showing how it currently fits on pages.
How to print Numbers spreadsheet on one page by adjusting page setup
- Open your spreadsheet in Numbers and go to the File menu, then select Print. This opens the Print dialog where you can see a preview of how your spreadsheet will print.
- In the Print dialog, click Page Setup. Here you can control the paper size and orientation. Choose a paper size that suits your spreadsheet, such as Letter or A4. Then select Landscape orientation if your spreadsheet is wider than it is tall, or Portrait if it is taller.
- Next, adjust the margins by selecting Margins and choosing Narrow. Narrow margins maximize the printable area, giving your spreadsheet more space on the page without cutting off content.
- Look for the Scale to Fit option. Choose Fit to One Page Wide to shrink your columns to fit the page width, or Fit to One Page to reduce the entire spreadsheet to a single page. The preview will update to show how your spreadsheet shrinks.
- Compare the print preview before and after scaling. For example, a wide spreadsheet that originally prints across two pages will now fit on one page, though text and cells may become smaller. This trade-off helps avoid printing on multiple sheets while maintaining readability.
How to print one sheet in Numbers with custom scaling
To print a single sheet in Numbers, first make sure you have selected the sheet you want to print. Only this active sheet should be included in the print job to avoid unnecessary pages. When you open the Print dialog, verify that the option for printing the current sheet is checked, not the entire spreadsheet.
Next, look for the scaling options in the Print dialog. If the default automatic scaling does not fit your content well or affects readability, you can manually adjust the scale percentage. For example, reducing the scale to around 80% may fit more columns on one page but could make text smaller and harder to read. Increasing the scale to 110% might improve clarity but risk splitting the sheet onto multiple pages.
Use the Print Preview pane to compare how different scale percentages affect the layout. At 100%, your sheet might be clear but span two pages; at 70%, it fits on one page but details may be cramped. Adjust until you find a balance between fitting everything on one page and keeping the content legible.
- Select the sheet you want in Numbers. You should see its tabs at the top or side, with the desired sheet highlighted.
- Open the Print dialog by choosing File > Print or pressing Command+P. Confirm the print preview shows only the active sheet's content.
- Locate the Scale option within the Print settings. If it is set to automatic, change it to manual input.
- Enter a scale percentage, starting around 80%, and observe the preview. The sheet should shrink accordingly.
- Adjust the scale up or down as needed, checking the preview each time to ensure the text remains readable and the layout fits on one page.
- Once satisfied, proceed to print your single sheet with the custom scaling applied.
How to print entire spreadsheet on one page using print options and layout tweaks
By default, Numbers treats each sheet in your spreadsheet as a separate page when printing. To fit multiple sheets onto one physical page, you need to combine layout adjustments within Numbers with external tools or workflows. Start by refining your spreadsheet’s content: reduce font sizes slightly and narrow column widths where possible to save space without sacrificing readability.
Switching your page orientation to landscape and setting margins to the narrowest preset can provide more horizontal room, which often helps when fitting wide data. After these adjustments, export your spreadsheet to a PDF by choosing File > Export To > PDF. Open this PDF in a third-party tool that supports combining pages, such as Preview on Mac or Adobe Acrobat, and use the print settings to scale multiple pages onto one sheet—for example, selecting “2 pages per sheet” or “4 pages per sheet.”
This combined approach preserves the clarity of each sheet while physically placing them all on one page for printing. It’s a practical workaround since Numbers does not currently offer native multi-sheet-on-one-page printing. By adjusting your spreadsheet layout and utilizing PDF export plus print scaling, you control both the content’s legibility and the final print size.
- Adjust font size and column widths in your spreadsheet to condense content. After doing this, your data should appear more compact but still readable.
- Set the page orientation to landscape and margins to narrow in the Page Setup to maximize printable area. You will see more width available for your content in Print Preview.
- Export your spreadsheet to a PDF via File > Export To > PDF. Confirm the PDF opens clearly with all sheets represented.
- Open the PDF in a third-party app that supports multi-page scaling, such as Preview or Adobe Acrobat.
- Use the print dialog’s layout or page handling options to print multiple pages per sheet (e.g., 2 or 4 pages per sheet). The preview should now show all sheets fitting onto one physical page.
Troubleshoot common issues when printing spreadsheets on one page
If your printed spreadsheet shows content cut off or text too small to read, the first step is to revisit your scaling settings. Reducing the scale below 50% often makes text unreadable, so try increasing scale slightly or adjusting column widths in your spreadsheet to balance fit and clarity. For example, a user found their columns too wide and shrinking the scale to 30% made text illegible; by narrowing columns and setting scale to around 70%, the printout became clear and complete.
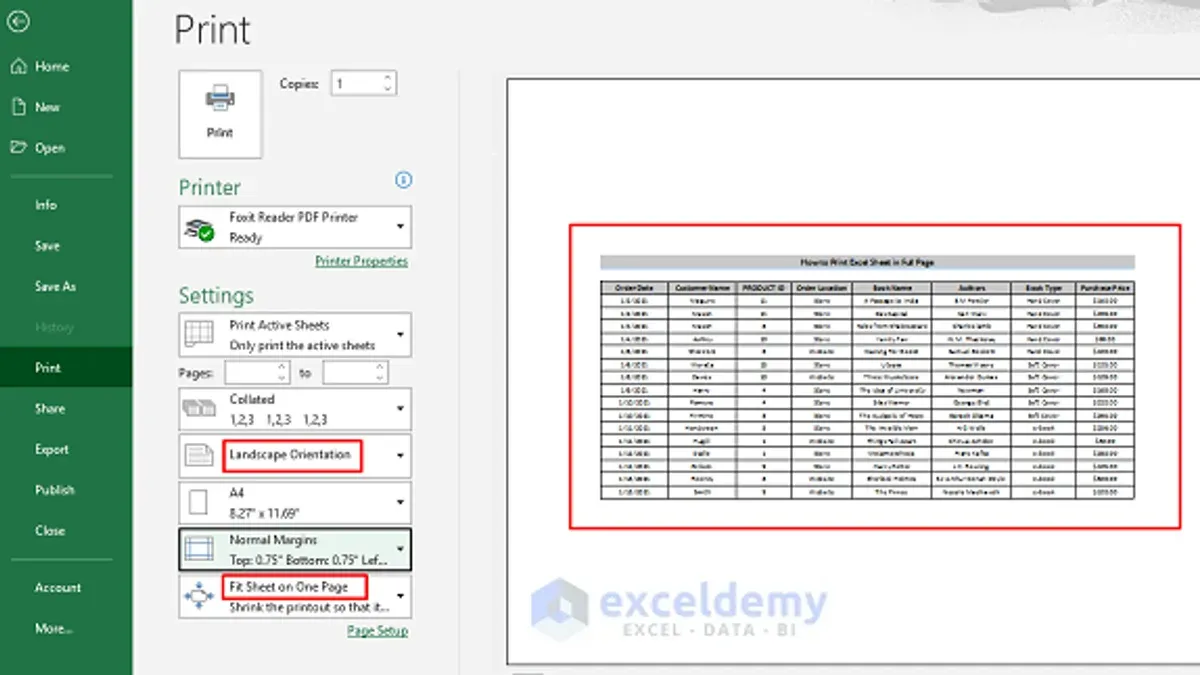
Unexpected page breaks or blank pages in Print Preview usually indicate hidden rows, columns, or extra spaces beyond your data range. Check your spreadsheet for stray data or formatting outside the intended print area. Deleting unused rows and columns or setting the print range explicitly in the Print dialog can resolve this. One user noticed blank pages due to empty rows far down; after clearing those rows and resetting the print area, the pages aligned correctly.
Printer driver issues may cause scaling problems that Numbers settings alone cannot fix. If your printout ignores scale adjustments or margins shift unexpectedly, update your printer driver from the manufacturer’s website. Reinstalling the printer can also help. A user with a network printer experienced strange shifts; updating their driver restored proper scaling controls.
Finally, know when to adjust spreadsheet content rather than print settings. Overly wide columns or dense data often require trimming or reformatting—such as wrapping text, reducing font size, or hiding non-essential columns—to fit on one page without sacrificing readability. Trying to force everything via scaling alone tends to produce tiny, unreadable printouts.
Frequently asked questions
How to print spreadsheet on one page?
To print a spreadsheet on one page in Numbers, open the Print dialog and go to the Scale section. Choose "Scale to Fit" and select "One Page" to shrink the content automatically. You may need to adjust the orientation and margins to ensure everything fits neatly without cutting off data.
How to print numbers spreadsheet on one page without losing readability?
Maintain readability by carefully balancing scaling with font size. Instead of automatically shrinking the spreadsheet too much, try adjusting column widths or hiding unnecessary columns before printing. Use Landscape orientation if your data is wide, and set margins to "Narrow" for more space.
How to print one sheet in Numbers without printing the entire workbook?
In the Print dialog, select the specific sheet you want under the "Sheets" dropdown menu. This ensures only the chosen sheet prints, not the entire workbook. Confirm this selection before proceeding to avoid printing unwanted sheets.
How to print entire spreadsheet on one page when it is very large?
For very large spreadsheets, use the "Scale to Fit" option and choose "One Page" but expect some reduction in size. If the text becomes too small, consider splitting the data into multiple printouts or adjusting the layout by hiding less important rows or columns. Another option is to change the paper size to a larger format if your printer supports it.
How to adjust margins and orientation in Numbers before printing?
Open the Print dialog and click "Show Details" to access margin and orientation settings. Choose between Portrait or Landscape orientation depending on your data layout. Adjust margins by selecting presets like "Default," "Narrow," or "Wide" to create more or less white space around your content, helping it fit better on the page.
Honest limits of this guide
This guide does not cover advanced third-party software solutions for complex multi-sheet printing beyond Numbers’ native capabilities. Some print quality limitations depend on the physical printer hardware and cannot be fully controlled within Numbers. If you work with extremely large or complex spreadsheets, you may need to reduce content or split printing across multiple pages to maintain readability and avoid overly small text.
Numbers provides solid built-in tools for most common printing needs, but it is not designed for professional-grade publishing or highly customized print layouts. Knowing when to simplify your spreadsheet or print in sections can save you frustration and ensure a clearer final printout.
The single most useful next step is to open your spreadsheet’s Print Setup dialog and experiment with the Scale to Fit options. Adjusting the scale percentage while previewing changes helps you find the balance between fitting content on one page and keeping text legible. Try printing a test page after each adjustment to verify the result before final printing.
See also: How to Freeze Header Rows in Numbers: A Step-by-Step Guide · How to Merge Cells in Numbers: A Clear Step-by-Step Guide · How to Make a Monthly Budget in Numbers: A Step-by-Step Guide for 2026