How to Use sudo Safely in Mac Terminal: A Step-by-Step Guide
Discover how to use sudo safely in Mac Terminal to manage your system securely and avoid common mistakes with elevated command privileges.
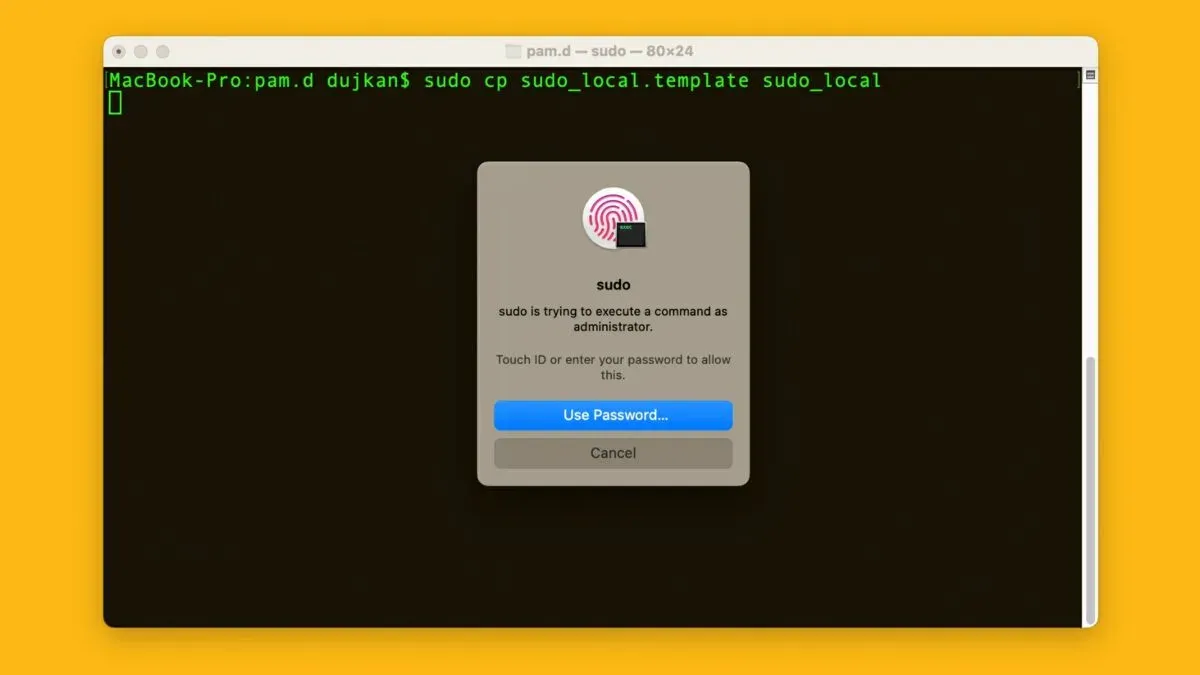
Working in the Mac Terminal often requires running commands with elevated privileges, but using sudo without caution can lead to unintended system changes or security risks. You might have wondered exactly when and how to safely apply sudo commands on your Mac to avoid damaging your system or exposing it to vulnerabilities.
This article explains how to use sudo safely in Mac Terminal, providing clear steps for enabling and employing sudo correctly, understanding when elevated privileges are necessary, and avoiding common mistakes that can compromise your Mac’s security.
Key takeaways
- Sudo grants temporary administrator access; use it only when necessary.
- Enable sudo by ensuring your user is in the admin group or configuring the sudoers file carefully.
- Verify commands before running with sudo to prevent accidental system damage.
- Understand differences in sudo usage between Mac and Linux to avoid confusion.
- Common sudo errors often stem from misconfigured permissions or missing sudo installation.
Before you start: What sudo is and what you need
sudo is a command-line utility that allows you to run commands with elevated privileges, typically those of the system's root user. On macOS, sudo is pre-installed and lets you perform administrative tasks that require higher permissions than a standard user account provides.
To use sudo on your Mac, you must operate from an administrator user account. This ensures you have the necessary rights to authorize commands that affect system settings or files outside your own user space.
When you enter a sudo command, the Terminal will prompt you for your administrator password. This password is not displayed as you type for security reasons, but once entered correctly, sudo grants temporary elevated access, usually lasting a few minutes.
- Open Terminal.
- Type sudo ls /var/root and press Enter. This command lists the contents of the root user's home directory, which normally requires elevated privileges.
- When prompted, enter your administrator password. The input will be invisible; press Enter after typing.
- If the password is correct, you will see the directory contents. If not, you will be asked again or see a permission error.
Understanding sudo and having administrator access is essential because it allows you to perform critical system tasks safely. Using sudo responsibly helps you avoid accidental damage or security risks while managing your Mac via Terminal.
How to enable sudo in Mac Terminal if you get 'sudo command not found'
On macOS, sudo is normally pre-installed and ready to use. If you see a 'sudo command not found' error, it often indicates issues like an incorrect PATH environment, a corrupted system installation, or a minimal shell environment such as a restricted recovery shell.
First, confirm whether sudo exists and where it is located by running:
which sudoYou should see an output like /usr/bin/sudo. If nothing appears, sudo may be missing or your PATH variable does not include its location.
Check your PATH variable by entering:
echo $PATHMake sure it includes /usr/bin. If it does not, you need to add it back to your shell configuration file (e.g., ~/.zshrc or ~/.bash_profile).
- If sudo is still missing, consider reinstalling macOS via Recovery Mode to restore system utilities safely. To enter Recovery Mode, restart your Mac and hold Command + R until the Apple logo appears. From there, choose "Reinstall macOS" without erasing your data.
Alternatively, if you use Homebrew and sudo is missing, you can install it by running:
brew install sudo
Note that this is uncommon and may cause conflicts; use with caution.
Reload your shell settings:
source ~/.zshrc
Run which sudo again; it should now show /usr/bin/sudo.
Open your shell configuration file in a text editor, for example:
nano ~/.zshrc
Add this line if missing:
export PATH=/usr/bin:$PATH
Save and exit.
Modifying system files or reinstalling sudo carries risks; ensure you have backups and understand the implications before proceeding.
How to use sudo in Mac Terminal safely: Best practices
Using sudo grants powerful administrative access, but running commands as root unnecessarily can cause system damage or introduce security vulnerabilities. Always verify and understand commands before prefixing them with sudo.
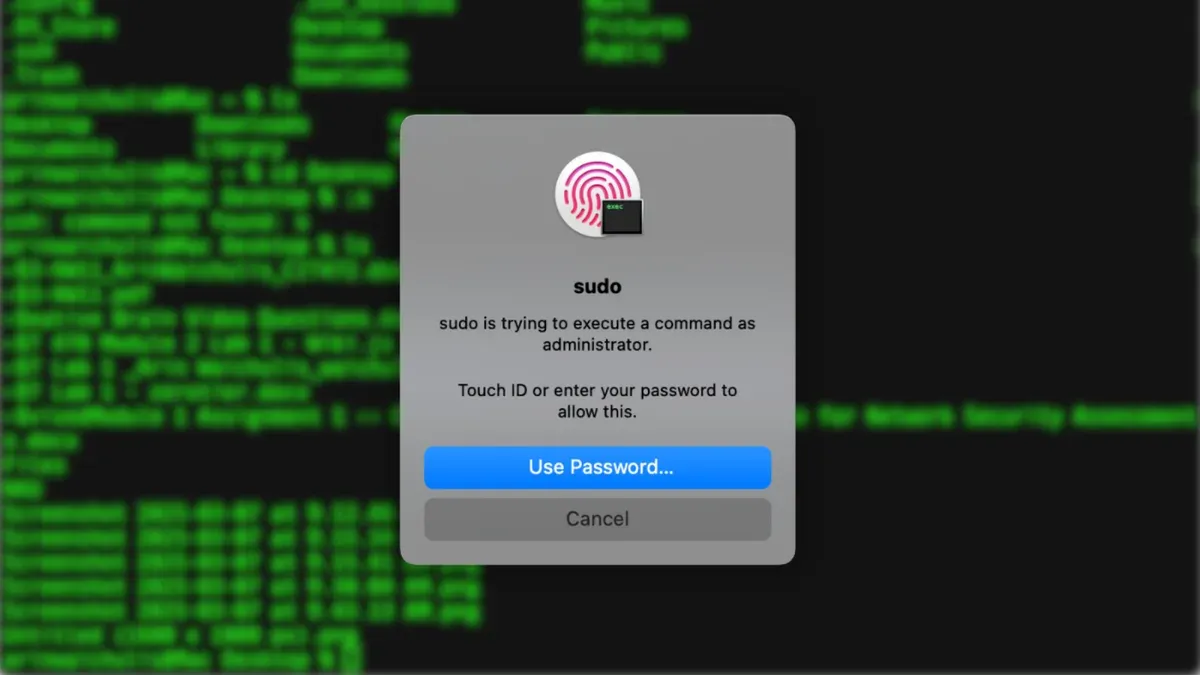
- Avoid running graphical applications with sudo, as this can cause environment and permission conflicts. Instead, use administrative tools designed for GUI or run command-line equivalents with sudo.
- When you start a sudo session, limit its duration by logging out promptly. Use sudo -k to invalidate cached credentials and require password entry on next sudo use. This reduces risk of unauthorized access if you step away.
- Prefer sudo -i to get an interactive root shell with root’s environment loaded, rather than sudo su, which switches user but keeps your environment and can cause confusion or security gaps.
Example of risky sudo usage:
sudo rm -rf /some/important/directory
which can irreversibly delete important system files if mistyped.
Example of safe sudo usage:
sudo cp /path/to/file /usr/local/bin/
copies a file requiring admin rights.
Check which commands you are allowed to run with sudo by typing sudo -l. This lists permitted commands for your user and helps avoid unauthorized actions. For example, output might show:
(ALL: ALL) ALL
meaning you can run all commands, or a limited set specified.
By following these best practices, you reduce the chance of accidental damage and maintain system security while using sudo on your Mac.
How to use sudo command in Linux compared to Mac Terminal
The sudo command functions similarly on both Linux and macOS by allowing a permitted user to execute commands with elevated privileges. However, there are notable differences in the default sudoers configuration, user permission models, and system environment that affect how sudo operates on each platform.
On Linux, the root user is typically enabled by default, and many distributions allow direct root login or switching to root with sudo su or su. In contrast, macOS disables the root user by default for security reasons. Instead, macOS relies exclusively on sudo for administrative tasks, requiring users to authenticate with their administrator password.
The sudoers file on Linux is usually located at /etc/sudoers or within /etc/sudoers.d/ directories, and it often includes broader default permissions for the admin or sudo user groups. On macOS, the sudoers file at /etc/sudoers is more restrictive and explicitly grants sudo access only to users in the admin group. For example, a Linux sudoers entry might look like:
%sudo ALL=(ALL:ALL) ALLwhile macOS uses:
%admin ALL=(ALL) ALLThis means on macOS, users must belong to the admin group to use sudo, whereas Linux systems often use a separate sudo group.
Command behaviors can also differ due to macOS’s BSD-based environment. For instance, sudo systemctl restart service works on many Linux distros but not on macOS, which uses launchctl for service management. Instead, you would use sudo launchctl stop service.name and sudo launchctl start service.name on Mac.
Understanding these differences helps you apply your Linux sudo knowledge effectively on macOS while respecting its unique security and system architecture.
How to install sudo in Mac Terminal if missing
On macOS, sudo is a core system utility included with the base installation and should rarely be missing. If you find that sudo is absent or removed, reinstalling it requires care to avoid system instability.
Here are methods to restore sudo safely:
- Try reinstalling sudo via Homebrew (last resort): If you have Homebrew installed, you can install sudo manually, though this is not recommended for core utilities. Run
brew install sudoin Terminal. Once installed, verify by runningsudo -V, which should display the sudo version and configuration. - Reinstall macOS using Recovery Mode: Restart your Mac and hold Command (⌘) + R to boot into Recovery Mode. Choose “Reinstall macOS” from the utilities window and follow the prompts. This process refreshes system files, including sudo, without erasing your data. After reboot, check sudo availability by typing
sudo -Vin Terminal. - Apply macOS Combo Update: Download the latest macOS Combo Update for your version from Apple's official website. Running the combo updater reinstalls core system components and can restore missing utilities like sudo. After installation and restart, verify sudo is present.
Warnings: Manually installing or replacing core system tools outside of Apple or trusted package managers can lead to system instability or security risks. Avoid copying sudo binaries from unverified sources. If sudo issues persist, consider contacting Apple Support or visiting an authorized service provider.
Commands that need sudo on Mac Terminal and how to decide when to use it
Using sudo grants administrative privileges required for certain commands that affect system-wide settings or files. Typical command categories needing sudo include installing software in system directories, modifying system configuration files, and changing network settings.
You can tell if a command requires sudo by attempting to run it without elevated privileges. If you see a permission denied error or a message indicating insufficient permissions, sudo is likely needed. Checking the official documentation or man pages often specifies if administrative rights are required.
Applying the principle of minimal use helps avoid unnecessary risks. For example, installing software via Homebrew usually does not need sudo since it installs into user-accessible locations. Alternatively, you may perform some tasks by editing files within your user's domain rather than system directories.
Here are some examples of common commands and when to use sudo:
- Installing software:
brew install package(no sudo needed);installer -pkg /path/to/package.pkg -target /(sudo needed) - Modifying system files: Editing
/etc/hostsrequiressudo nano /etc/hosts - Changing network settings: Restarting network services with
sudo ifconfig en0 down
Example of a permission error:
- Run
nano /etc/hostswithout sudo. You should see Permission denied. - Run
sudo nano /etc/hosts. The file opens for editing, confirming sudo is required.
By evaluating the command's effect and testing without sudo first, you can decide when elevated privileges are necessary and reduce security risks by limiting sudo usage.
Troubleshooting common sudo issues on Mac Terminal
Encountering errors with sudo can halt your workflow. Address issues methodically to restore safe functionality.
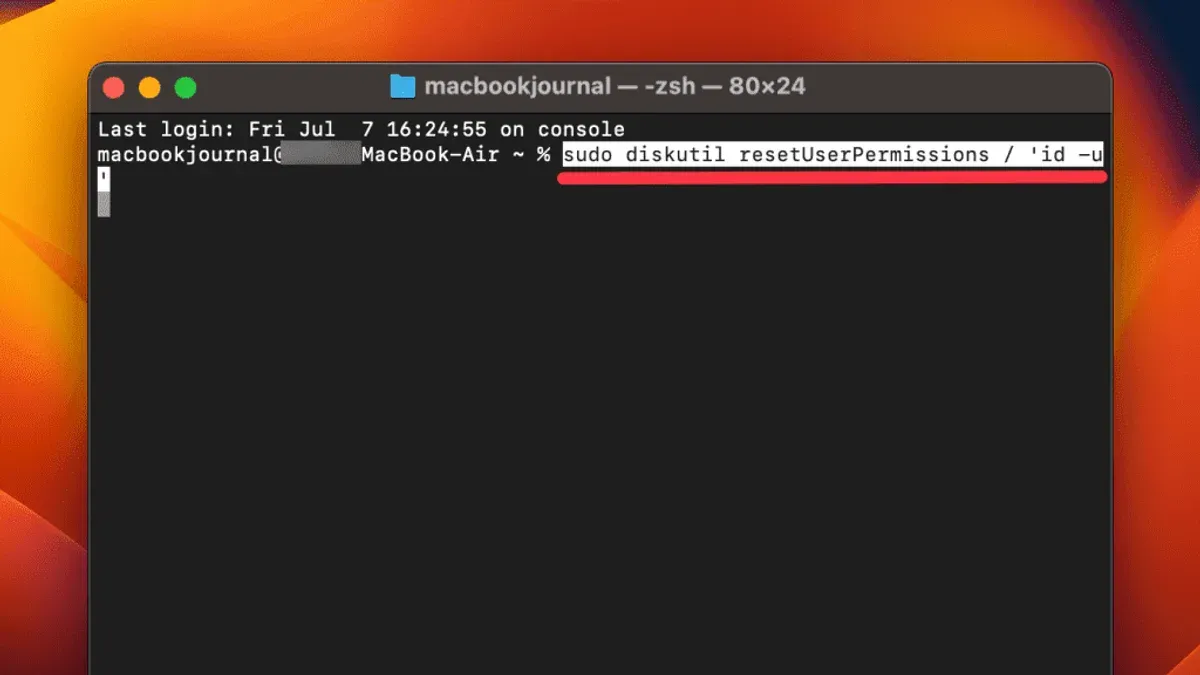
Fixing 'sudo: command not found' and PATH issues
- Run echo $PATH to check if
/usr/binis included. You should see it listed among other paths. - If missing, add it temporarily with
export PATH=$PATH:/usr/bin. Test sudo again by runningsudo ls. If it works, permanently update your shell profile (e.g.,~/.zshrcor~/.bash_profile). - If sudo still fails, verify its presence with
which sudo. It should return/usr/bin/sudo. If not found, reinstall sudo as described earlier.
Handling 'sudo: permission denied' or 'user is not in the sudoers file' errors
These errors indicate your user lacks sudo privileges.
- Confirm your user is in the admin group with
dscl. -read /Groups/admin GroupMembership. Your username should appear. - If missing, add your user to the admin group using
sudo dseditgroup -o edit -a yourusername -t user admin. Replace yourusername accordingly. - If you cannot use sudo to add the user, reboot into Recovery Mode, open Terminal, and use
resetpasswordutility or create a new admin user to regain access.
Password prompt issues and sudo timeout behavior
Sometimes sudo may not prompt for a password or may timeout unexpectedly.
- After entering your password correctly, sudo caches credentials for a short period (typically 5 minutes). Running sudo again within this window will not prompt for a password.
- If password prompts fail to appear or reject valid passwords, check keyboard layout settings or Caps Lock status.
- To reset sudo’s timestamp (forcing a password prompt), run
sudo -k.
When sudo commands hang or behave unexpectedly
- Terminate the hung process by pressing Control + C.
- Check system logs for related errors using
log show --predicate 'process == "sudo"' --last 1h. - Ensure the command you are running with sudo is correct and safe. Misuse can cause unexpected behavior or system instability.
- Restart your Mac if problems persist, as lingering processes or resource locks may interfere.
When to seek professional support or avoid sudo
If you are unsure about commands requiring sudo or face persistent issues, consult Apple Support or a qualified professional. Avoid running sudo commands from unverified sources to prevent system damage.
- How to Take Ownership with chown in Mac Terminal: A Step-by-Step Guide
- How to Change File Permissions with chmod in Mac Terminal
- How to Generate an SSH Key in Mac Terminal: A Step-by-Step Guide
- How to Disable Gatekeeper in Mac Terminal: Step-by-Step Guide
Frequently asked questions
How to use sudo in command prompt?
On Mac Terminal, you use sudo by typing sudo followed by the command requiring elevated privileges. For example, sudo nano /etc/hosts lets you edit the hosts file with administrator rights. You will be prompted to enter your user password to confirm authorization.
How to enable sudo in command line?
If sudo is not available, you may need to install it or fix your $PATH. On Mac, sudo is usually preinstalled, but if missing, you can install it via Homebrew with brew install sudo. Ensure your user account has administrator privileges to use sudo commands.
How to use sudo in linux?
Using sudo in Linux works similarly to Mac. Type sudo before a command to run it as root. Your user must be in the sudoers file or the sudo group, which is typically set up during installation or by an administrator.
How to use sudo command in windows?
Windows does not have a native sudo command. Instead, you run Command Prompt or PowerShell as an administrator by right-clicking and selecting Run as administrator. Alternatively, Windows Subsystem for Linux (WSL) allows using sudo within its Linux environment.
What does sudo mean in terminal?
sudo stands for "superuser do". It allows a permitted user to execute commands with the security privileges of the root user, enabling changes that require administrative access. This prevents unauthorized system modifications by restricting elevated actions to trusted users.
What this advice does not cover and who should look elsewhere
This article does not cover advanced sudoers file customization or managing sudo on managed enterprise Macs where policies may restrict sudo usage. If you require granular control over sudo privileges or are working within a corporate environment with enforced security policies, consult your system administrator or specialized documentation. Additionally, this guide does not address deep system recovery scenarios that might require bypassing sudo restrictions.
The single most useful next step is to regularly review the commands you run with sudo and verify their source. Maintaining a habit of checking syntax and understanding the impact of commands before execution helps prevent accidental system changes or security risks. Consider creating a small reference list of trusted sudo commands tailored to your workflow to streamline future operations while keeping safety a priority.