How to Zip Files with a Password Using Mac Terminal
Secure your files by learning how to zip with password in Mac Terminal using built-in commands and understand encryption options.
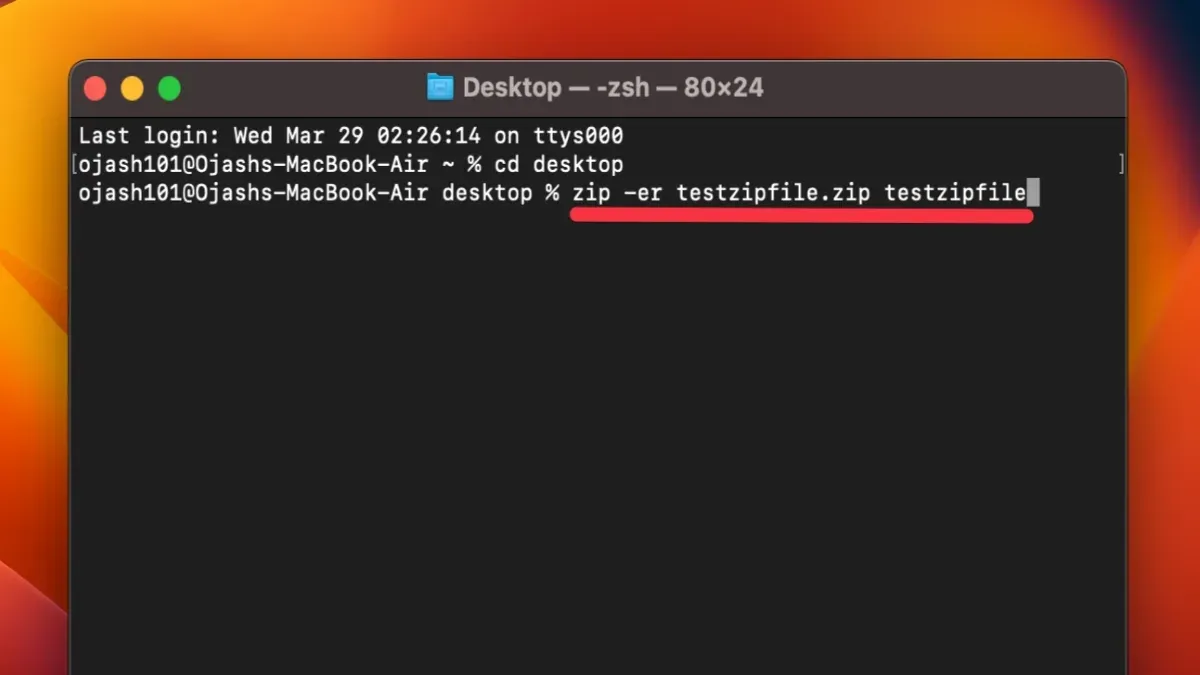
You need to send sensitive documents quickly and want to protect them without downloading extra software. Using the Mac Terminal’s built-in tools can be a fast way to zip files with a password. This article explains how to zip with password in Mac Terminal, covering both single and multiple files, adding passwords to existing archives, and how to open these protected zip files.
While the Terminal offers convenient commands, it’s also important to understand the security limitations of password-protected zip files. You’ll also learn when third-party tools might be a better option for stronger encryption. Step-by-step instructions will guide you through the process, along with troubleshooting common issues.
Key takeaways
- The built-in zip command allows password protection but uses weak encryption (ZipCrypto).
- You can zip single files, multiple files, or folders with passwords via Terminal commands.
- Adding a password to an existing zip file requires creating a new archive.
- Third-party tools offer stronger encryption like AES-256 if higher security is needed.
- Knowing how to unzip password-protected files in Terminal helps confirm successful encryption.
Before you start: What you need to zip files with password in Mac Terminal
To zip files with a password using Mac Terminal, first ensure your Mac is running a relatively recent version of macOS, which includes the built-in zip command accessible through Terminal. Open Terminal from Applications > Utilities or via Spotlight search.
The default zip command supports basic password protection using ZipCrypto encryption. This provides a minimal level of security but is widely recognized as weak against modern cracking techniques.
If you require stronger encryption, you will need third-party tools such as 7z (from the p7zip package) or zipcloak, which offer AES-256 encryption, significantly increasing password protection strength.
Basic familiarity with Terminal commands is necessary to navigate directories, run commands, and input passwords securely. You should feel comfortable typing commands and understanding directory paths.
| Encryption Type | Tool | Encryption Strength |
|---|---|---|
| ZipCrypto (default) | zip (built-in) | Weak; vulnerable to password cracking |
| AES-256 | 7z (p7zip), zipcloak | Strong; recommended for sensitive data |
- Check macOS version by clicking the Apple menu > About This Mac; ensure Terminal is accessible.
- Open Terminal via Applications > Utilities or Spotlight.
- Confirm the built-in
zipcommand is available by typingzip -hand pressing Enter; you should see usage instructions. - If stronger encryption is needed, install third-party tools like
7zusing Homebrew (brew install p7zip) and verify installation by typing7z. - Review your comfort level with Terminal commands; basic navigation and file operations are essential.
How to zip a file with password in Mac Terminal using the built-in zip command
You can use macOS’s built-in zip command with the -e option to create a password-protected zip archive. This method is straightforward but uses ZipCrypto encryption, which offers only basic security.
- Open Terminal and navigate to the folder containing the file you want to zip.
- Type the command
zip -e archive.zip filename, replacingarchive.zipwith your desired archive name andfilenamewith the file you want to compress. - Press Enter. You will be prompted to enter a password. Type your chosen password carefully; it will not be displayed on screen.
- Re-enter the password when prompted to confirm. If both entries match, the zip archive will be created.
- Check the directory with
lsto see your newarchive.zipfile.
For example, running zip -e secret.zip document.txt prompts:
Enter password:
Verify password:
Once confirmed, secret.zip contains the encrypted document.txt. The encryption used is ZipCrypto, which is compatible with most unzip tools but vulnerable to password cracking and should not be considered highly secure for sensitive data.
This built-in approach is best for light protection or casual use. For stronger encryption, consider third-party tools discussed later in this article.
How to zip multiple files or folders with password in Mac Terminal
To compress multiple files or entire folders with password protection using the built-in zip command, specify all target items after the archive name. You can list individual files, use wildcards to match multiple files, or include folders with recursive compression.
- Open Terminal and navigate to the directory containing the files or folders.
- Type the command zip -er archive_name.zip file1.txt file2.jpg folder1 and press Enter.
Here,-eenables password protection, and-rrecursively includes all files and subfolders insidefolder1. - You will be prompted to enter and verify a password. Type your desired password; the characters will not appear on screen.
- Once completed, the Terminal will display the compressed files and folders included in the archive.
Example output:
adding: file1.txt (deflated 50%)
adding: file2.jpg (stored 0%)
adding: folder1/ (stored 0%)
adding: folder1/document.pdf (deflated 30%)
Note that file paths with spaces or special characters should be enclosed in quotes to avoid errors, e.g., "My Folder". Also, the built-in encryption uses ZipCrypto, which may not securely protect sensitive data against determined attacks.
How to add password to an existing zip file in Mac Terminal
If you have a zip archive without password protection, you can add a password using the zipcloak command. This utility encrypts the contents of an existing zip file with a password, applying ZipCrypto encryption similar to the built-in zip command's -e option.
- Open Terminal and navigate to the folder containing your zip file using
cd [path]. For example,cd ~/Documents.
You should now be in the directory with your zip file. - Run the command
zipcloak yourfile.zip, replacingyourfile.zipwith the actual filename.
The terminal will prompt you to enter a password. - Enter a strong password when prompted, then re-enter it for confirmation.
If successful, the command will finish without error, indicating the file is now encrypted. - Verify the file size and encryption status by running
unzip -l yourfile.zip. The file size should be similar, but the contents are now password-protected.
The archive will require the password when unzipping.
Note that zipcloak only encrypts the file data, not the file names, and uses ZipCrypto encryption, which is not very strong by modern standards. Some unzip tools may not fully support zipcloak-encrypted archives, so compatibility can vary.
This method is appropriate when you want to add simple password protection to an existing zip file without recreating it. For stronger encryption, consider third-party tools.
How to unzip and open password-protected zip files on Mac
You can open password-protected zip files on Mac using either Terminal or Finder. Each method prompts you to enter the archive’s password but handles the process differently.
Using Terminal to unzip password-protected archives
- Open Terminal.
- Navigate to the folder containing the zip file using
cd. For example,cd ~/Downloads. - Run the unzip command with the file name:
unzip securefile.zip. - You will see a prompt: Enter password:. Type the password carefully (it will not be visible) and press Enter.
- If the password is correct, the files will extract to the current directory, and you will see a list of extracted files.
If the password is incorrect or the file is corrupted, you may get an error like “incorrect password or corrupted zip file” or “cannot find zip file directory”. Double-check the password and file integrity.
Opening password-protected zip files via Finder
- Locate the zip file in Finder.
- Double-click the zip file to start extraction.
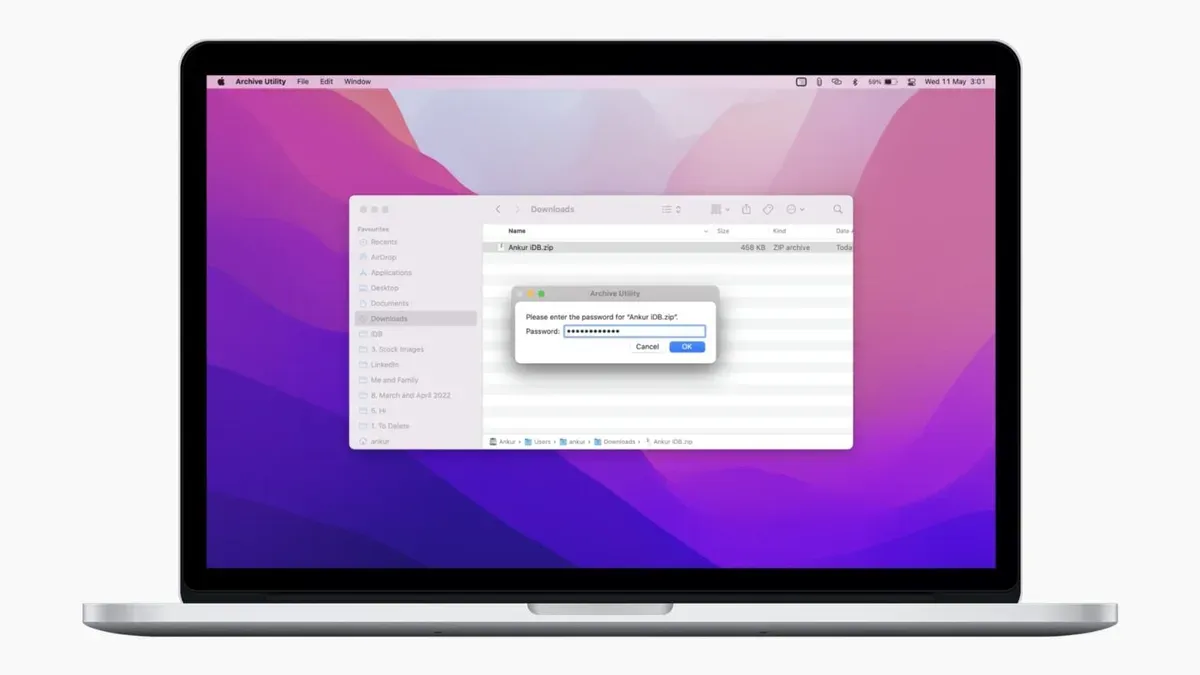
- Finder will display a password prompt window.
- Enter the password and click OK.
- If the password is correct, the contents will unzip into the same folder.
Be aware that Finder uses the same underlying system unzip utility, so it supports only ZipCrypto encryption, which has security limitations.
When entering passwords in Terminal or Finder, avoid pasting passwords from insecure sources to reduce the risk of exposure. Always type passwords carefully and consider the security of your environment.
Using third-party tools for stronger password protection in Mac Terminal
The built-in zip command on Mac uses ZipCrypto encryption, which is relatively weak and can be vulnerable to attacks. For stronger security, you can use third-party tools like 7-Zip (7z), which supports AES-256 encryption, providing significantly better protection for your archives.
- Install Homebrew if you haven't already by running /bin/bash -c "$(curl -fsSL https://raw.githubusercontent.com/Homebrew/install/HEAD/install.sh)". This is a package manager for macOS that simplifies installing command-line tools.
- Install p7zip, the command-line version of 7-Zip, by typing brew install p7zip. Once installed, you'll have access to the 7z command.
- Create a password-protected archive with AES-256 encryption using the syntax:
7z a -tzip -pYourPassword -mem=AES256 archive.zip /path/to/files. Replace YourPassword with your chosen password and specify the files or folders you want to compress. - When successful, the command will add files to archive.zip encrypted with AES-256. You can verify by attempting to open the archive with a zip utility that supports AES encryption.
Compared to the built-in zip command, 7-Zip offers robust encryption but may have compatibility issues with some older or less common unzip tools that do not support AES-256. Choose third-party tools when you require stronger encryption and are certain the archive recipients can use compatible software.
Troubleshooting common issues when zipping with password in Mac Terminal
When using password protection in Mac Terminal's zip commands, you may encounter issues such as missing password prompts, corrupted archives, or compatibility errors. Understanding common error messages and their fixes can save time and frustration.
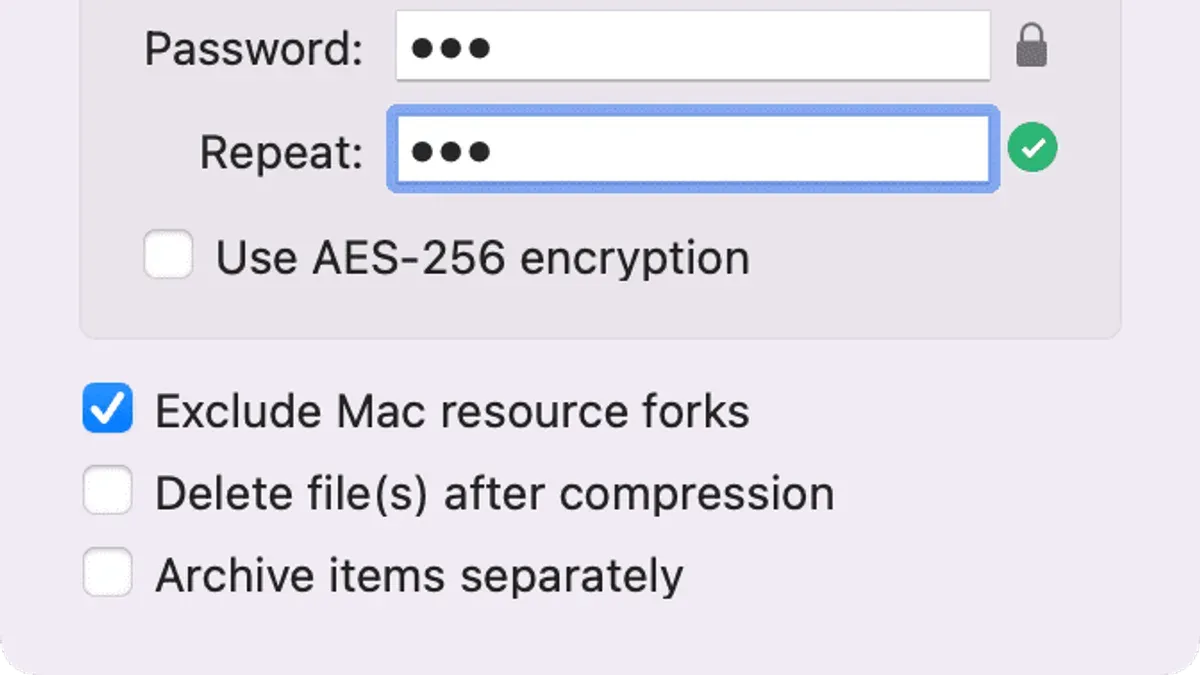
Password prompt not showing or accepting input
If the Terminal does not prompt for a password or appears to ignore your input, ensure you are using the -e option with the zip command. Password input is hidden by default, so type carefully and press Enter. If no prompt appears, check that you are running the command in an interactive Terminal session rather than a script or remote shell that might suppress prompts.
Corrupted or unopenable zip files
Errors like “End-of-central-directory signature not found” often indicate a corrupted archive. This can happen if the zip process was interrupted or if incompatible compression options were used. To verify archive integrity, run zip -T <filename.zip>. A successful test outputs "test of <filename.zip> OK". If errors are found, recreate the archive ensuring no interruptions occur during compression.
Compatibility issues with other operating systems
Archives created with Mac's built-in zip using ZipCrypto encryption may not open properly on all platforms due to weak or unsupported encryption. Using AES encryption via third-party tools can improve compatibility. When sharing zips, confirm the recipient’s system supports the encryption method used.
File permission errors
If you encounter “Permission denied” errors when creating or accessing zip files, verify you have write permissions in the target directory and read permissions for all files included. Use ls -l to check permissions and chmod to adjust them if necessary.
Steps to verify archive integrity
- Open Terminal and navigate to the directory with your zip file using cd. You should see your zip file listed with ls.
- Run zip -T <your-archive.zip> to test the archive.
- If the output says "test of <your-archive.zip> OK", the archive is intact.
- If errors appear, delete the corrupt zip and recreate it, ensuring no errors occur during compression.
- How to See Wi-Fi Password in Mac Terminal: A Clear Step-by-Step Guide
- How to Turn On FileVault on Mac: A Step-by-Step Guide
- How to Generate an SSH Key in Mac Terminal: A Step-by-Step Guide
Frequently asked questions
How to enter password in terminal mac?
When using password prompts in the Terminal on Mac, you typically type your password blindly—characters won’t appear for security reasons. After typing, press Enter to submit. For zip commands that require a password, the Terminal will prompt you to enter it securely without displaying it onscreen.
How to zip on mac?
To zip files on a Mac, you can use the built-in Finder by right-clicking the file or folder and choosing "Compress". In Terminal, use the command zip archive_name.zip file_or_folder to create a zip archive quickly. This method does not add password protection by default.
How to zip file in mac?
Zipping a file in macOS can be done via Finder by right-clicking the file and selecting "Compress". Alternatively, in Terminal, type zip archive_name.zip filename replacing "filename" with the file you want to compress. This creates a standard zip archive without encryption.
How to zip with password mac terminal?
Use the Terminal command zip -e archive_name.zip file to create a password-protected zip file. The system will prompt you to enter and verify the password securely. Note that this encryption uses ZipCrypto, which offers basic protection but is not highly secure against advanced attacks.
How to zip files in mac os?
To zip multiple files in macOS, select them in Finder, right-click, and choose "Compress Items". In Terminal, use zip archive_name.zip file1 file2 folder1 listing all files and folders you want to include. This creates a zip archive containing all specified items without password protection unless you add the -e option.
Limits of built-in password protection and when to choose alternatives
The built-in zip command on Mac uses ZipCrypto encryption, which provides only basic security and can be vulnerable to cracking. This method should not be relied on for highly sensitive or confidential files. Additionally, password protection typically secures the contents of the archive but does not encrypt file names or metadata unless you use specific encryption options available only in some third-party tools.
For stronger encryption, consider third-party solutions like 7-Zip or Keka, which support AES-256 encryption. Keep in mind these tools may reduce compatibility when sharing archives with users on different platforms or with limited software.
Review your security needs carefully to decide if the built-in zip command’s password protection is sufficient or if enhanced encryption tools are necessary.
The most practical next step is to test creating a password-protected zip archive using the Terminal’s built-in zip command on a non-critical folder. This helps you get comfortable with the syntax and understand the protection level before moving to more complex tools.