
How to Backup with Rsync in Mac Terminal: A Clear Step-by-Step Guide
This guide explains how to backup with rsync in Mac Terminal using simple steps for local and remote backups while preserving file integrity.
Backing up your important files on a Mac can feel overwhelming if you prefer using the Terminal over graphical apps. You might already know about rsync but wonder if it’s the right choice for your backup needs or how to use it effectively.
This article explains how to backup with rsync in Mac Terminal through clear, step-by-step instructions. You’ll learn how to perform local and remote backups, understand rsync’s advantages and limitations, and get practical tips to avoid common pitfalls.
Key takeaways
- Rsync is a versatile command-line tool for syncing and backing up files on Mac.
- Basic rsync commands can copy files locally and to remote servers securely.
- Rsync preserves file permissions, timestamps, and supports incremental backups.
- It requires some familiarity with Terminal and command syntax to use effectively.
- Advanced options enhance safety and efficiency but may need careful configuration.
Before you start: What you need to use rsync on Mac
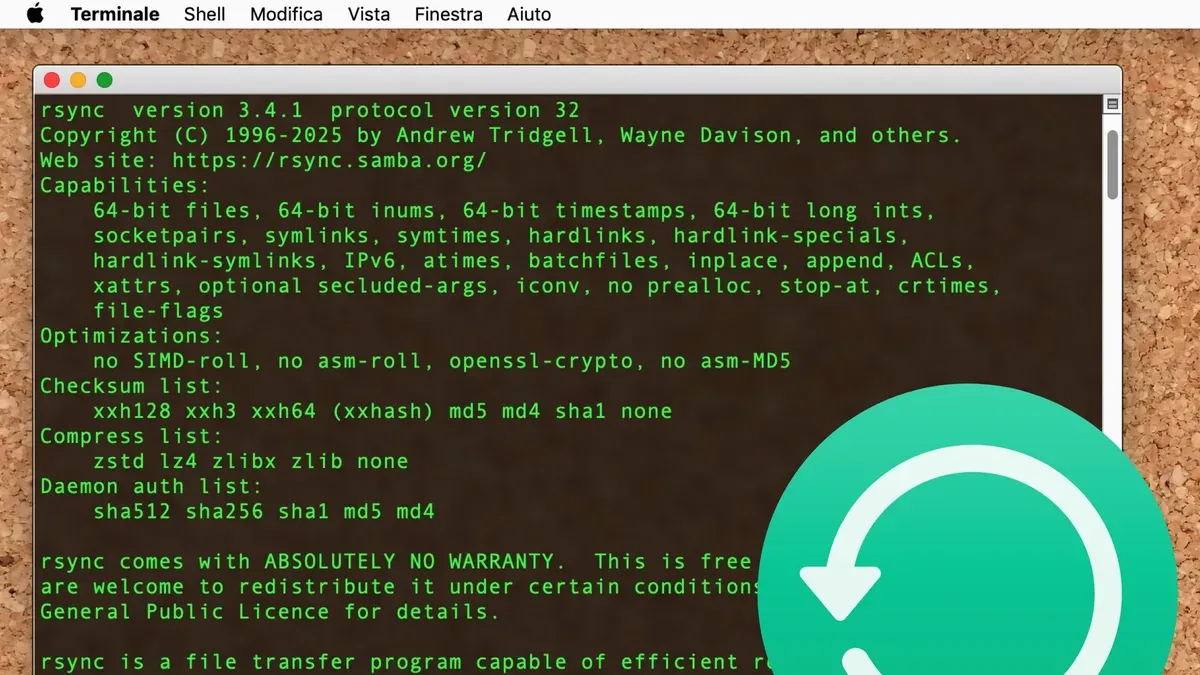
Rsync is typically pre-installed on Mac systems, but the default version is often outdated (usually version 2.6.x). This older version lacks some features and performance improvements found in newer releases. To access the latest rsync capabilities, you can install or update it using Homebrew, a popular package manager for macOS.
- Open Terminal and type rsync --version. You should see the current version displayed, such as "rsync 2.6.x".
- If you don't have Homebrew installed, enter /bin/bash -c "$(curl -fsSL https://raw.githubusercontent.com/Homebrew/install/HEAD/install.sh)". Once installed, verify by typing brew --version, which should return the installed Homebrew version.
- Install the latest rsync by running brew install rsync. When complete, type /usr/local/bin/rsync --version or /opt/homebrew/bin/rsync --version (depending on your system architecture). You should see a newer version like 3.2.x or later.
- Adjust your PATH environment variable if needed to prioritize the Homebrew version over the system default, for example, adding
export PATH=/usr/local/bin:$PATHin your shell profile.
You should have basic familiarity with Terminal commands, including navigation and permissions. Running rsync may require appropriate read/write permissions on both source files and the backup destination. Ensure you have access rights or use sudo cautiously if necessary.
Consider the storage capacity of your backup destination. Whether backing up to an external drive or network location, verify there is ample free space to accommodate your data. Insufficient space can cause incomplete backups or errors.
How to use rsync command in Mac Terminal for basic backups
To perform a basic backup using rsync, you need to specify the source directory, the destination directory, and relevant options. The fundamental command structure is rsync [options] source destination.
Common options for backups include:
- -a: archive mode to preserve file permissions, timestamps, symbolic links, and more
- -v: verbose output to see details of the transfer
- --progress: shows progress of each file transfer
For example, to back up your Documents folder to an external drive named BackupDrive, use this command:
rsync -av --progress ~/Documents/ /Volumes/BackupDrive/DocumentsBackup/
Here, the trailing slash in ~/Documents/ ensures the contents of the Documents folder are copied, not the folder itself.
- Open Terminal.
- Enter the rsync command above, adjusting paths as needed.
- Press Enter. You will see a list of files being transferred with progress percentages.
- Once complete, rsync will output a summary showing the number of files transferred, total bytes, and speed.
- Verify the backup by checking the destination folder contents in Finder or with
ls.
This approach provides a straightforward way to create local backups, with clear feedback on the process and results.
How to use rsync to copy files and transfer backups to remote servers
Rsync extends its utility by allowing you to back up files to remote servers over SSH, providing secure and efficient transfers. The syntax slightly changes when specifying a remote destination or source, using the format user@host:path. This tells rsync to connect via SSH to the remote host and synchronize files accordingly.
- Ensure SSH connectivity by verifying you can log in to the remote server without a password prompt, ideally through SSH key-based authentication. This enables automated backups without manual password entry.
- Run a command such as rsync -avz -e "ssh -i ~/.ssh/id_rsa" /local/folder/ user@remote-server:/remote/backup/folder/. This transfers the contents of /local/folder/ to the specified remote directory securely. The -e option specifies the SSH command with your private key.
- Upon successful execution, you should see a list of transferred files and a summary showing the number of files sent and total bytes transferred, indicating completion.
- Compare transfer speeds: network backups are generally slower than local copies due to bandwidth limits and latency. Compressing data during transfer with -z can improve speed but may increase CPU usage.
- Watch for common pitfalls such as incorrect SSH permissions, network interruptions, or firewall blocks. Ensuring stable network connectivity and proper SSH setup helps avoid incomplete backups.
By following these steps, you can confidently use rsync to maintain remote backups, combining security and efficiency in your workflow.
Is rsync a backup tool? Understanding its strengths and limits
Rsync is primarily a file synchronization utility that excels at incremental backups by copying only changed files. This makes it efficient for local and remote backups where bandwidth or storage is a concern. However, rsync lacks native snapshot or versioning capabilities, meaning it does not keep historical copies of files unless you implement additional manual strategies.
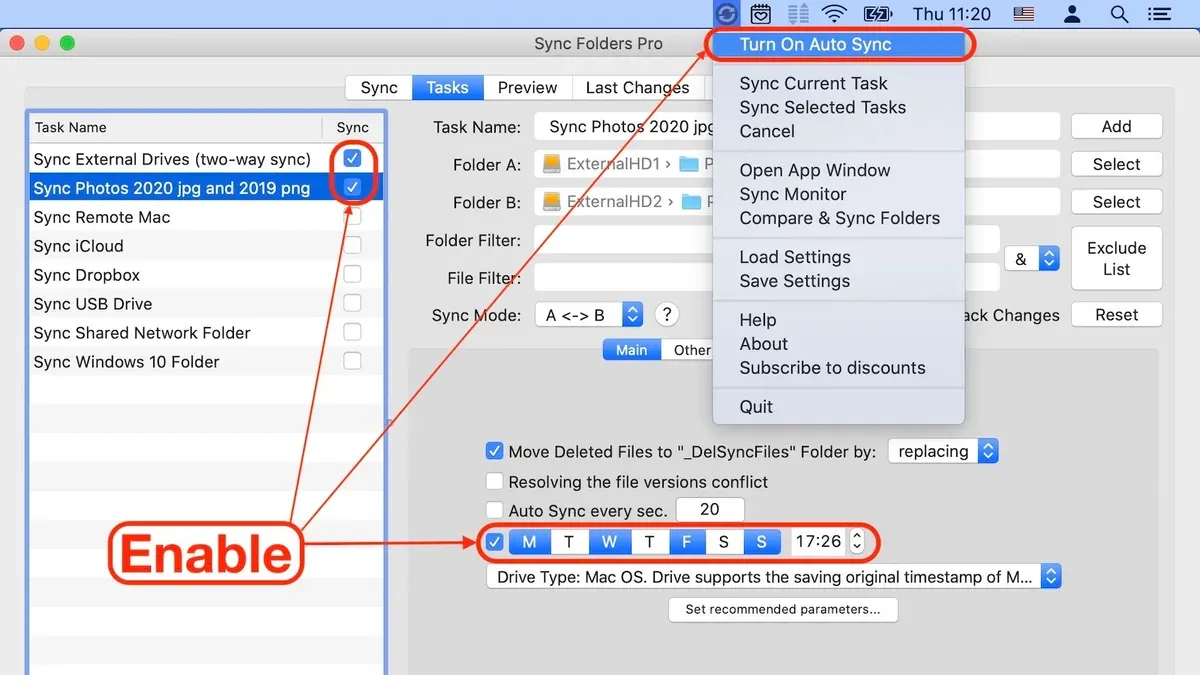
Rsync does not provide built-in encryption or compression beyond what is available through an SSH tunnel, so sensitive data must rely on external methods for security and size reduction. This limitation distinguishes it from dedicated backup software that often includes integrated encryption, compression, and automated versioning.
| Feature | rsync | Dedicated Backup Software | Cloud Sync Solutions |
|---|---|---|---|
| Incremental backups | Yes | Yes | Yes |
| Snapshot/versioning | No (manual setup needed) | Yes (automatic) | Yes |
| Encryption/compression | Only via SSH tunnel | Built-in | Built-in |
| Scheduling and automation | Manual or with scripts | Built-in | Usually built-in |
| Ease of use | Command line based | User-friendly GUI | User-friendly GUI |
Best use scenarios for rsync backups:
- You want a lightweight, scriptable tool for incremental local or remote backups.
- You are comfortable with Terminal commands and managing backup schedules manually or via scripts.
- You require efficient bandwidth usage without needing advanced backup features like snapshots or built-in encryption.
When rsync may not be the right choice: If you need automatic versioning, integrated encryption, easy scheduling, or a graphical interface, dedicated backup software or cloud sync solutions may better suit your needs.
How to install rsync on Mac and Linux for consistent backups
Mac computers come with rsync pre-installed, but the default version is often outdated and lacks recent features and security updates. To ensure consistent backup performance, updating rsync to the latest version is recommended.
- Open Terminal on your Mac.
- Check the current rsync version by entering rsync --version. You will see output like "rsync 2.6.9" or similar if using the default macOS version.
- If you have Homebrew installed, update rsync by typing brew install rsync. If rsync is already installed via Homebrew, update it with brew upgrade rsync.
- After installation, confirm the new version with /usr/local/bin/rsync --version or /opt/homebrew/bin/rsync --version on Apple Silicon Macs. The newer version typically starts with "3.x.x".
- To use the updated rsync by default, you may need to adjust your PATH environment variable so the Homebrew path precedes the system path.
On Linux systems, rsync is usually available in the default package repositories but may also require updating:
- Open your terminal.
- Check the installed version with rsync --version.
- On Debian-based systems (Ubuntu, etc.), update or install rsync via sudo apt update followed by sudo apt install rsync.
- On Red Hat-based systems (Fedora, CentOS), use sudo yum install rsync or sudo dnf install rsync.
- Verify the installation by checking the version again with rsync --version, which should display the latest package version.
Keeping rsync updated ensures you benefit from bug fixes, improved performance, and security enhancements for your backup tasks.
Using rsync for syncing and cloud backup workflows on Mac
You can integrate rsync into cloud backup strategies by syncing data with mounted cloud drives or network shares like SMB or AFP. When connected, rsync treats these mounts like local directories, allowing efficient file transfers with incremental updates.
Automating backups to devices such as a Synology NAS or remote cloud servers involves scripting rsync commands and scheduling them with macOS tools like launchd or cron. This setup enables regular syncs without manual intervention.
- Mount your Synology NAS shared folder via Finder using Connect to Server (⌘K) and confirm the mount appears in /Volumes.
- Open Terminal and enter an rsync command like rsync -avh --delete /Users/yourname/Documents/ /Volumes/NASBackup/Documents/. Successful completion shows a summary of transferred files.
- Create a shell script with this command and save it, e.g., as backup_to_nas.sh.
- Make the script executable using chmod +x backup_to_nas.sh and test it by running ./backup_to_nas.sh.
- Schedule the script with launchd by creating a plist file in ~/Library/LaunchAgents that specifies when to run the script.
Performance over network shares depends on connection speed and latency; wired Ethernet is preferable to Wi-Fi for large backups. rsync’s incremental sync reduces data transfer, but network factors can still impact duration.
Combining rsync with macOS tools like Automator, launchd, or third-party schedulers allows convenient, automated backup routines. However, rsync lacks native cloud integration features such as conflict resolution or real-time sync found in dedicated cloud apps like iCloud Drive or Dropbox.
This means rsync is best suited for manual or scheduled batch syncs rather than continuous, seamless cloud synchronization.
Troubleshooting common rsync backup issues on Mac
When using rsync on Mac, you may encounter permission errors, issues with symbolic links, interrupted transfers, or concerns about data integrity. Address these to ensure smooth backups.
Fixing permission denied errors
If you see errors like rsync: send_files failed: Permission denied (13), it usually means rsync lacks the right permissions to read source files or write to destination folders.
- Check file and folder permissions using ls -l. You should have read access on source files and write access on the destination.
- If needed, change permissions with chmod or adjust ownership via chown. For example,
sudo chmod -R u+rw /path/to/filesgrants read/write for your user. - Run rsync with
sudoif files require elevated privileges. You should see no permission errors after this.
Handling symbolic links and special files
Rsync may skip or mishandle symbolic links, device files, or sockets by default.
- Use the
-a(archive) option to preserve symbolic links properly. - For special files, add
--specialsto copy device files and sockets if needed. - Verify symbolic links are intact on the destination by listing them with
ls -l.
Dealing with incomplete or interrupted transfers
Interrupted backups can leave partial files, causing inconsistencies.
- Use
rsync --partial --progressto allow resuming incomplete transfers and see progress. - Check for partial files in the destination; they usually have a
.partialsuffix and can be safely removed or resumed. - Rerun rsync with the same options to continue copying only missing parts.
Verifying data integrity post-backup
Rsync does not provide built-in verification beyond checksums during transfer.
- After backup, run
rsync -n --checksum(dry run with checksum) to compare source and destination without copying. - If no differences are reported, the backup matches the source.
- Alternatively, use
shasumormd5commands on sample files at source and destination to confirm integrity.
Advanced rsync options for efficient and safe backups
To optimize your backups with rsync, several advanced options can enhance speed, accuracy, and safety. Using --delete ensures your backup directory mirrors the source by removing files that no longer exist in the source, preventing storage bloat.
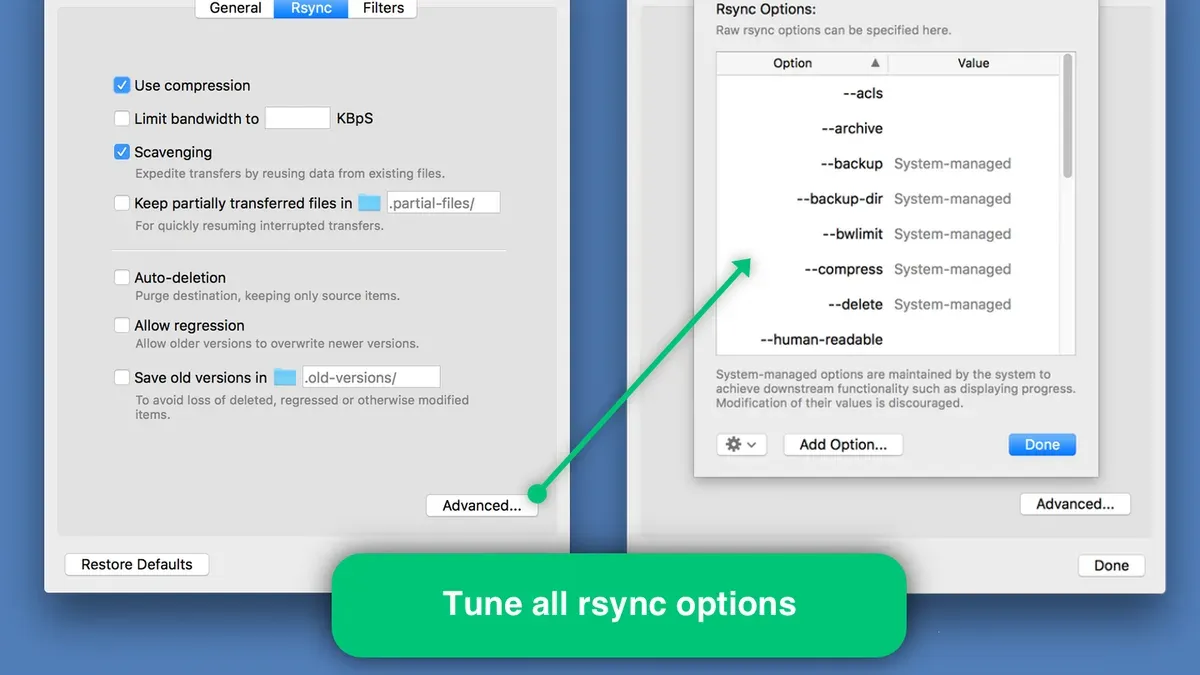
- Run
rsync -av --delete /source/ /backup/. You should see files deleted from/backup/if they are missing in/source/, keeping both directories synchronized. - Exclude unnecessary files or folders with --exclude. For example,
rsync -av --exclude='*.tmp' /source/ /backup/skips all temporary files. The output will omit these files, reducing backup size and time. - Choose between checksums and timestamps for file comparison. Adding --checksum forces rsync to compare file contents rather than modification times, increasing accuracy but slowing performance. For example,
rsync -avc /source/ /backup/will show files copied only if their content differs. - Preview changes safely with --dry-run. Using
rsync -av --delete --dry-run /source/ /backup/shows all actions rsync would take without modifying files, helping you verify commands before running them.
These options combined allow you to tailor rsync backups to your needs, balancing speed and safety while minimizing errors and wasted space.
Frequently asked questions
How to use rsync for backup?
To use rsync for backup, you typically run a command specifying the source and destination directories, such as rsync -av --delete /source/ /backup/. The -a option preserves attributes, while -v shows progress, and --delete removes files from the backup that no longer exist in the source. Running this from Terminal on your Mac helps create an efficient and incremental backup of your files.
How to use rsync command in linux?
On Linux, rsync works similarly to Mac. You open a terminal and type rsync followed by options and the source and destination paths. Common options include -a for archive mode and -z for compression. Ensure you have read permissions for source files and write permissions on the destination.
How to use rsync to transfer files?
To transfer files with rsync, you can specify a remote destination using a syntax like rsync -av /local/path/ user@remotehost:/remote/path/. This command copies local files to the remote server over SSH. You can also reverse it to copy from remote to local. Authentication via SSH keys or password is required for remote transfers.
How to install rsync on linux?
Rsync usually comes pre-installed on most Linux distributions. If it is missing, install it using your package manager, for example, sudo apt install rsync on Debian/Ubuntu or sudo yum install rsync on CentOS/Fedora. Verify installation by running rsync --version in the terminal.
What does rsync do in linux?
Rsync in Linux synchronizes files and directories between two locations efficiently by transferring only changed parts. It preserves file permissions, timestamps, symbolic links, and can work locally or over network connections. This makes it ideal for backups, mirror sites, and remote file copying.
What this advice does not cover and who should do something else
This article does not cover full disaster recovery solutions or backups with versioning and encryption. If you require comprehensive backup strategies that include features like automatic versioning, robust encryption, or seamless disaster recovery, consider specialized backup software such as Time Machine, Carbon Copy Cloner, or commercial cloud backup services. Rsync is a powerful tool for file synchronization and basic backups but lacks built-in mechanisms for snapshot management or encrypted backup archives.
To move forward effectively, the single most useful next step is to practice basic rsync commands on a small, non-critical folder. Start by syncing a folder from your Documents to an external drive using a command like rsync -av --progress ~/Documents/ /Volumes/BackupDrive/DocumentsBackup/. This hands-on experience will help you understand how rsync handles file transfers, permissions, and errors before scaling up to more complex or remote backup tasks.



