How to Change Hostname in Mac Terminal: Step-by-Step Guide
Step-by-step guide to changing your Mac's hostname using Terminal commands for clearer network identification and device management.
You’re on your Mac and need to change its hostname for clearer network identification or personal preference. Maybe you’re managing multiple devices or setting up a local server, and the generic name just won’t do.
This guide covers how to change hostname in Mac Terminal with precise command-line steps, explains how macOS handles hostnames behind the scenes, and highlights common pitfalls to avoid. You’ll learn not only the commands but also the system effects of changing your Mac’s name, so you can make informed decisions rather than quick fixes.
Key takeaways
- Use the
scutilcommand to change the hostname, local hostname, and computer name separately. - Changing the hostname affects network visibility and local device identification in different ways.
- Editing the
/etc/hostsfile can be necessary for custom hostname resolution. - Restarting network services or the Mac may be required for changes to take full effect.
- Be cautious with hostname formats to avoid conflicts and connectivity issues.
Before you start: What you need to know and prepare
Understanding the different names your Mac uses to identify itself on a network is essential before making changes. macOS uses three related but distinct identifiers: the Computer Name, the Hostname, and the Local Hostname. Each serves a different purpose and appears in different contexts.
| Name | Description | Typical Usage |
|---|---|---|
| Computer Name | The user-friendly name shown in Finder, Sharing preferences, and Bonjour. | Visible to users on the local network for easy identification. |
| Hostname | The name used by the system and network services for command-line and network identification. | Used in Terminal, SSH connections, and network protocols. |
| Local Hostname | A version of the computer name formatted for local network services, typically ending with .local. | Used by Bonjour and local network discovery. |
Changing these names requires administrator privileges, so you will need to run commands with sudo in Terminal. Before proceeding, note your current settings to avoid confusion or loss of connectivity. You can check the current names using these commands:
- Open Terminal and type
scutil --get ComputerName. You should see your current computer name. - Type
scutil --get HostNameto see the system hostname. If no hostname is set, this command may return an error or nothing. - Type
scutil --get LocalHostNameto view the local hostname, which often resembles the computer name but without spaces.
Changing the hostname can affect network services such as file sharing, remote login, or printing. Some applications might rely on the hostname to identify your Mac on the network. Backing up your current configuration or documenting the current names can help you restore settings if needed.
How to find hostname on Mac Terminal
To view your Mac's current hostname values, you can use several Terminal commands. Each command reveals a different hostname setting used by macOS for network identification and system labeling.
- Open the Terminal app on your Mac.
Type scutil --get ComputerName and press Enter. This command returns the computer name shown in Sharing preferences and Finder, which can contain spaces.
My MacBook
Type scutil --get LocalHostName and press Enter. This shows the local hostname used by Bonjour and local networking. It is usually a simplified name without spaces or special characters.
my-macbook
Type scutil --get HostName and press Enter. This retrieves the system’s official hostname, which is typically used for network services requiring a fully qualified domain name. If no hostname is set, you may see an error or no output.
my-macbook.example.com
Type hostname and press Enter. This command returns the current hostname the system uses on the network. For example:
my-macbook.local
Understanding these differences helps you identify which hostname to change based on your network or personalization needs. For example, LocalHostName is used for local discovery, while HostName affects remote network identification.
How to change hostname in Mac Terminal using scutil
The scutil command is preferred over the hostname command for changing your Mac's hostname because it modifies the system configuration directly, making the changes permanent across reboots and system services. The hostname command only changes the hostname temporarily until the next reboot.
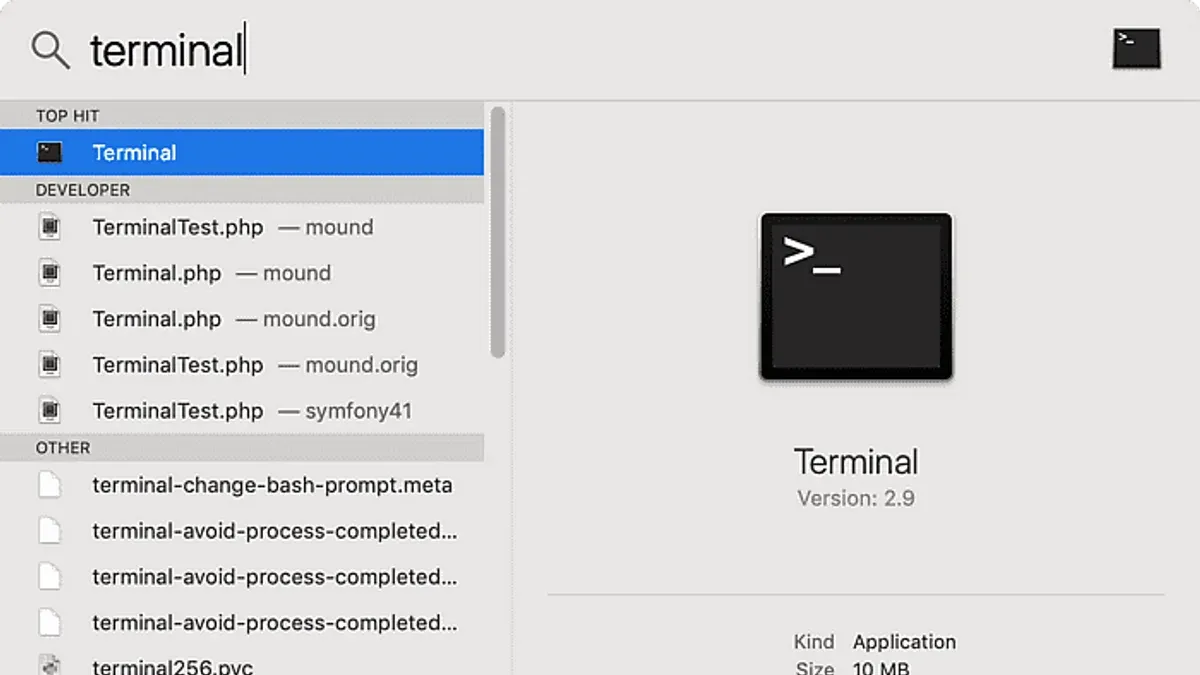
Use scutil to set three key names: HostName (the system hostname), LocalHostName (Bonjour name visible on local networks), and ComputerName (the user-friendly name shown in Finder and sharing preferences).
- Open Terminal.
- Check current names by running:
scutil --get HostName
scutil --get LocalHostName
scutil --get ComputerName
You will see the existing hostnames printed. - Set the new HostName by typing:
sudo scutil --set HostName new-hostname
Replacenew-hostnamewith your desired hostname (letters, numbers, and hyphens only; no spaces). You will be prompted for your administrator password. - Set the LocalHostName similarly:
sudo scutil --set LocalHostName new-localhostname
This name should be a valid Bonjour name, typically lowercase without spaces. - Set the ComputerName:
sudo scutil --set ComputerName "New Computer Name"
This can include spaces and uppercase letters for display purposes. - Verify changes by re-running the get commands:
scutil --get HostName
scutil --get LocalHostName
scutil --get ComputerName
The output should show your new names. - Optionally, restart your Mac or refresh network services to ensure all changes propagate fully.
Example before and after output:
| Command | Before | After |
|---|---|---|
scutil --get HostName | old-hostname | new-hostname |
scutil --get LocalHostName | old-localhostname | new-localhostname |
scutil --get ComputerName | Old Computer Name | New Computer Name |
Using scutil ensures the hostname changes are integrated into macOS system settings and recognized by networking services, avoiding issues that arise from temporary or partial hostname changes.
How to change the host file in Mac
After changing your Mac's hostname, updating the /etc/hosts file helps ensure that your system correctly maps hostnames to IP addresses, which can prevent network conflicts or resolution issues. This file acts as a local directory for hostname lookups before querying DNS servers.
Follow these steps to safely edit the /etc/hosts file and apply your hostname changes:
- Open Terminal and enter
sudo nano /etc/hosts. You will be prompted for your administrator password. This opens the hosts file in the nano text editor, where you can safely make changes. - Locate any existing entries for your old hostname. These might look like
127.0.0.1 old-hostname.localor192.168.1.5 old-hostname. Replace the old hostname with the new one you set, or add new lines if necessary. For example, to map your new hostnamenew-hostname.localto the loopback IP, add:127.0.0.1 new-hostname.local - After editing, press Control + O to write the changes, then Enter to confirm. Press Control + X to exit nano.
- Flush the DNS cache to ensure the system recognizes the changes immediately by running:
sudo dscacheutil -flushcache; sudo killall -HUP mDNSResponder. You will not see output if successful.
Here is an example of a hosts file snippet before editing:
127.0.0.1 localhost old-hostname.local
And after updating the hostname:
127.0.0.1 localhost new-hostname.local
Editing the hosts file ensures network services and local applications resolve your Mac's new hostname correctly without relying solely on DNS.
How to change computer name in Mac Terminal
The computer name is the identifier shown in Finder and on the local network, distinct from the hostname used primarily by system processes and network protocols. To change the computer name via Terminal, you use the scutil command with the ComputerName parameter, ensuring the new name appears correctly to other devices and services.
- Open Terminal on your Mac.
- Check the current computer name by entering:
scutil --get ComputerName
You should see your Mac's current computer name displayed. - Set a new computer name by typing:
sudo scutil --set ComputerName "New-Computer-Name"
Replace New-Computer-Name with your desired name. You will be prompted to enter your administrator password. - Verify the change by running the get command again:
scutil --get ComputerName
The Terminal should now display the new computer name you set. - Optionally, confirm the computer name in Finder or System Preferences to ensure it is reflected there as well.
Changing just the computer name updates what others see on your local network and in file sharing dialogs. It does not affect the hostname used internally by macOS, which requires separate changes via HostName. This distinction helps avoid confusion and ensures network visibility aligns with your preferences.
How to get hostname from MAC address
The MAC address uniquely identifies a device's network interface but does not directly contain the hostname. To find a hostname associated with a MAC address on your local network, you can use network discovery tools that map IP addresses and hostnames to MAC addresses.
Here is a step-by-step procedure using Terminal commands:
- Use the arp command to list IP addresses and their corresponding MAC addresses from your local ARP cache:
arp -a
You should see a list of IP addresses with their MAC addresses. Find the MAC address of interest and note the associated IP address. - Attempt to resolve the hostname for the found IP address using dns-sd (DNS Service Discovery):
dns-sd -L hostname _workstation._tcp local
Replacehostnamewith the IP address or try querying with the IP.
If the device advertises its hostname via Bonjour, you will get a response showing the hostname and service details. - If
dns-sddoes not return a hostname, try a reverse DNS lookup:dig -x [IP_address]
This queries the DNS server for any PTR records mapping the IP address back to a hostname. Success depends on DNS setup.
Limitations of this method include that not all devices register hostnames in DNS or advertise via Bonjour. Also, MAC addresses only appear in your local network segment; you cannot resolve hostnames for devices outside your subnet this way.
In practice, this approach works best in small, well-managed networks with active device name registration and Bonjour services enabled.
Troubleshooting common issues when changing hostname on macOS
Changing your Mac's hostname can sometimes lead to issues that prevent changes from persisting or disrupt network services. Understanding common errors and how to resolve them ensures your hostname change is effective and safe.
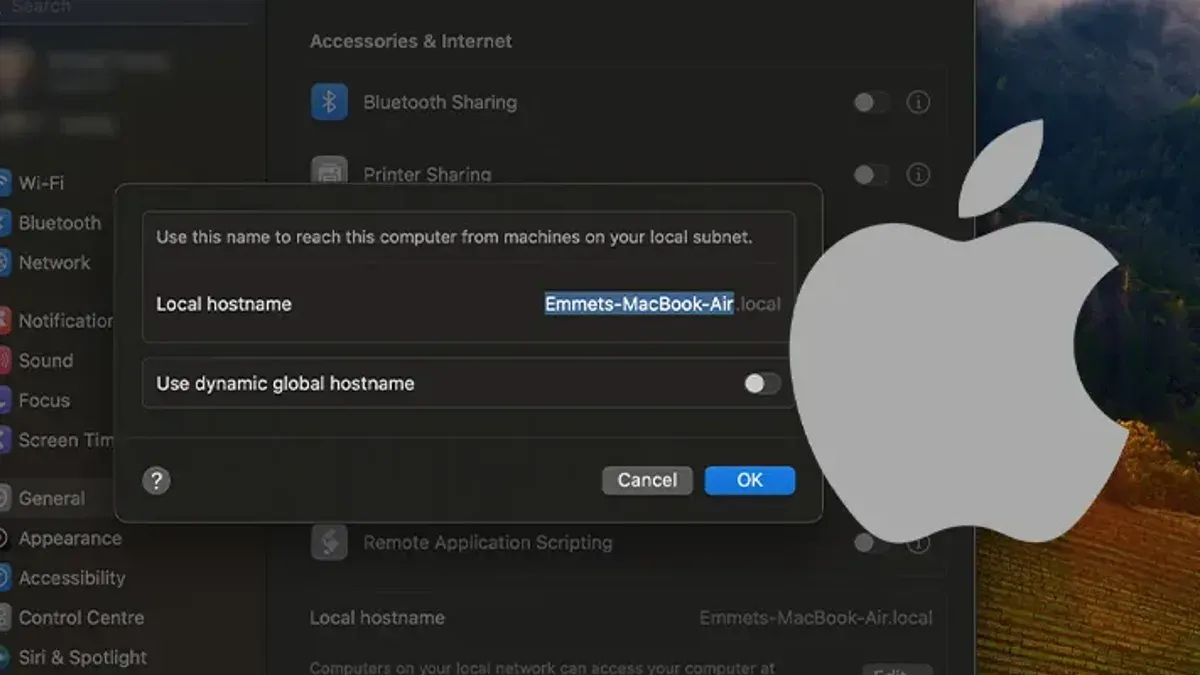
Changes not persisting after reboot
If your hostname reverts to the old one after restarting, it usually means the changes were not applied to all hostname settings. Using scutil to set HostName, LocalHostName, and ComputerName is necessary for persistence. Verify with:
scutil --get HostNamescutil --get LocalHostNamescutil --get ComputerName
Each should return your new hostname. If not, reapply the commands with administrator privileges.
Network services failing due to hostname mismatch
Services like file sharing or remote login can fail if the hostname does not match entries in your /etc/hosts file or DNS. After changing the hostname, update /etc/hosts to map the new hostname to 127.0.0.1 or your local IP. Failing to edit this file can cause errors such as "Host not found".
Permission denied errors when running commands
Commands to change hostname require administrator rights. If you see "Permission denied" or "Operation not permitted", prepend sudo to your command. For example:
sudo scutil --set HostName new-hostname
You'll be prompted for your administrator password. Without this, changes won't apply.
How to revert hostname changes safely
If you need to undo hostname changes, use the same scutil commands with the original hostname. For example:
- Open Terminal and enter
sudo scutil --set HostName original-hostname. After typing your password, the command should return without error. - Repeat for
LocalHostNameandComputerName. - Update the
/etc/hostsfile to reflect the original hostname. - Reboot your Mac to apply all changes.
After reboot, verify the hostname with hostname or scutil --get HostName. This process ensures you can safely return to previous settings without network disruption.
- How to Change Your Default Shell to Bash in Mac Terminal
- How to Set Environment Variables in zsh on Mac Terminal
- How to Check macOS Version Using Mac Terminal: Step-by-Step Guide
- How to Use sudo Safely in Mac Terminal: A Step-by-Step Guide
Frequently asked questions
How to change macbook hostname?
To change your MacBook's hostname, use the Terminal command sudo scutil --set HostName new-hostname, replacing new-hostname with your desired name. This updates the system's hostname used for network identification. Remember to also update the ComputerName and LocalHostName if consistency is needed.
How to get hostname in mac?
You can find your Mac's current hostname by opening Terminal and typing hostname. This command returns the name your Mac uses on the network. Alternatively, scutil --get HostName shows the system hostname if it has been explicitly set.
How to set hostname in mac terminal?
Setting the hostname in the Mac Terminal involves the scutil command with administrative privileges. Use sudo scutil --set HostName your-new-hostname to assign a new hostname. This change requires sudo access and might need a restart or network service restart to fully apply.
How to change host file in mac?
The hosts file on Mac can be edited by opening Terminal and typing sudo nano /etc/hosts. After entering your password, you can add or modify IP-to-hostname mappings. Save changes carefully, as incorrect entries can disrupt network connectivity.
How to change hostname in macbook terminal?
Changing the hostname on your MacBook via Terminal is done with sudo scutil --set HostName new-name. You can also update the ComputerName and LocalHostName using similar commands for consistency. After changing, verify with hostname and consider restarting network services.
What this advice does not cover and who should proceed with caution
Changing your Mac’s hostname can affect network connections, shared services, and device discoverability on local networks. This guide does not cover advanced network configurations, enterprise-level management, or issues arising from conflicts with directory services like Active Directory. If your Mac is managed by an IT department or connected to complex network environments, consult your network administrator before making changes. Additionally, you must have administrator privileges to perform these operations safely.
Unexpected behavior may occur if hostname changes are not propagated correctly or if related system caches are not cleared. Backup your settings and ensure you understand the impact on any running services before proceeding.
The most useful next step is to verify your new hostname by running hostname in Terminal after changes and testing network functions such as file sharing or remote access to confirm the system recognizes the updated name properly.