How to Change Screenshot Format to JPG on Mac: Step-by-Step Guide
Discover how to switch your Mac screenshots from PNG to JPG with easy steps using Terminal and improve your screenshot workflow.
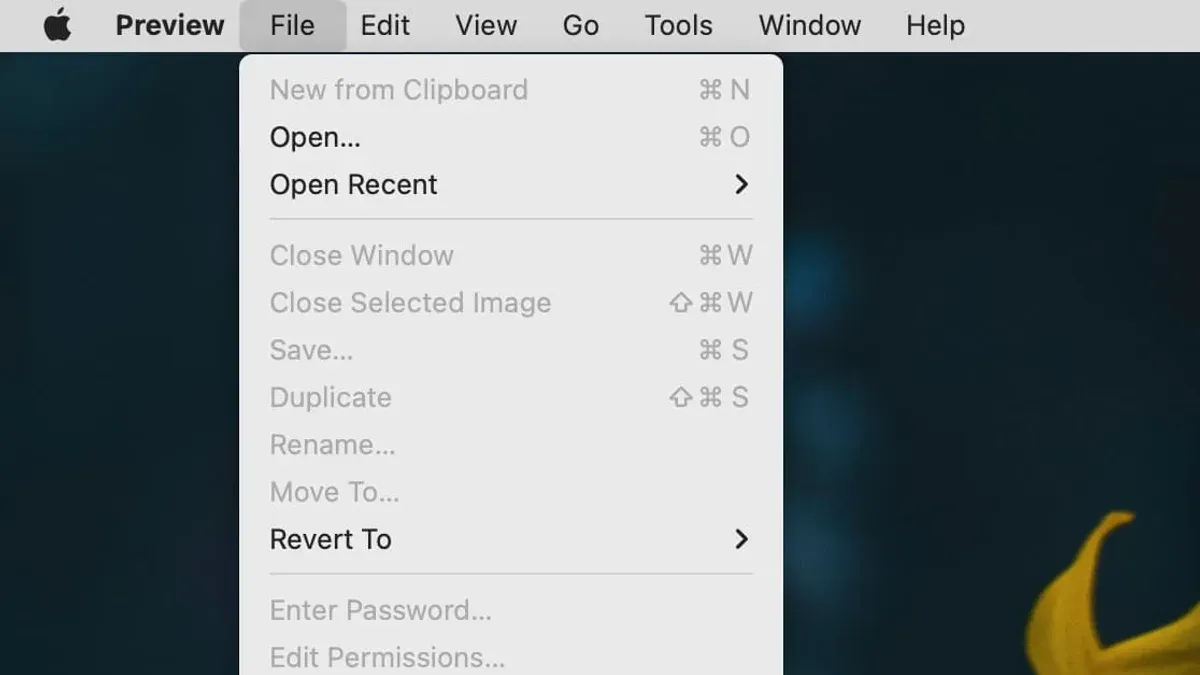
You take a screenshot on your Mac, only to realize it’s saved in PNG format, which can be bulky and less compatible with certain applications. Maybe you want to switch to JPG for smaller file sizes or easier sharing. This article explains how to change screenshot format to JPG on Mac using Terminal and covers additional tips on adjusting where screenshots are saved, quick editing options, and managing your screenshot workflow effectively.
Beyond just changing the file format, understanding how to organize your screenshots and edit them promptly can streamline your daily tasks. Whether you’re capturing images for work or personal use, these steps will help you customize Mac’s screenshot behavior to fit your needs.
Key takeaways
- Use Terminal commands to set screenshot format to JPG with precise syntax.
- Change the default save location to a folder of your choice using Terminal for better organization.
- Leverage the Preview app or built-in Markup tools for quick screenshot edits immediately after capture.
- Convert existing PNG screenshots to JPG using Preview or third-party tools.
- Adjust screenshot settings in System Preferences for an optimized workflow.
Before you start: what you need to know about Mac screenshots
By default, screenshots on Mac are saved in the PNG format, known for preserving image quality with lossless compression. This format works well for sharp images but results in larger file sizes compared to JPG.
The macOS built-in screenshot utility handles capture functions and stores images automatically in PNG. To change this default format, you need access to the Terminal app, which allows you to modify system preferences via commands.
These Terminal commands for changing screenshot format are supported on macOS versions from Mojave onward. Before proceeding, you should be comfortable opening Terminal and typing commands, as well as navigating System Preferences to verify settings.
When you take a screenshot with the default settings (for example, pressing Command + Shift + 4), your Mac saves a PNG file on the desktop named something like "Screen Shot 2026-10-13 at 10.45.00 AM.png". This confirms the default format is active.
Changing the screenshot format to JPG requires executing a Terminal command and restarting the SystemUIServer process. If you’re unfamiliar with Terminal, ensure you know how to open it via Applications > Utilities and carefully enter commands exactly as instructed.
With this foundation, you can proceed confidently to customize your screenshot format and related settings.
How to change screenshot format to JPG on Mac using Terminal
To change your Mac's screenshot format from the default PNG to JPG, you need to use the Terminal application. Follow these steps carefully to apply the change.
- Open Terminal: You can find Terminal in Applications > Utilities, or use Spotlight search (Command + Space) and type "Terminal". Launch the app.
- Enter the format change command: Type the following command and press Enter:
defaults write com.apple.screencapture type jpg
This command sets the screenshot format to JPG. There is no output if it works correctly. - Restart SystemUIServer to apply changes: Run this command and press Enter:
killall SystemUIServer
The SystemUIServer process will restart silently, applying the new format setting. - Verify the change: Take a screenshot by pressing Command + Shift + 3. The saved file should now have a.jpg extension instead of.png. Check the file in your desktop or current screenshot save location to confirm the format change.
Before this change, your screenshots ended with.png and were lossless but larger in size. After switching to JPG, the files will be smaller, suitable for quicker sharing but with some compression artifacts. You can revert the format anytime by replacing "jpg" with "png" in the Terminal command and repeating the restart step.
How to change where screenshots are saved on Mac
By default, Mac saves screenshots to the Desktop, which can clutter your workspace. Changing the save location helps you keep screenshots better organized, especially when combined with format customization.
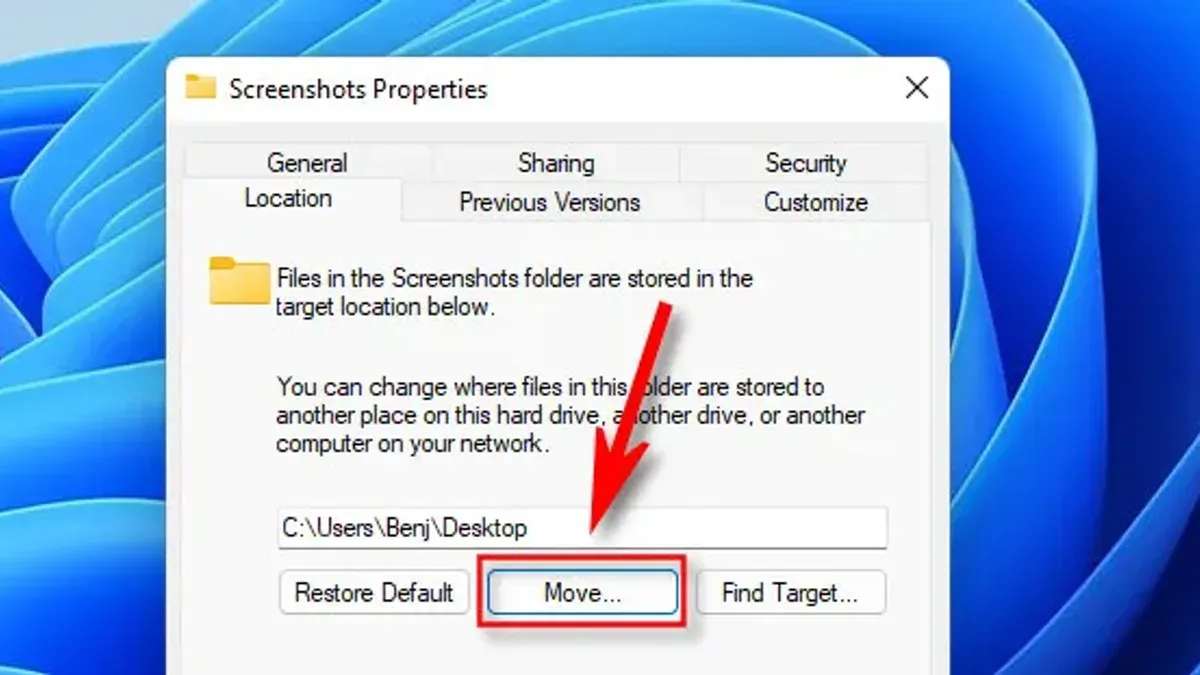
Use Terminal to designate a new folder as the destination for screenshots. Creating a dedicated folder beforehand ensures your screenshots are neatly contained.
- Create a new folder where you want your screenshots saved, for example, "Screenshots" in your Documents folder.
- Open Terminal, then enter the command: defaults write com.apple.screencapture location ~/Documents/Screenshots. This sets the new folder as the save location.
- Apply the change by typing killall SystemUIServer and pressing Enter. This reloads the screenshot service.
- Take a test screenshot using the usual keyboard shortcut (Command + Shift + 3 or 4).
- Open Finder and navigate to the folder you specified. You should see the new screenshot saved there.
Before the change, screenshots appear on the Desktop alongside unrelated files. After setting a dedicated folder, your screenshots are grouped separately, making it easier to locate, sort, and manage them. This method streamlines workflow and reduces desktop clutter, particularly when handling many images.
How to screenshot an image on Mac and edit it quickly
Mac offers several keyboard shortcuts to capture screenshots depending on your needs. You can capture the entire screen, a selected window, or a specific screen area.
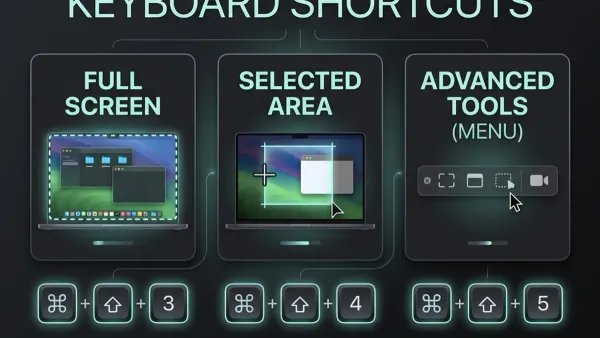
- Press Command (⌘) + Shift + 3 to capture the full screen. You will see a thumbnail appear in the lower-right corner of your screen.
- Press Command (⌘) + Shift + 4 to select a specific area. Your cursor changes to a crosshair; drag to select the desired region. Release the mouse button to capture.
- Press Command (⌘) + Shift + 4, then tap the Spacebar to switch to window mode. Click on any open window to capture it.
After taking a screenshot, a floating thumbnail appears briefly in the lower-right corner. Click this thumbnail to open the screenshot in the Markup interface for quick edits.
The Markup toolbar offers basic but useful tools, including crop, resize, text annotation, shapes, signatures, and a sketch brush. Cropping lets you trim unwanted areas, while annotation tools help highlight or add notes. Resizing is straightforward via the toolbar’s adjust size option.
Using the floating thumbnail to edit immediately can save several seconds compared to opening screenshots separately in Preview or another app. This workflow supports quick, lightweight edits without interrupting your tasks.
How to convert existing screenshots to JPG on Mac
If you have screenshots saved as PNG files and want to convert them to JPG without losing quality, there are several effective methods available.
Using Preview for batch conversion
- Open the Preview app.
- Go to File > Open and select all the PNG screenshots you want to convert. They will open as thumbnails in the sidebar.
- Select all thumbnails by pressing Command + A.
- Go to File > Export Selected Images.
- Choose JPEG as the format and adjust the quality slider if needed (higher quality means larger file size).
- Pick a destination folder and click Choose.
- Preview will export all selected images as JPG files, preserving visual quality with a smaller file size compared to PNG.
Using Automator for repeated conversions
For frequent conversions, Automator can automate the process.
- Open Automator and create a new Workflow.
- Add the action "Get Specified Finder Items" and select your PNG files or use "Ask for Finder Items" for flexibility.
- Add the action "Change Type of Images" and set it to convert images to JPEG.
- Save the workflow for future use.
- Run the workflow; it will create JPG versions of your screenshots in the same folder or a specified location.
This method saves time when converting multiple files regularly.
Third-party apps and considerations
Apps like ImageOptim or GraphicConverter offer batch conversions with additional options such as compression settings and metadata handling.
However, third-party tools may introduce extra steps or costs and occasionally alter image quality beyond basic conversion.
Choosing between Preview, Automator, or third-party apps depends on your workflow complexity and preference for control versus simplicity.
How to change screenshot settings on Mac for better workflow
Beyond format and save location, macOS offers several screenshot settings that can streamline your workflow. Adjusting the screenshot timer, cursor visibility, and default filename can help you capture exactly what you need with less hassle.
- Open the Screenshot app by pressing Shift + Command + 5. The control bar appears at the bottom of your screen.
- Click the Options button on the right side of the control bar to access additional settings.
- To set a timer before capturing, select 5 Seconds or 10 Seconds under the "Timer" section. This delay allows you to prepare your screen, such as opening menus or positioning windows.
- Enable or disable Show Mouse Pointer by toggling its checkbox. Including the cursor is useful for tutorials but might clutter clean screenshots.
- Customize the default screenshot filename prefix by opening Terminal and entering: defaults write com.apple.screencapture name "YourPrefix", then run killall SystemUIServer to apply. This changes the default "Screen Shot" to your chosen prefix, helping file identification.
These settings also affect the thumbnails and markup that appear after capture, ensuring your screenshots reflect your preferences before saving or sharing.
By adjusting these options, you can better control timing, visual details, and file naming, making screenshot management more efficient and tailored to your needs.
Troubleshooting common issues when changing screenshot format on Mac
If Terminal commands to change the screenshot format do not apply after restarting SystemUIServer, double-check that the command syntax was entered correctly and that you included the correct format identifier, such as jpg. To verify, run defaults read com.apple.screencapture type in Terminal; it should return jpg. If it still shows png, repeat the command and restart the service again using killall SystemUIServer.
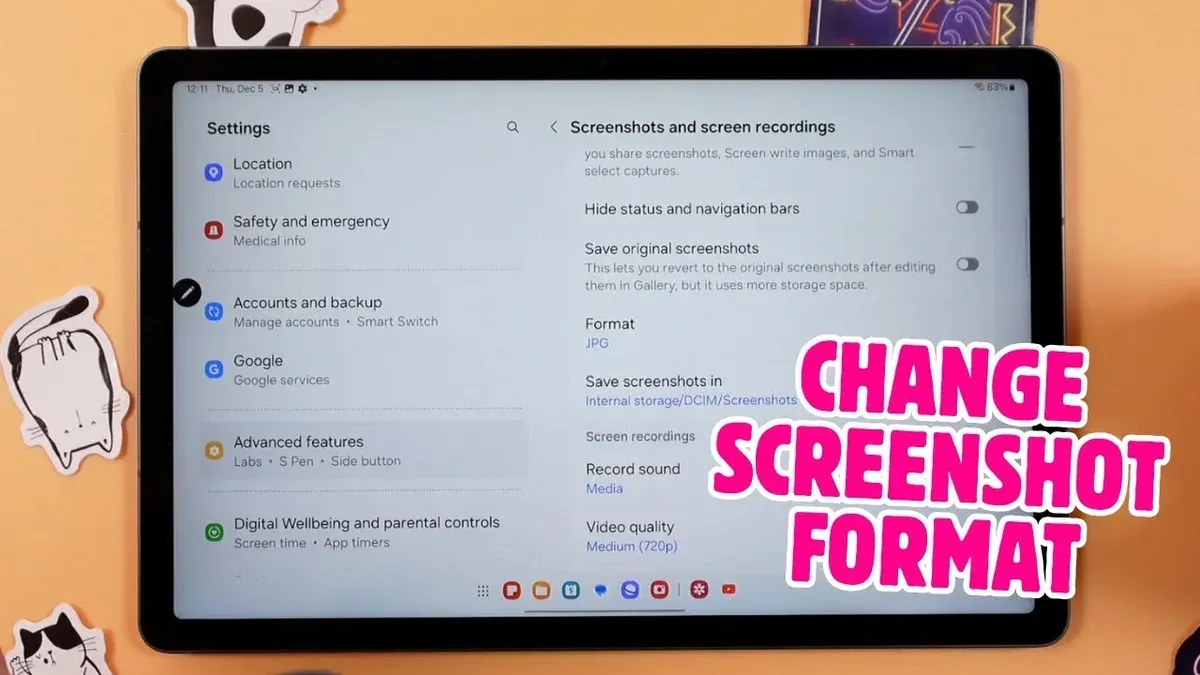
When screenshots continue saving as PNG despite commands, ensure you have sufficient permissions and that no third-party apps override the default behavior. Also, confirm that the macOS version supports format changes through Terminal, as some updates may restrict this.
Permission errors while changing the screenshot save folder usually appear as Operation not permitted or Permission denied. To fix this, check that the target folder exists and you have read/write access. Using chmod to adjust folder permissions or selecting a different folder within your home directory can resolve this. System Integrity Protection (SIP) may also restrict changes; temporarily disabling SIP is not recommended for casual users.
If you want to revert changes safely, use Terminal to reset the screenshot format to PNG with defaults write com.apple.screencapture type png and set the save location back to the Desktop using defaults write com.apple.screencapture location ~/Desktop, followed by restarting SystemUIServer. This restores defaults without affecting other system settings.
- How to Change Your AirDrop Name on Mac: A Clear Step-by-Step Guide
- How to Allow Apps from Anywhere on Mac: A Step-by-Step Guide
Frequently asked questions
How to edit screenshot on mac?
After taking a screenshot, a thumbnail usually appears in the corner of your screen. Click this thumbnail to open the screenshot in the Markup editor, where you can crop, add text, shapes, or signatures. You can also open any screenshot file with Preview and use its annotation tools for further editing.
How to screenshot on mac and edit?
Take a screenshot using shortcuts like Command + Shift + 4 or Command + Shift + 3. When the thumbnail appears, click it to access editing options directly. If the thumbnail disappears, open the screenshot in Preview or another image editor to make your changes.
How to screenshot photo on mac?
Use Command + Shift + 4 to select a specific area of your screen to capture a photo. Alternatively, press Command + Shift + 3 to capture the entire screen. The screenshot will be saved to your desktop or the location set in your screenshot settings.
How to change mac picture?
If you want to change a saved picture's format or appearance, open it in Preview and use the Export option to save it as a JPG or another format. You can also use image editing apps to adjust colors, size, or other attributes before saving the new version.
How to screenshot from mac?
Press Command + Shift + 3 for a full-screen screenshot, or Command + Shift + 4 to select a portion of the screen. Screenshots are saved to your desktop by default, but you can change the save location through the Screenshot app’s options or Terminal commands.
Limits of changing screenshot format via Terminal
Changing the screenshot format using Terminal commands applies the setting globally to all screenshots on your Mac. This method does not allow you to set different formats for individual apps or specific screenshot types. If you need more granular control over screenshot formats or advanced editing features, consider using third-party screenshot utilities designed for Mac. These tools often provide customizable presets, annotation options, and selective format settings that go beyond what macOS offers natively.
The most useful next step is to explore the Screenshot app preferences by pressing Shift + Command + 5 and clicking on Options. Here, you can quickly adjust the save location, enable or disable the timer, and choose whether to show the mouse pointer. This interface complements format changes and helps streamline your screenshot workflow without requiring Terminal commands.