How to Install AlDente on Mac: A Clear Step-by-Step Guide
This guide walks you through how to install AlDente on Mac, helping you manage battery health and optimize your device’s performance easily.
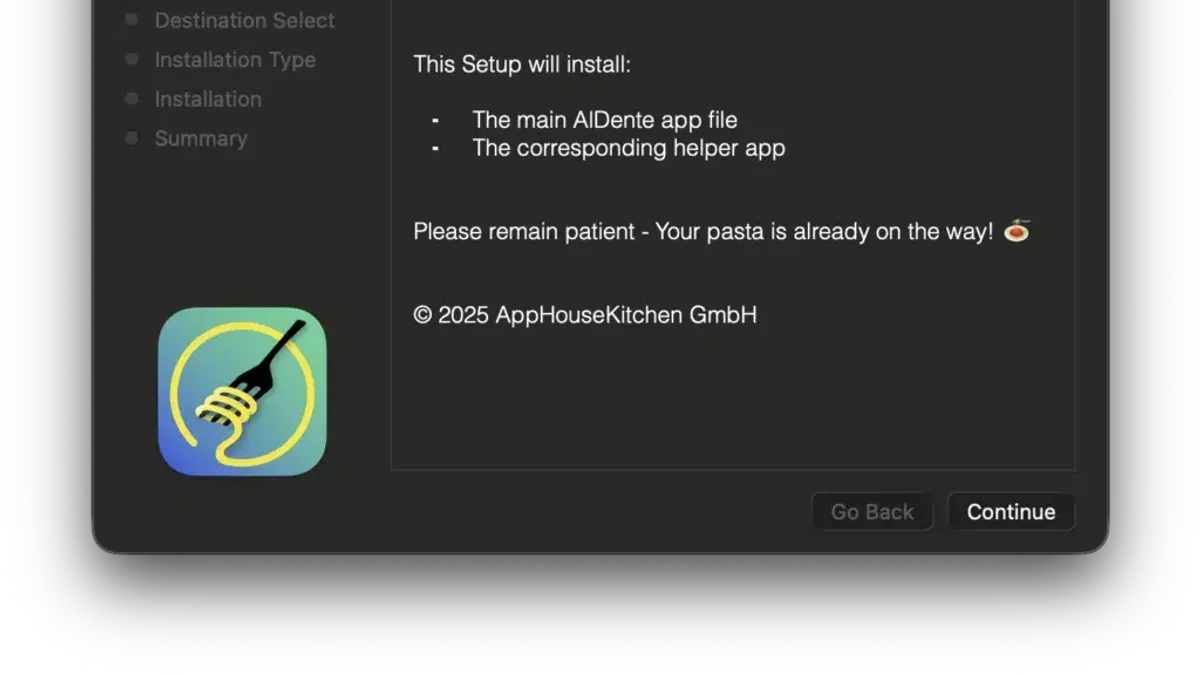
This article shows you how to install AlDente on Mac, a tool that helps you control your battery’s charging limits to extend its lifespan.
Installation overview
- Download AlDente from its official GitHub page to ensure safety.
- Adjust your Mac’s security settings to permit apps from identified developers.
- Grant AlDente Full Disk Access and Accessibility permissions for full functionality.
- Set your preferred battery charge limit to reduce wear and improve longevity.
Confirm your Mac and system compatibility
AlDente supports most MacBook models with Thunderbolt 3 ports, generally from 2016 onward. Check the official compatibility list to verify your device qualifies. The app requires macOS 10.15 (Catalina) or later.
Decide whether to use the free version, which offers basic charge limiting, or AlDente Pro for advanced features like scheduled charging and detailed battery stats.
Step-by-step installation of AlDente on Mac
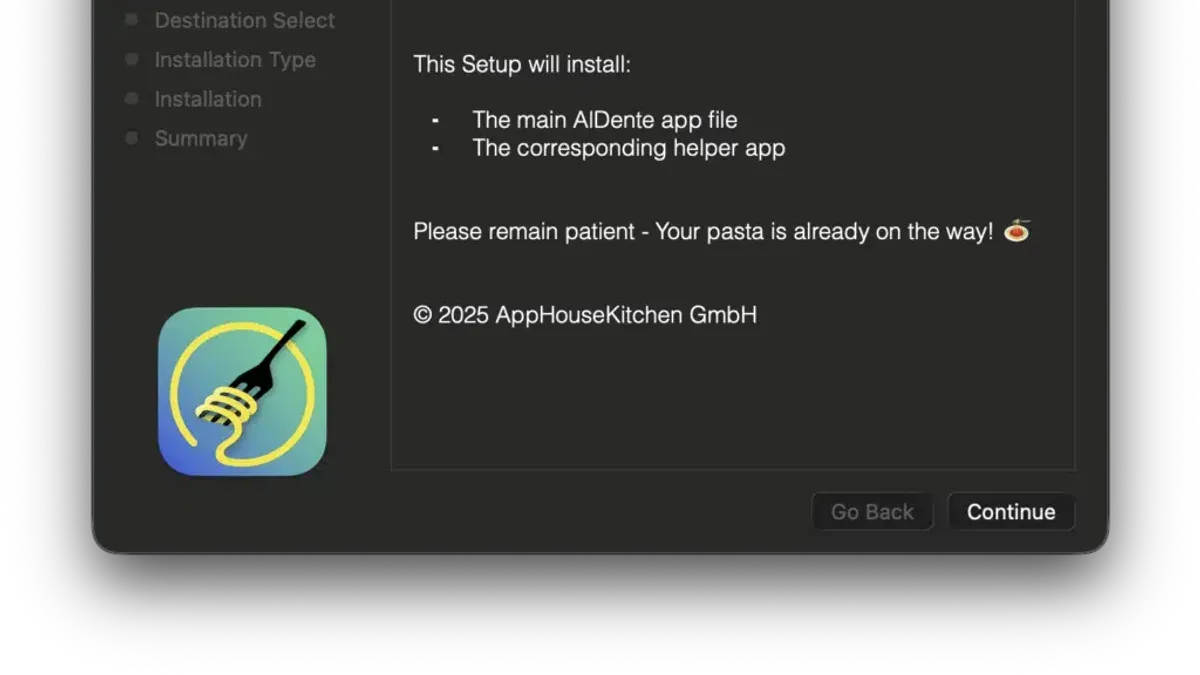
- Visit the official AlDente GitHub repository and download the latest.dmg installer file.
- Open the downloaded.dmg file; a window will appear showing the AlDente app icon and an Applications folder shortcut.
- Drag the AlDente icon into the Applications folder to copy it to your Mac.
- Launch AlDente from Applications. If macOS blocks the app due to security settings, open System Preferences > Security & Privacy > General and click "Open Anyway" to allow it.
- When prompted, grant AlDente Full Disk Access and Accessibility permissions via System Preferences > Security & Privacy > Privacy by adding the app to both categories.
- Return to AlDente and complete the setup prompts. The app’s interface will display battery charge limits and adjustment sliders.
- Set your desired charge limit, commonly around 80%, to optimize battery health. Confirm your choice to enable charging management.
Preparing macOS for AlDente installation
Ensuring your macOS installation is up to date and stable can prevent compatibility problems. You can reinstall or update macOS via Internet Recovery by restarting your Mac and holding Command (⌘) + Option (⌥) + R until a spinning globe appears. Follow the prompts to reinstall the latest compatible version.
Alternatively, use a bootable USB installer if you need a specific macOS version or face connectivity issues. Back up your data before reinstalling macOS, as this process may erase existing files.
Clarifying OpenCore’s role relative to AlDente
OpenCore is a bootloader primarily for running macOS on unsupported hardware, such as Hackintosh setups. It is unrelated to AlDente's battery management functions on genuine Macs and is not required for AlDente to work.
Installing OpenCore involves system-level boot modifications and carries risks like instability. Unless you have a Hackintosh or advanced customization needs, avoid installing OpenCore when setting up AlDente.
Battery charge settings with AlDente
AlDente lets you cap your battery’s maximum charge to slow chemical aging, commonly set around 80%. You can increase this limit temporarily to 90-95% for full charges when necessary, but higher limits accelerate battery wear.
macOS includes its own adaptive battery health management, but AlDente gives you manual control over charge limits, which can be stricter than the system’s defaults.
The app also displays battery health information and cycle count, helping you monitor usage and avoid excessive full charges that reduce battery lifespan.

Troubleshooting common AlDente issues
If AlDente does not launch or fails to apply settings, confirm you granted Full Disk Access and Accessibility permissions in System Preferences > Security & Privacy > Privacy. Missing these permissions often causes errors.
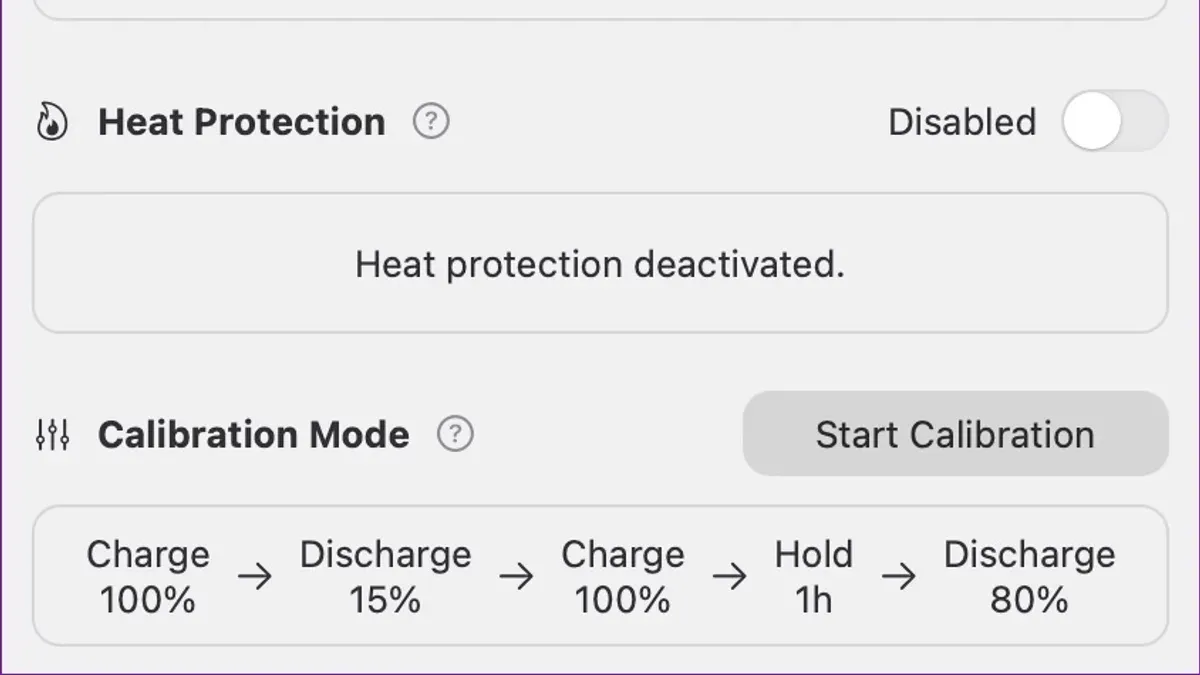
Conflicts can occur if other battery management tools run simultaneously, so close them before using AlDente. Also, check macOS Battery preferences for conflicting charge optimizations.
After macOS updates, permissions or settings may reset. Restart your Mac and reopen AlDente. Persistent problems may require uninstalling and reinstalling the app:
- Delete AlDente from the Applications folder.
- Use Terminal to remove its launch daemon by running: sudo rm -rf /Library/LaunchDaemons/com.apphousekitchen.alDente.plist
- Empty Trash and restart your Mac.
- Download and reinstall AlDente, granting permissions as prompted.
Review log files at ~/Library/Logs/AlDente.log for detailed error information. For ongoing issues, consult official support channels or user forums.
When AlDente may not be the right choice
This article does not cover installing or configuring OpenCore or other advanced system modifications unrelated to typical AlDente use. Such changes carry risks and are recommended only for experienced users.
If your needs involve extensive bootloader customization or running macOS on unsupported hardware, seek dedicated resources before proceeding.
To get the most from AlDente, regularly adjust your battery charge limit in the app’s settings, aiming near 80% for daily use. Combine this with macOS’s built-in battery health features under System Settings > Battery > Battery Health to maintain optimal performance and prolong your Mac’s battery life.