
How to Install and Use Bitwarden on Mac: A Clear Step-by-Step Guide
This guide shows how to install Bitwarden on Mac, set up your vault, and use it effectively to manage your passwords securely.
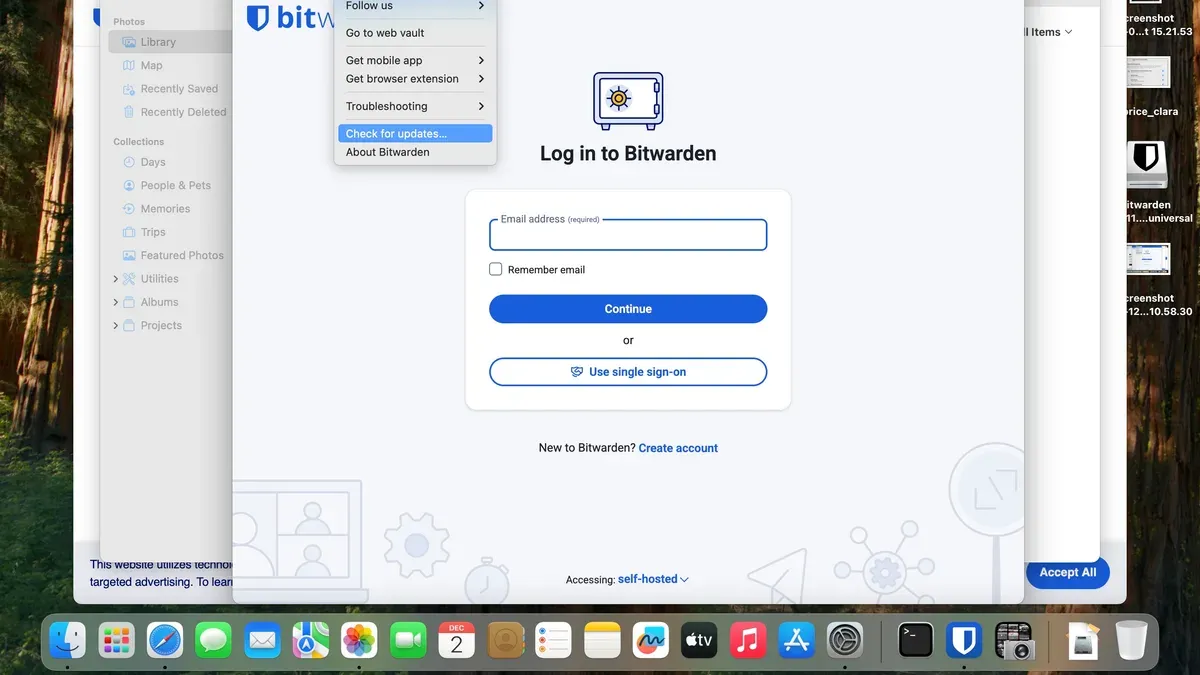
Download the Bitwarden desktop app from the Mac App Store, which requires macOS 12 or later and is about 236 MB in size. After installation, launch the app, log in or create an account, and you’re ready to manage your passwords securely.
Every limit and setting name below comes from App Store, Support.com Tech Pro Team, Bitwarden, as of November 2026.
Installing Bitwarden on Mac step by step
- Open the Mac App Store and search for "Bitwarden." Ensure you select the official app published by Bitwarden Inc. The app requires macOS 12 or newer and is approximately 236 MB.
- Click "Get" to download and install Bitwarden. The process usually completes within a few minutes depending on your internet speed.
- Once installed, open Bitwarden from your Applications folder. The first launch may prompt a security confirmation; click "Open" to proceed.
- Grant any requested permissions, such as access to your Keychain, to enable autofill and seamless password management.
- Log into your existing Bitwarden account or create a new one directly within the app.
Configuring Bitwarden on Mac after installation
- After logging in, set a strong master password if creating a new account. This password protects your entire vault and should be unique and complex.
- Enable biometric unlock with Touch ID by going to the menu bar, selecting Bitwarden > Preferences > Security, and checking "Unlock with Touch ID." Note that this setting must be enabled separately for each logged-in account.
- To organize your vault, create folders by clicking the "Add" button next to Folders in the left column, entering a folder name, and saving it.
- Add new login items by selecting "Add" in the middle column, choosing "Login" as the type, filling in details like name, username, password, and URL, assigning it to a folder if desired, and saving.
- Use the built-in password generator when editing or creating logins to replace weak passwords with strong, randomly generated ones.
- Enable Bitwarden to start automatically on login by opening Bitwarden > Preferences > App Settings and checking "Start automatically on login." This applies globally to all accounts logged into the app.
Setting up the Bitwarden Safari extension on Mac
The Bitwarden Safari web extension is designed to work exclusively with Safari 14 or newer versions. Due to Apple's platform restrictions, this extension must be installed through the Mac App Store version of the Bitwarden desktop app, ensuring compatibility and security.
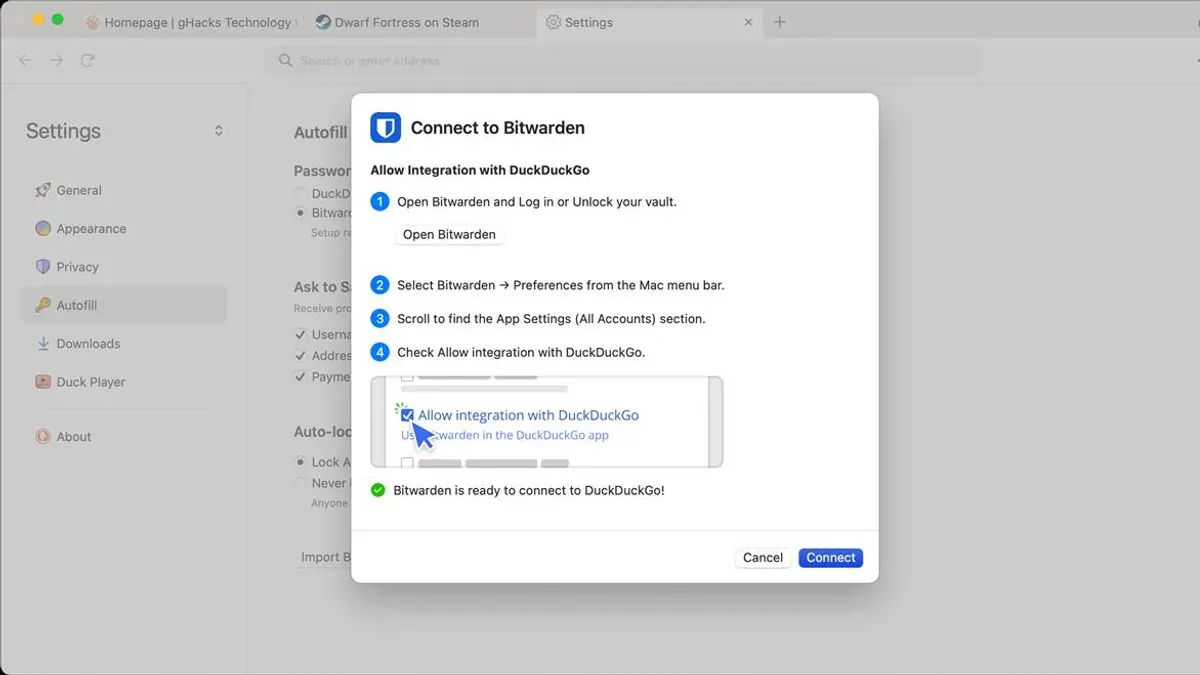
Once you have installed the Bitwarden desktop app from the Mac App Store, open the Safari browser on your Mac.
- Navigate to the Safari menu > Settings > Extensions to manage your browser extensions.
- In the Extensions list, locate the Bitwarden extension. It is included with the desktop app installation and will not appear if the app is not installed via the Mac App Store.
- Check the box next to Bitwarden to enable the extension, then confirm any prompts to activate it within Safari.
- After enabling, the Bitwarden icon will display in Safari’s toolbar, providing direct access to autofill capabilities and password management features while browsing.
How Bitwarden on Mac handles multiple accounts and syncing
The Bitwarden desktop app for Mac supports logging into up to five Bitwarden accounts simultaneously, enabling users to manage multiple vaults—such as personal, work, or shared accounts—without needing to log out and back in.
Each logged-in account maintains its own data synchronization independently.
However, certain security features like biometric unlock with Touch ID must be configured individually per account to maintain account-specific security controls.
Common mistakes and pitfalls when installing Bitwarden on Mac
- Trying to install the Bitwarden Safari extension from a downloaded .dmg file or any source other than the Mac App Store. Safari 14+ only supports extensions installed through the Mac App Store version of the Bitwarden app.
- Assuming enabling Touch ID unlock for one Bitwarden account enables it for all accounts. The biometric unlock setting is account-specific and must be enabled separately for each.
- Not granting necessary permissions such as Accessibility or Keychain access, which can prevent autofill and other features from working correctly.
- Failing to update macOS to version 12 or newer, which is required to run the current Bitwarden desktop app.
- Overlooking the limit of logging into up to five Bitwarden accounts simultaneously; attempting to add more than five accounts will not be supported by the desktop app.
- Expecting global application of biometric unlock settings; Touch ID must be configured individually within each account's Security preferences.
- Neglecting to enable the "Start automatically on login" setting in App Settings, which can result in Bitwarden not running immediately upon Mac startup, potentially delaying vault syncing.
- Attempting to enable or use the Safari extension without first installing the Bitwarden desktop app from the Mac App Store, as the extension is bundled exclusively with this version.
- Failing to manually enable the Bitwarden Safari extension in Safari's Extensions settings after installation, which is necessary for the extension to function.
- Assuming that folder and login item management shortcuts or features are available outside the Bitwarden desktop app; these actions must be performed within the app interface.
What this guide doesn’t cover and who should look elsewhere
It also excludes instructions for hosting your own Bitwarden server, which involves managing backend infrastructure, database configuration, and security hardening. Advanced network setups, including VPN configurations, firewall rules, or proxy servers that might affect Bitwarden’s syncing capabilities, are beyond the scope of this guide. Furthermore, this article does not provide guidance on scripting or automation of Bitwarden tasks via its CLI or API, which are typically used in enterprise or developer contexts. Users needing these features or those requiring compliance with specific organizational security standards should refer to Bitwarden’s enterprise documentation or consult IT professionals specialized in secure password management solutions.
- How to Install Fortnite via GeForce Now on Mac: A Clear Step-by-Step Guide
- How to Install Ice Menu Bar on Mac: A Clear Step-by-Step Guide
- How to Install and Use Chrome Remote Desktop on Mac
- How to Install Microsoft Remote Desktop on Mac: A Step-by-Step Guide
Frequently asked questions
How do I install Bitwarden on Windows?
Download the Windows installer from Bitwarden’s official website, run it with administrator privileges, and follow the setup wizard. After installation, launch the app and log in to sync your vault.
How do I install Bitwarden on Microsoft Edge?
Visit the Microsoft Edge Add-ons store, search for "Bitwarden," click "Get," and confirm to add the extension. After installation, log in to access your vault within the browser.
How do I use Bitwarden on iPhone?
Download Bitwarden from the App Store, log in, and enable autofill under Settings > Passwords > AutoFill Passwords. This allows password autofill across apps and Safari.
How do I set up Bitwarden?
Create an account on the app or website, choose a strong master password, and optionally import existing passwords. Then start saving and organizing your credentials.
How do I install Bitwarden on a MacBook?
The process is the same as for any Mac with macOS 12 or later: download the app from the Mac App Store, install it, then log in or create an account.
Can I use Bitwarden with multiple accounts on Mac?
Yes, the Bitwarden desktop app supports up to five simultaneous accounts, allowing you to switch between personal and work vaults easily.
Essential steps to install and set up Bitwarden on Mac
Sources
- Bitwarden App - App Store — App Store
- How to setup bitwarden on macOS — Support.com Tech Pro Team
- Safari Web Extension | Bitwarden — Bitwarden



