How to Install CleanShot X on Mac: A Clear Step-by-Step Guide
This guide explains how to install CleanShot X on Mac, covering safe download, installation steps, and tips for using this powerful screenshot tool.
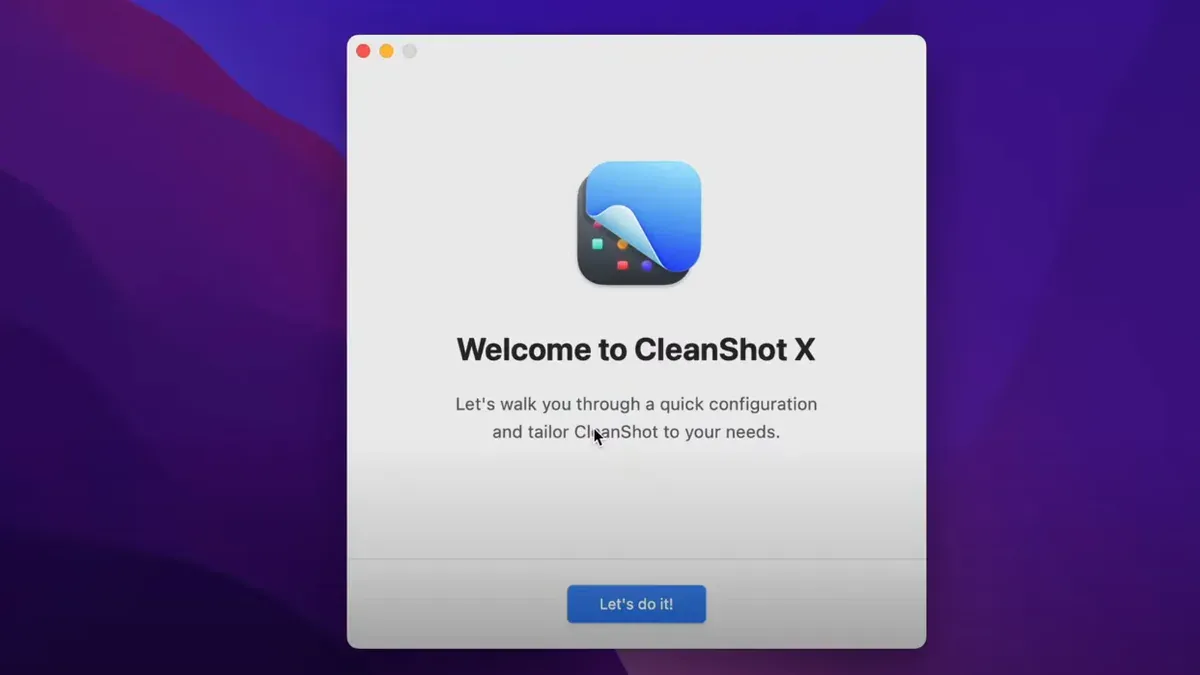
Taking screenshots on a Mac can be straightforward, but finding a tool that offers clean, professional results along with easy-to-use features is not always simple. If you want a powerful yet user-friendly screenshot app, CleanShot X is a popular choice among Mac users.
This article covers how to install CleanShot X on Mac, guiding you through safe downloading, installation steps, and practical usage tips. You’ll also learn how CleanShot X compares with similar tools and how to troubleshoot common issues, helping you decide if it fits your screenshot needs.
Key takeaways
- Download CleanShot X only from its official website or trusted sources to avoid security risks.
- Installation involves allowing permissions for screen recording in System Preferences under Security & Privacy.
- CleanShot X offers quick access to various screenshot modes, including scrolling capture and timed screenshots.
- Differentiate CleanShot X from Clean My Mac X, which is a system cleaning tool, not a screenshot app.
- Common issues include permission denials and conflicts with other screenshot utilities, solvable via System Preferences adjustments.
Before you start: what you need to install CleanShot X
Before installing CleanShot X on your Mac, make sure your system meets the app's requirements. CleanShot X requires macOS 10.15 (Catalina) or later. Check your macOS version by clicking the Apple menu and selecting "About This Mac." Ensure you have at least 200 MB of free disk space to accommodate the app and temporary files during use.
You will need a stable internet connection to download the CleanShot X installer safely from the official website. Interruptions during download can cause corrupted files, so a reliable Wi-Fi or wired connection is recommended.
To avoid conflicts, close any other screenshot utilities or screen recording apps currently running on your Mac. These can interfere with CleanShot X’s shortcut keys and functionality.
Finally, decide whether you want to purchase CleanShot X or try its free trial version. The developer’s site offers both options, allowing you to experience the app before committing to a purchase.
- Check your macOS version via Apple menu > About This Mac. You should see 10.15 or higher.
- Verify available disk space in Finder > Go > Computer, then right-click your Mac's main drive and select "Get Info." Confirm you have around 200 MB free.
- Connect to a stable internet source and close other screenshot apps by checking your Dock and Activity Monitor.
- Visit the official CleanShot X website to choose purchase or trial before downloading.
How to download CleanShot X for Mac safely
To avoid malware risks, always download CleanShot X from the official sources. The safest option is the CleanShot X official website or the Mac App Store, where you can trust the file’s integrity and authenticity.
- Open your preferred web browser and go to the official CleanShot X website at cleanshot.com. You should see a clear download button labeled for Mac.
- Click the download button; the file will begin downloading. Once complete, verify the file name and size to match those listed on the website to ensure it has not been tampered with.
- Alternatively, open the Mac App Store on your Mac, search for "CleanShot X," and check the developer name to confirm it matches the official publisher.
- Choose between the free trial and the paid version. The trial offers basic features and lets you test the app before purchasing. The paid version unlocks all advanced functionalities.
- Avoid downloading CleanShot X from third-party websites or unofficial sources, as these may contain outdated or malicious versions that compromise your Mac’s security.
Downloading directly from the official site or Mac App Store ensures you receive updates promptly and reduces the risk of installing corrupted or harmful files.
How to install CleanShot X on Mac step-by-step
- Locate the downloaded CleanShot X installer file, usually in your Downloads folder. Double-click the.dmg file to open it. You should see a window with the CleanShot X app icon and a shortcut to the Applications folder.
- Drag the CleanShot X icon to the Applications folder shortcut. This copies the app to your Mac’s main Applications directory. Once copied, you can eject the installer by clicking the eject icon next to CleanShot X in Finder’s sidebar.
- Open System Preferences and go to Security & Privacy > Privacy tab. Select Screen Recording from the sidebar. Click the lock icon at the bottom left to make changes, then check the box next to CleanShot X to grant screen recording permission. You may need to restart CleanShot X for this to take effect.
- Still in the Privacy tab, select Accessibility. Again, unlock changes and check CleanShot X to allow it to control your Mac for features like quick access shortcuts.
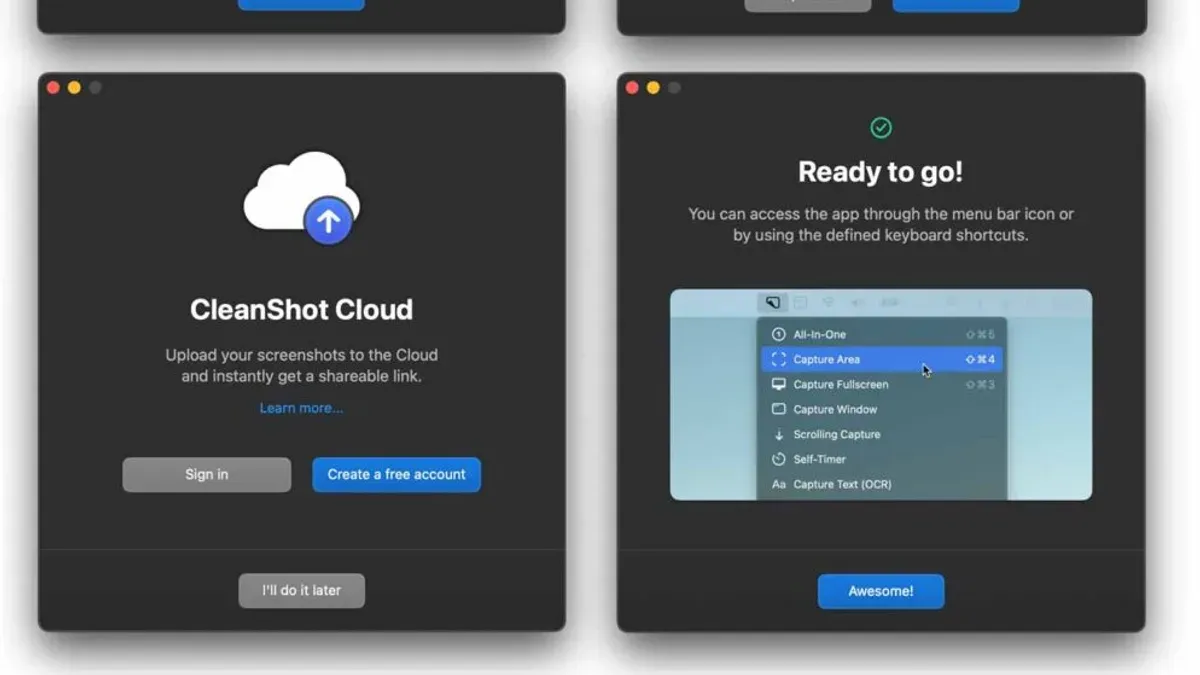
- Launch CleanShot X from the Applications folder or Launchpad. You will be guided through initial setup prompts, including configuring default screenshot behaviors and choosing your preferred keyboard shortcuts.
- To update CleanShot X in the future, open the app and click the gear icon for settings. Select "Check for updates" to download and install the latest version, ensuring you have access to new features and security fixes.
Following these steps ensures CleanShot X is properly installed with all necessary permissions, ready for seamless screenshot capture on your Mac.
How to do screenshot Mac using CleanShot X
CleanShot X offers flexible screenshot options beyond the native macOS shortcuts, allowing you to capture exactly what you need with added editing power.
- Open CleanShot X from the menu bar; the overlay menu will appear.
- To take a full screen screenshot, click the "Full Screen" button or press the assigned hotkey (often Command + Shift + 3). You should see a brief flash indicating the capture.
- For a window screenshot, select the "Window" option, then click the desired window. The window’s border will highlight before capture.
- To capture a selected area, choose "Area" and drag to select the region. Release the mouse to take the shot.
- After capturing, use CleanShot X’s annotation tools visible in the preview window to add text, arrows, highlights, or blur sensitive parts.
- You can then save the screenshot to a chosen folder, copy it to the clipboard, or share it directly via email or messaging apps using the built-in options.
- Unlike macOS keyboard shortcuts which immediately save or copy screenshots, CleanShot X integrates editing before saving, streamlining your workflow.
How to uninstall Clean My Mac X and why it’s different from CleanShot X
Clean My Mac X is a system optimization and cleaning tool designed to free up disk space, remove junk files, and improve Mac performance. It is not a screenshot tool like CleanShot X, which focuses solely on capturing and editing screenshots.
To uninstall Clean My Mac X:
- Open the Clean My Mac X app.
- Click the menu bar item labeled CleanMyMac X next to the Apple logo.
- Select Uninstall CleanMyMac X from the dropdown menu.
- Follow the on-screen prompts to confirm removal; the app will close and delete its components.
- To ensure complete removal, check the Applications folder to confirm the app is gone.
Alternatively, you can drag the Clean My Mac X app from the Applications folder to the Trash and empty it, but using the built-in uninstaller is recommended for thorough cleanup.
Unlike Clean My Mac X, CleanShot X does not require heavy system cleaning or performance optimization. It operates with lightweight permissions focused on screenshot functionality, which means no need for extensive system scans or removals.
Clean My Mac X has a mixed reputation in user reviews; some praise its ease of use for quick cleanups, while others caution about overuse or unnecessary deletions. In contrast, CleanShot X is primarily valued for its screenshot capabilities without system maintenance features.
Troubleshooting common CleanShot X installation and usage issues
If you encounter permission denials or screenshots fail, check Security & Privacy settings. Go to System Preferences > Security & Privacy > Privacy tab > Screen Recording and ensure CleanShot X is checked. If you see "CleanShot X cannot capture screen" or screenshots won't save, this is usually the cause.
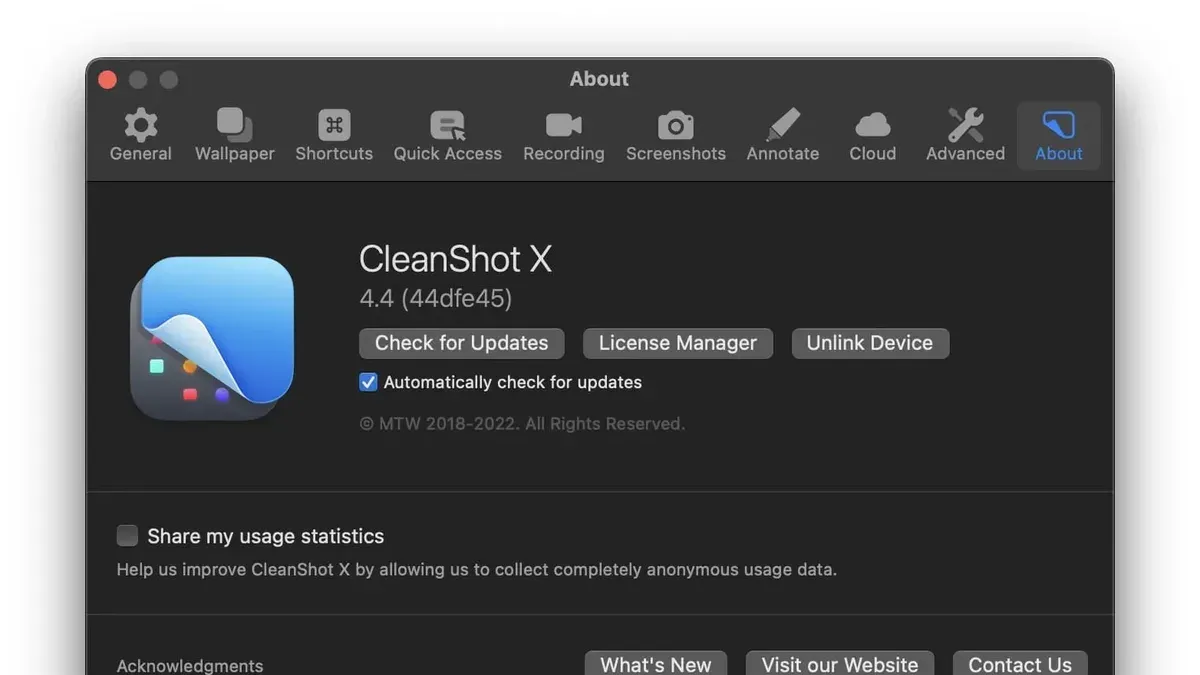
If CleanShot X fails to launch or crashes on opening, try restarting your Mac first. If the problem persists, uninstall and reinstall the app. Also, confirm you have the latest macOS updates installed, as outdated system software can cause conflicts.
Conflicts with other screenshot tools can cause erratic behavior or failure to capture. Disable or quit other screenshot utilities, especially those running in the menu bar, to isolate the issue. If you see error messages about "screen capture conflicts," this step usually resolves it.
If these steps do not work, contact CleanShot X support through the official website’s help section. Provide details such as error messages and your macOS version for faster assistance.
- Open System Preferences, then navigate to Security & Privacy > Privacy > Screen Recording.
- Check the box next to CleanShot X; if it’s unchecked, click the lock icon to make changes.
- Restart CleanShot X and attempt to take a screenshot; the capture should now work without errors.
- If CleanShot X crashes at launch, restart your Mac and try again; successful launch means the issue is resolved.
- Quit any other screenshot tools by clicking their menu bar icons and selecting Quit; retest CleanShot X to confirm no conflicts remain.
- How to Install BetterTouchTool on Mac: A Step-by-Step Guide
- How to Install and Set Up BetterDisplay on Mac: A Step-by-Step Guide
- How to Install MonitorControl on Mac for Effective External Display Management
- How to Install and Set Up Karabiner Elements on Mac: A Step-by-Step Guide
Frequently asked questions
How to screenshot on mac without command?
If you prefer not to use keyboard shortcuts, you can use the Screenshot app available in macOS. Open it by pressing Shift + Command + 5 or by searching for "Screenshot" in Spotlight. This app provides on-screen controls to capture the entire screen, a selected window, or a custom area without needing command key combinations.
How to clean install macos?
A clean install of macOS requires erasing your startup disk and installing a fresh copy of the system. First, back up your data using Time Machine or another method. Then, restart your Mac in Recovery Mode by holding Command + R at startup, open Disk Utility to erase your disk, and finally select "Reinstall macOS" from the recovery menu to proceed.
How to delete a screenshot on mac?
Screenshots saved on your Mac usually appear on the desktop by default. To delete one, simply locate the file, click it once to select, and press Command + Delete or right-click and choose "Move to Trash." Remember to empty the Trash to free up disk space permanently.
How to screenshot on this device mac?
On any Mac device, you can take a screenshot using built-in keyboard shortcuts like Shift + Command + 3 for the full screen or Shift + Command + 4 for a selected area. Alternatively, use the Screenshot app by pressing Shift + Command + 5, which gives you options for capturing windows, parts of the screen, or videos.
How to take a screenshot mac os?
To take a screenshot on macOS, use these shortcuts: Shift + Command + 3 captures the entire screen, Shift + Command + 4 lets you select a specific area, and Shift + Command + 5 opens the Screenshot app with additional options. These screenshots are saved to your desktop unless you change the save location.
Limits of this guide and who should look elsewhere
This guide does not cover CleanShot X alternatives in depth; users seeking free screenshot tools or versions compatible with Windows should consider other options. The installation instructions assume a standard macOS setup with typical user permissions. If you work within a corporate or highly restricted environment, you may need assistance from your IT department to complete the installation or grant necessary permissions.
For the most reliable experience, ensure your Mac is updated to a recent macOS version that supports CleanShot X. If you encounter persistent issues, checking CleanShot X’s official support resources or contacting their help desk can provide tailored solutions.
The single most useful next step is to open CleanShot X and explore its main features through the menu bar icon. Experiment with different screenshot modes such as scrolling capture and video recording to see how it fits your workflow before adjusting advanced preferences.